
- Wet Filament: Prevention, Symptoms & Drying - July 18, 2024
- Sovol SV08 – Best PrusaSlicer Settings & Profile - June 26, 2024
- Sovol SV08 – Best Orca Slicer Settings & Profile - June 26, 2024
Disclosure: Links marked with * are Affiliate Links. I earn from qualifying purchases if you decide to make a purchase through these links – at no additional cost for you!
I have tested the Creality Ender-3 V3* extensively over the past few weeks. In this detailed review, I share my experiences with it and show you what the new CoreXZ system is all about!
Review Summary
The Ender-3 V3 is an excellent 3D printer for beginners and experienced users! Not only is it extremely fast, it is also very user-friendly.
However, I had difficulty calibrating the V3 to produce flawless 3D prints. I had to perform several cycles of the most important calibrations to get the print quality to an acceptable level. This could be daunting for beginners.
These are my highlights of the Ender-3 V3:

Speed
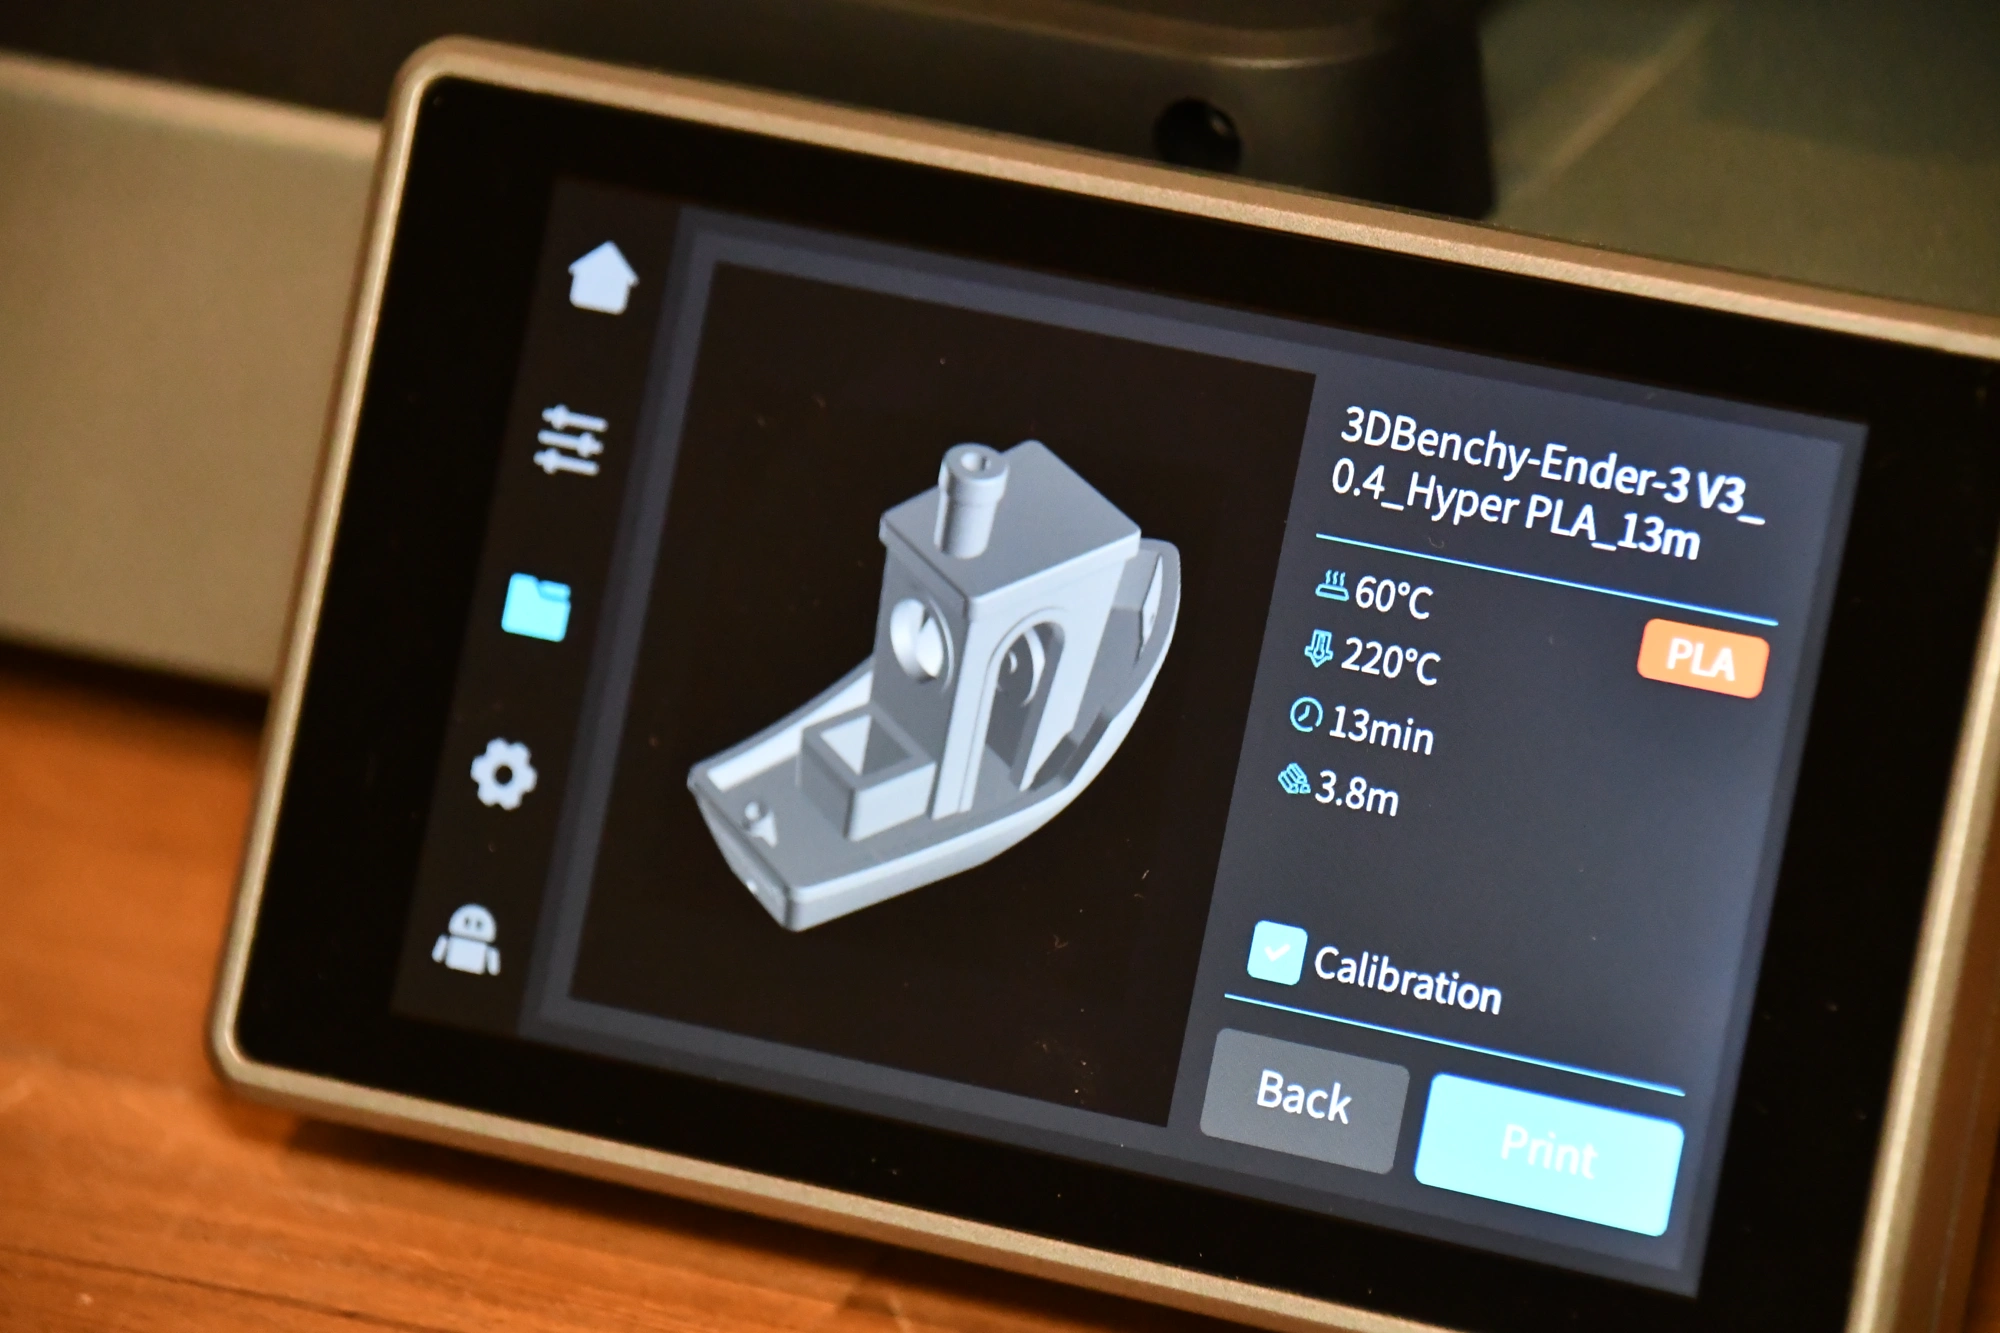
Up to 600 mm/s, normal is 300 mm/s. Acceleration up to 20000 mm/s². 3DBenchy in 15 minutes!

Quality
High printing precision thanks to input shaping and stable construction.

CoreXZ System
Core-XY has been around forever in the 3D printing world; CoreXZ is new and potentially revolutionary.

User-Friendliness
Simple operation with self-calibration and easy nozzle replacement.
Overall Rating:
4,3/5
Advantages
✓ High printing speed
✓ Good print quality
✓ High filament compatibility
✓ Easy installation & operation
✓ New CoreXZ system
Disadvantages
× Must be carefully calibrated

The Creality Ender-3 V3 continues the legendary Ender 3 series with a completely new movement system, a CoreXZ system. This makes it extremely fast and stable, with speeds of up to 600 mm/s.

Table of Contents:
My Experience with the Creality Ender-3 V3
My experience with the Ender-3 V3 has been mostly positive. What I particularly liked about it is the new CoreXZ motion system, although I’m not sure if this is the reason for my only criticism of this 3D printer.
This motion system is known from other 3D printers, where it is used in a horizontal plane for the X and Y axis to achieve a high print speed with a high print quality.
During the first printing tests, printing errors occurred throughout, indicating vibrations in the system. They looked similar to ringing or ghosting. However, I was able to get the printing errors under control with a meticulous calibration including PID tuning and a reduction in the printing speed.
Apart from this first frustrating phase of my test, I still had a lot of fun with the Ender-3 V3. What struck me as particularly positive was the high level of user-friendliness, the simple set-up despite the complicated movement system, and the high quality I have come to expect from Creality.
TIP: Learn how to calibrate your 3D printer to get perfect results every time in my 3D printing course: FDM 3D Printing: The Comprehensive Course from A to Z
(The course teaches everything you need to know for FDM 3D printing in over 60 lessons. The course will get beginners up to my level in no time!)
Conclusion and Recommendation
In terms of its features and price, it lies pretty much exactly between the Creality Ender-3 V3 KE and the Creality K1.
- If you are a beginner looking for your first 3D printer, I would actually recommend the V3 KE, as it has the same print quality but with less effort. The only exception would be if you want to start directly with special projects that require the use of carbon filaments.
- If you want to print with temperature-sensitive filaments such as ABS, it might make sense to switch to the K1 with its enclosure. Then you can also print larger objects without running the risk of printing errors such as warping.
So if you appreciate the high printing speed, don’t mind a little calibration work and want to print with abrasive filaments, the Creality Ender-3 V3 is a good choice for you.
Setup
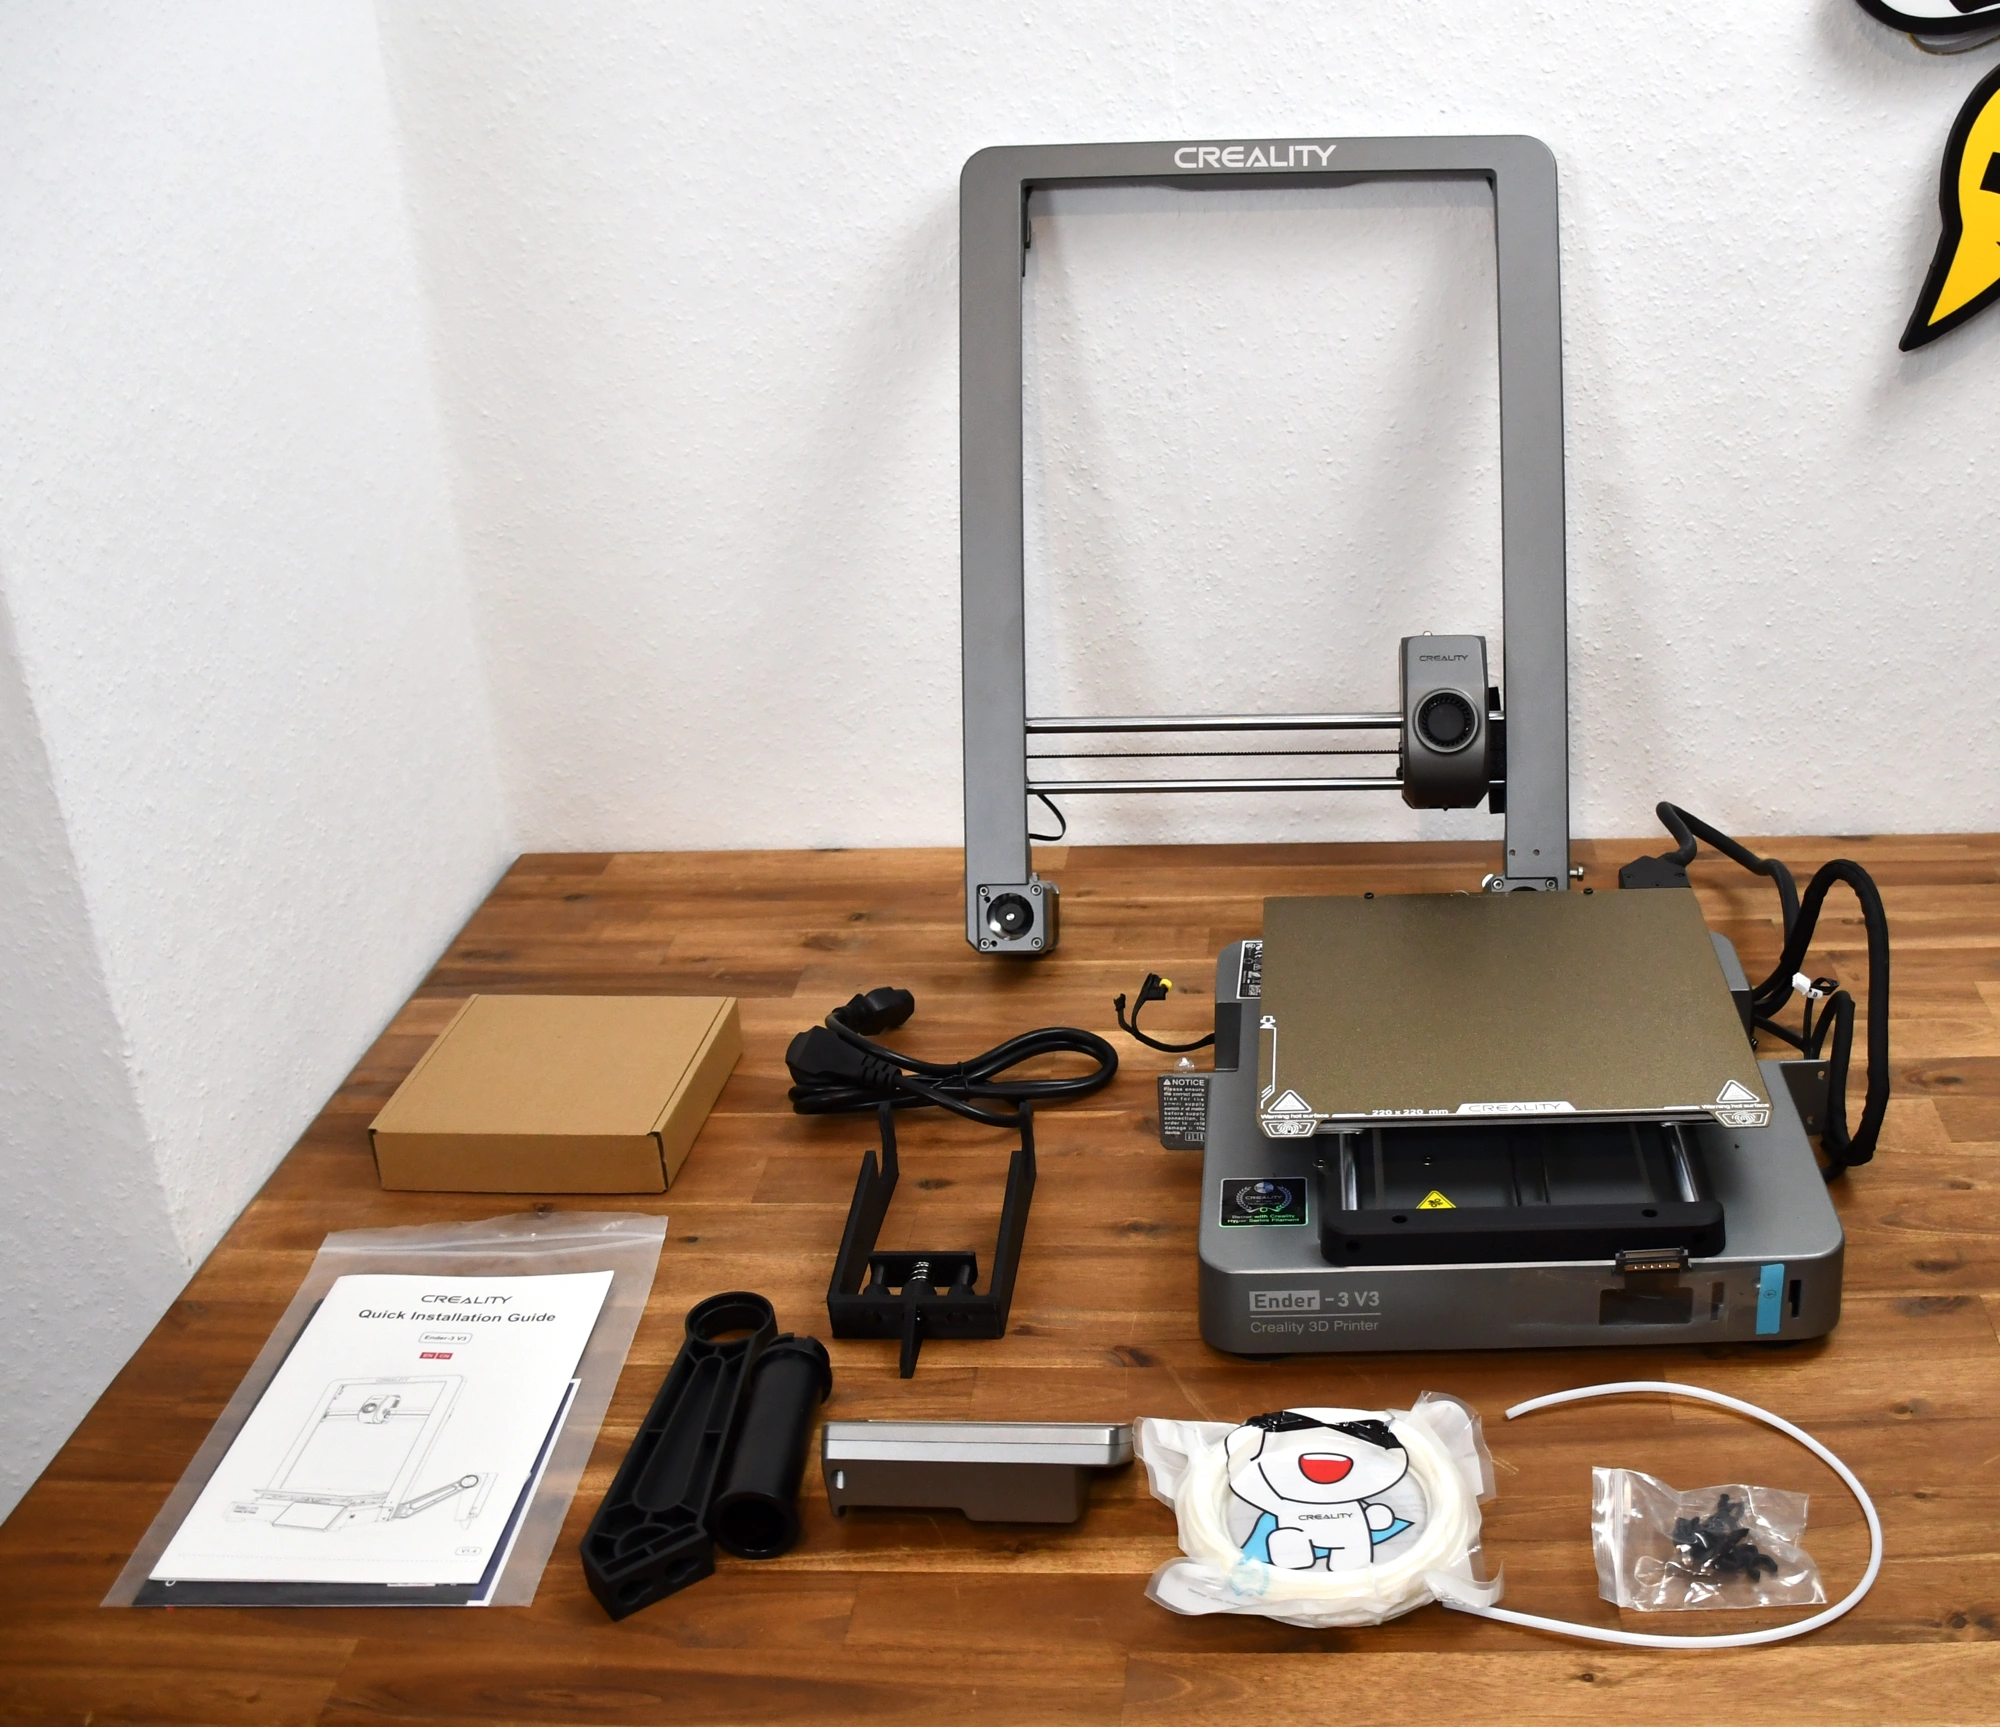
The assembly of the Ender-3 V3 is surprisingly simple when you consider the complicated CoreXZ system. This is already pre-assembled in the frame. Assembly is therefore completed in just a few steps:
- Attach the filament holder
- Screw the frame to the base
- Install touch screen
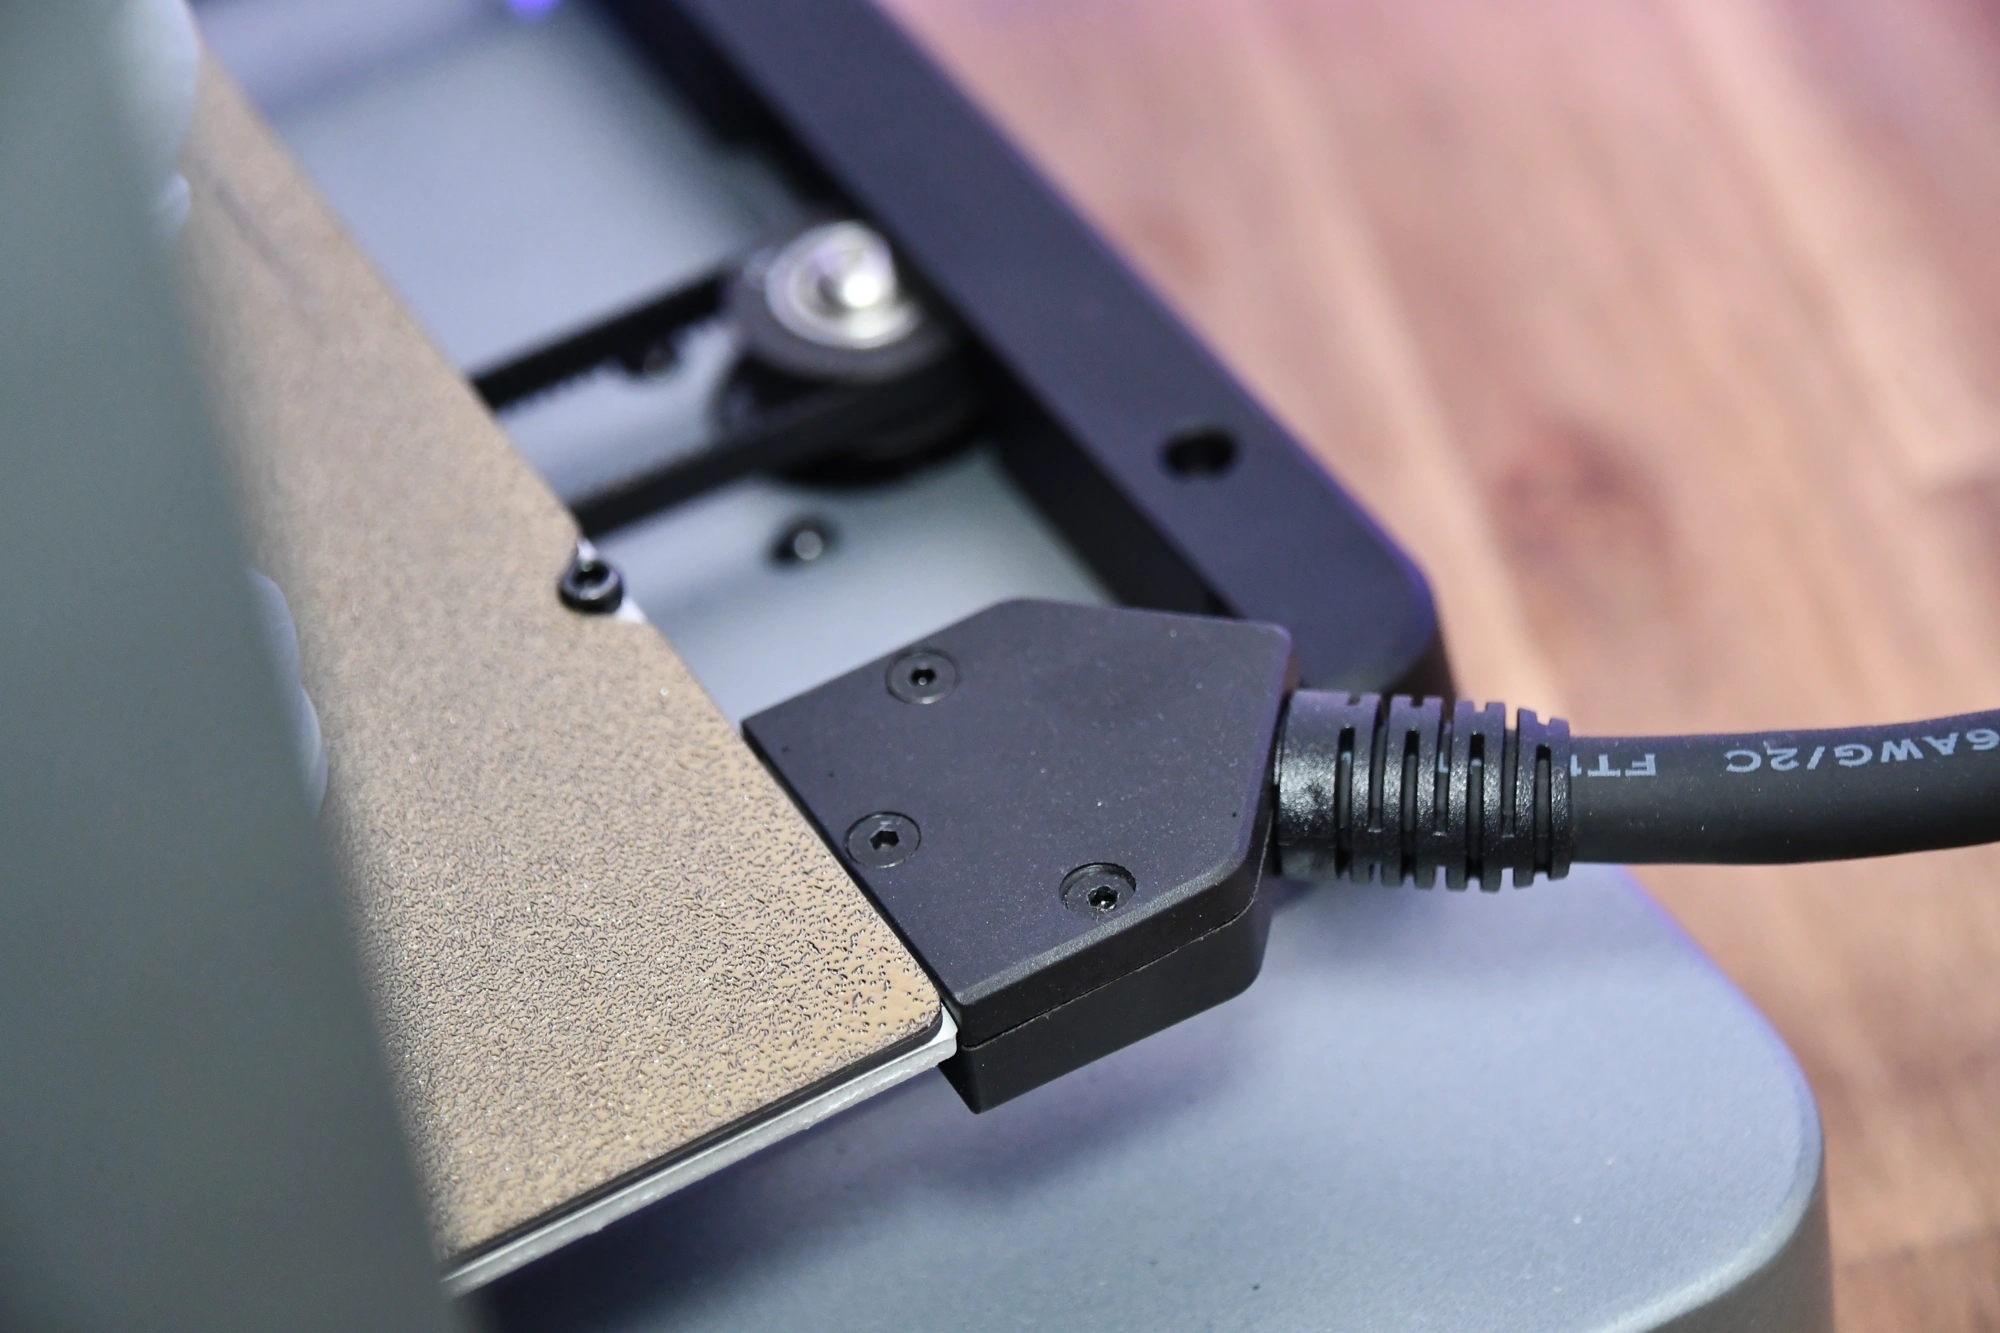
- Connect cables
This means that even people without technical experience can install the device in just a few minutes.

When the Ender-3 V3 is started for the first time, it runs through a series of self-calibrations. It checks whether all relevant components are working, automatically levels the print bed and performs input shaping. And then all you have to do is load the filament and perform your own calibrations.
Print Bed
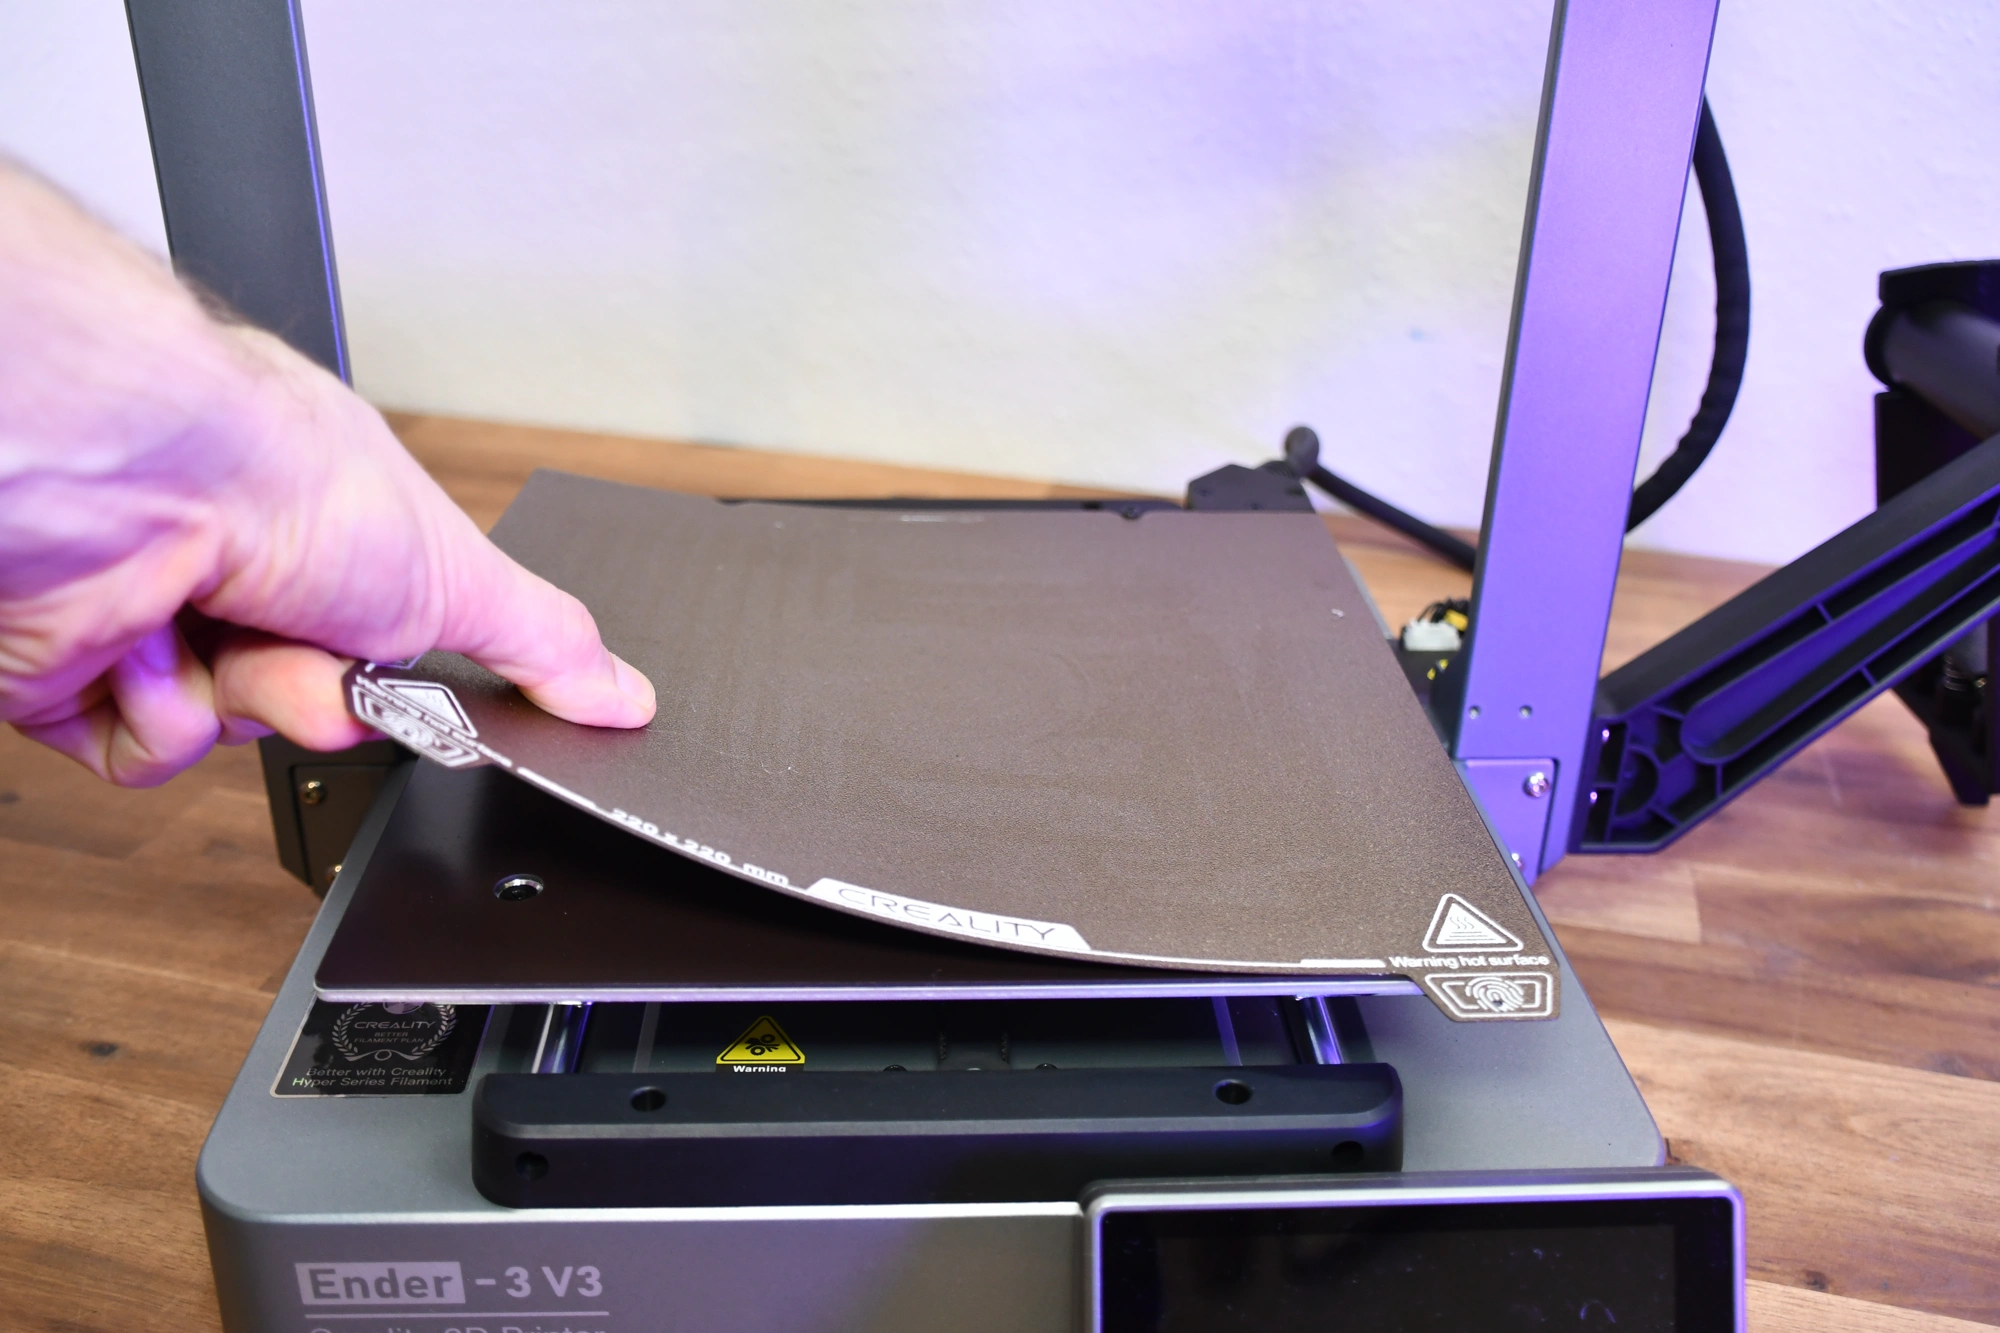

The Ender-3 V3 is equipped with a PEI print bed. It is flexible and magnetic. Most 3D printers today have such a print bed, as it offers excellent adhesion for most filaments.
However, I would have preferred the smoother PEI print bed from Creality, such as the one used in the K1 series from Creality.
CoreXZ
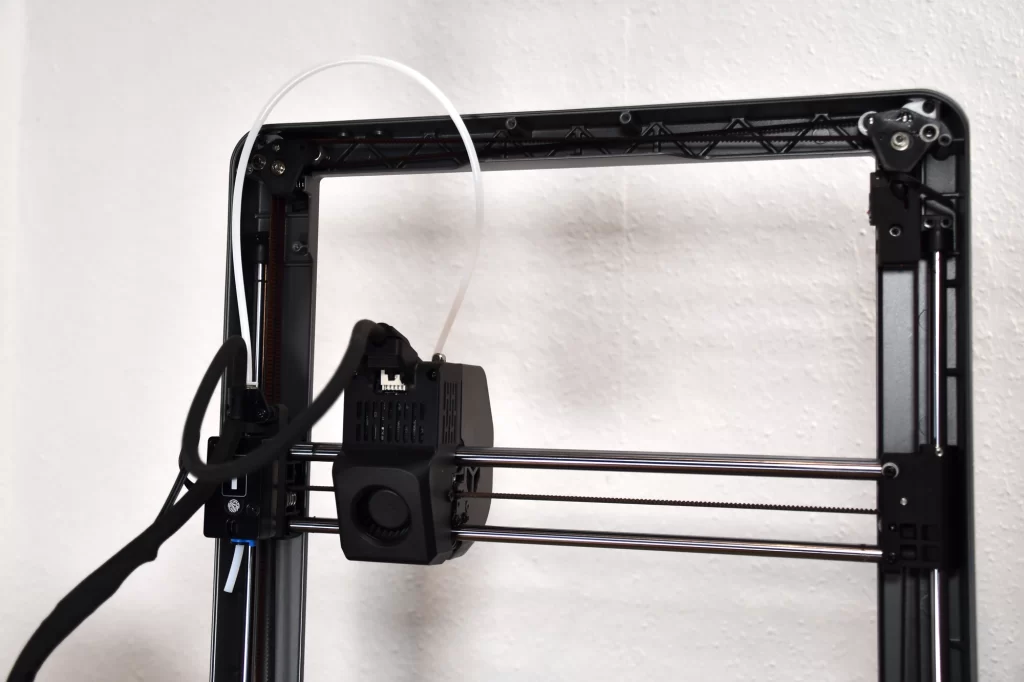
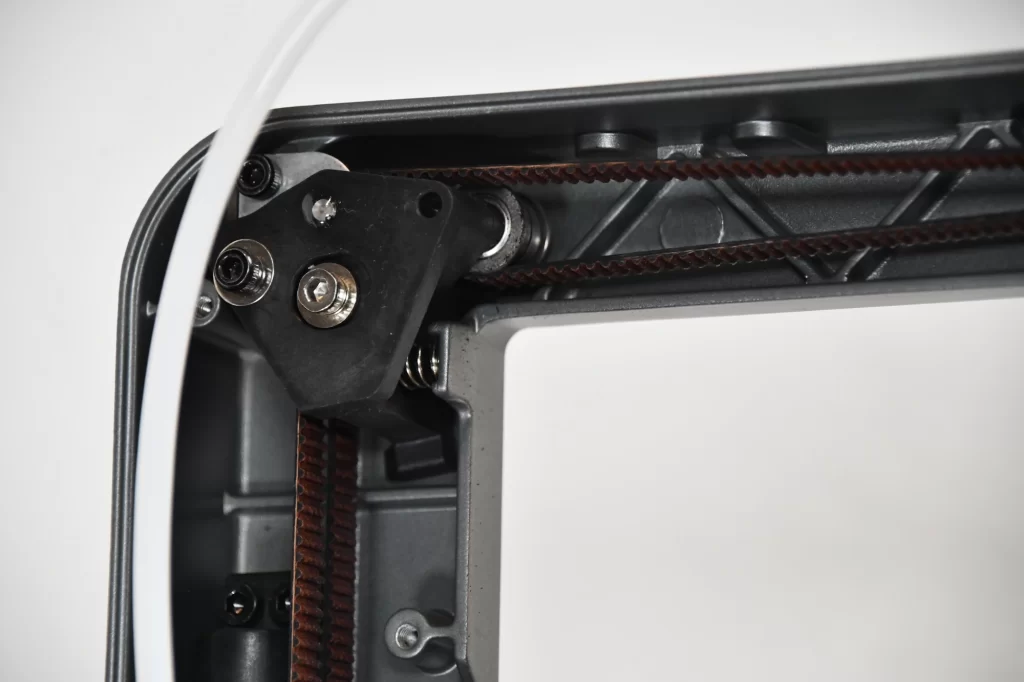
The CoreXZ movement system controls the movements of the X and Z axes via a complex system of toothed belts. The toothed belts are tensioned automatically and can position the print head with high precision even at very high print speeds and accelerations.
This system makes printing speeds of up to 600 mm/s and accelerations of an incredible 20000 mm/s² possible. I have never seen such high accelerations on a 3D printer before.
I’m very excited to see if the CoreXZ system catches on and if we will see more Cartesian 3D printers with this system in the future!
Filament Compatibility
The Ender-3 V3 is compatible with these filaments: PLA, ABS, PETG, TPU, PLA-CF, PETG-CF, CR-Carbon
It is therefore compatible with all standard filaments, including flexible filaments. Thanks to its tri-metal “Unicorn” nozzle, it can also print very abrasive filaments such as those with carbon fibers.
Slicer
Like all 3D printers from Creality, the Ender-3 V3 is operated with Creality Print as standard. This slicer is also included on the USB stick supplied.
However, I have also created profiles for the Cura, PrusaSlicer and Orca Slicer slicers for the Ender-3 V3 and adapted them to it. You can find the respective guides here:
- Creality Ender-3 V3 – Best Cura Settings & Profile
- Creality Ender-3 V3 – Best Orca Slicer Settings & Profile
- Creality Ender-3 V3 – Best PrusaSlicer Settings & Profile
Print Speed

One of the Ender-3 V3’s biggest selling points is of course its high printing speed. Although it can print at up to 600 mm/s, I got the best results at 250 to 300 mm/s. These speeds are relatively common among modern 3D printers.
What is definitely not (yet) common, however, are its enormous accelerations of up to 20000 mm/s². With these high accelerations, the Ender-3 V3 saves a lot of printing time as its direction changes are faster!
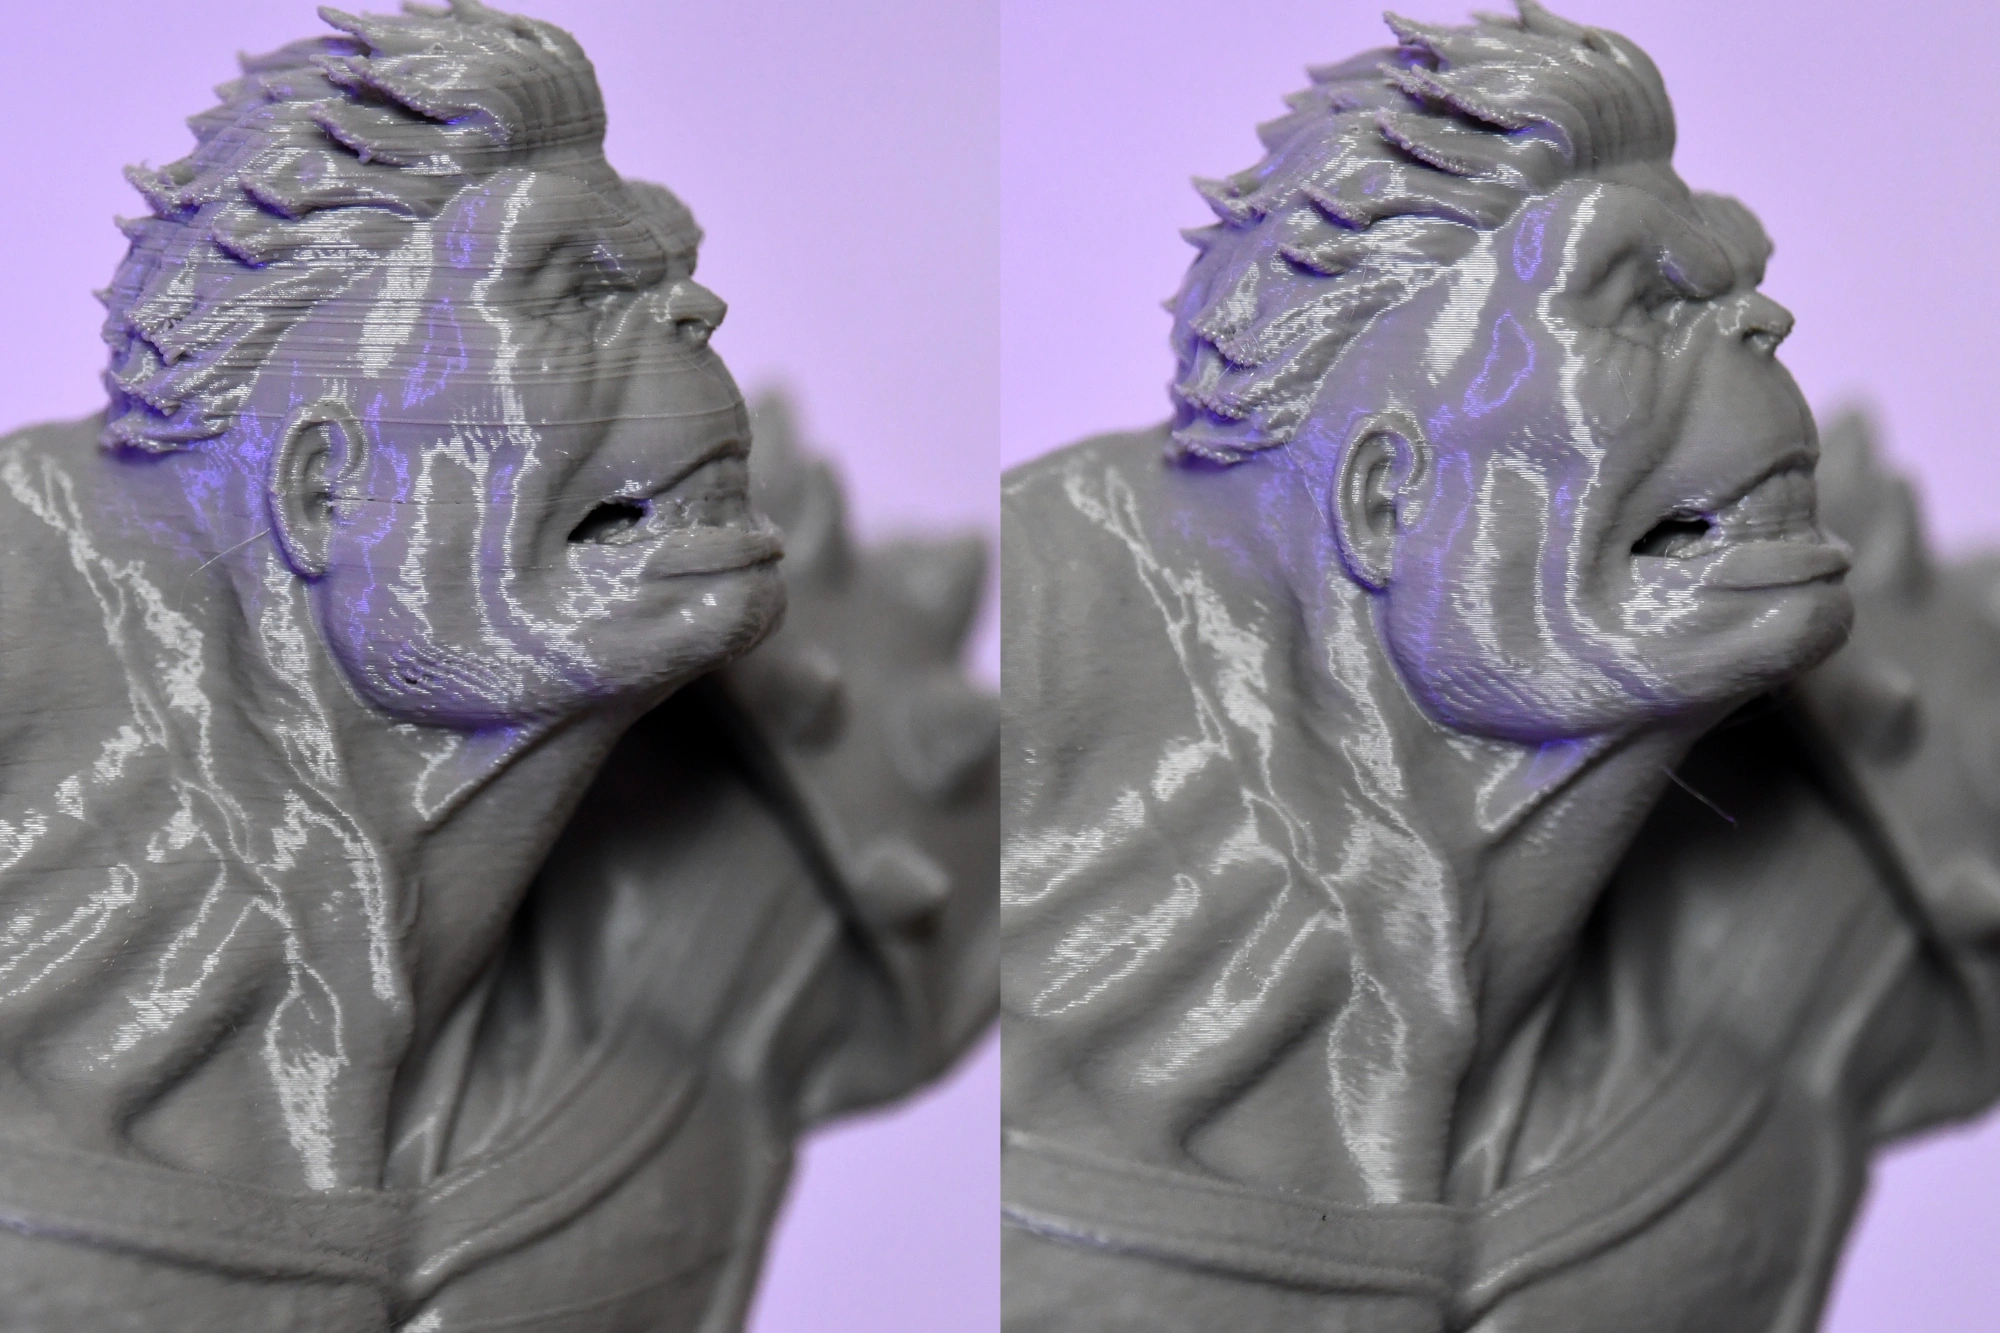
Print Quality
As already mentioned, I initially had some problems with the print quality. I then carried out a comprehensive calibration, including adjusting the print temperature, retraction and PID tuning. After that, the print quality was good.
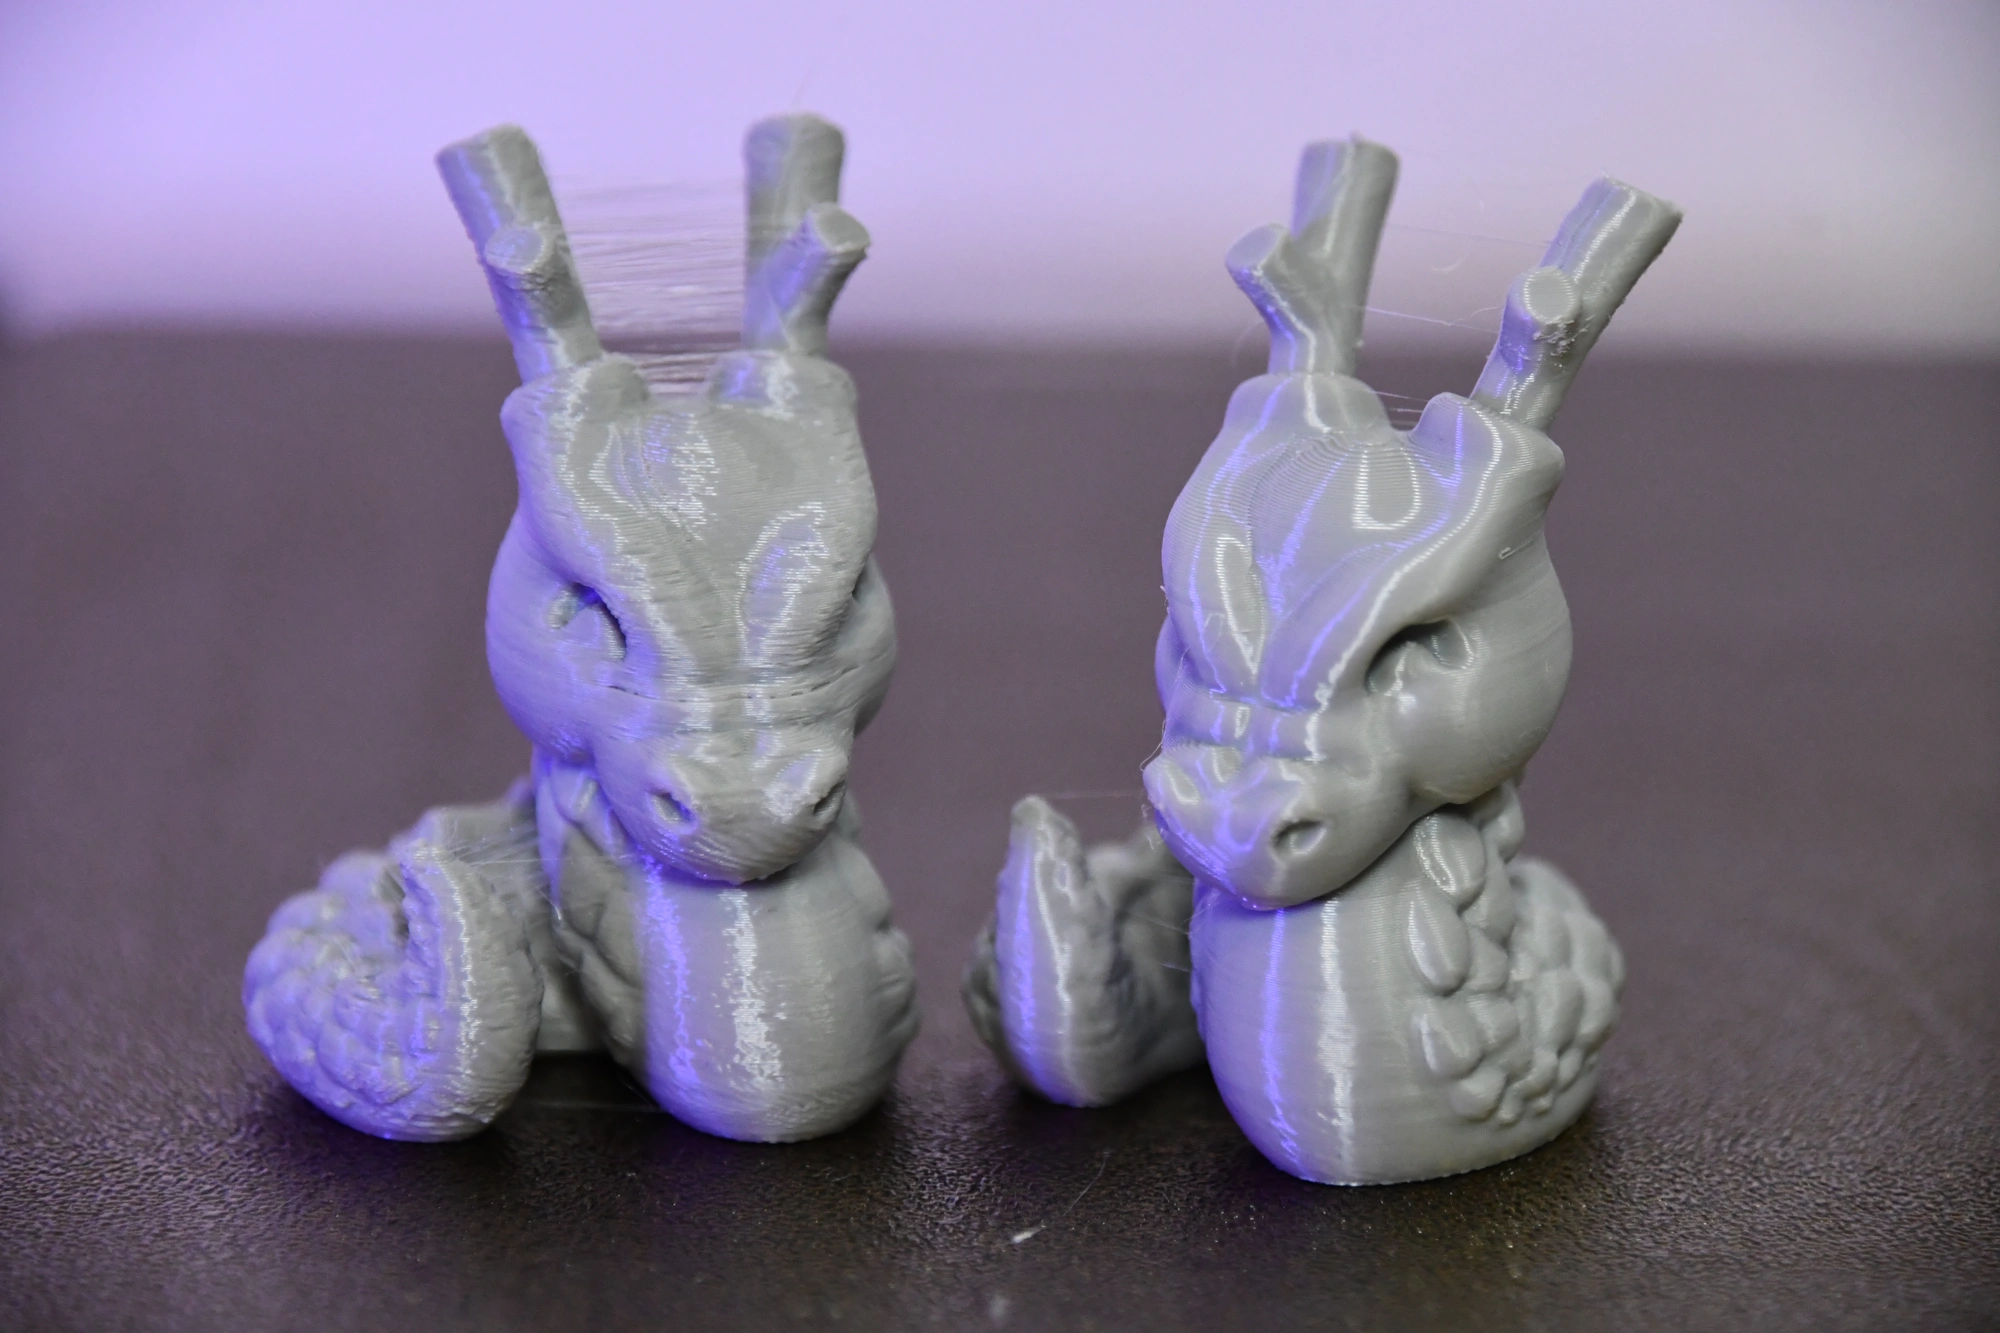
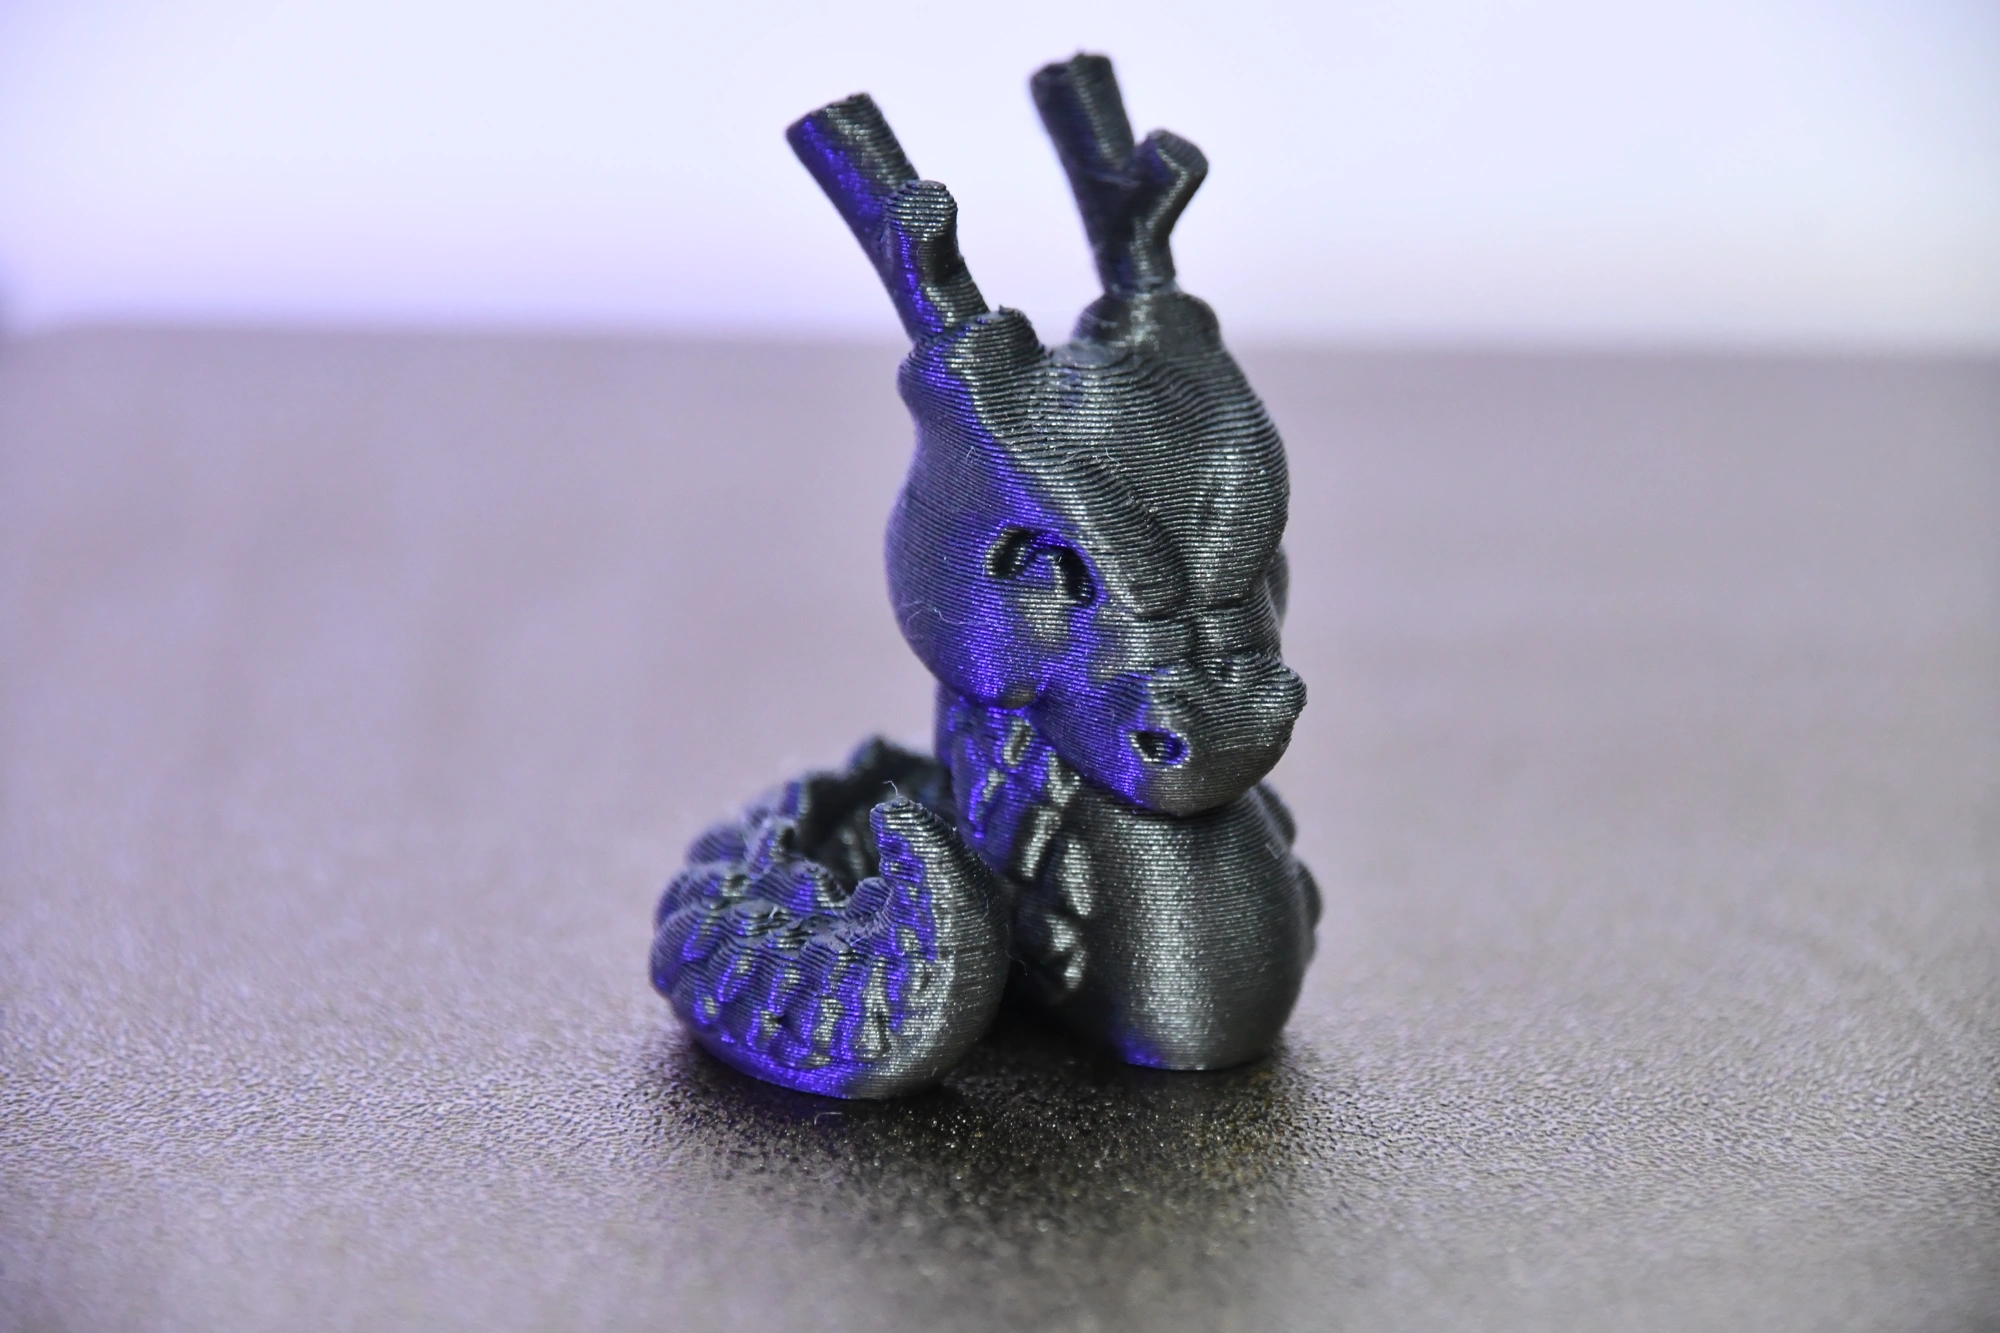
To test the print quality, I printed various objects with fine details.
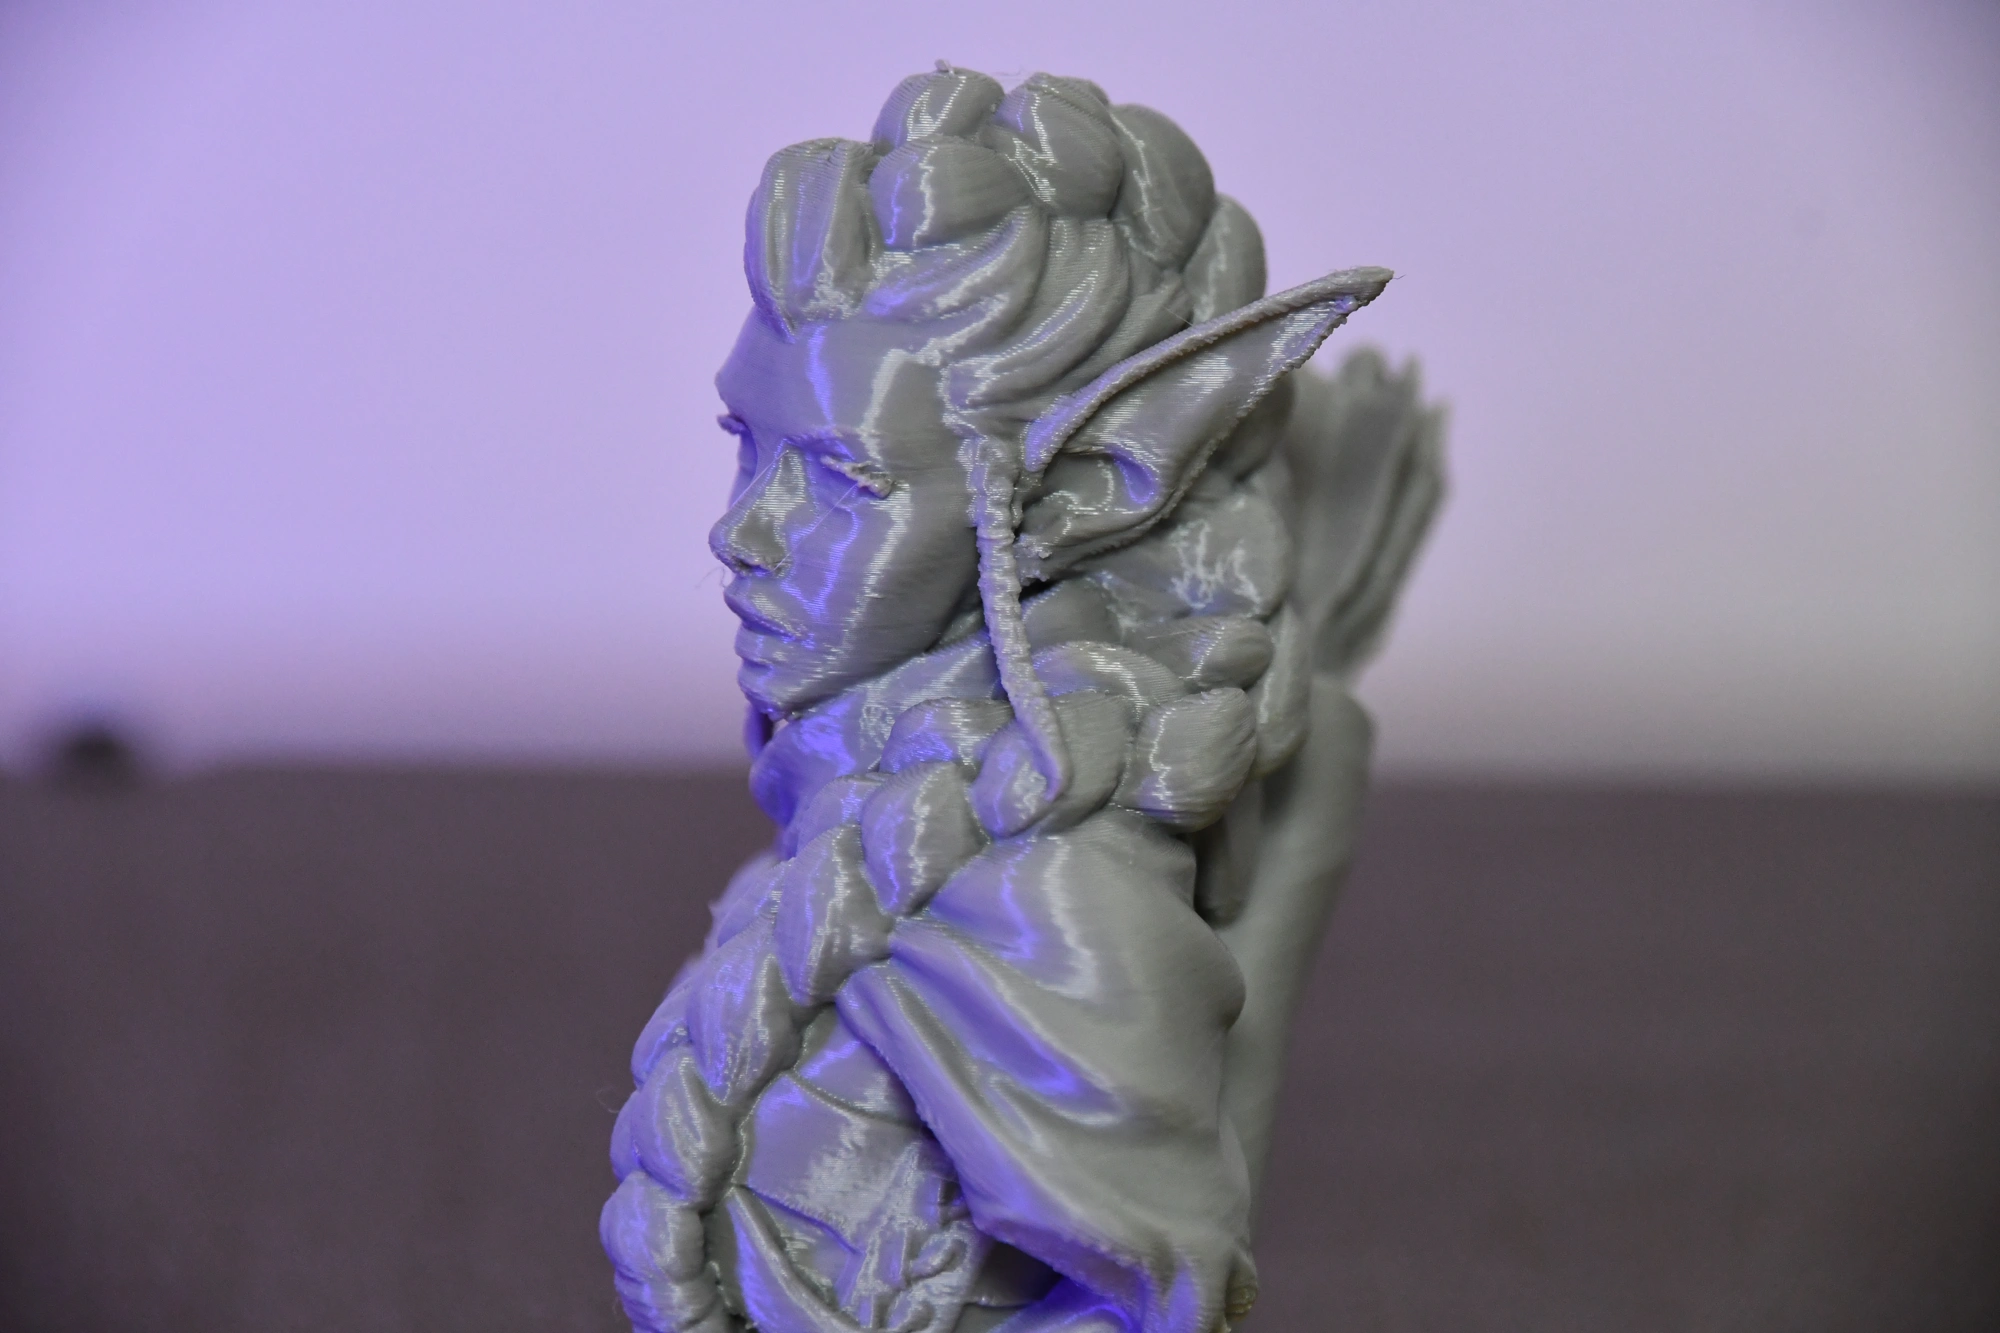
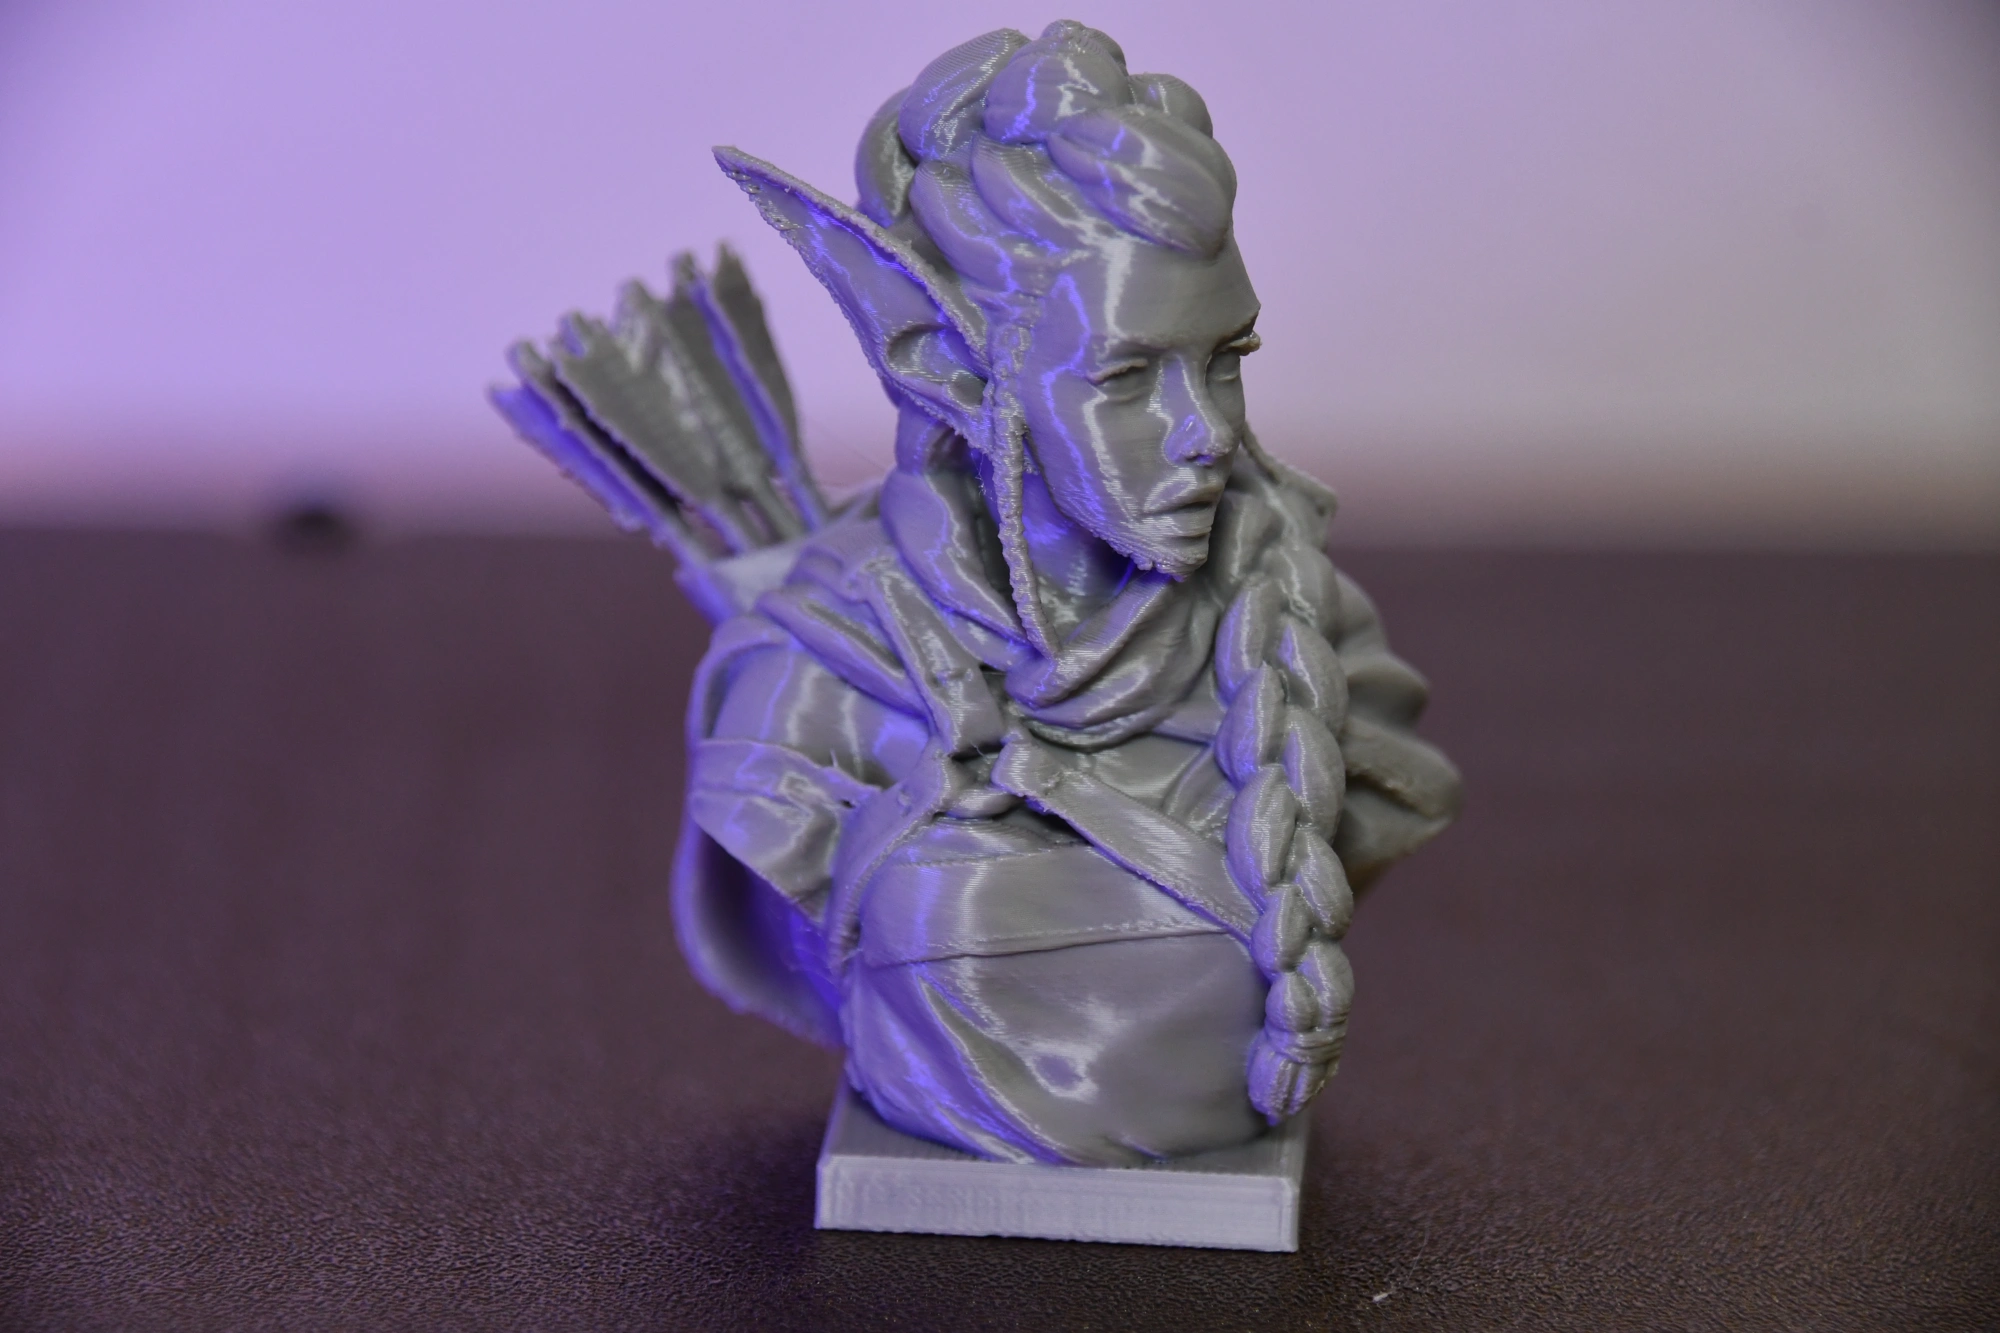
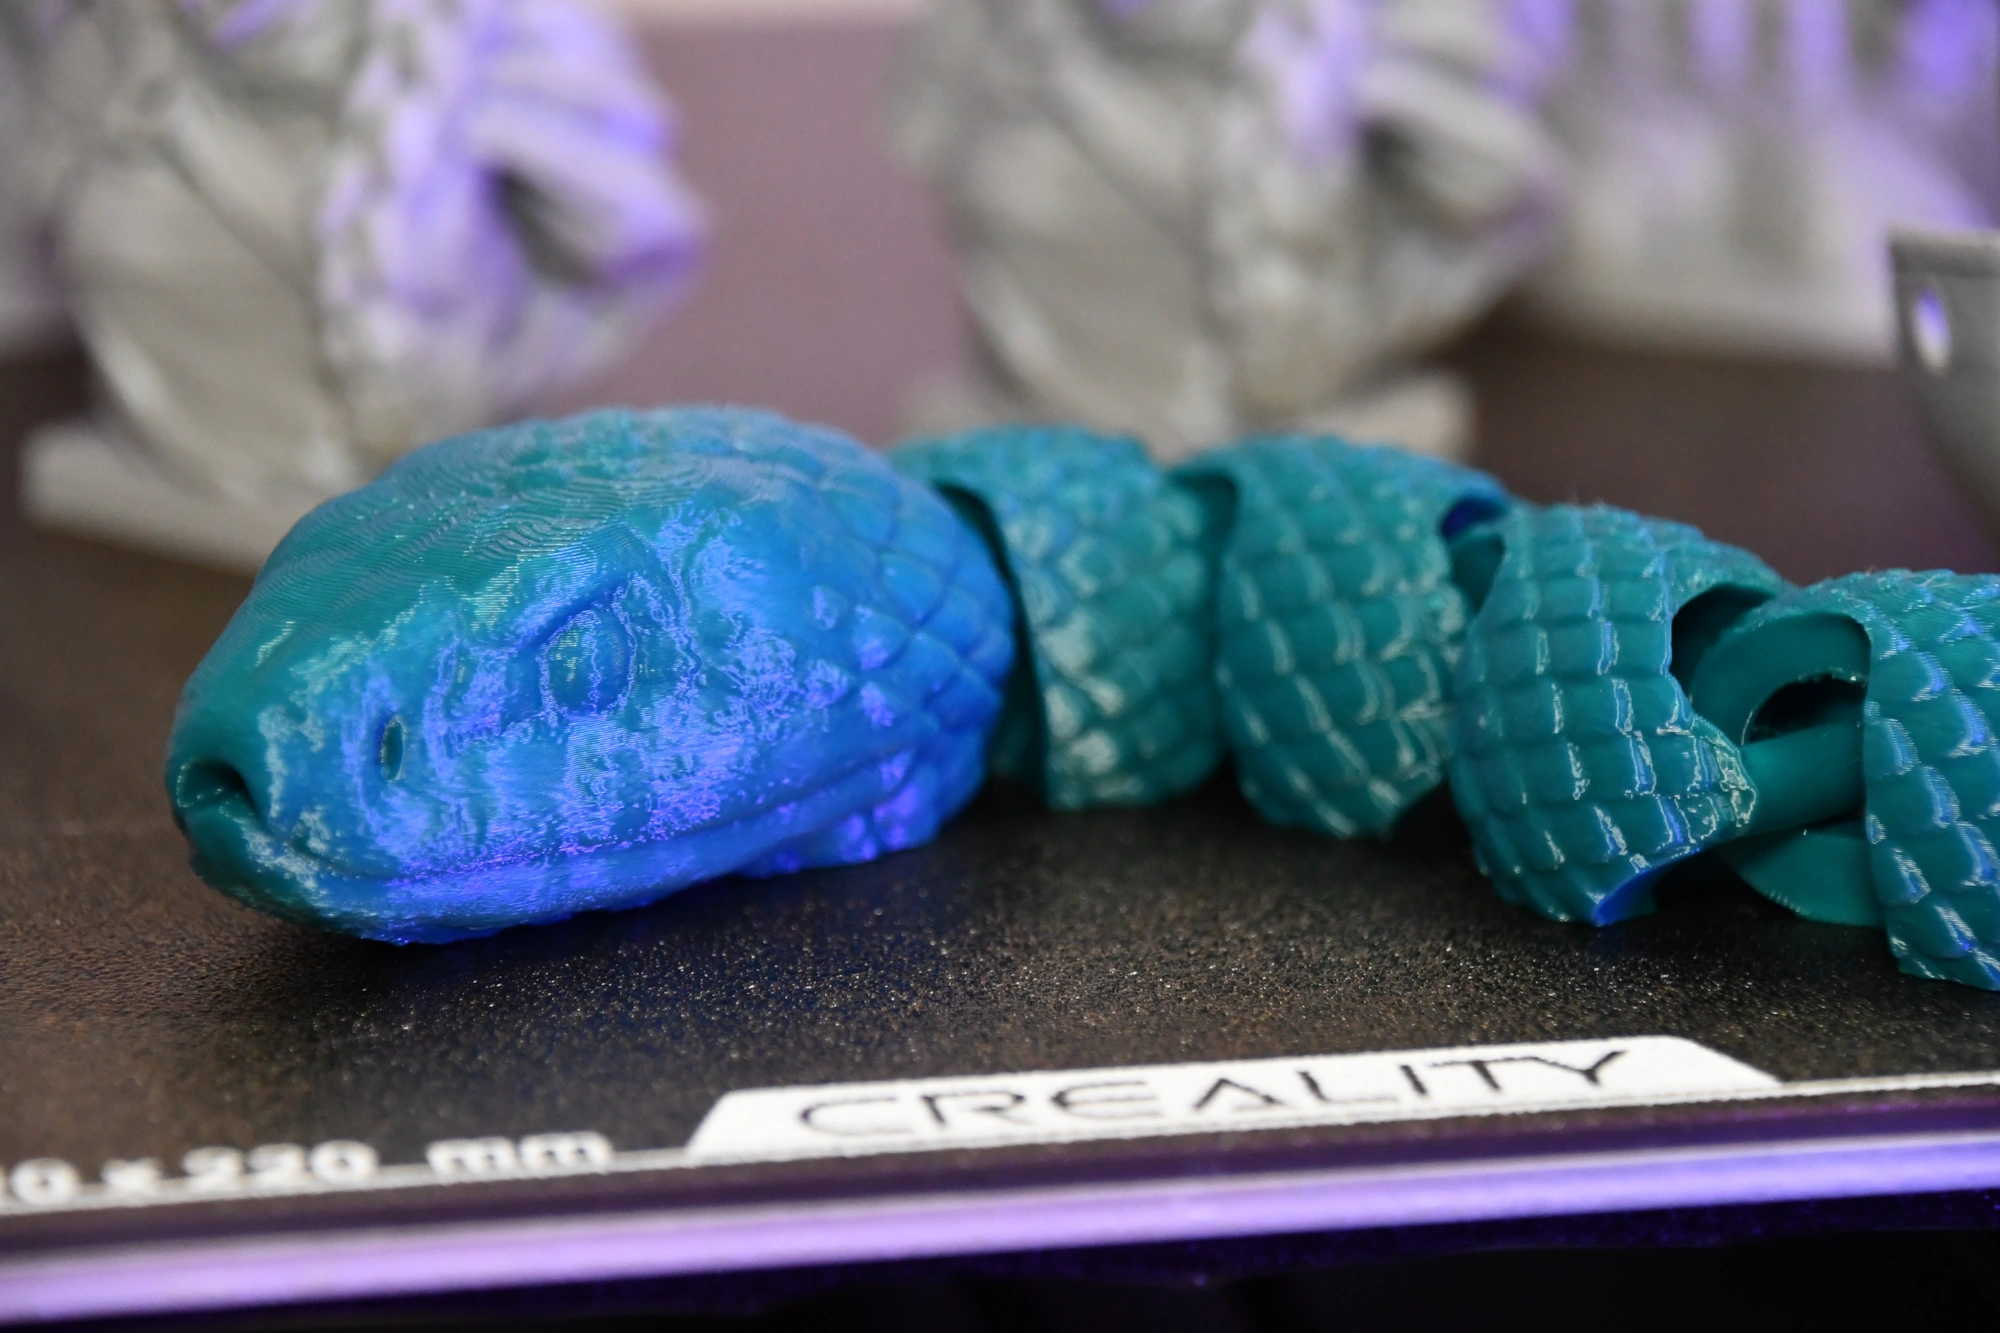
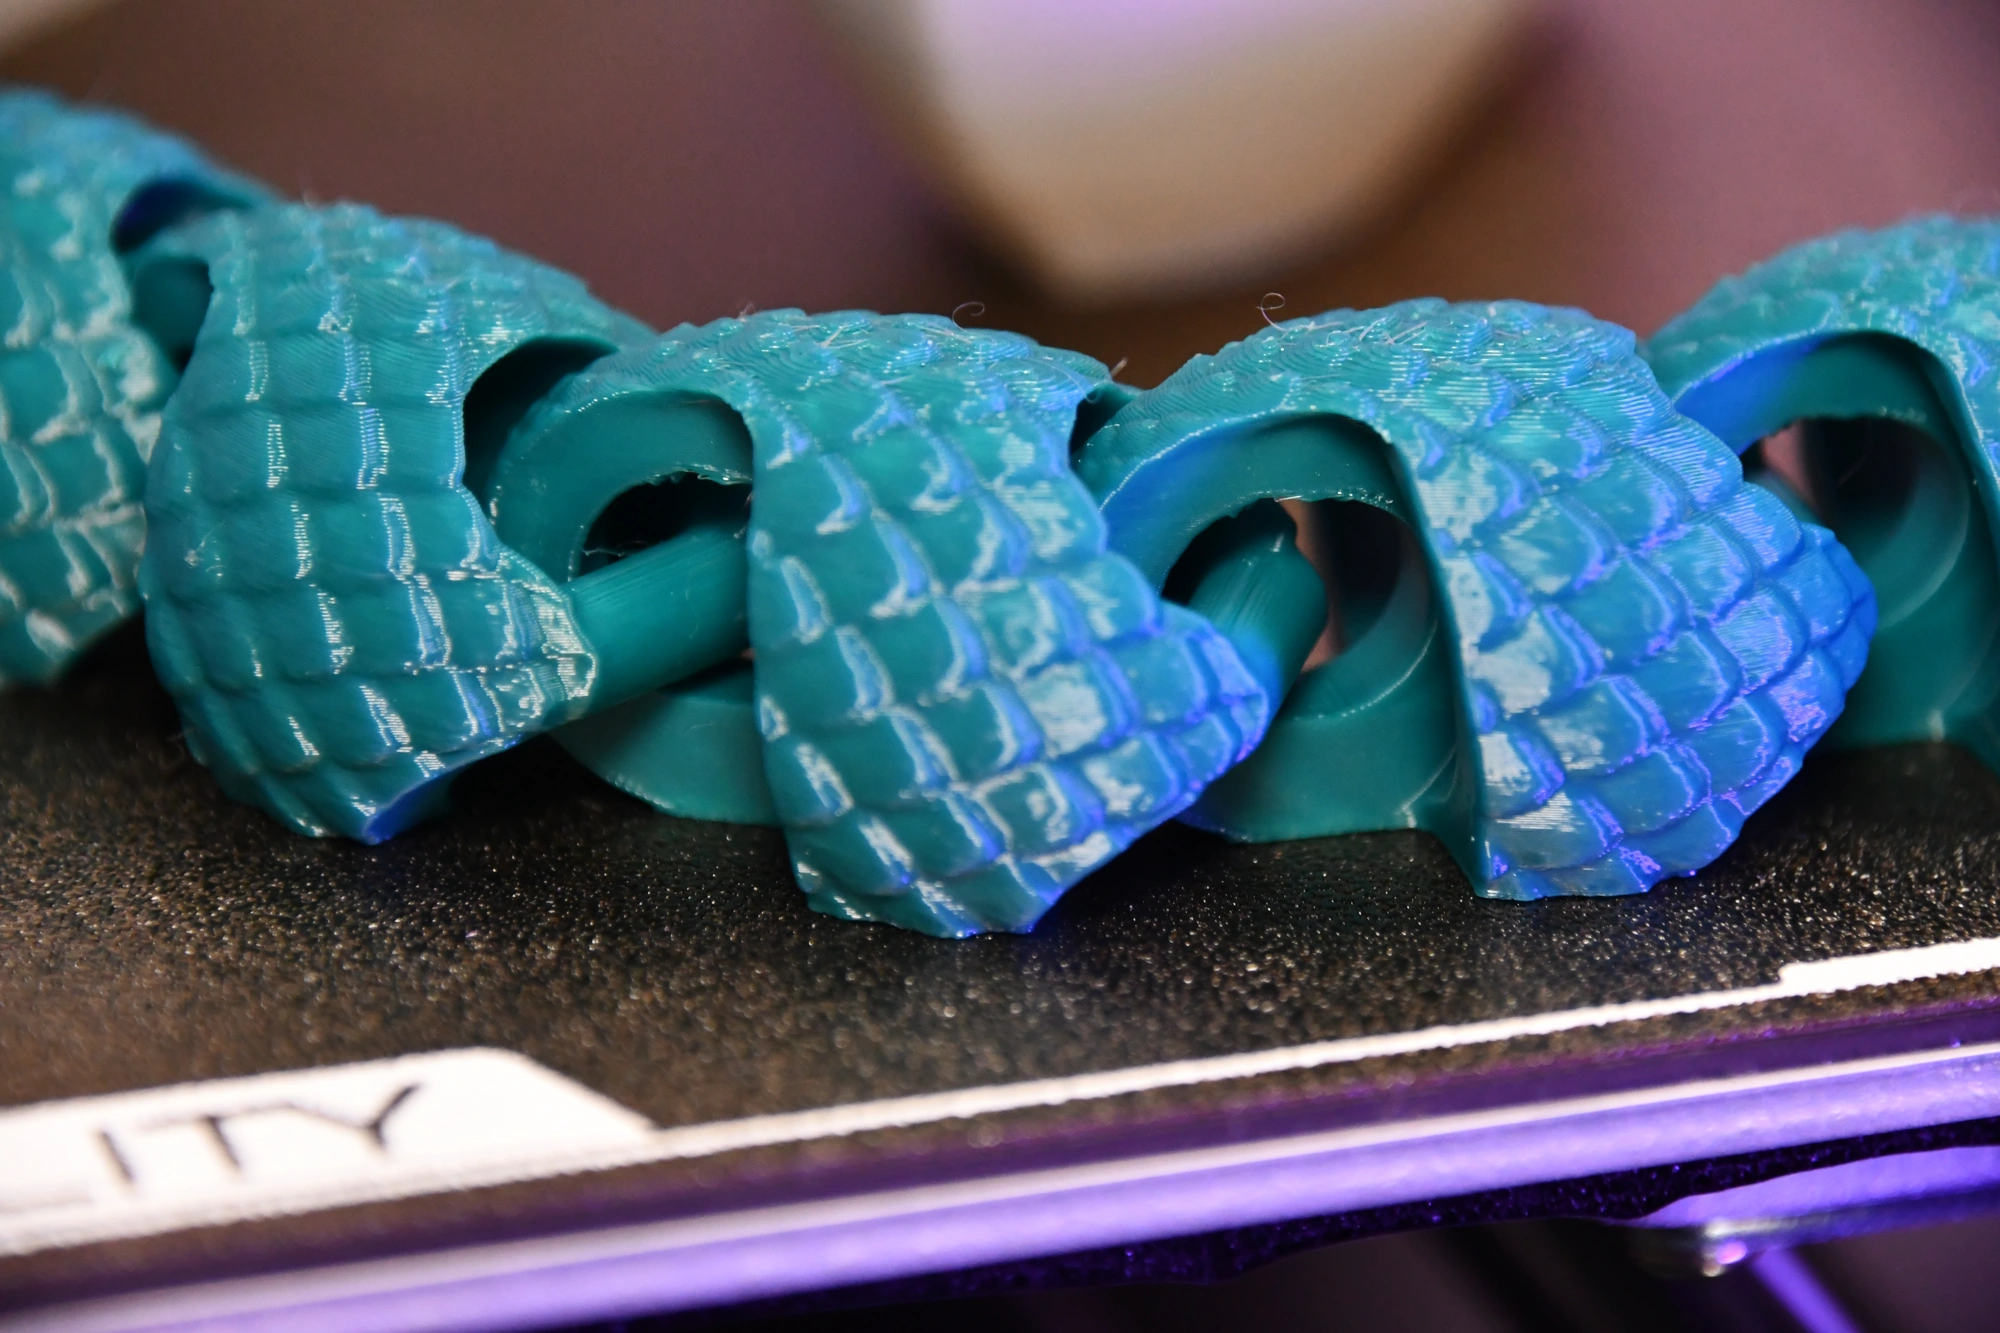

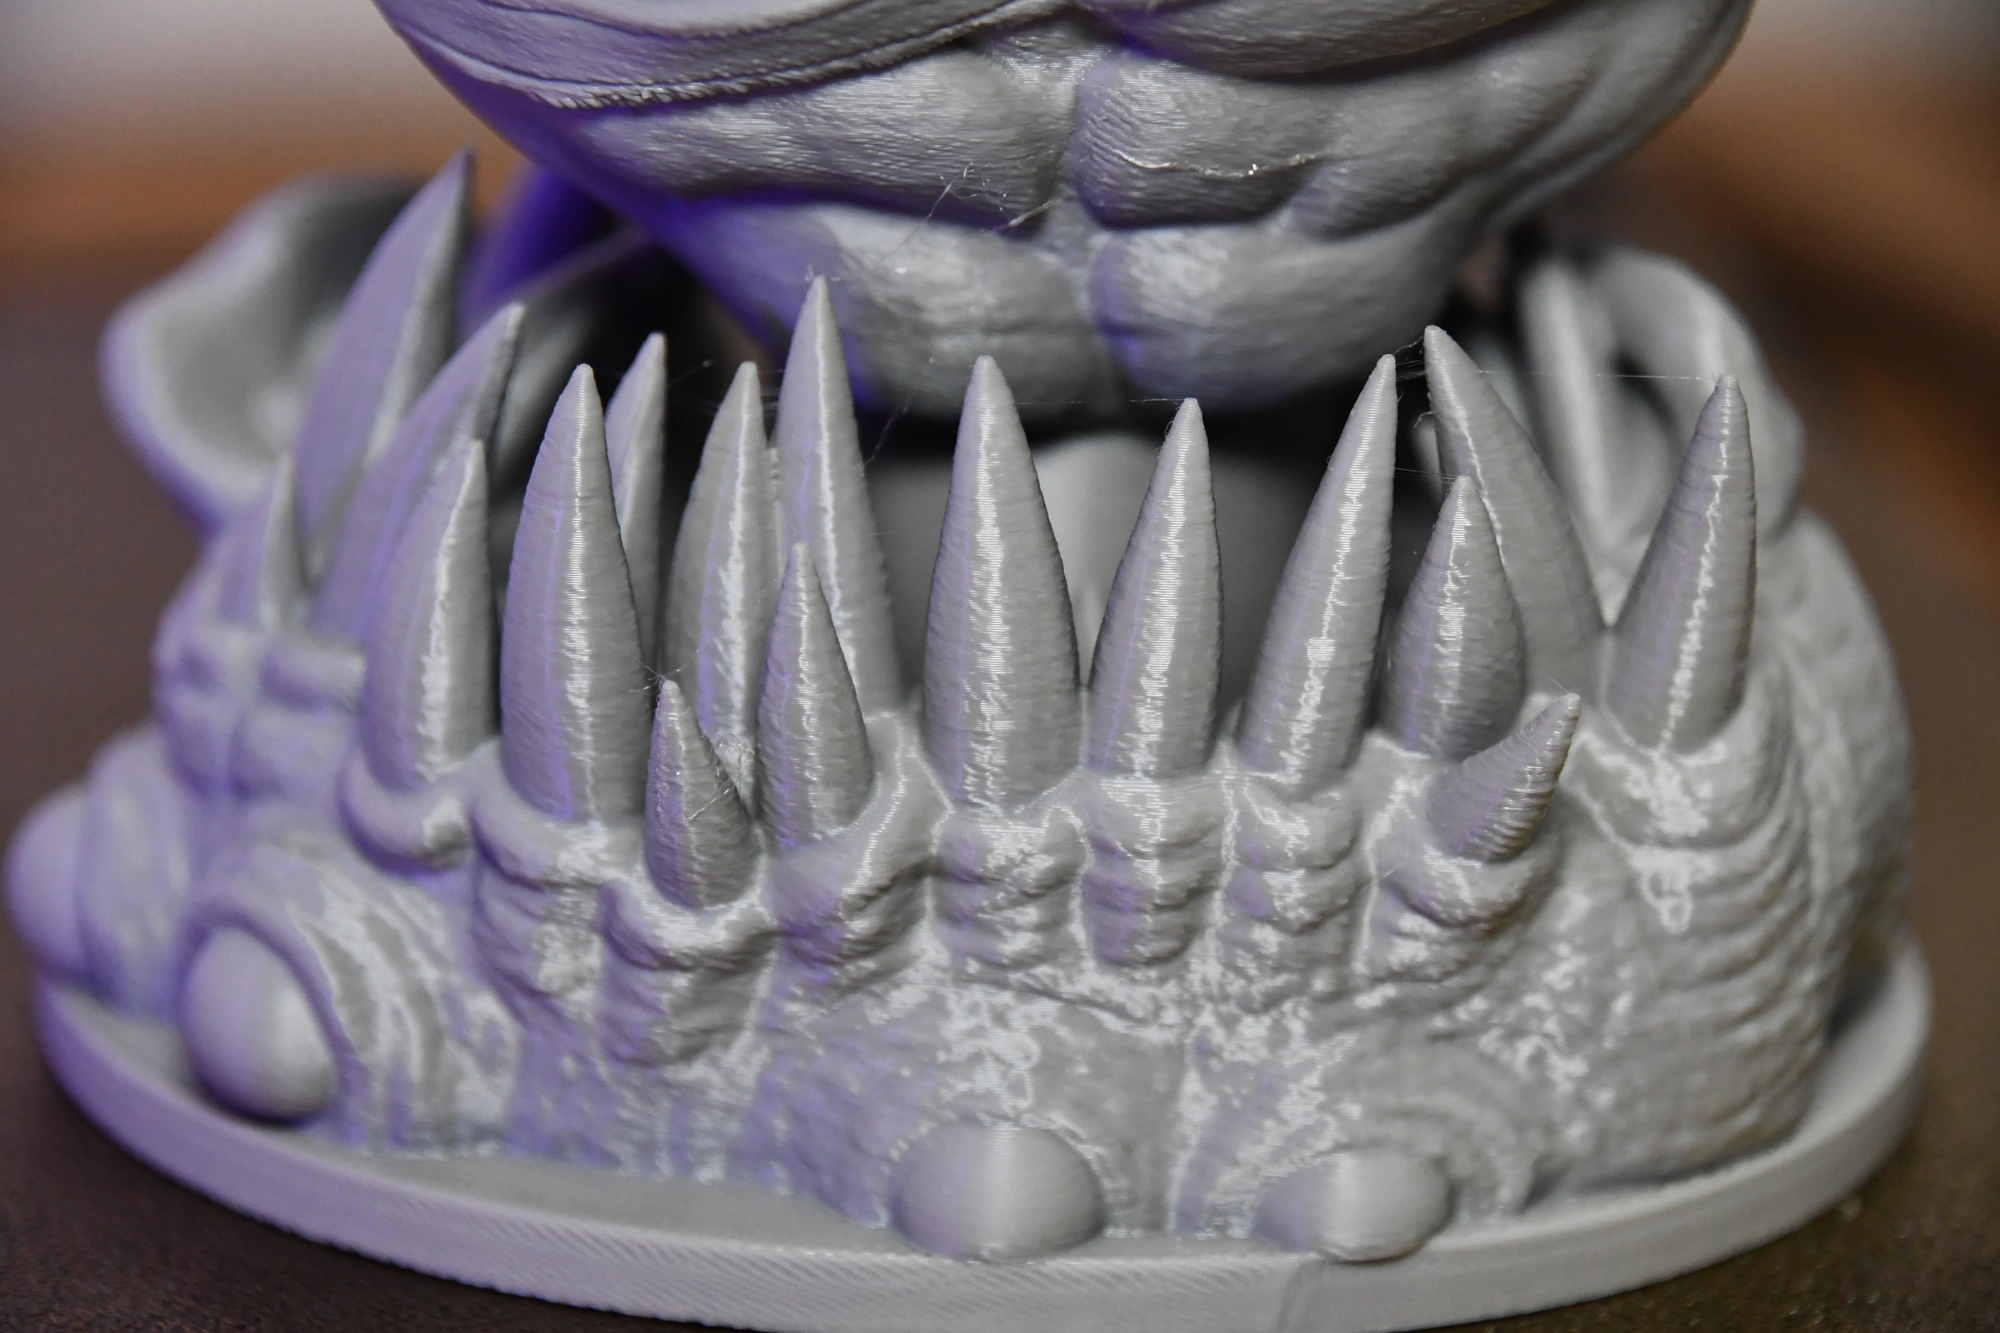
As you can see from the pictures, the print quality is really excellent and even the smallest details are reproduced perfectly. Printing errors such as stringing hardly ever occur after calibration.
I already knew the tri-metal “Unicorn” nozzle from the Creality K1C, but I still wanted to test printing with carbon filament with the Ender-3 V3:
This print test also went flawlessly and demonstrates the high filament compatibility of the Ender-3 V3.
User-Friendliness
The touchscreen and menu are identical to those of the K1 series. However, this is by no means a bad thing, on the contrary. The touchscreen works perfectly and the menu is intuitive.
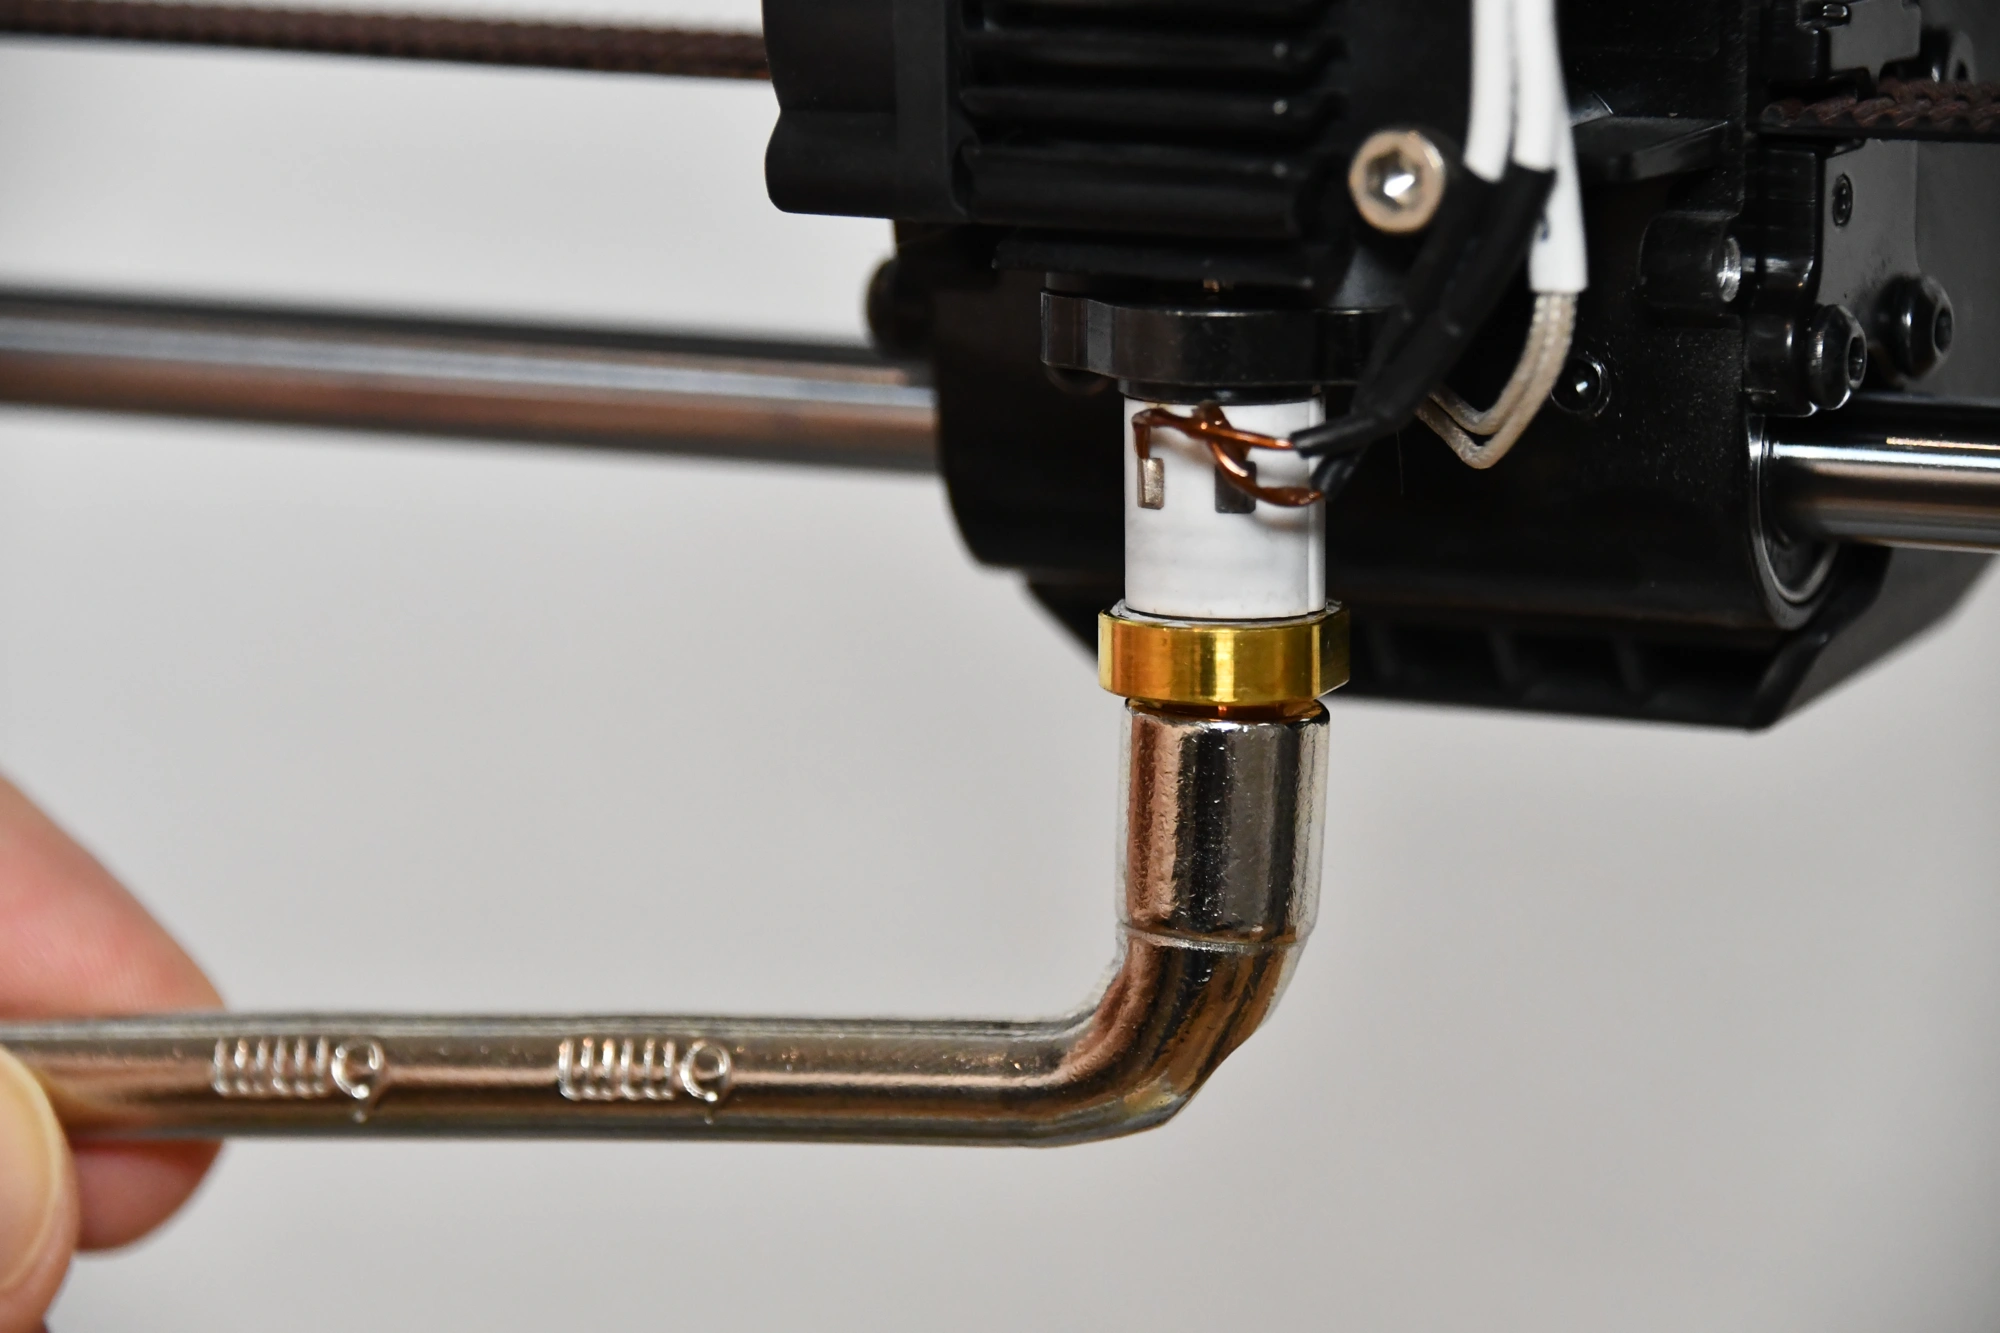
The built-in tri-metal “Unicorn” nozzle is relatively easy to change (although you probably won’t need to do this for a very long time, as this nozzle is very resistant to abrasion).
To remove the nozzle, all you have to do is remove the print head housing, remove the silicone protection and then simply unscrew the nozzle.
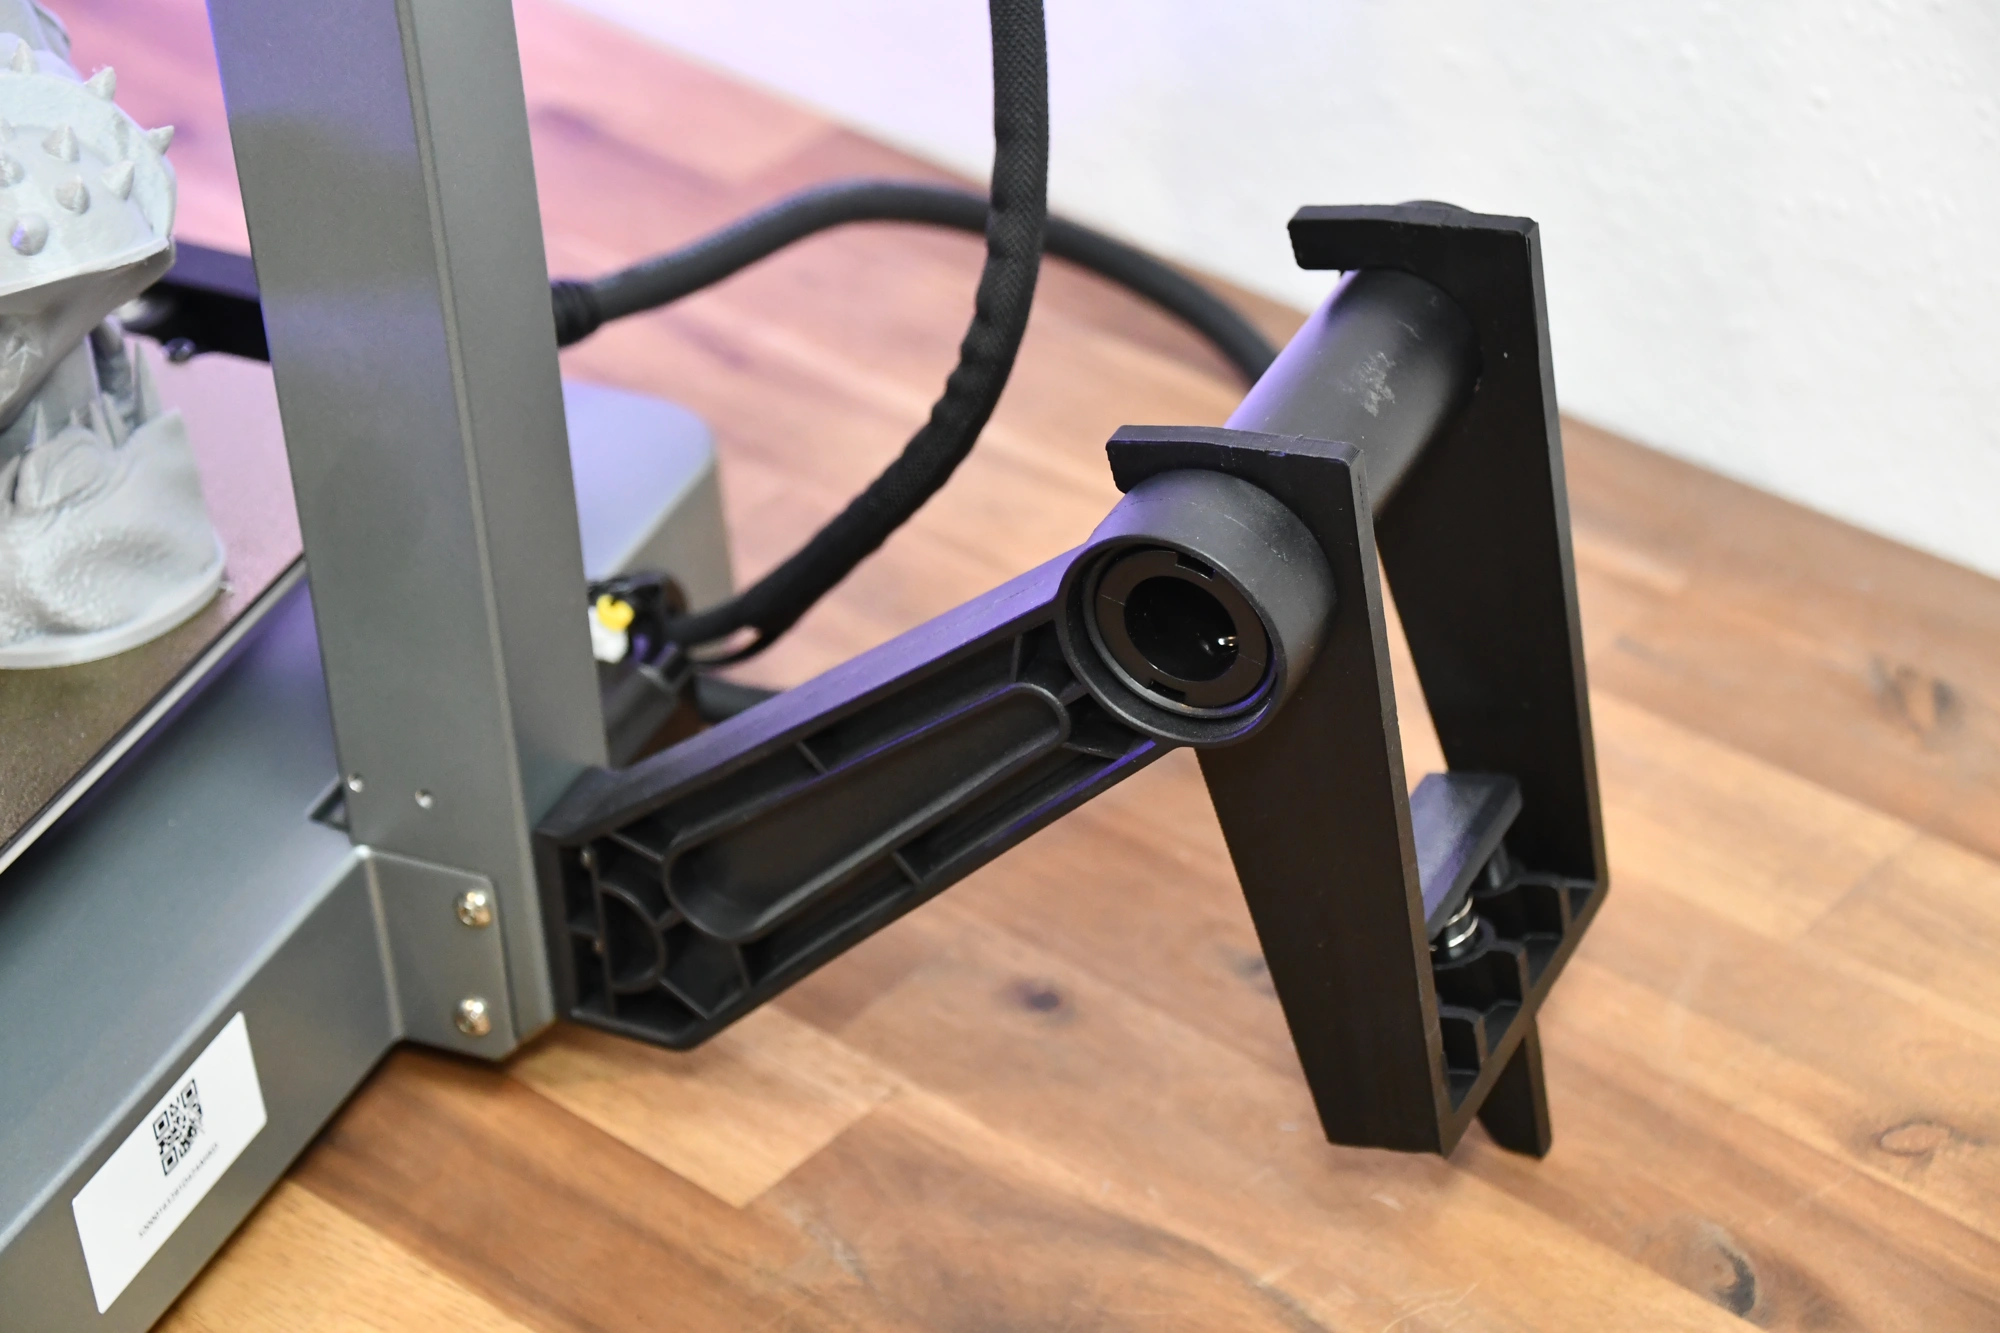
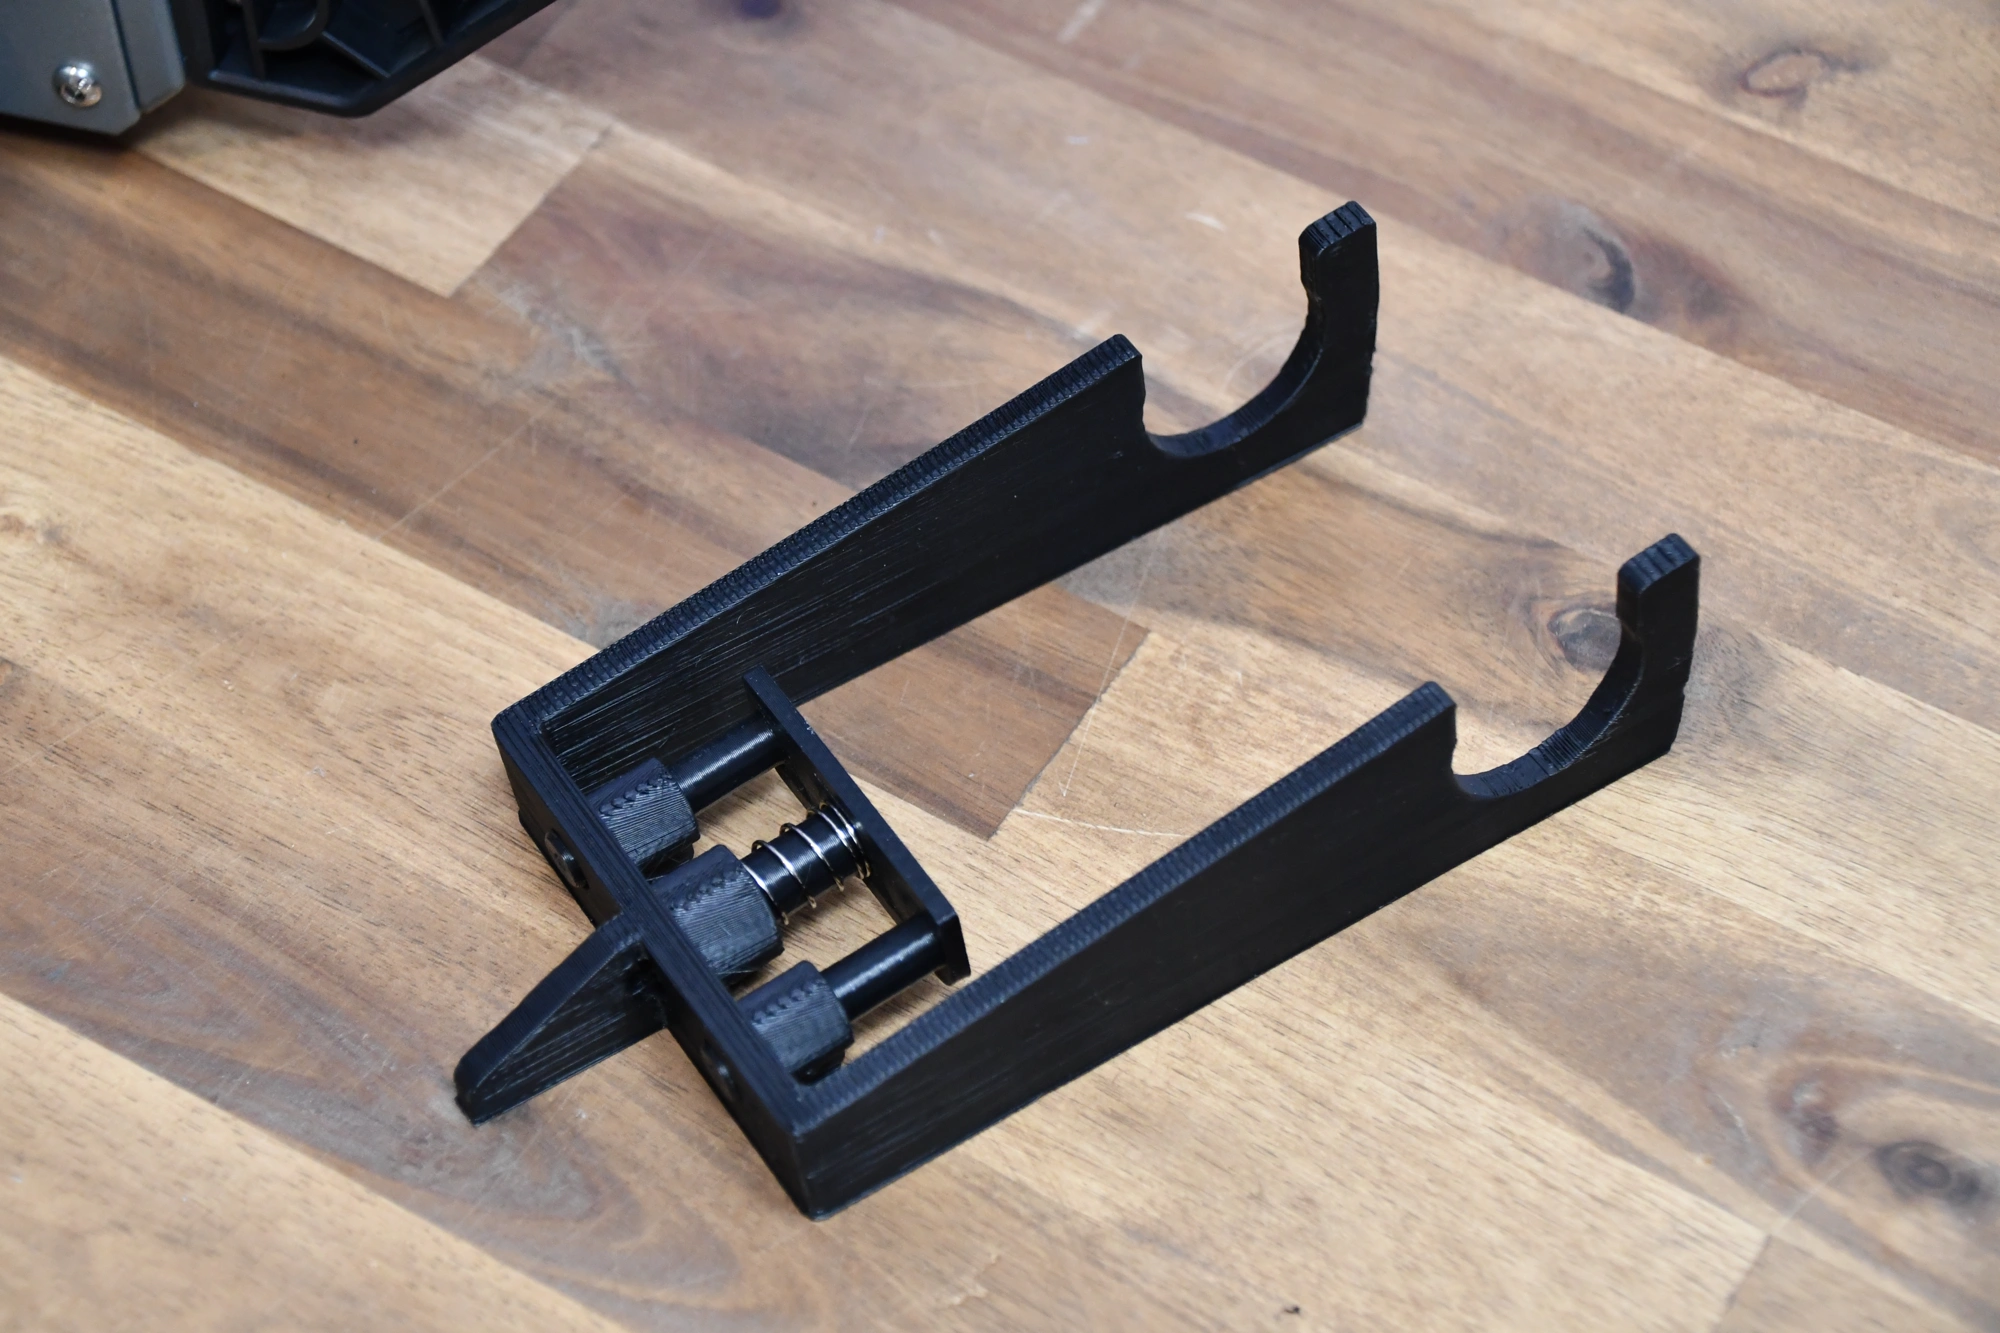
I actually find the filament holder a bit strange, as it doesn’t seem to work without a “crutch”. After you have loaded the filament, you have to attach another device with a built-in spring to the holder. This prevents the filament from getting tangled during the printing process.
To me, this construction looks like a quick emergency solution. This device is also 3D printed, which adds to the impression. But apparently it is effective, as there was not a single error due to tangled filament during my entire test.
The Creality Ender-3 V3 continues the legendary Ender 3 series with a completely new movement system, a CoreXZ system. This makes it extremely fast and stable, with speeds of up to 600 mm/s.
FAQ – Frequently Asked Questions
The print volume of the Ender-3 V3 is 220 × 220 × 250 mm. This allows you to print medium-sized objects in one piece. This size is relatively normal among entry-level 3D printers.
The Ender-3 V3 can also process flexible filaments as it has a direct drive extruder. This minimizes the risk of the filament getting tangled on the way to the hotend.
The Ender-3 V3 levels its print bed completely automatically. You do not have to perform any manual leveling. There are not even any adjusting screws under the print bed. A big plus for beginners.
The Ender-3 V3 can be controlled via WLAN. It can also be operated via the Creality Cloud app.
The Ender-3 V3 is used with Creality Print as a slicer as standard. This software is relatively user-friendly, but does not have as many features as other slicers. Further up in this article, I have linked guides that you can use to operate the Ender-3 V3 with other slicers.
Disclosure: This website is the property of Martin Lütkemeyer and is operated by Martin Lütkemeyer. Martin Lütkemeyer is a member of the Amazon Services LLC and other Affiliate Programs. These are affiliate advertising programs designed to enable websites to earn advertising revenue through advertising and linking to Amazon.com and others. Links marked with * are affiliate links.
