
- Wet Filament: Prevention, Symptoms & Drying - July 18, 2024
- Sovol SV08 – Best PrusaSlicer Settings & Profile - June 26, 2024
- Sovol SV08 – Best Orca Slicer Settings & Profile - June 26, 2024
Disclosure: Links marked with * are Affiliate Links. I earn from qualifying purchases if you decide to make a purchase through these links – at no additional cost for you!
Tackling warping 3D print issues can be straightforward once you understand the underlying causes. Our guide breaks down why warping occurs and shares targeted strategies for prevention.
As you read on, expect to gain insights into material choices, temperature management, and the best practices for consistent, warp-free 3D printing success.
Table of Contents:
Key Takeaways
- 3D print warping is caused by materials contracting as they cool, with factors like filament properties, temperature variations, and bed adhesion playing pivotal roles.
- Preventing warping involves using heated beds to ensure consistent layer temperatures, achieving perfect bed adhesion, and controlling the print environment with enclosed chambers.
- Fine-tuning slicer settings, such as first layer speed, thickness and temperature, cooling speeds, and the use of advanced techniques like rafts, mouse ears and chamfering edges, can significantly reduce the likelihood of warping.
Understanding 3D Print Warping
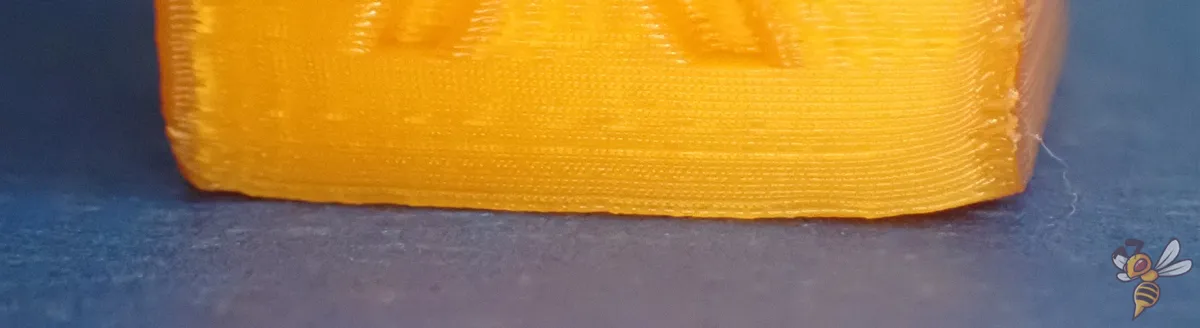
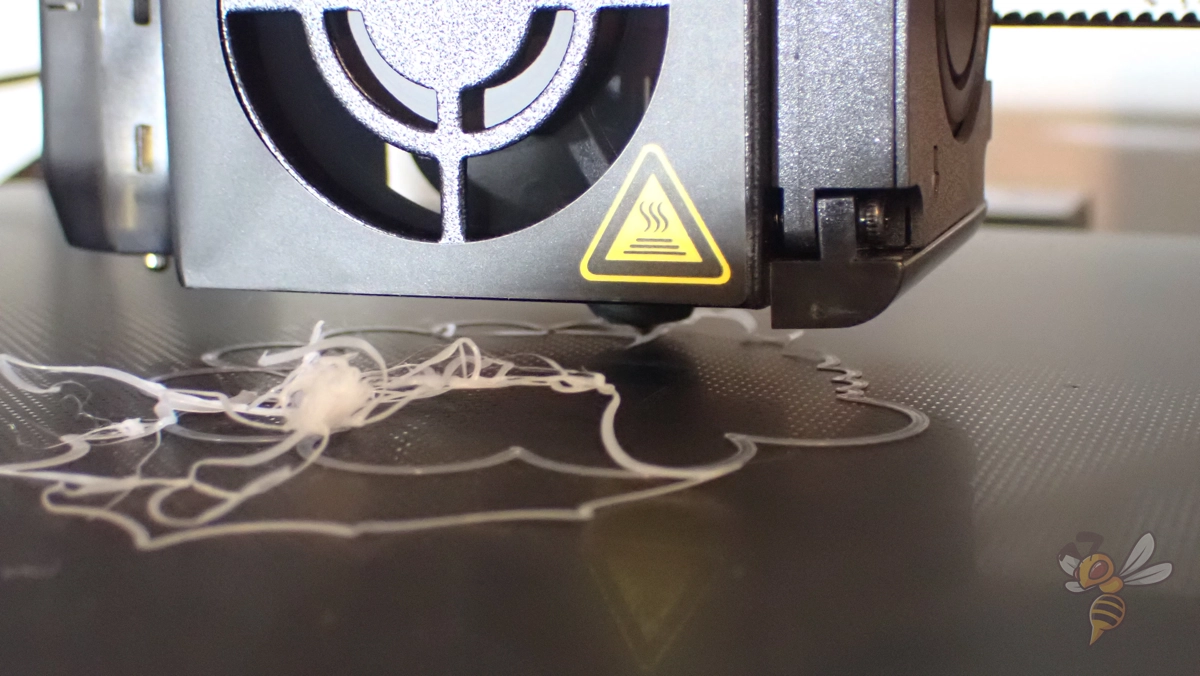
Picture this: You’ve just started a 3D print job. You’ve chosen your design, loaded your filament, and everything seems to be going smoothly. But as you watch your creation begin to take shape, you notice something strange. The bottom layers of your print are beginning to lift from the build plate, starting at the corners and creating an uneven print surface. This, dear reader, is what we call 3D print warping.
Warping is predominantly influenced by the properties of the filament used in the print job. Filaments that shrink more upon cooling, especially from high temperatures, will lead to greater warping. In addition, the differential temperature between a hot layer being extruded on top of a cooler one can lead to contraction and compressive forces within the print, which can exacerbate warping. Furthermore, the physical process of the material expanding and then contracting as it cools can create internal stress, leading to the print bending up from the build plate and causing warping.
Identifying the Culprits Behind Warping
Having explained what 3D print warping is, it’s time to explore its causes. Warping can be traced back to a handful of primary culprits, each playing a unique role in the creation of this issue.
There are several factors that can contribute to 3D print warping:
- Material properties: Certain filaments like ABS and HIPS are especially prone to warping due to their high shrinkage upon cooling.
- Temperature differences: Variations in temperature between the print layers and the cooling environment can lead to internal tension in the substrate, which can cause warping.
- Improper bed adhesion: If the print does not adhere properly to the print bed, it can result in warping.
For a better understanding of these factors, we’ll analyze each one in detail in the upcoming subsections.
Material Matters: High-Temperature Filaments and More
Different materials, due to their unique properties, have varying susceptibilities to warping. This susceptibility is largely influenced by their melting points and rates of cooling.
Take, for instance, polycarbonate (PC) and ABS. PC exhibits a higher shrinkage rate than PLA, and this increased shrinkage contributes to a higher likelihood of warping during cooling. Similarly, ABS has a higher tendency to warp compared to PLA, especially when print bed and nozzle temperatures are not optimally controlled.
The Role of Cooling Settings
Cooling settings and nozzle temperature are critical factors in the warping equation. The cooling process needs to be carefully controlled, especially for the first few layers of the print.
For example, reducing the fan speed for the first layer allows the plastic to remain molten longer, thereby aiding in adhesion to the build plate, decreasing the risk of warping. Additionally, slowing down the print speed and carefully controlling cooling for the initial layers leads to stronger adhesion and reduces the tendency for warping or curling.
Bed Temperature and Adhesion Dynamics
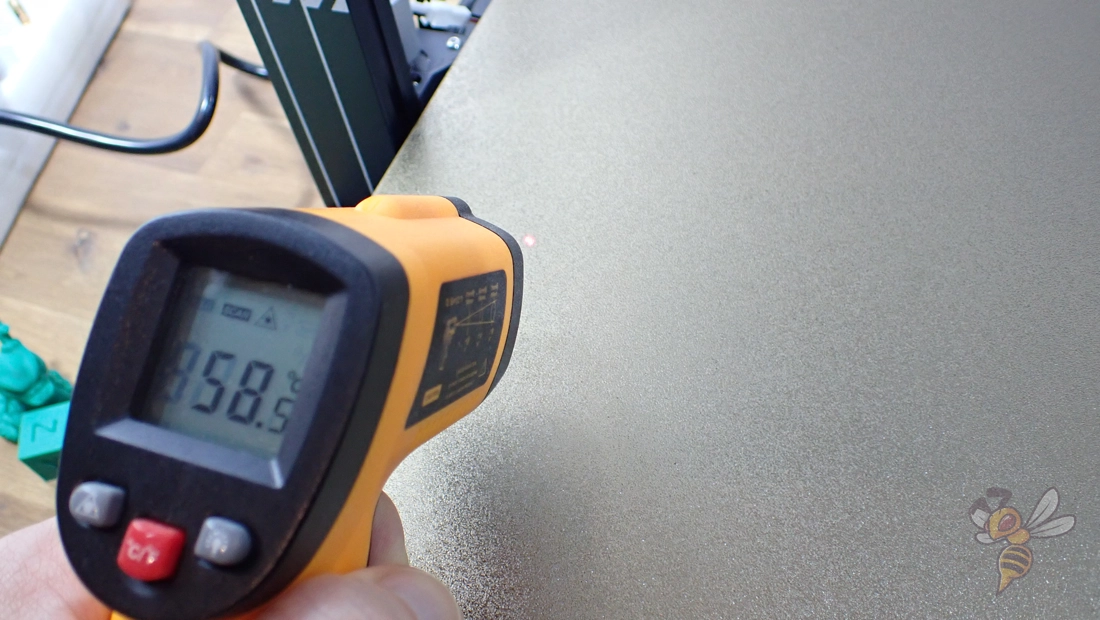
Getting the bed temperature right is crucial for preventing warping. A heated print bed is a key component in maintaining optimal bed temperature to prevent warping in 3D printing.
Preheating the print bed and waiting for the temperature to stabilize before starting a print can greatly reduce the likelihood of warping.
Additionally, adjusting the print bed temperature to be just below the filament’s softening point helps in maintaining proper adhesion and minimizing warping. Essentially, you want the bed temperature high enough to provide good adhesion and low enough to avoid an elephant foot.
Optimizing Your Printer Setup to Prevent Warping
Having identified the causes of warping, we can now explore ways to prevent it. Optimizing your printer setup is a vital step in this process.
Regulating the temperature of the material being printed is important, which is why a heated build plate can help prevent warping by controlling cooling and contraction. Furthermore, a heated enclosure helps maintain a stable temperature around the print, significantly reducing the occurrence of warping by minimizing shrinking due to rapid cooling. However, there’s more. We’ll examine these elements in more depth in the subsequent subsections.
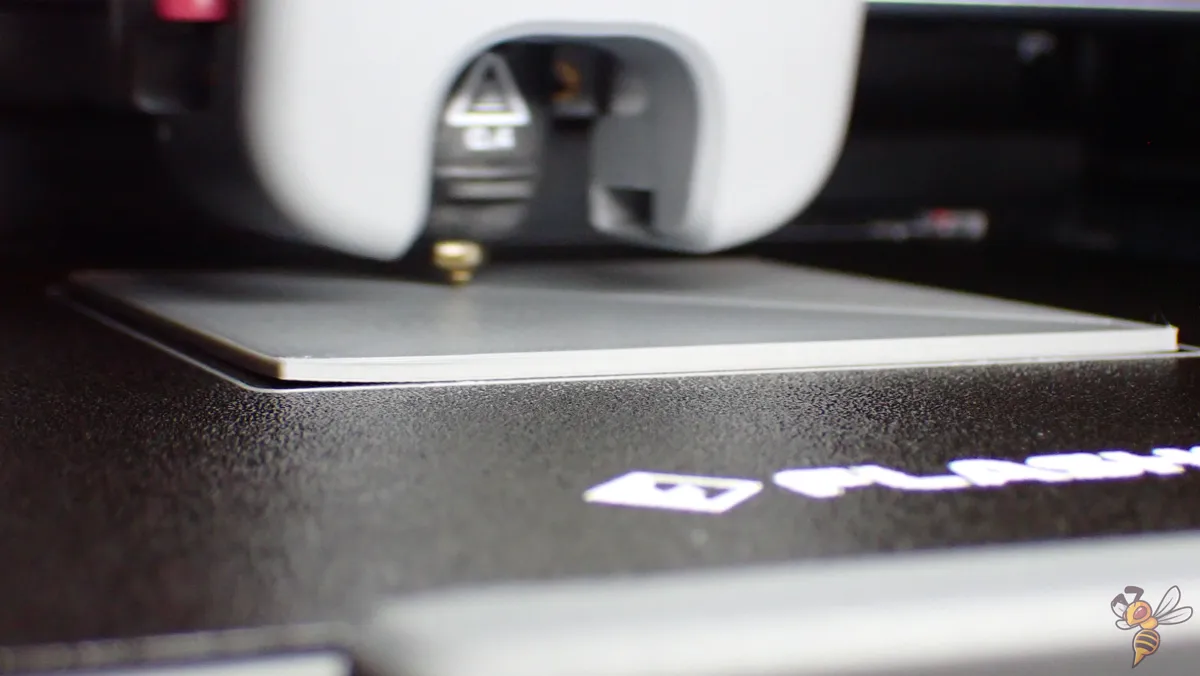
Heated Bed: Your First Defense Against Warping
A heated bed is a standard feature in modern 3D printers that enhances filament adhesion to the print surface. It offers the following benefits:
- Reduces warping and other adhesion issues
- Keeps the bottom layers of the print at a consistent temperature to prevent rapid cooling and excessive contraction of the filament
- Provides better adhesion
- Allows for printing with high-temperature materials like ABS and PETG by maintaining an appropriate bed temperature.
- Minimizes the development of internal stresses
Achieving Perfect Bed Adhesion
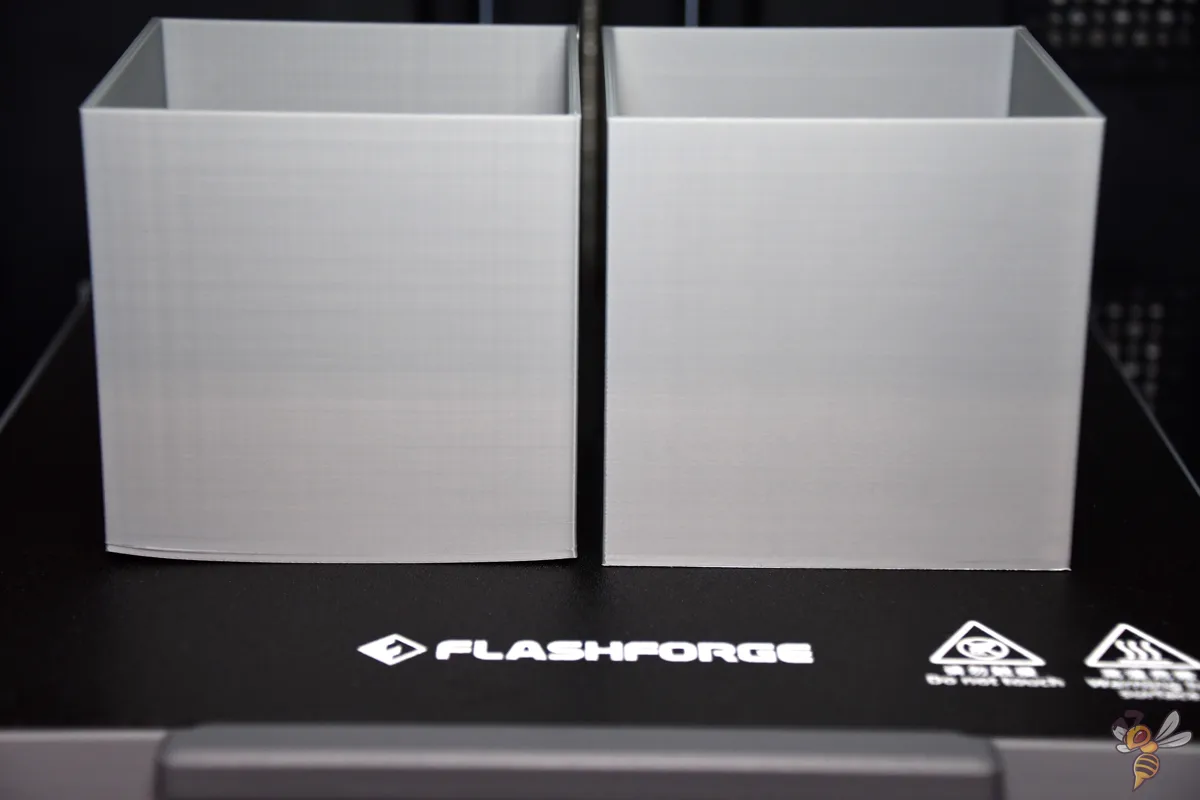
Optimizing bed adhesion is a crucial step in preventing warping. Achieving strong adhesion between your 3D print and the print bed is crucial for a warp-free printed object.
Here are the steps to enhance print bed adhesion (read the full guide here):
- Clean the Print Bed: Ensure that the print bed is free of dust, grease, and residue. A clean bed means the filament adheres to the bed itself, not to any foreign substances that could undermine the print’s stability.
- Re-level the Print Bed: A consistently level bed is critical for maintaining the correct distance between the nozzle and the print bed across the entire printing surface.
- Reduce Nozzle Distance (z-offset): Decreasing the gap between the nozzle and the print bed allows the filament to be pressed more firmly onto the bed, enhancing its bond.
- Slow Down First Layer Printing Speed: By printing the first layer more slowly, the filament has more time to remain hot and liquid, which improves its bonding with the print bed. Try 5-10 mm/s for the first layer.
- Deactivate First Layer Cooling: Turning off cooling fans for the first layer prevents premature cooling of the filament, allowing for better adhesion.
- Increase Print Bed Temperature: A warmer bed keeps the filament malleable for a longer period, promoting better adhesion.
- Thicker First Layer: Just like slowing down the print speed, a thicker first layer keeps the filament hot for a longer duration, aiding in adhesion.
- Apply Adhesive: Utilize adhesives such as hairspray, glue sticks, Blue Tape, or specialized 3D printing adhesives to secure the filament to the bed.
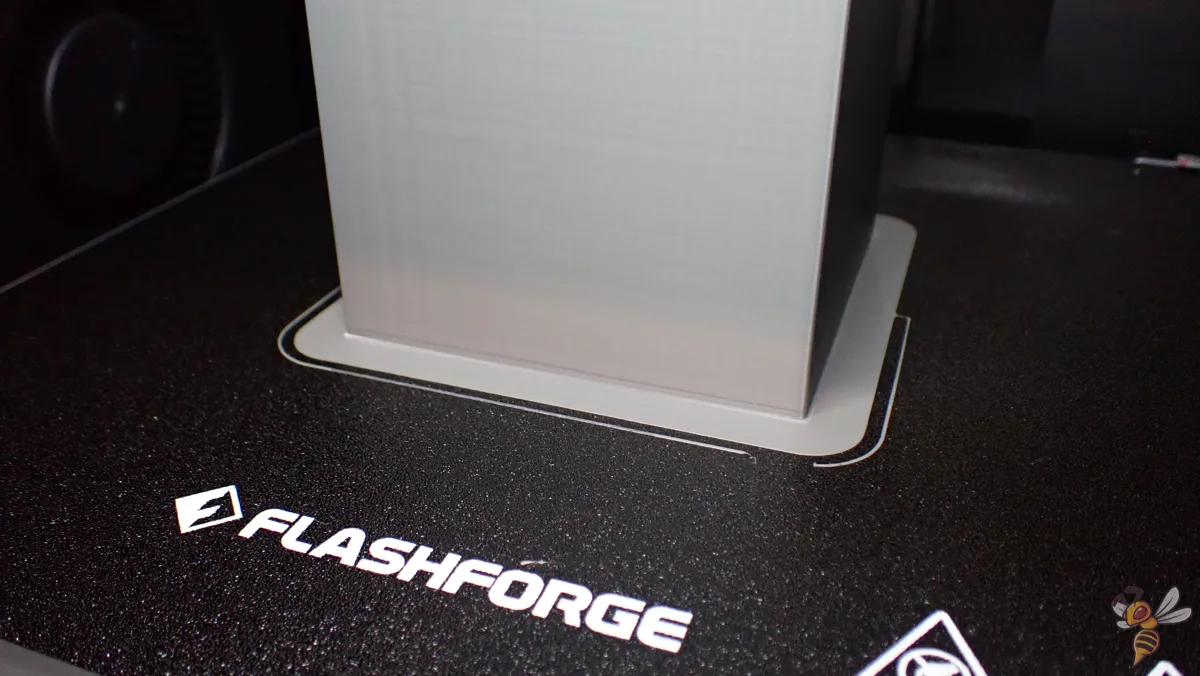
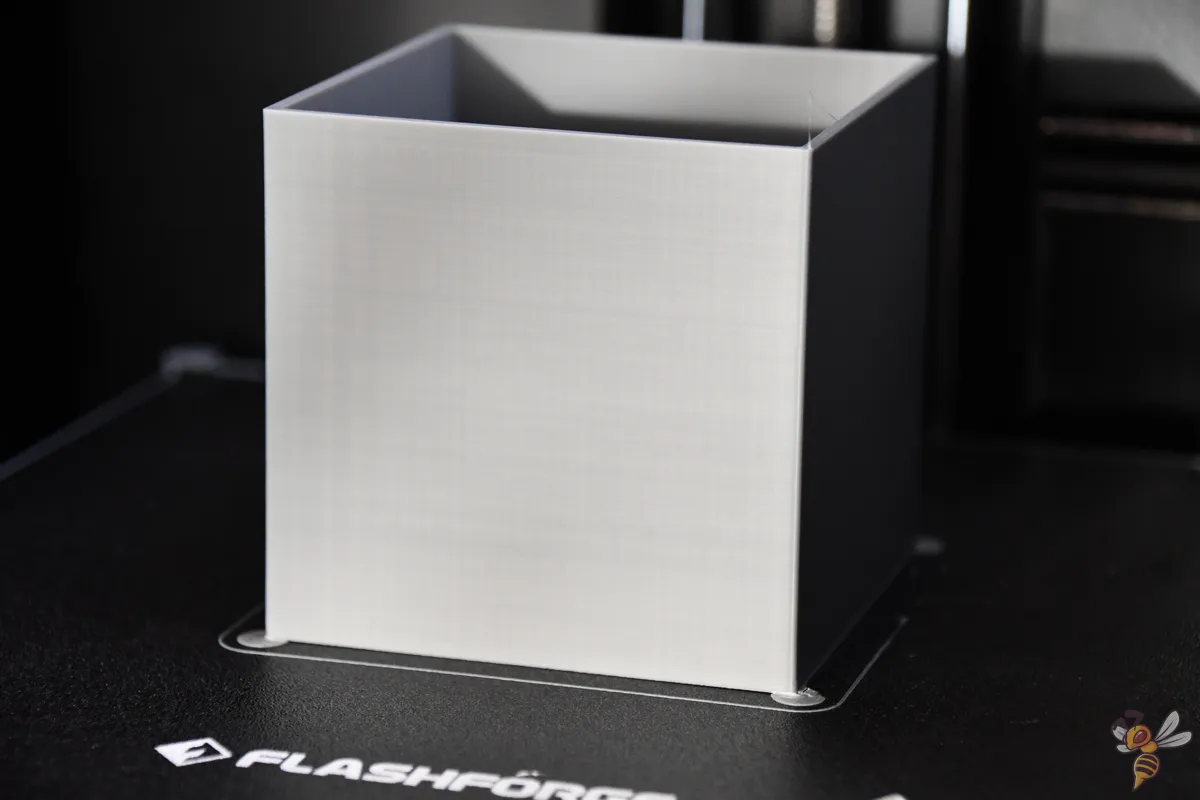
- Use a Brim, Mouse Ears or a Raft: These features increase the surface area of the first layer, enhancing its grip on the bed. However, they can sometimes be challenging to remove post-printing.
- Replace the Print Bed: If all else fails, consider replacing your print bed with a high-quality option like a PEI print bed, known for its excellent adhesion properties for most filaments.
The Benefit of Enclosed Print Chambers
Enclosed print chambers offer several benefits when it comes to combatting warping. They ensure the temperature is contained and consistent within the enclosed print chamber, allowing for uniform and gradual cooling of the print.
A stable temperature is crucial for printing with materials that have high glass transition temperatures, as it prevents the rapid shrinkage and warping that occur during cooling. Additionally, the use of heaters within enclosed chambers can provide a more controlled environment, which is beneficial for materials such as ABS that are prone to warping when exposed to thermal contraction.
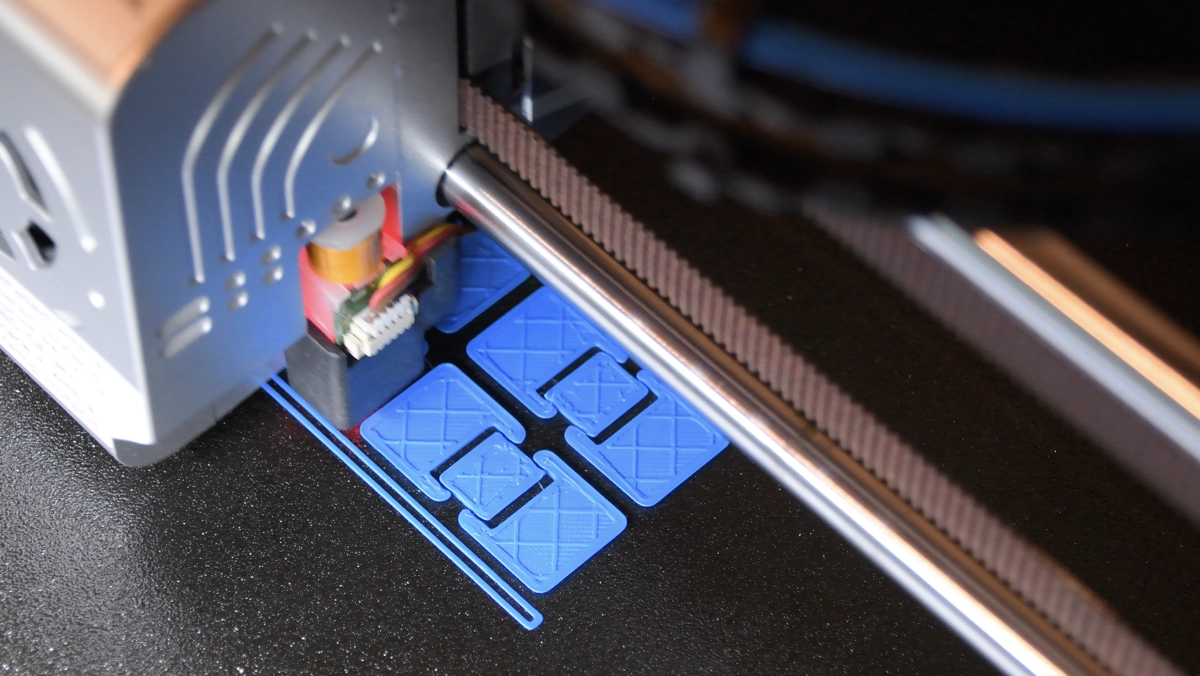
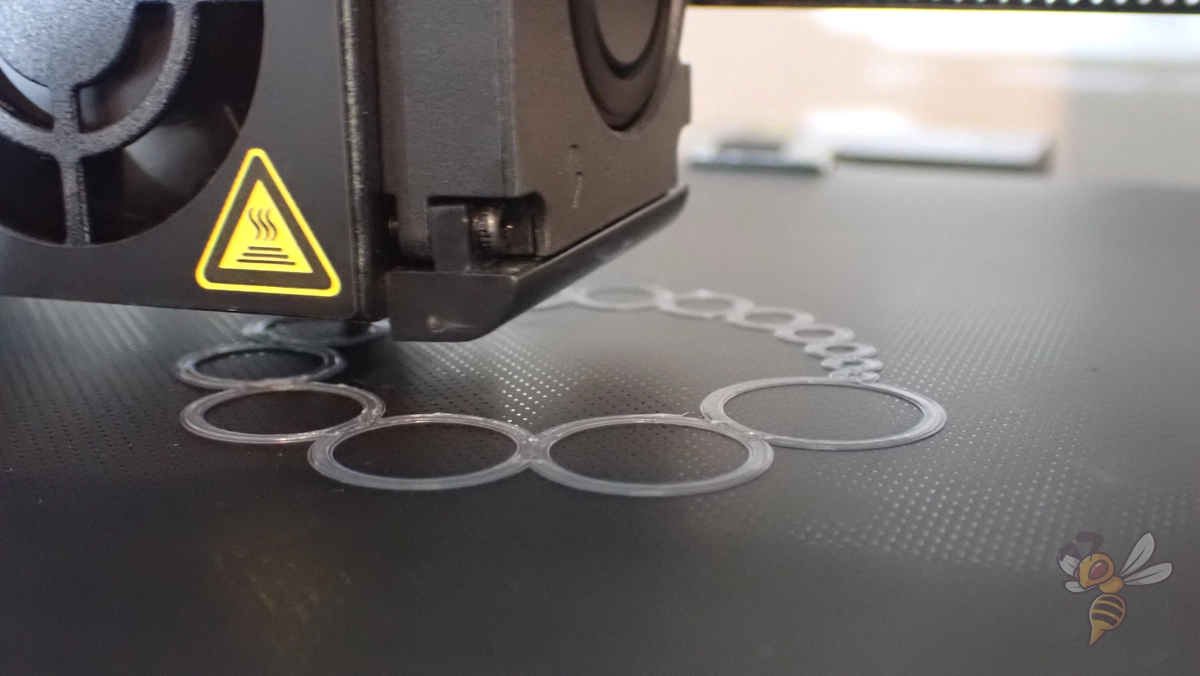
Mouse Ears and Brims for Warp-Free Prints
Slicer settings adjustment can be a game-changer in the fight against warping, and this is where mouse ears and brims come into play.
Mouse ears are small, circular discs added to the corners of a print, resembling the ears of a mouse, hence the name. They increase the surface area of the model’s corners, which are often the first to lift and warp. By adding mouse ears, you distribute the pulling forces caused by shrinkage more evenly, reducing the likelihood of warping.
Brims, on the other hand, are thin, flat extensions that surround the base of your print, much like the brim of a hat. They work by enlarging the footprint of your object on the print bed, which enhances adhesion and counters the upward forces that cause warping. Brims are especially useful for objects with a small base or those with high-risk geometries.
Both mouse ears and brims are easily designed within slicer software and can be removed after printing. While they do use extra material, the trade-off is a smoother, more reliable printing process and a greater chance of warp-free results. By incorporating these slicer-generated structures, you’re taking a proactive approach to minimize the stresses that lead to warping, ultimately leading to cleaner, more accurate prints.
Repairing Warped Prints: Can It Be Done?
So, what happens if your print has already warped? Is there any hope for salvaging it?
It can be extremely challenging to fix a warped 3D print, especially for objects that require precise and accurate dimensions. In many cases, it is nearly impossible to correct the warping.
However, for items with less critical tolerances, using a heat gun to reheat and reshape the part is a possible fix for warping.
Frequently Asked Questions
How do I stop PLA from warping?
To prevent warping when printing with PLA, you can apply the following techniques:
- Heated Bed Usage: Keeping the print bed at a consistent, moderate temperature of around 60 °C helps maintain the shape of PLA during the initial printing stages.
- Optimize First Layer Settings: Reduce the print speed for the first layer to around 5-10 mm/s to enhance the PLA’s adhesion to the print bed, preventing it from cooling and warping too quickly.
- Adjust Z-Offset: Fine-tune the distance between the nozzle and the print bed to ensure the first layer sticks firmly without scraping or failing to adhere.
- Use Adhesives: For additional grip, apply a thin layer of adhesive to the print bed. Suitable options include blue painter’s tape, a glue stick, or a light misting of hairspray.
Employing these strategies can greatly diminish the risk of warping in PLA prints.
Why are my 3D prints warping?
Your 3D prints are warping due to thermal deformation, which occurs when plastics expand during heating and shrink during cooling. This is common with FDM 3D printing using thermoplastics.
Are some materials more prone to warping than others?
Yes, materials with higher melting points and cooling rates, such as ABS and HIPS, are more prone to warping.
Disclosure: This website is the property of Martin Lütkemeyer and is operated by Martin Lütkemeyer. Martin Lütkemeyer is a member of the Amazon Services LLC and other Affiliate Programs. These are affiliate advertising programs designed to enable websites to earn advertising revenue through advertising and linking to Amazon.com and others. Links marked with * are affiliate links.
