
- Wet Filament: Prevention, Symptoms & Drying - July 18, 2024
- Sovol SV08 – Best PrusaSlicer Settings & Profile - June 26, 2024
- Sovol SV08 – Best Orca Slicer Settings & Profile - June 26, 2024
Disclosure: Links marked with * are Affiliate Links. I earn from qualifying purchases if you decide to make a purchase through these links – at no additional cost for you!
3D printing with PLA filament can be difficult in rare cases due to poor layer adhesion and delamination. This can cause prints to look rough, and in some cases, the print may even fail altogether.
There are a few things you can do to improve layer adhesion and reduce the likelihood of delamination.
To improve the layer adhesion of PLA filament, the printing temperature must be high enough and the printing speed must not be too fast. In general, the layer adhesion always improves when the filament cools down more slowly in one way or another.
In this article, you will learn the best methods to improve layer adhesion in PLA and avoid delamination.
Table of Contents:
- 1 For PLA You Do NOT Need a 3D Printer Enclosure
- 2 Increase the Printing Temperature
- 3 Clean the Nozzle
- 4 Decrease the Printing Speed
- 5 Reduce the Layer Thickness
- 6 Increase the Line Width
- 7 Increase the Flow Rate
- 8 Use Dry Filament
- 9 Reduce Infill Density
- 10 Increase the Print Bed Temperature
- 11 Decrease or Disable Cooling for the First Layers
- 12 Use Adhesive for the Print Bed
For PLA You Do NOT Need a 3D Printer Enclosure
PLA filament does not require a 3D printer enclosure to improve layer adhesion. In some cases, a printer enclosure can actually worsen layer adhesion and cause delamination.
For certain filaments like ABS, a 3D printer housing is important to keep the ambient temperature homogeneous. PLA, however, copes very well with normal room temperature.
Increase the Printing Temperature
To achieve good layer adhesion and avoid delamination, the PLA printing temperature should be around 200 °C. The temperature varies depending on the manufacturer and must be adjusted for each filament-printer combination.
When it comes to PLA filament layer adhesion, increasing the print temperature is often the key to success. Therefore, it is important to find the right temperature for your printer and filament combination. Increasing the printing temperature by 5 °C step by step usually solves most adhesion problems.
The higher the printing temperature, the hotter the filament that is printed on the underlying surface. The hotter it is, the longer it takes to cool down.
The slower the filament cools, the longer it has time to fuse with the underlying surface. If it cools too quickly, poor adhesion will result. This affects both the adhesion to the print bed and the adhesion of the individual layers to each other.
Be aware, however, that an incorrect temperature can trigger various printing errors:
- If the temperature is too low, under-extrusion and poor adhesion to the print bed may occur.
- If the temperature is too high, other printing errors may also occur, such as blobs, stringing or even complete failure of the print.
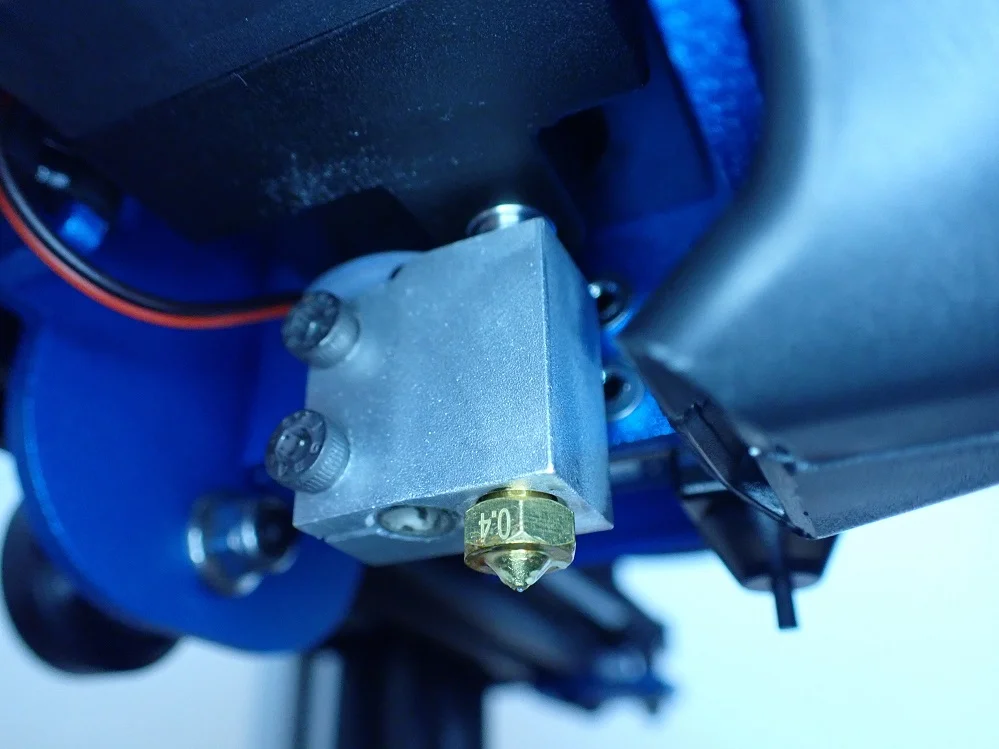
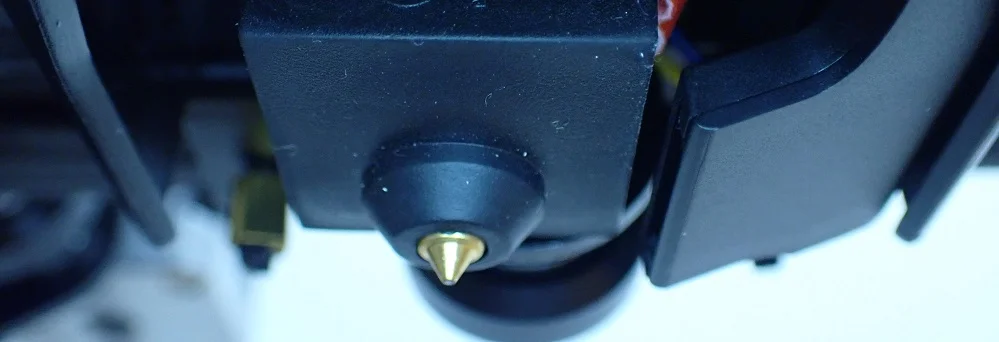
Clean the Nozzle
The nozzle of a 3D printer can become clogged with filament, dust and other contaminants over time. This can cause the filament to extrude inaccurately, resulting in poor layer adhesion or delamination.
To ensure the best possible print quality, it is important to clean the nozzle regularly. This can be done with a simple pipe cleaner or brush. Be sure to remove any filament buildup from the nozzle, as this can lead to different printing problems.
When it comes to 3D printers, one of the most important parts of the machine is the nozzle. This is the part of the printer that applies the ink or plastic to the build platform. Over time, the nozzles can become clogged with debris, making it difficult for the printer to apply a smooth layer of plastic. Therefore, it is important to keep the nozzles clean to ensure high print quality.
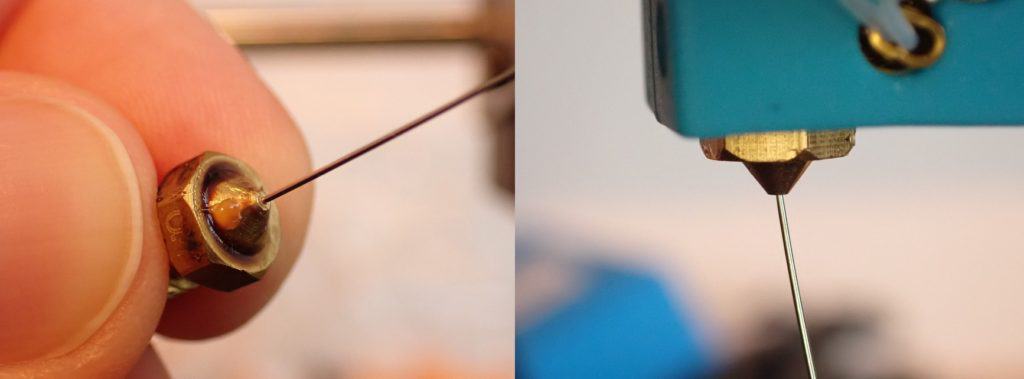
Fortunately, it is relatively easy to clean the nozzles of a 3D printer. One popular method is to use a piece of bent wire to carefully scrape off the accumulated material. Another option is to use a solvent such as alcohol or acetone to loosen stubborn deposits.
Here is a short list about the most important methods to clean a 3D printer nozzle (the order determines the degree of contamination):
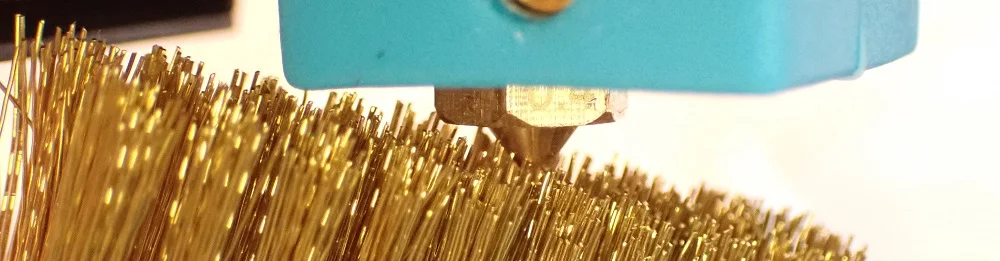
- Wiping with a cloth at the melting temperature of the filament (should be done regularly before printing).
- Using a special cleaning kit for 3D printer nozzles*. These sets usually consist of a fine needle and a wire brush.
- Use cleaning filament* (best on a regular basis)
Decrease the Printing Speed
Another way to improve layer adhesion and reduce the likelihood of delamination is to slow down the printing speed. This gives the filament more time to fuse with the underlying surface.
With PLA filament, it is generally believed that the print speed should be lower to increase the adhesion of the layers and prevent delamination. The logic behind this is that if the print speed is too high, the layers will not have enough time to properly adhere to each other and the end result will be a weak and flimsy print. By slowing down the print speed, you give the PLA filament more time to fuse together, resulting in a stronger and more durable final product. So if you want to achieve better layer adhesion and prevent delamination, you should play it safe and choose a lower print speed.
In general, a print speed of 30-60 mm/s works best for PLA filament. If you have problems with the layer adhesion of PLA filament, you should try to reduce the printing speed in small steps of 5 mm/s. Afterwards, check the result and whether this solution has brought success or you need to optimize something further.
Reduce the Layer Thickness
Printing with a thinner layer thickness not only increases the overall quality of the print, thinner layers also increase the adhesion between the layers. The surface between the individual filament strands becomes more oval, which increases the surface area of the individual layers among each other.
Delamination occurs when the layers of the print separate from each other and is usually caused by poor layer adhesion. One way to improve layer adhesion and prevent delamination is to use a thinner layer thickness. When you decrease the film thickness, you increase the surface area that is in contact with the next layer. This improves adhesion between layers and prevents delamination.
A good starting point is to reduce the film thickness by 25-50%. If you still have problems with delamination, you can try to reduce the layer thickness even further. However, make sure that the film thickness is between 25% and 75% of the nozzle diameter. If you go below 25% or above 75%, the print quality will deteriorate.
However, with smaller layer thicknesses, two different influences are at play that change the layer adhesion. One is the effect of the larger surface area between layers mentioned above, but a thinner layer cools faster than a thicker one. Apparently, the former phenomenon prevails, because thinner coatings lead to better adhesion and can prevent delamination.
Increase the Line Width
A larger line width results in higher layer adhesion, which helps to hold the layers together. This is because the surface area between the individual layers becomes larger and the individual filament strands become more oval, which further increases the contact area. This improves layer adhesion and reduces the likelihood of delamination.
In 3D printing, there are a few things you can do to improve the overall quality of your prints and reduce the likelihood of defects like poor layer adhesion and delamination. One of these is to increase the line width. This means that each filament strand is thicker, which in turn leads to a stronger bond between each layer.
With a 0.4 mm Nozzle, a line width of 0.4 mm is a good start, but you can experiment with different values to find where you get the best results. A good starting point is a line width that is between 100% and 120% of the nozzle diameter. If you still have problems with layer adhesion, you can try increasing the line width up to 200% of the nozzle diameter.
Another advantage of wider filament strands is their larger volume. This means that the filament cools more slowly, which helps to prevent deformation and ensure good layer adhesion.
Increase the Flow Rate
One way to improve layer adhesion is to increase the flow rate. When more filament is extruded from the nozzle per unit time, the lines become thicker and cool down more slowly. This leads to better layer adhesion.
If you want to improve layer adhesion in your 3D print, one of the things you can do is increase the flow speed. This increases the line width, which in turn helps the layers adhere to each other better. Of course, you’ll have to experiment a bit to find the right balance – too much flow will result in a messy print, but too little and the layers won’t adhere properly. But once you find the right spot, you can create high-quality prints with ease. So if you’re having trouble with your 3D prints, it’s definitely worth trying to increase the flow rate.
The default flow rate for 3D printing is 100%, but sometimes you may want to increase the flow rate to 110% to improve layer adhesion. It is important to calibrate the flow rate accurately so that the line width you set actually prints. If you don’t calibrate accurately, the line width may be too small or too large. Calibrating the flow rate is relatively easy and only takes a few minutes. Once you have calibrated the flow rate, you can be sure that your 3D printer will produce the desired line widths.
It is best to calibrate the flow rate first and then try the other solutions in this article. A flow rate that is too high can lead to unsightly printing errors.
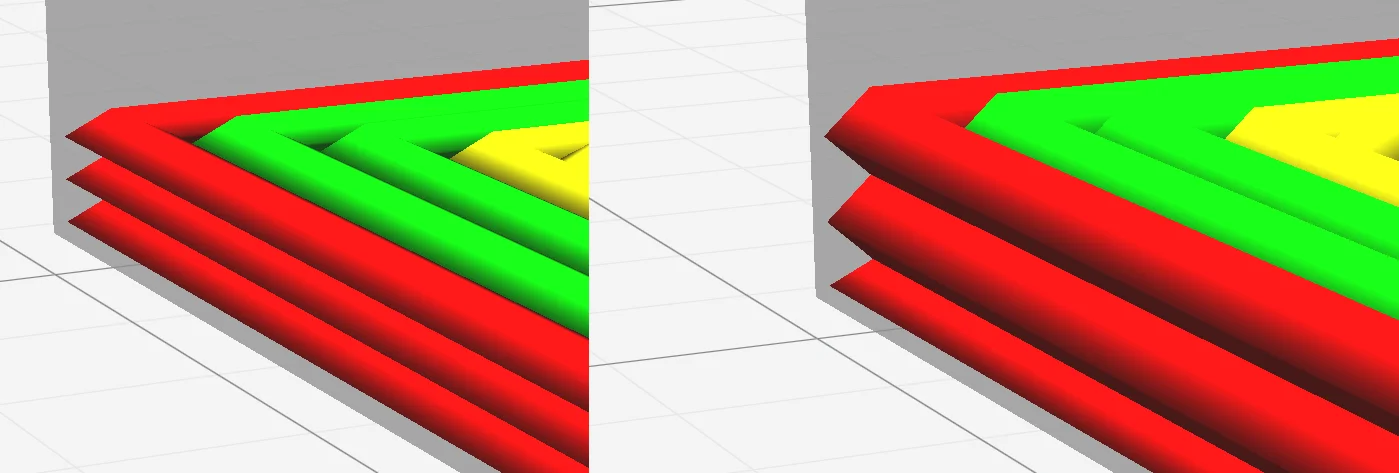
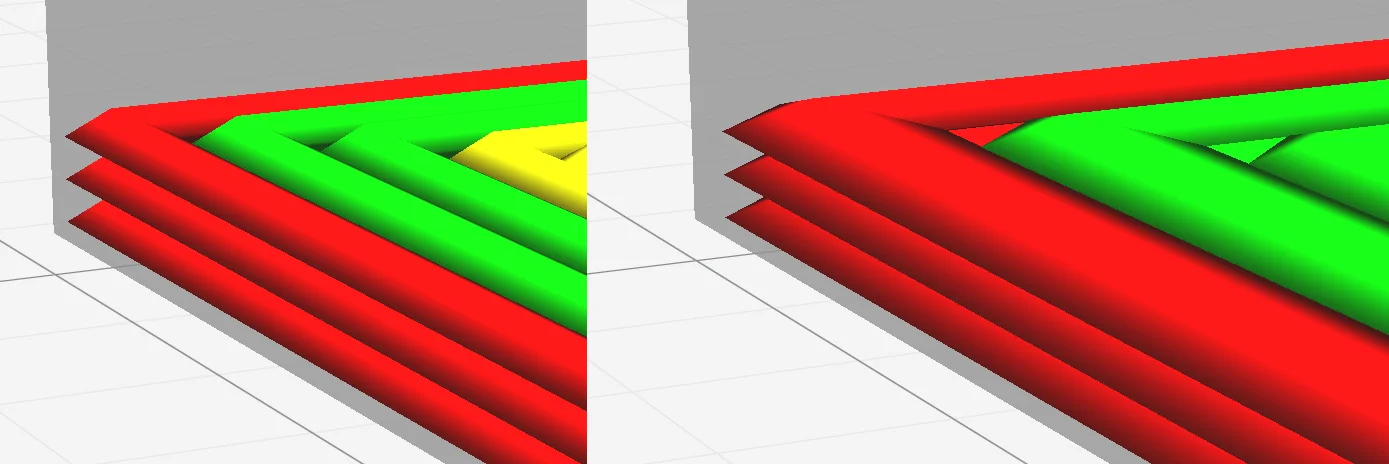
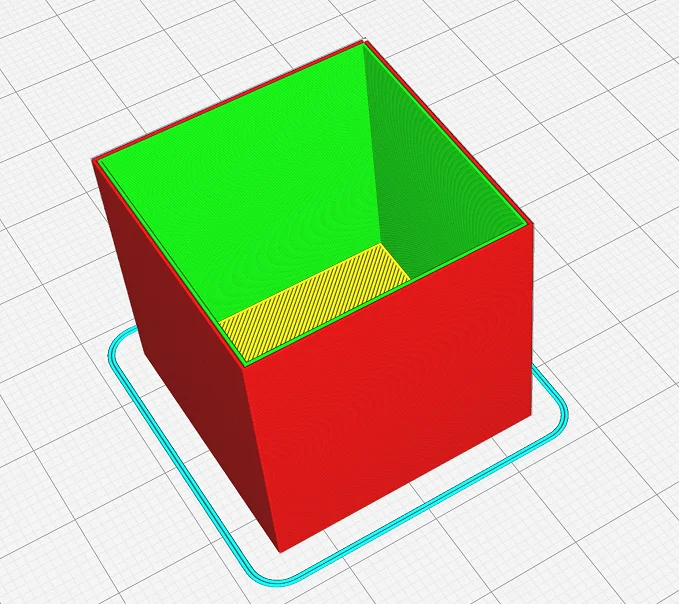
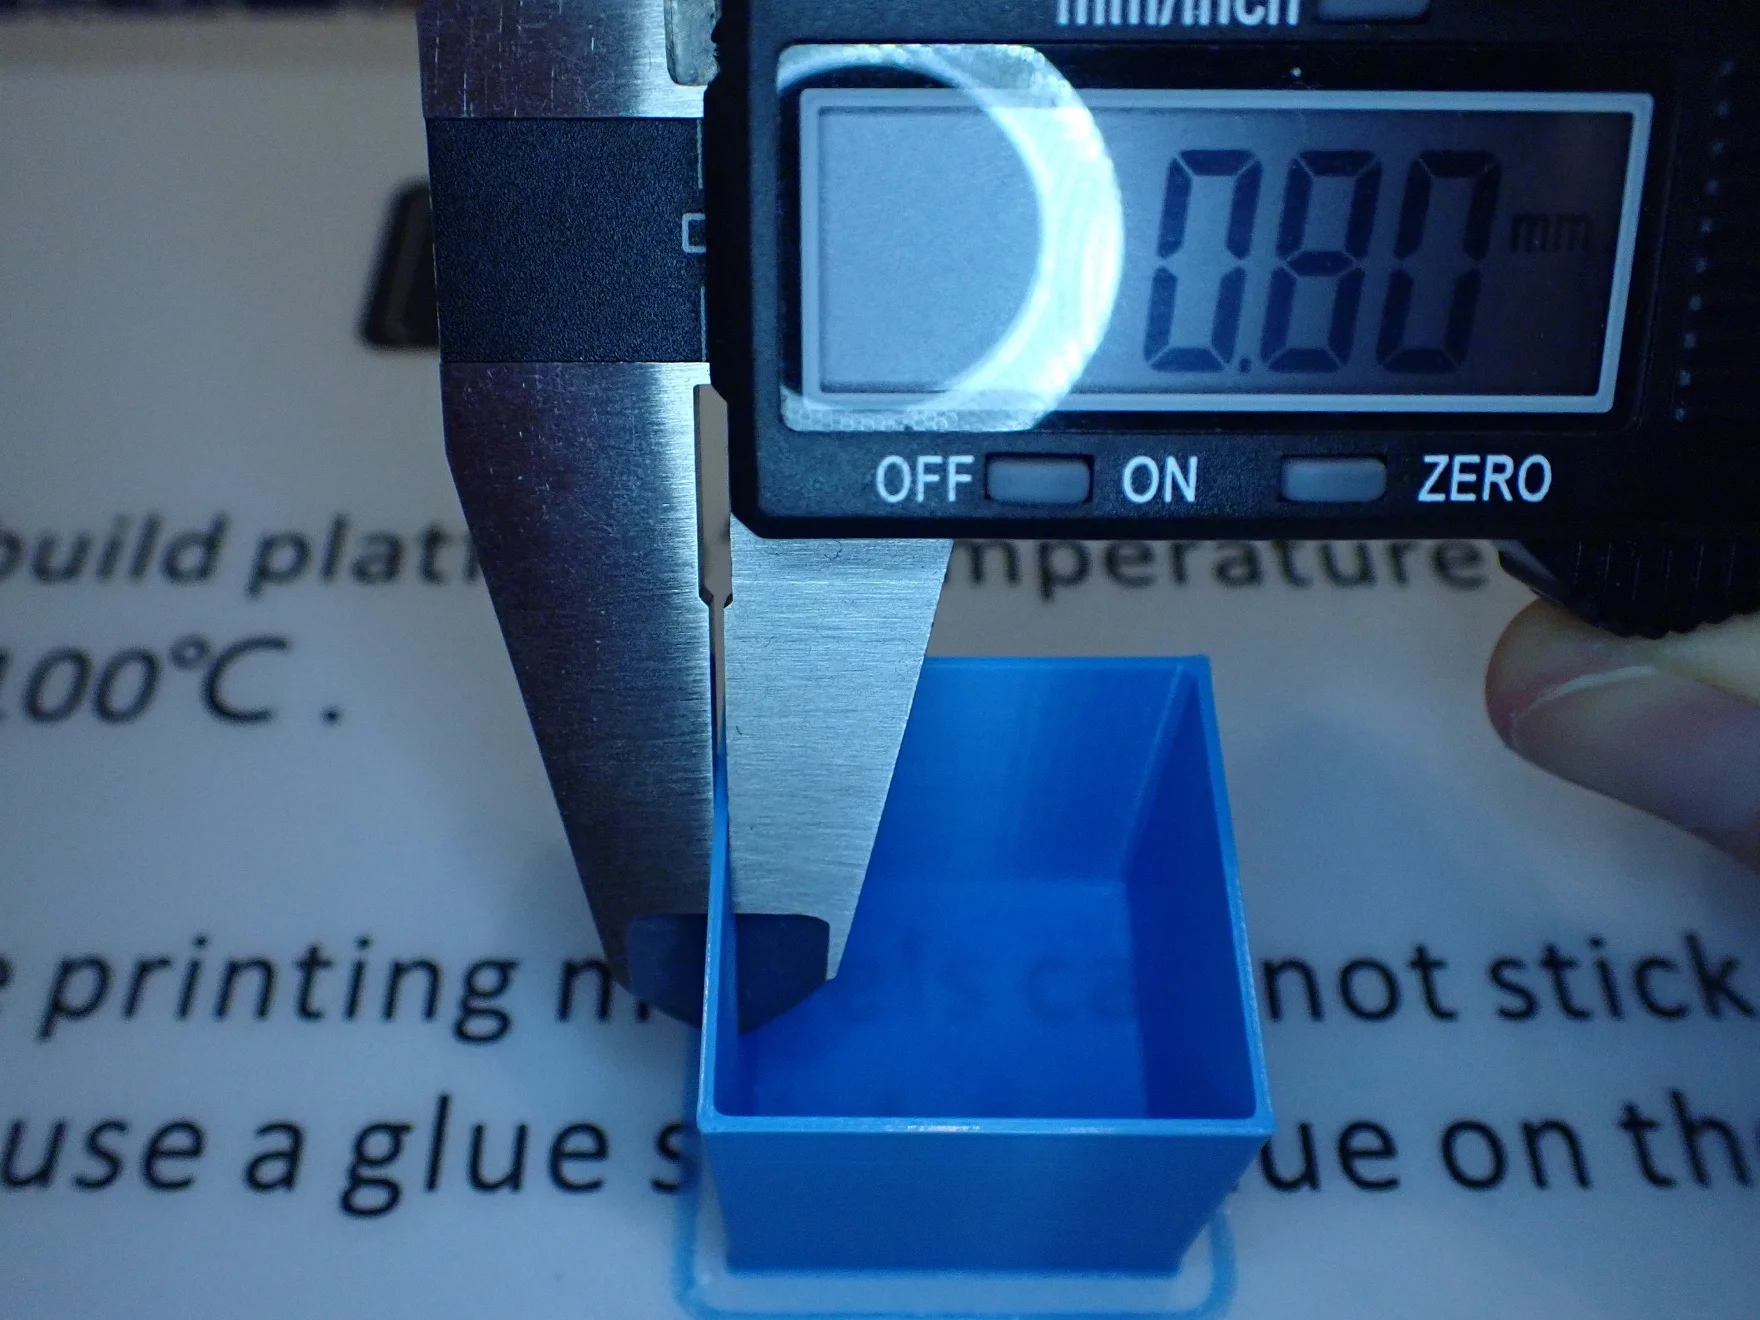
For the calibration, print a cube. Set the number of top layers to 0, the infill density to 0% and the wall thickness to twice the line width. For example, if your line width is 0.4 mm, set your wall thickness to 0.8 mm. Once you have made these settings, you can print the cube.
When printing is complete, measure the wall thickness with a caliper gauge. If the wall thickness is not twice the set line width, you must adjust the flow rate. If the measured value is too high, you must decrease the flow rate. If it is too low, you have to increase the flow rate. With a little experimentation in small steps, you will quickly reach the perfect value.
Use Dry Filament
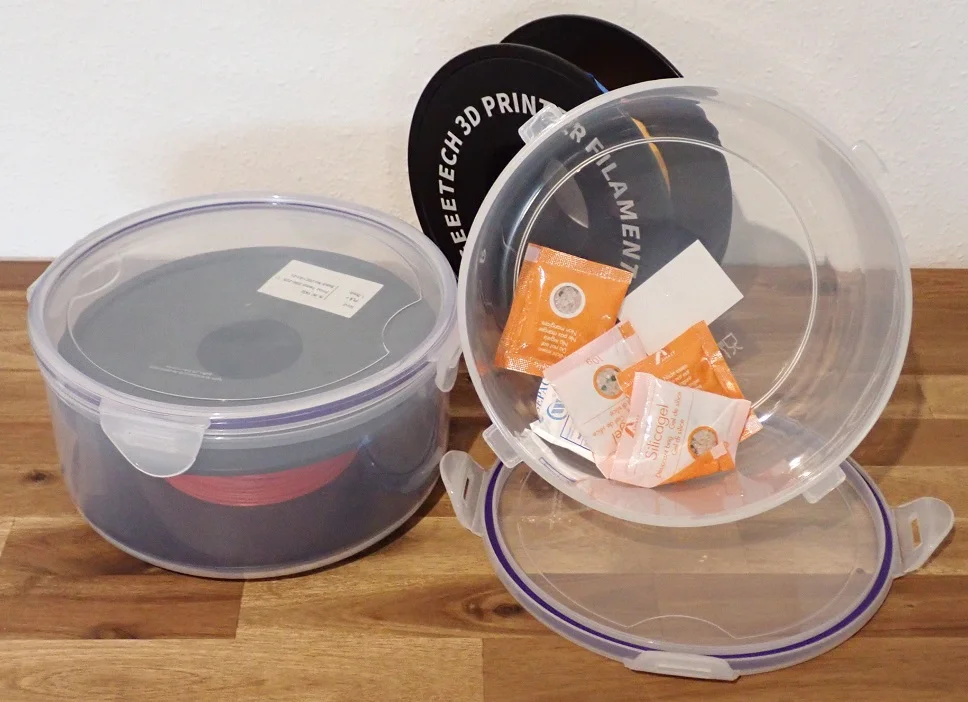
If your filament is wet, it will not print as well as dry filament. Good layer adhesion can only be achieved with dry filament. You should store PLA so that it is dry and airtight.
Moisture can cause all sorts of problems in 3D printing, so it’s important to keep your filament dry. One way to do this is to use a desiccant in your filament storage container. This will absorb the moisture in the air and prevent it from reaching your filament.
Unlike ABS, PLA is made from renewable resources like cornstarch and is not as resistant to moisture. When your filament gets wet, it absorbs the water and swells, making it difficult to print. Also, the water can cause the PLA to break down and make it weak and brittle. So when you’re working with PLA, make sure it stays dry and away from sources of moisture. Otherwise, your prints may fall apart or just not look as good as they could.
Here are some tips on how to properly store your filament:
- Store the filament in a cool, dry place
- Protect from direct sunlight
- Use a container or bag to store the filament
- Store different types of filaments in separate containers or bags
- Organize your supply so that you use older filament first
- Label opaque containers with the type and color of filament
The following things are best for storing PLA filament:
- Special filament storage boxes*.
- Ziplock bag
- Plastic food containers with lids
- Plastic airtight transparent storage boxes
- Storage bottles
Reduce Infill Density
As the filament cools in a 3D printer, stresses can occur that can lead to delamination. The more filament there is, the greater the forces become. Reducing the infill density can reduce the effects of these forces.
One way to improve the layer adhesion of PLA is to reduce the infill density. When printing with PLA, infill density is the amount of plastic filament packed into a given layer. A lower infill density means that there is less plastic in each layer, which can lead to better adhesion between layers. This is because the layers are less likely to slip or separate when there is less plastic holding them together.
In addition, a lower infill density can help the base to warp and curl less. This is because less plastic cools unevenly and contracts as it cools. Therefore, lower infill density can be an effective way to improve PLA’s layer adhesion.
When 3D printing with PLA, there are a few factors that need to be considered to achieve the best results. One of them is infill density. Infill density is the ratio of solid material to empty space in an object. A lower infill density means the object is lighter and uses less filament, but it may not be as stable.
A higher fill density means the object is stronger, but uses more material and takes longer to print. So what is the best fill density for PLA? It really depends on what you need the object for. If it’s something that needs to be strong, like a tool or a car part, then you should use a higher density. However, if you’re printing something that doesn’t need to be as strong, such as a toy or decorative object, then a lower fill density is better.
In this article, you will find everything you need to know about the right infill pattern and density: 3D Printing Infill Guide | Basics, Patterns and Stability
Increase the Print Bed Temperature
If the first layers of a PLA print do not adhere to the print bed, this could be because the temperature of the print bed is too low. The ideal temperature for the print bed in a PLA print is 55-60 °C.
Have you ever experienced your PLA print lifting off the bed after part of the print? That’s annoying, isn’t it? There are a few things you can do to solve this problem. One of them is to raise the temperature of your print bed. When the filament is heated to a higher temperature, it takes longer to cool down.
This gives it more time to bond with the underlying surface. This makes it less likely that the print will come off the bed in the middle of the printing process. If you are having trouble with your prints sticking, try increasing the temperature of your print bed in small increments.
However, be careful not to raise the temperature too much, as the lower layers will then become too soft and may give way under the weight of the object. The result will be an elephant foot. If you find that your prints are still lifting off the bed, you can try printing them with a Brim or a Raft. These are auxiliary prints that add extra material to the base of the object so that it adheres better to the print bed.
Decrease or Disable Cooling for the First Layers
One cause of poor adhesion of PLA to a print bed is when the cooling rate is too high for the first few layers. This can cause the PLA filament to contract too quickly, resulting in an uneven or poorly adhered surface.
To avoid this problem, it is important that the cooling rate for the first layers is slow enough. You can achieve this by disabling the cooling rate for the first layers. Usually this is the standard for modern 3D printers and also most slicers like Cura disable the cooling for the first layers.
However, unwanted drafts can also reach your object and cause cooling. If you’ve ever had one of your 3D prints fail due to drafts, you know how frustrating that can be. It’s even more frustrating when you can’t figure out where the draft is coming from.
A Draft Shield is a simple solution that can help you avoid this problem. By deflecting the draft away from the print bed, a draft shield creates a more stable environment for the object to adhere to. Not only does this improve the quality of the print, but it also reduces the likelihood that the print will fail. So if you’re looking for a way to improve your print success rate, a draft shield is worth considering.
Use Adhesive for the Print Bed
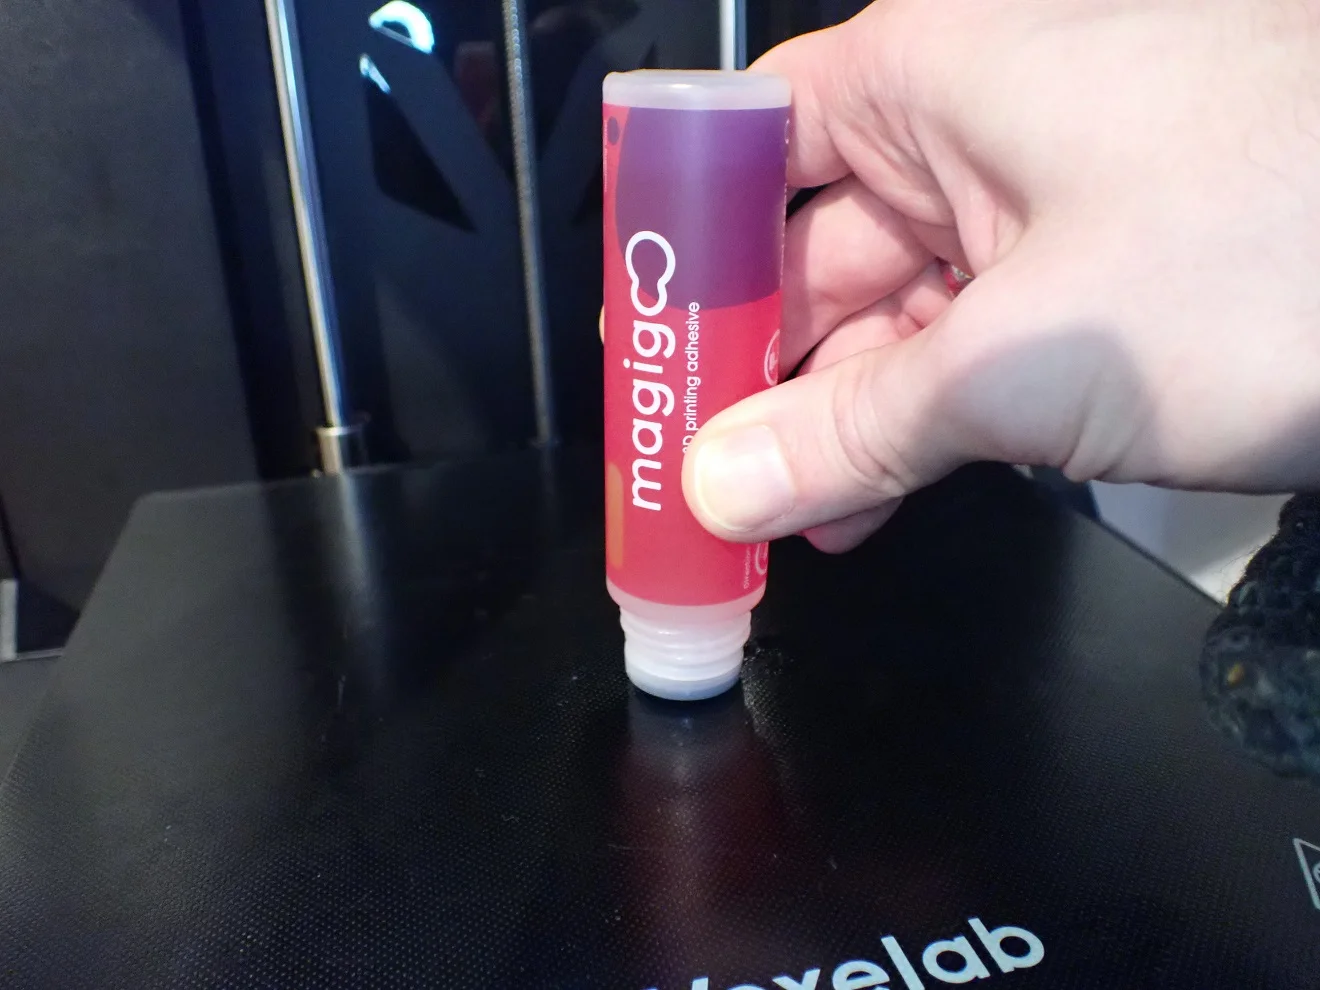
One of the advantages of PLA is that it has good bed adhesion, i.e. it adheres well to the build plate. This can be further improved by using adhesives such as Blue Tape or Magigoo.
Blue Tape is a type of painter’s tape often used in 3D printing. It has a strong adhesive that holds PLA in place, making it ideal for this type of filament. Magigoo is another option designed specifically for 3D printing. It also has a strong adhesive that increases the adhesion of the bed, making it another good choice for those who want to improve the printing process.
If you have reached the upper end of the print bed temperature range and don’t want to print a Brim or Raft, you can also use adhesives like Magigoo. Magigoo is a special adhesive that allows 3D prints to adhere to the print bed. It is both heat and solvent-resistant, so it is suitable for both PLA and ABS prints. You can find a detailed review of this adhesive here (it’s also my favorite).
First, make sure your build plate is clean and free of debris. Most adhesives will not adhere to a dirty surface. You can also try roughing up the build plate with sandpaper or a file – but only if nothing else helps!
Disclosure: This website is the property of Martin Lütkemeyer and is operated by Martin Lütkemeyer. Martin Lütkemeyer is a member of the Amazon Services LLC and other Affiliate Programs. These are affiliate advertising programs designed to enable websites to earn advertising revenue through advertising and linking to Amazon.com and others. Links marked with * are affiliate links.
