
- Wet Filament: Prevention, Symptoms & Drying - July 18, 2024
- Sovol SV08 – Best PrusaSlicer Settings & Profile - June 26, 2024
- Sovol SV08 – Best Orca Slicer Settings & Profile - June 26, 2024
Disclosure: Links marked with * are Affiliate Links. I earn from qualifying purchases if you decide to make a purchase through these links – at no additional cost for you!
PETG is known for hard-to-remove supports. So if you’re having this problem, you’re not alone. But there are a few ways you can make it easier to remove them – and without leaving any residue!
If PETG supports are difficult to remove, the settings in the slicer must be adjusted to reduce the adhesion between the supports and the printed object without losing their supporting effect.
In this article you will learn how to do this, which settings are important for PETG supports, how to test them and how to remove supports from your print object without leaving any residue.
Table of Contents:
Key Takeaways
- If PETG supports are hard to remove, the adhesion between the supports and the print object has to be reduced.
- The biggest influences on the adhesion between the supports and the printed object are the Support Z Distance and the Support Density.
- → Increase the Support Z Distance
- → Decrease the Support Density
The Correct Slicer Settings for PETG Supports
In order for supports to fulfill their function and still be easy to remove, certain settings in the slicer must be optimized. These mainly include the distance of the supports to the print object, the structure, the placement, the support density and its pattern.
These settings are different depending on the filament type and can also differ between filaments of the same type from different manufacturers. The settings mentioned in this article are therefore relatively good guidelines, but will not be the perfect solution for every PETG filament.
Before we get into the details of each setting, here is an overview of the best settings for PETG supports in Cura (most slicers have similar options):
| Setting | Recommended Values for PETG |
|---|---|
| Support Z Distance | 0.2-0.3 mm or higher (in principle as high as possible without overhangs sagging) |
| Support X/Y Distance | 0,4-0,6 mm |
| Support Structure (Normal/Tree) | Normal |
| Support Placement | Touching Buildplate |
| Support Pattern | Lines / Zig Zag |
| Support Density | 5-15% |
| Enable Support Interface | No |
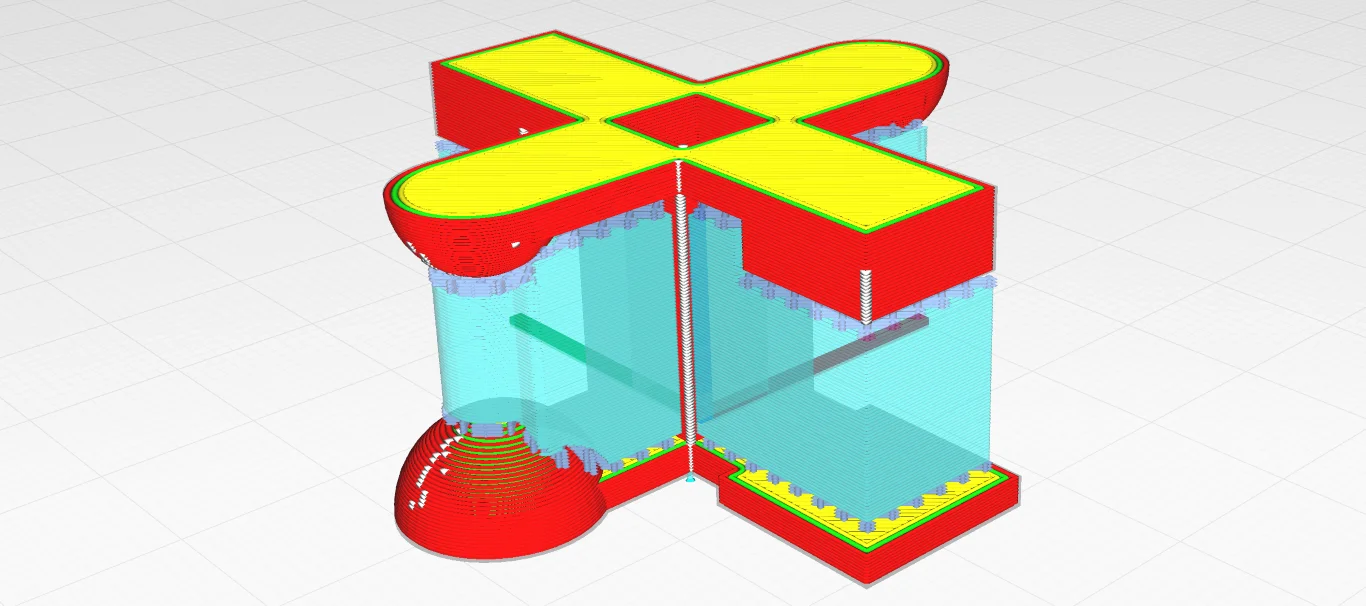
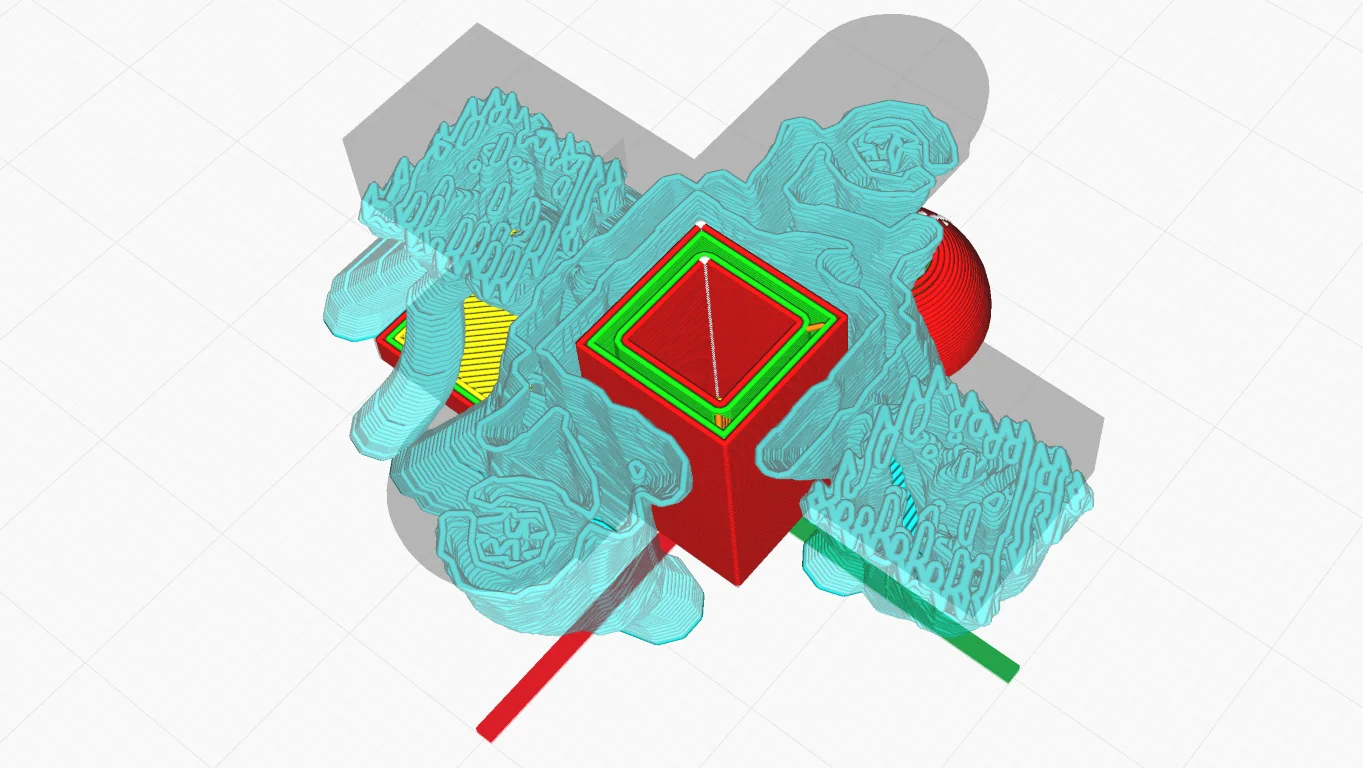
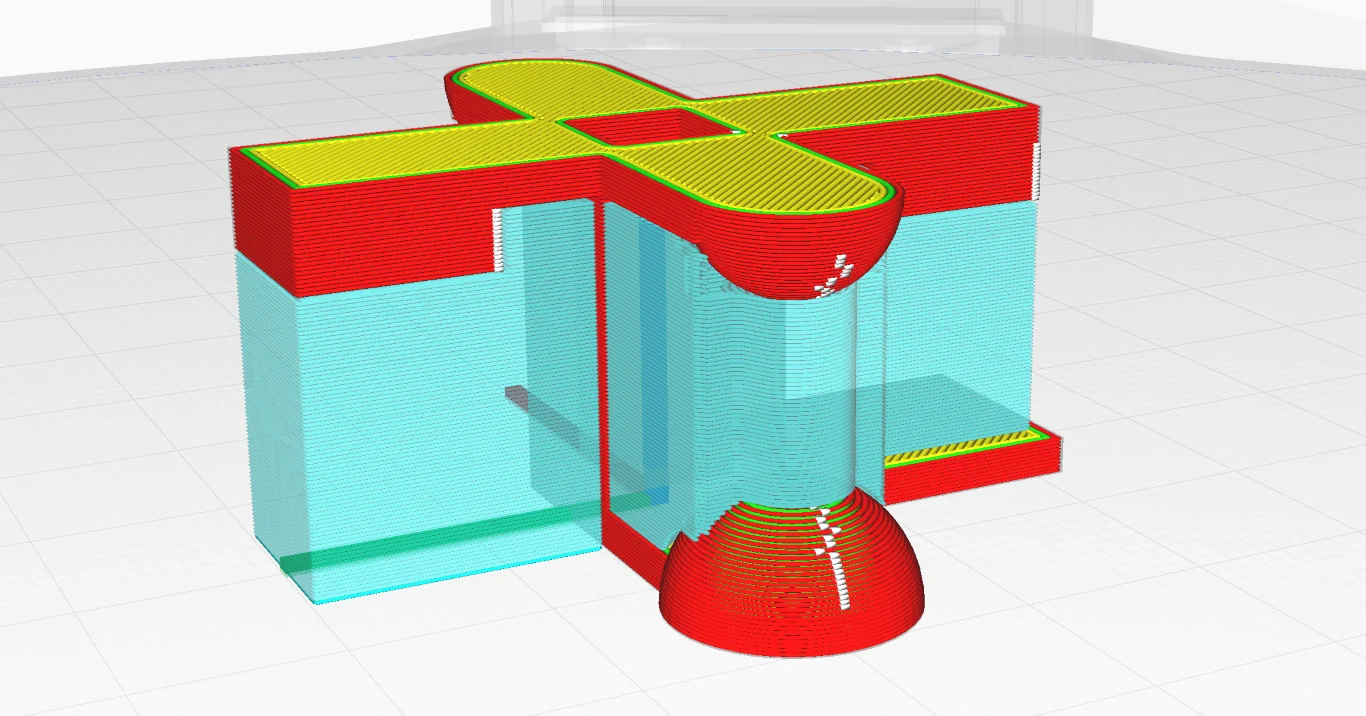
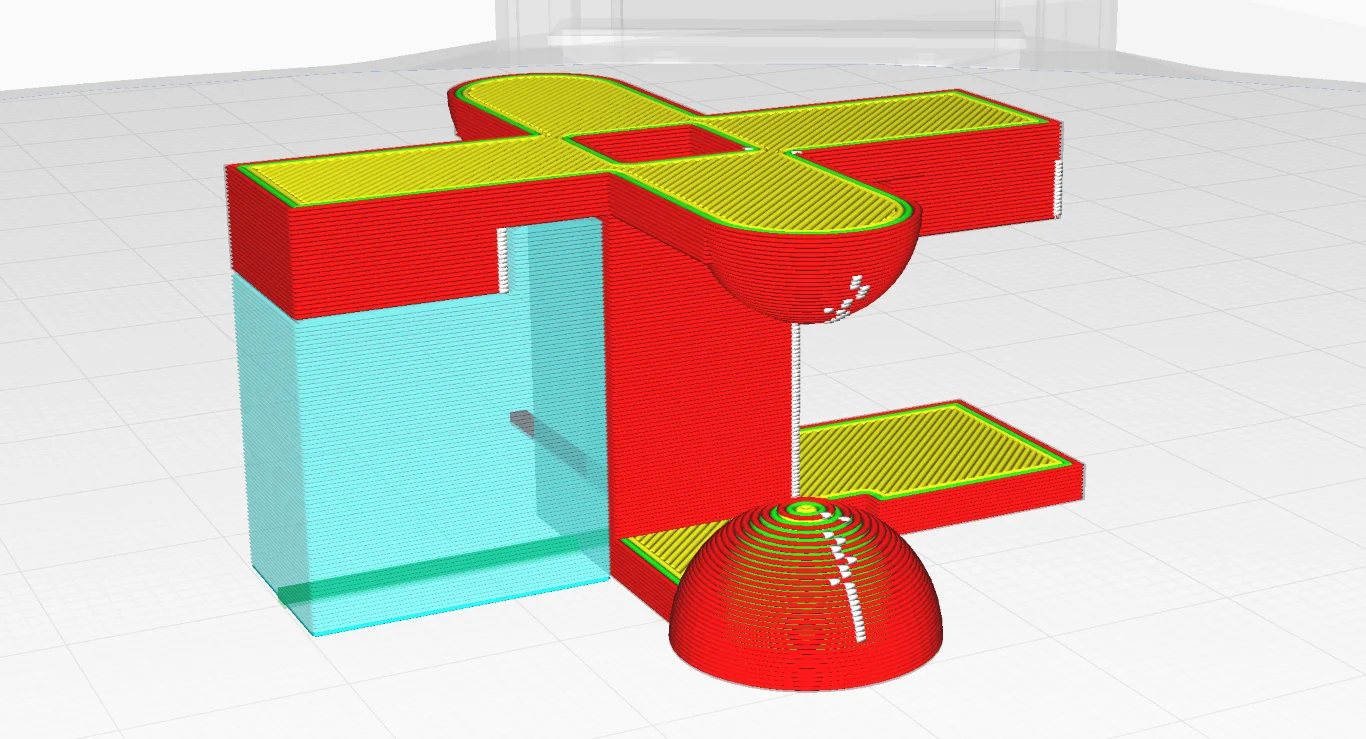
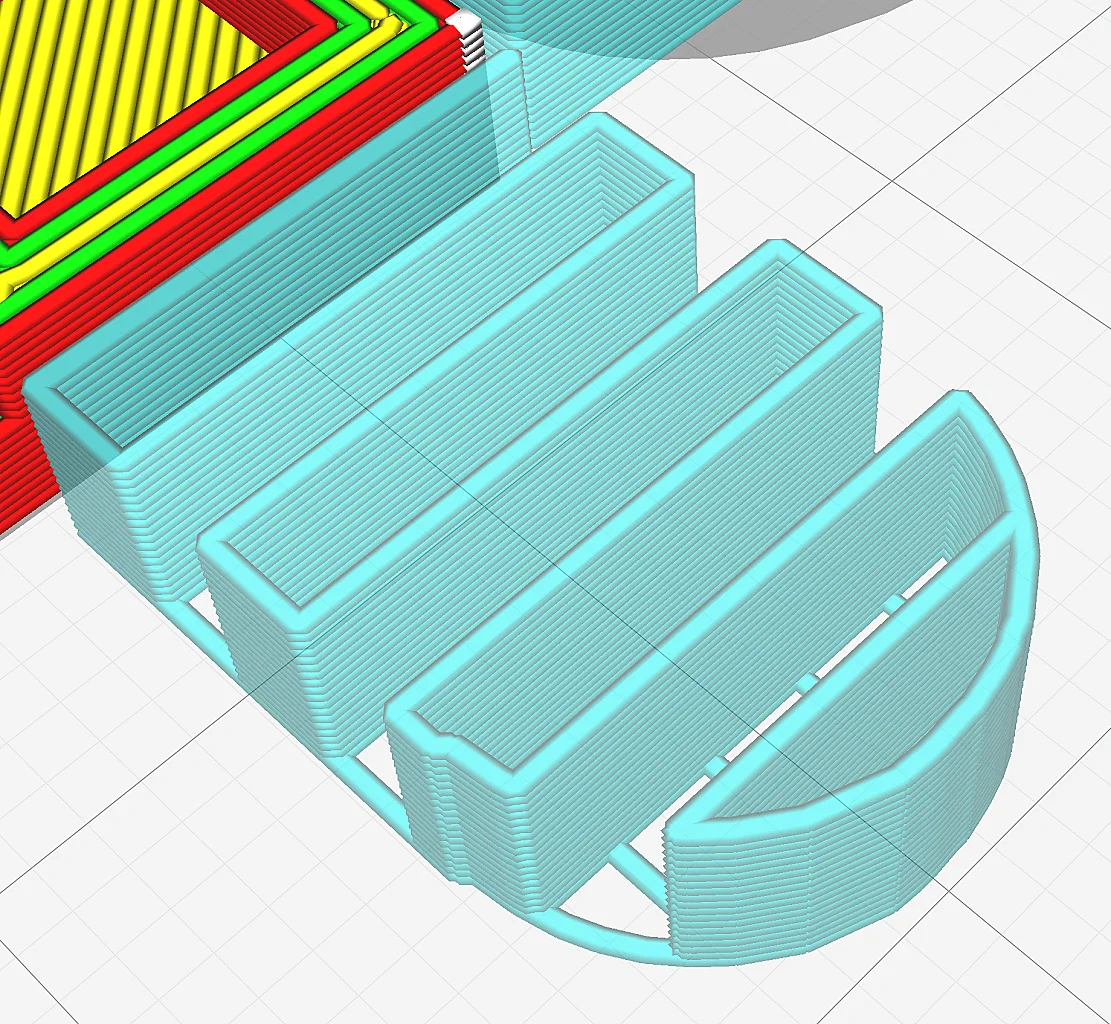
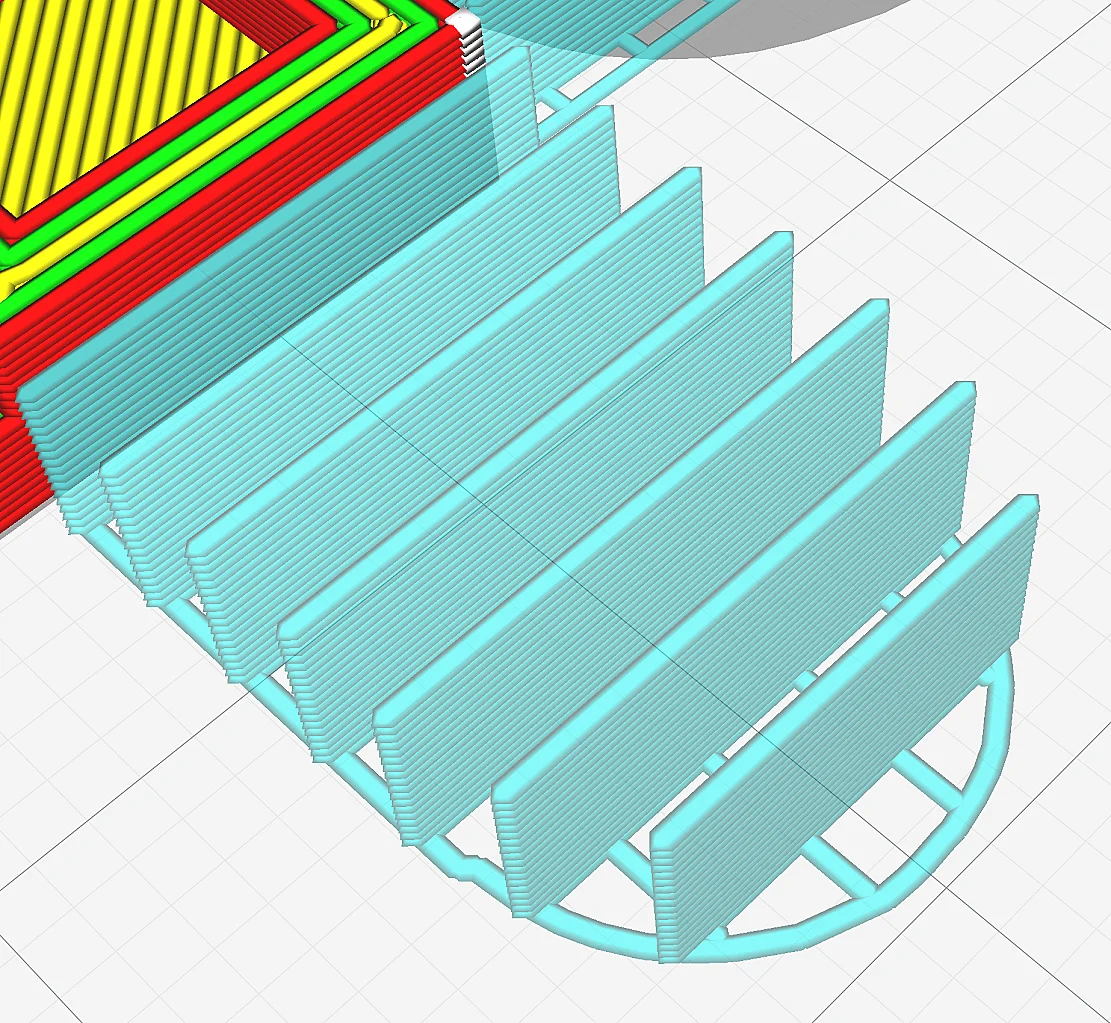
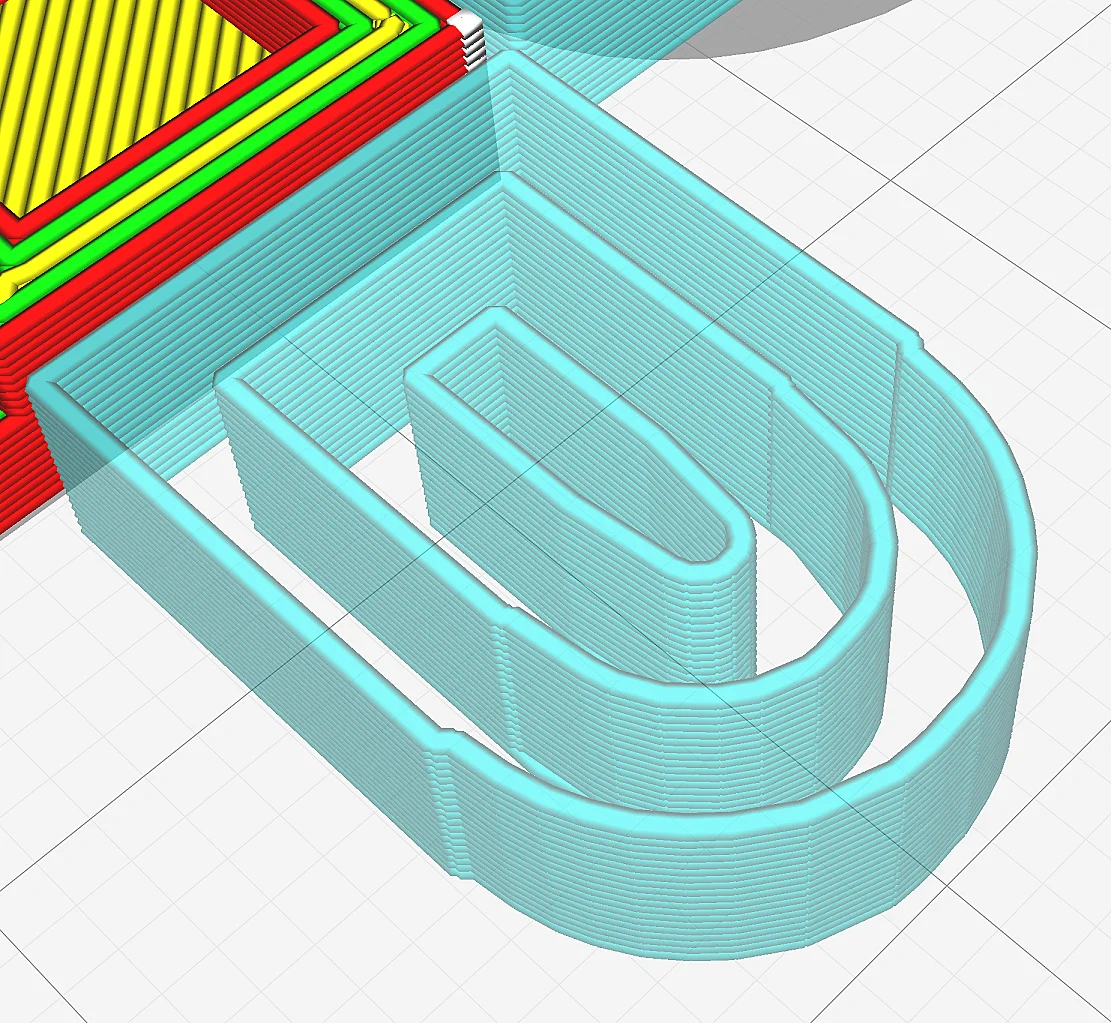
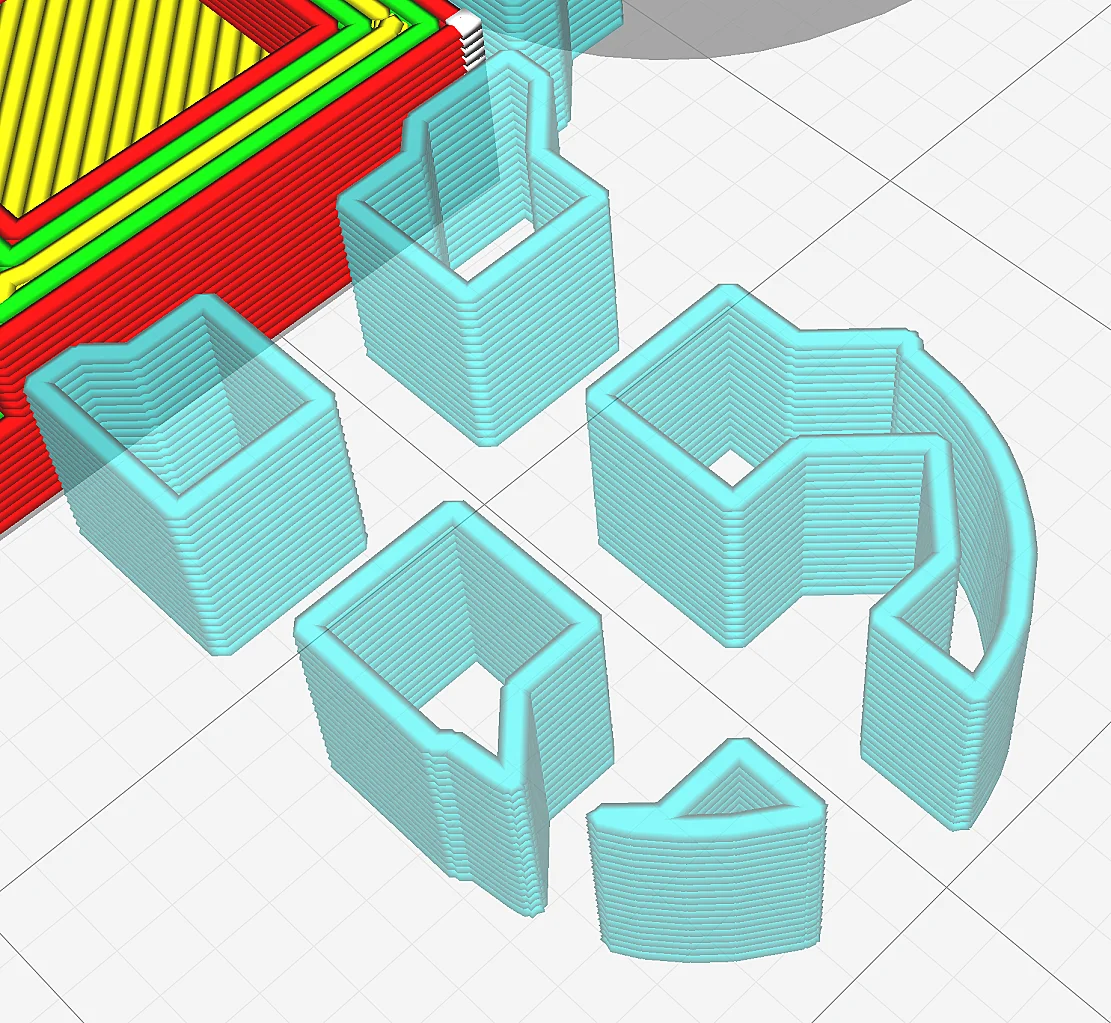
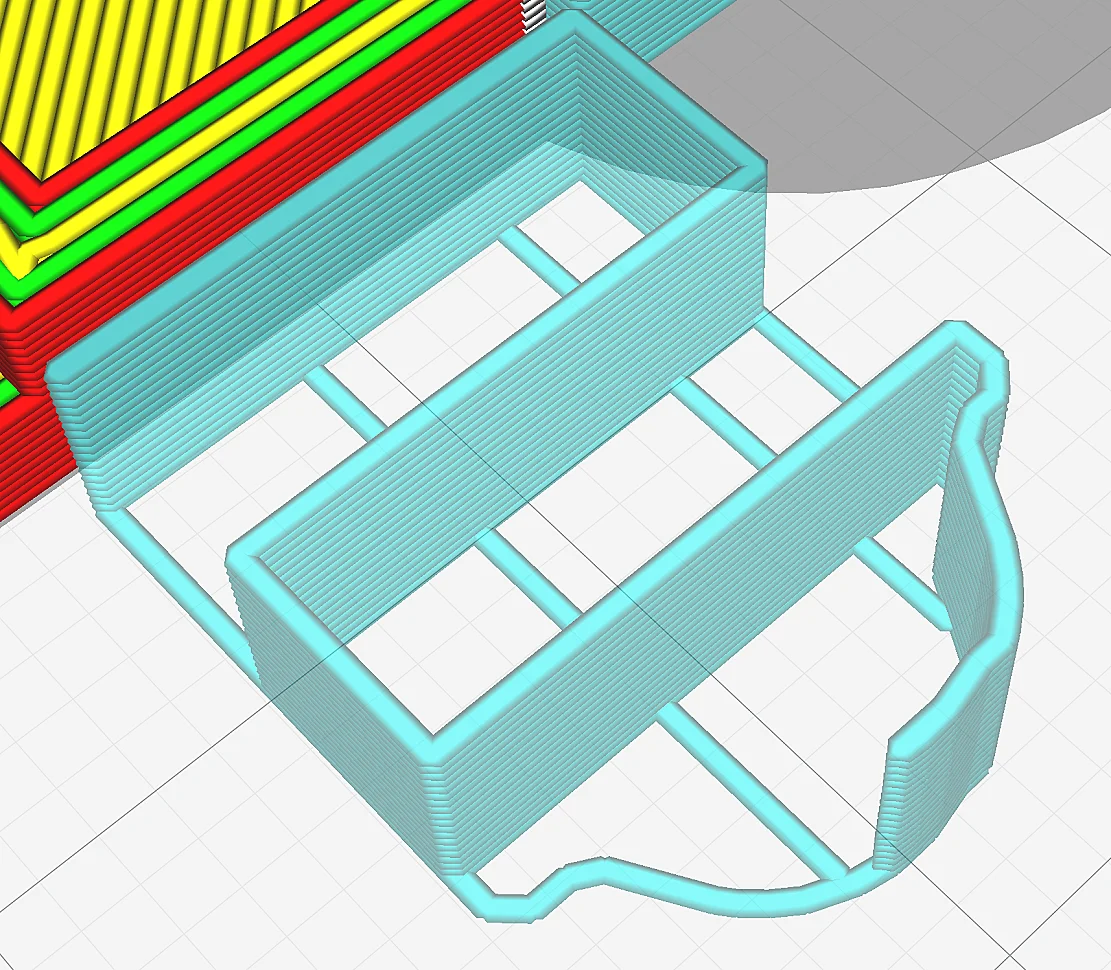
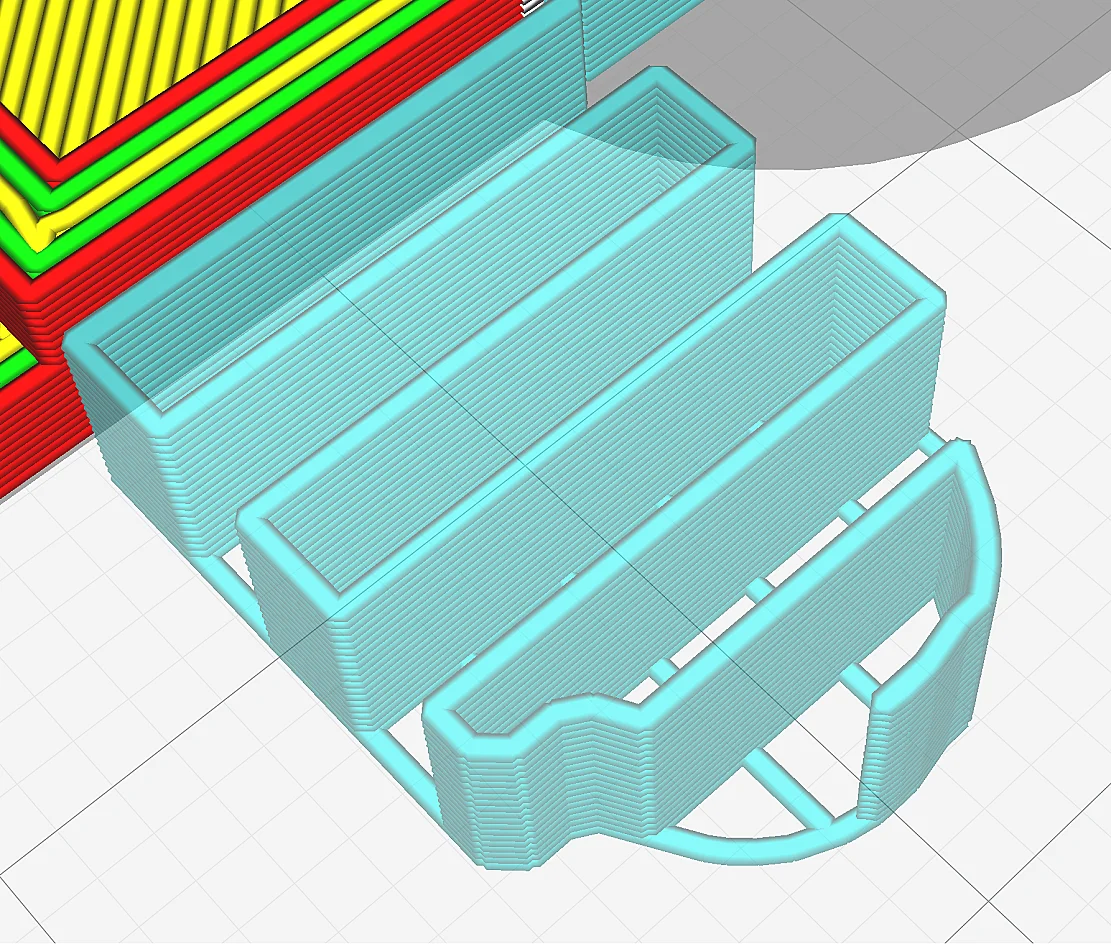
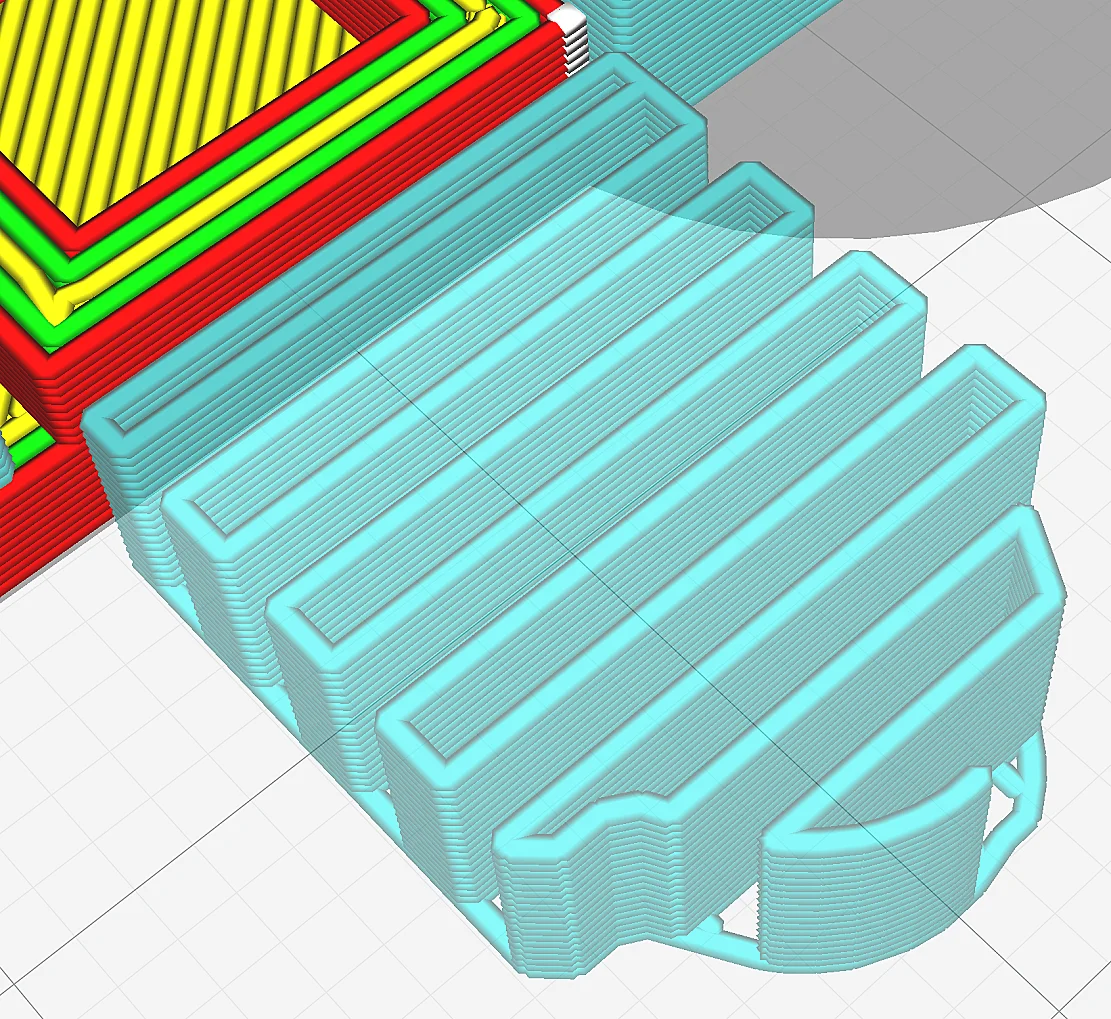
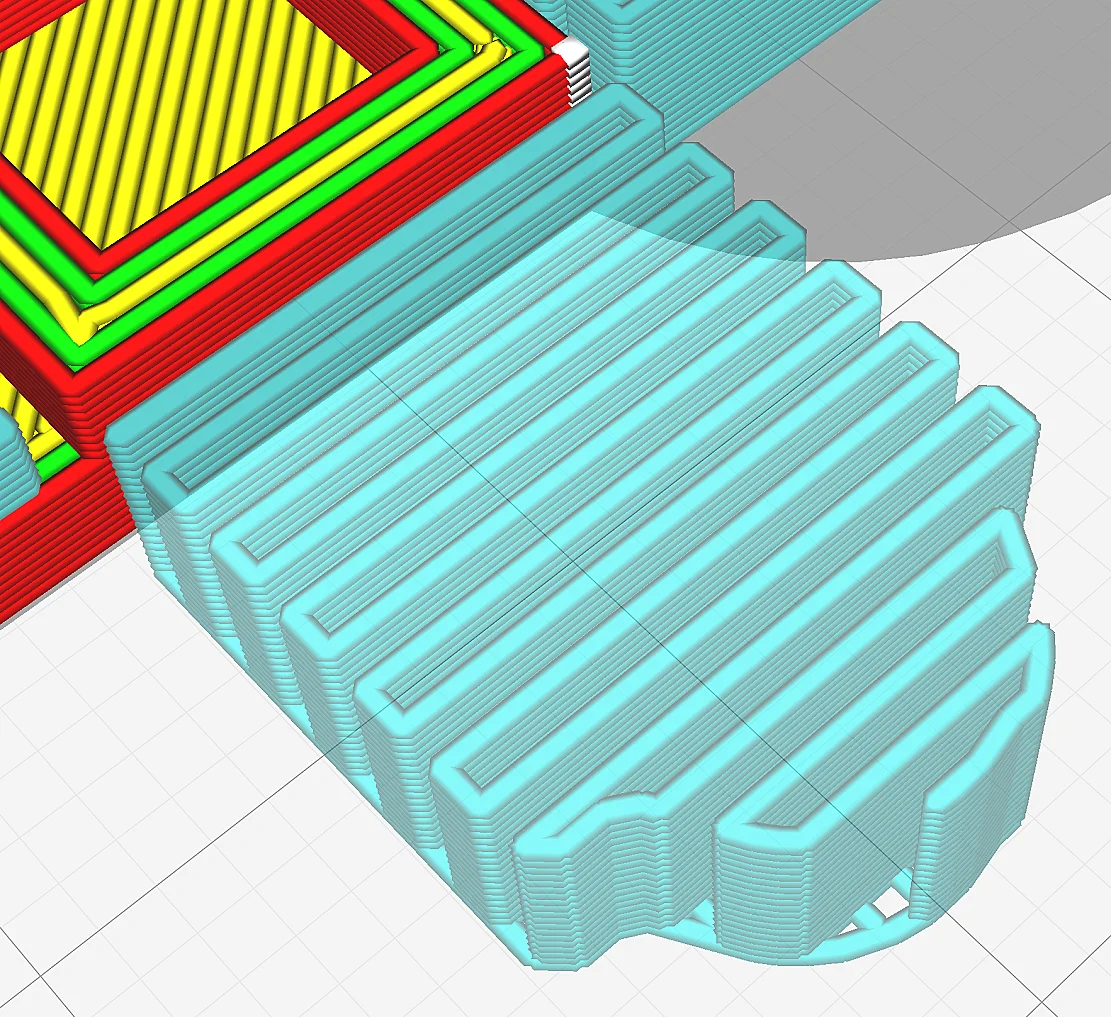
If your print object is relatively complex and large and you want to save filament and time testing these settings, you can use certain calibration objects. These objects are usually relatively small and can be printed in a short time with little filament. For example, the image above shows the object for testing supports from the Calibration Shapes plugin in Cura.
Note: Before you try to optimize the settings for the supports, you need to ensure that you don’t have stringing or other over-extrusion phenomena on your print. Only then does it make sense to optimize the supports, as these problems can bind the supports to the print object and make removal difficult.
Support Z Distance
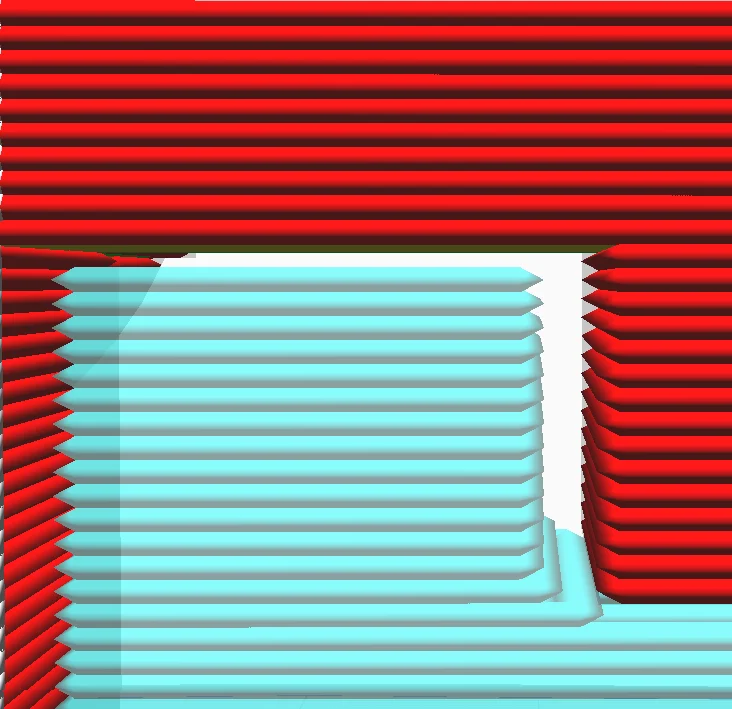

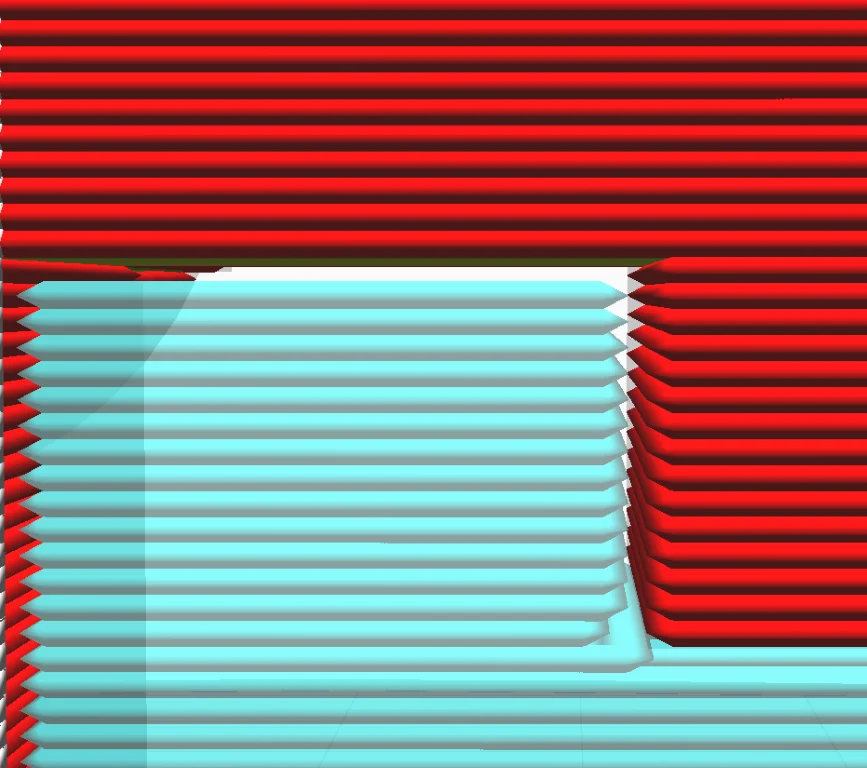
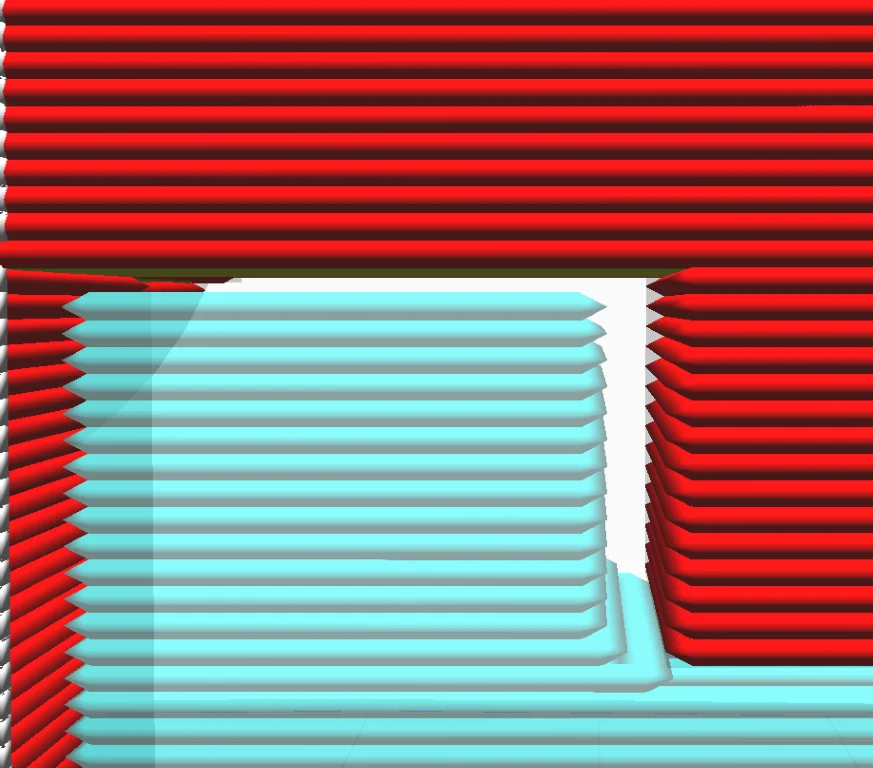
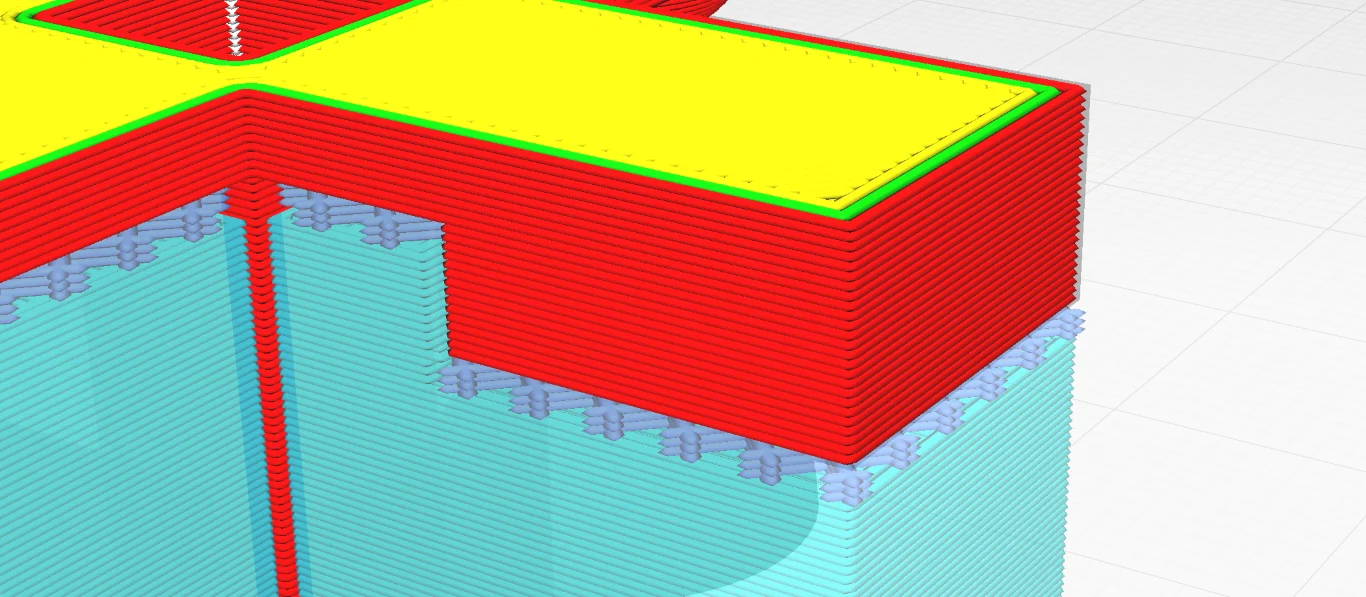
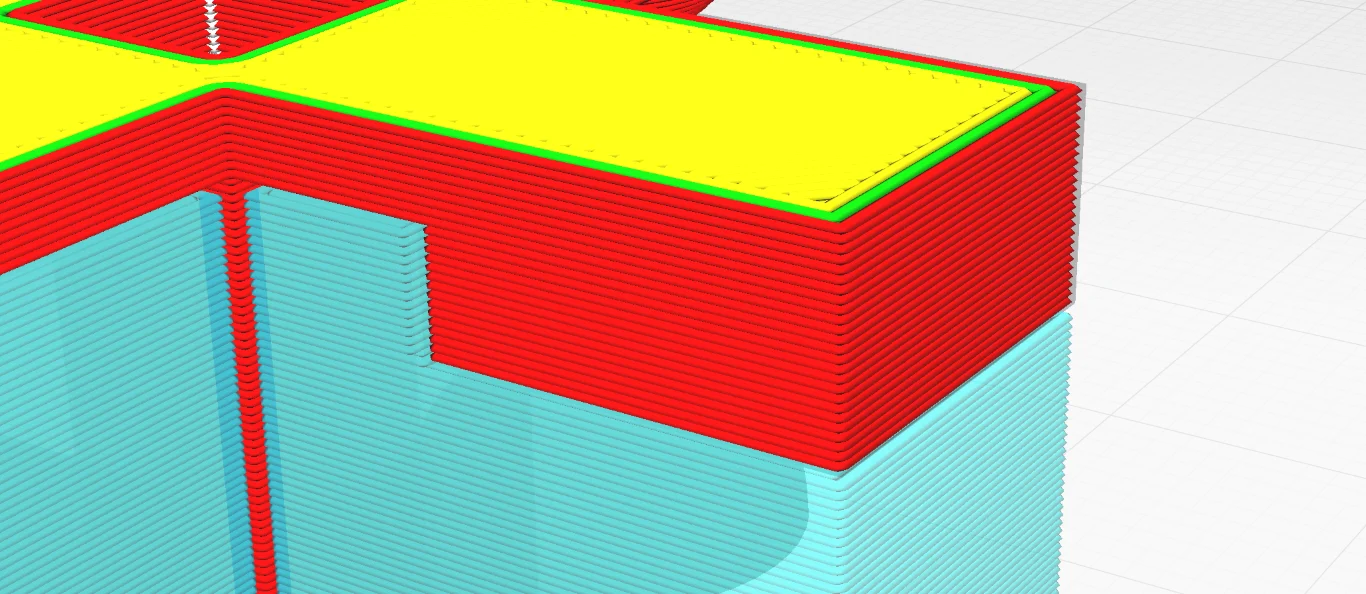
The Support Z Distance defines the distance between support structures and print object in Z-direction. The smaller this setting, the greater the adhesion between support and print object. The greater the distance, the easier they are to remove.
This setting has the biggest influence on how well the supports adhere to the print object. If you reduce the Support Z Distance, the supports will adhere better to the print object, which has several advantages. Overhangs will print better because they won’t sag as much and the stability of the supports will be improved. However, it will also be more difficult to remove them from the object.
If you increase the Support Z Distance, not only will the adhesion be reduced, but the residue on the object will also be reduced. So you get the advantage that the supports are easier to remove and the surface has less residue, but overhangs may not be as well formed because they may sag.
For PETG, values for the Support Z Distance of 0.2 to 0.3 mm have proven successful.
In general, the Support Z Distance can be larger with materials with good adhesion, such as PETG, than for others. If you have printed mainly with PLA before and have not changed the settings, it is likely that you will have problems with PETG supports.
You can set the Support Z Distance globally or separately for the upper and lower distance. In most cases, you only need to change the global setting and don’t need to bother with the two settings for the upper and lower distance.
Support X/Y Distance
The Support X/Y Distance defines the distance between support structures and print object in X/Y direction. If this value is increased, the supports can be released more easily, with lower values, the supports give more support.
When the X/Y distance is set so that the supports and the print object are no longer touching in the XY direction, you have found the minimum distance. The wider you set the distance, the easier it will be to remove the supports, but this will also reduce the supporting surface.
For PETG, values for the Support X/Y Distance of 0.4 to 0.6 mm have proven successful.
If you set the distance too large, smaller overhangs will not be supported at all and the beginnings of larger overhangs will be less supported. This setting is therefore mainly dependent on the bridging behavior of your filament.
Therefore, cooling also has an influence on the support X/Y distance. Most PETG filaments produce the best results with 50% cooling. Some filaments require 100% cooling or no cooling at all. If you want to improve the bridging behavior, you can also have a look at this article: Cura Bridge Settings | Easy Guide
Support Structure (Normal/Tree)

In some slicers like Cura, the support structure can consist of the classic patterns or a tree structure. With PETG, normal supports are easier to remove than tree supports.
The surface connecting the supports and the print object is relatively dense and irregular with tree supports. This can make tree supports harder to remove and more likely to leave residues. With normal supports with a simple support infill pattern like lines, it is usually easier to remove the supports without leaving residues.
If you have the adhesion between the supports and the print object well under control by the other settings, you can also use tree supports, which lead to better results in some applications.
Support Placement
Supports can be generated either everywhere or from the print bed only. If you generate supports everywhere, support residues can occur not only on the bottom sides of the object, but also on the top sides on which supports were printed.
If you have problems with support residues with PETG, it would be a good idea to generate the supports only from the printing plate. That way, if in doubt, you only have to smooth the undersides.
Of course, the settings depend on the geometry of your object. Perhaps by reorienting the object, you can arrange the surfaces so that only the print bed is underneath. Also, tree supports can grow sideways from the print bed and still support surfaces that would normally be unreachable by supports from the print bed.
Support Pattern
The pattern of PETG supports should be chosen so that they are easy to remove. The patterns “lines” and “zigzag” are the easiest to remove from the printed object and still provide a good support function.
The line pattern is the default setting in most slicers for supports. It provides relatively good support for overhangs and is the easiest to remove. Unless your PETG objects are very large and massive, this pattern is best for them. The more stable patterns (Triangles, Grid or Gyroid) offer a better support function, but can rarely be removed without leaving a residue.
Support Density
The denser supports are printed, the more stable they become. However, a higher infill density also increases the contact surface with the printed object, making them more difficult to remove. With PETG, a support infill density of approx. 10% is reasonable.
Again, it’s a matter of experimenting a bit. If you only have problems with larger overhangs, you can usually reduce the infill density extremely. Together with the Support Z Distance, the support density gives you the greatest leverage in terms of adhesion to the print object.
Click here for the detailed guide:
3D Printing Support Infill | Best Density & Pattern
Support Interface
In order to save filament, some slicers have the function to individually adjust the contact area of the supports to the print object under the support settings. Normally, this increases the density of the contact area, which makes the supports even harder to remove.
With PETG, you usually want to reduce the adhesion between the supports and the print object, not increase it. Therefore, it usually makes more sense to deactivate this function.
The function has two main applications:
- You can print the remaining supports at a lower density than the contact area, saving filament and time.
- For expensive and soluble support materials on dual extruder 3D printers, you can print the support interface from the expensive filament and the rest of the supports from cheaper material.
If you are not using a dual extruder 3D printer, you may not need this feature.
How to Remove PETG Supports Without Residue
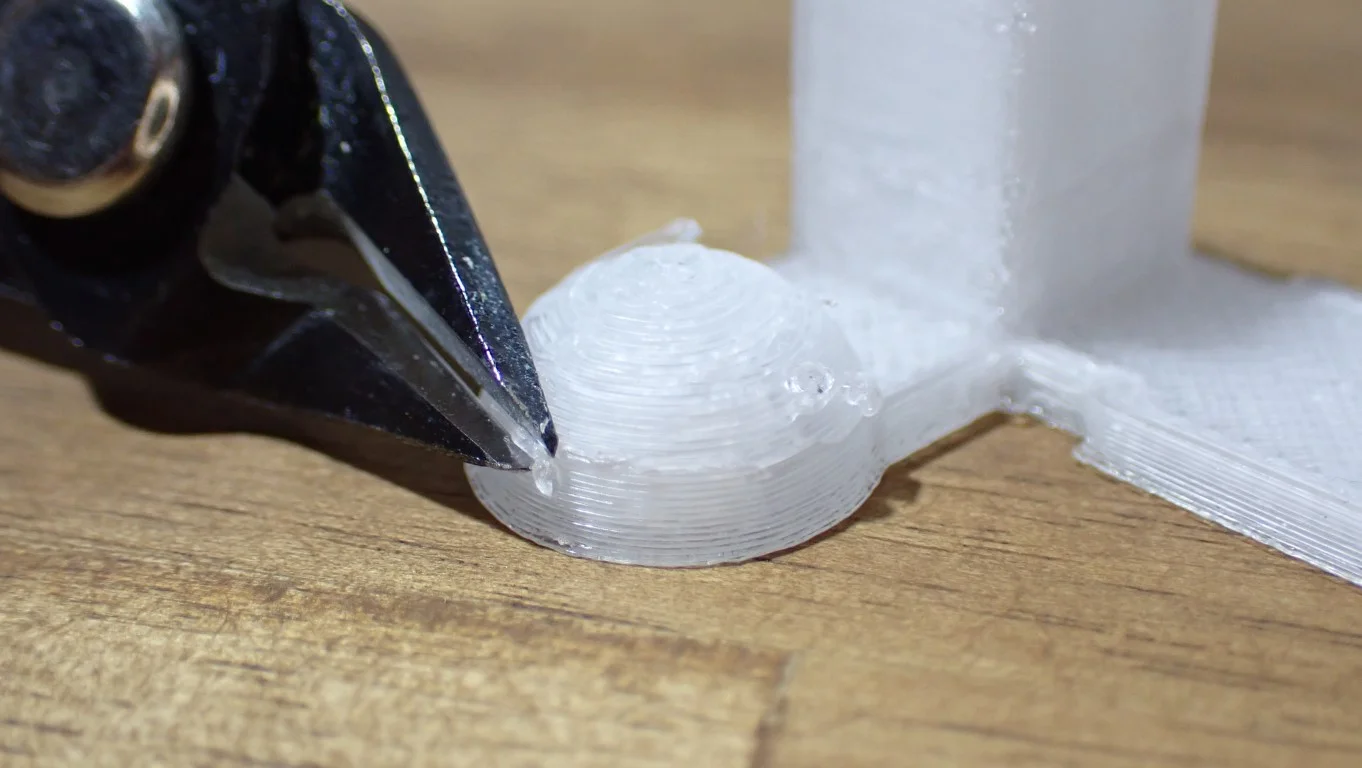
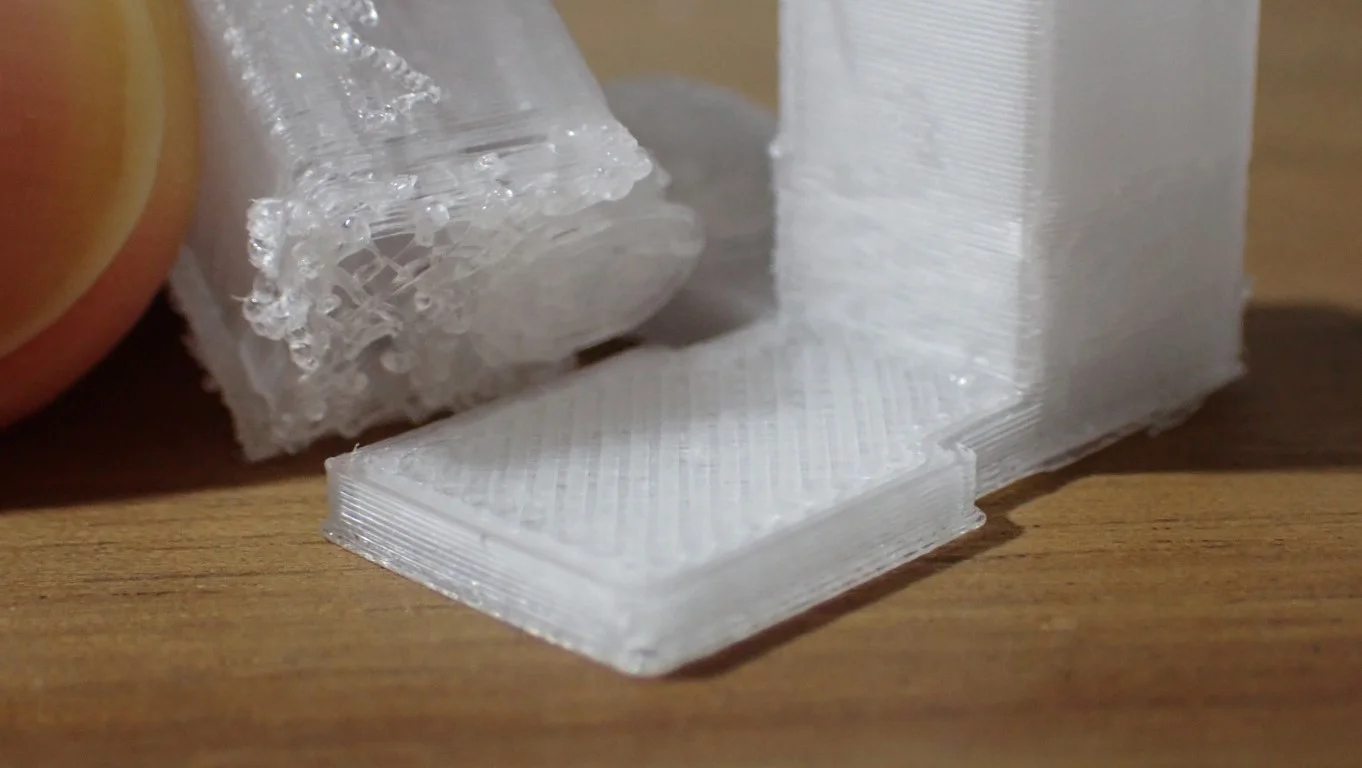
With the correct support settings, PETG supports can be removed from smooth surfaces without leaving any residue. For round surfaces, contact points can be carefully removed with a sharp knife or side cutter.
When removing support residues it is important to note that PETG has a strong tendency to scratch. Especially on very smooth surfaces, you will see scratches immediately. Therefore, finishing with sandpaper only makes sense if the appearance of the model is not so important or if you paint or otherwise coat it afterwards anyway.
The best way to get as little support residue on the print object as possible is to not put any supports in the first place… Try to orient and rotate your object in the slicer so that as few supports as possible are needed. Especially surfaces with a lot of details should be oriented in a way that no supports are needed at all.
If you want to slice individual parts or surfaces of your print object without supports, there is also the Support Blocker in Cura. This works like a separate object that suppresses the generation of supports in the overlapping areas.
Complete Guide:
How to Remove 3D Printing Supports | Smooth & Easy
Summary
Besides stringing, the difficult removal of supports is one of the most common problems with PETG. As with all other print errors, however, there are exactly the right settings with which you can fix the problem.
In this article, we’ve gone over the best support settings for PETG, how you can optimize them, and how you can remove PETG supports without leaving any residue.
Disclosure: This website is the property of Martin Lütkemeyer and is operated by Martin Lütkemeyer. Martin Lütkemeyer is a member of the Amazon Services LLC and other Affiliate Programs. These are affiliate advertising programs designed to enable websites to earn advertising revenue through advertising and linking to Amazon.com and others. Links marked with * are affiliate links.
