
- Wet Filament: Prevention, Symptoms & Drying - July 18, 2024
- Sovol SV08 – Best PrusaSlicer Settings & Profile - June 26, 2024
- Sovol SV08 – Best Orca Slicer Settings & Profile - June 26, 2024
Disclosure: Links marked with * are Affiliate Links. I earn from qualifying purchases if you decide to make a purchase through these links – at no additional cost for you!
Struggling with supports in your 3D prints? Finding the right 3D printing support infill can make or break your project. Our guide cuts through the complexity, providing you with actionable tips on density, pattern choices, and fine-tuning for the perfect balance of support and ease of post-processing.
Table of Contents:
- 1 Key Takeaways – Quick Reference
- 2 Understanding 3D Printing Support Infill
- 3 Choosing the Right Infill Density for Your Support Structures
- 4 Selecting the Best Support Infill Patterns
- 5 Increasing the Support Infill Layer Thickness
- 6 Save Support Material with a Gradual Support Structure
- 7 Even Sturdier With a Higher Support Wall Line Count
- 8 Enhancing Adhesion with a Support Brim
- 9 Tree Support Density
- 10 Solving Common Support Infill Challenges
Key Takeaways – Quick Reference
Common Support Infill Density Values:
- Low Density (10-15%): Best for light support in simple prints.
- Medium Density (15-30%): Ideal for standard prints with moderate overhangs.
- High Density (30-50%): Used for complex prints with significant overhangs and bridges.
- Very High Density (50-70%): Provides maximum support for highly detailed prints with extensive overhangs, though more difficult to remove and increases material use.
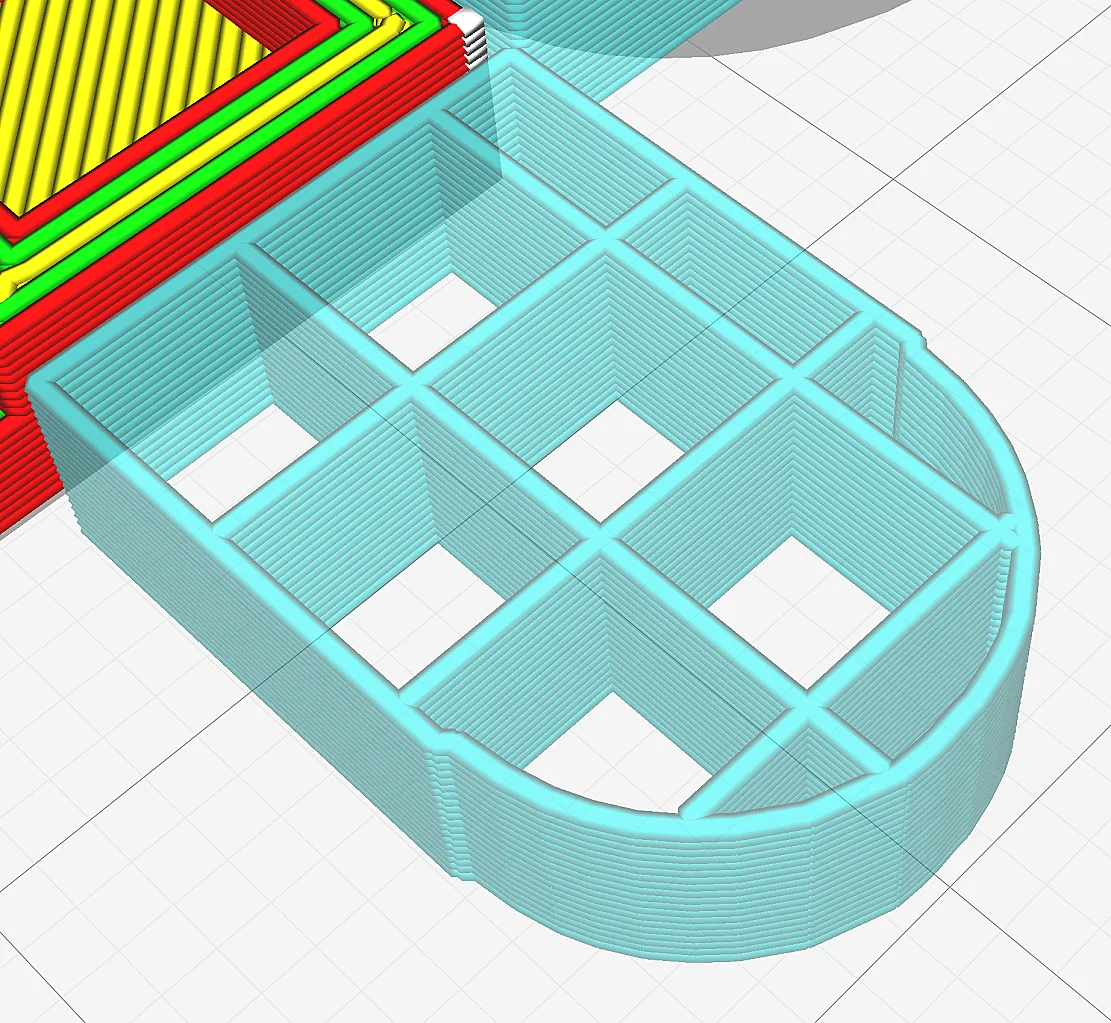
Common Support Infill Patterns:
- Grid: Good balance between strength and material usage; suitable for a variety of prints.
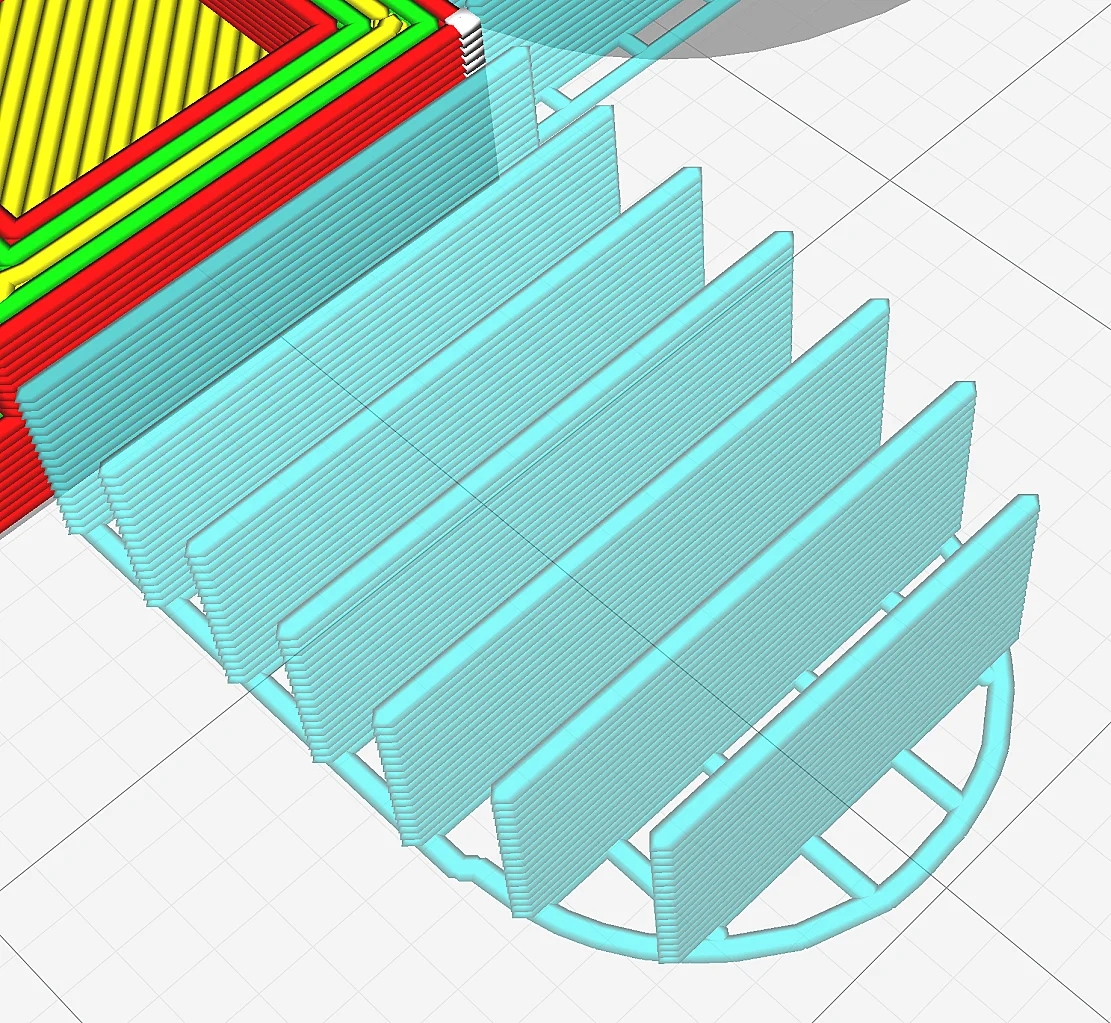
- Line: Quick to print, ideal for simple geometries with minimal overhangs.
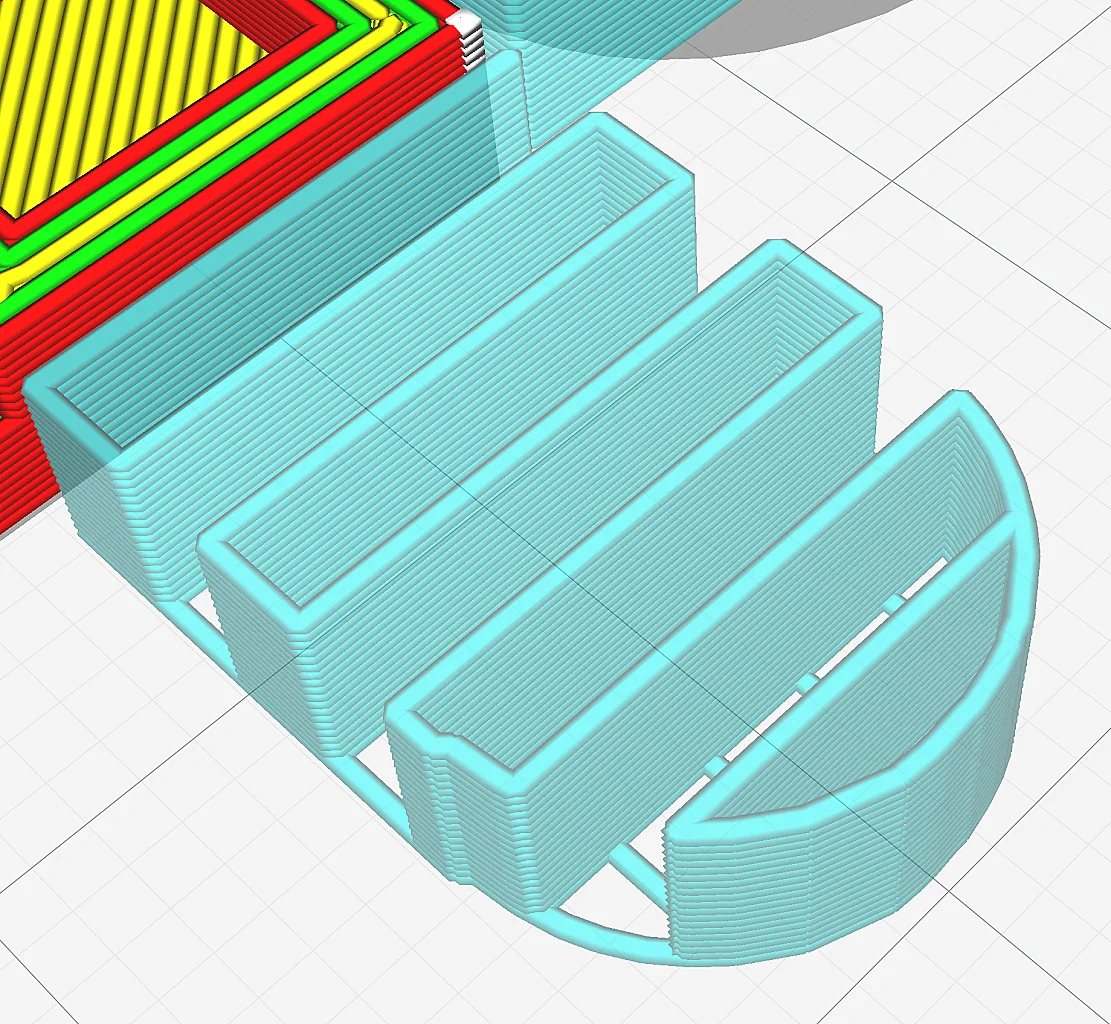
- Zigzag: Offers a good compromise between strength and ease of removal; great for larger prints with moderate overhangs. (my favorite for 90% of my projects)
- Concentric: Best for round or curved models, provides directional support.
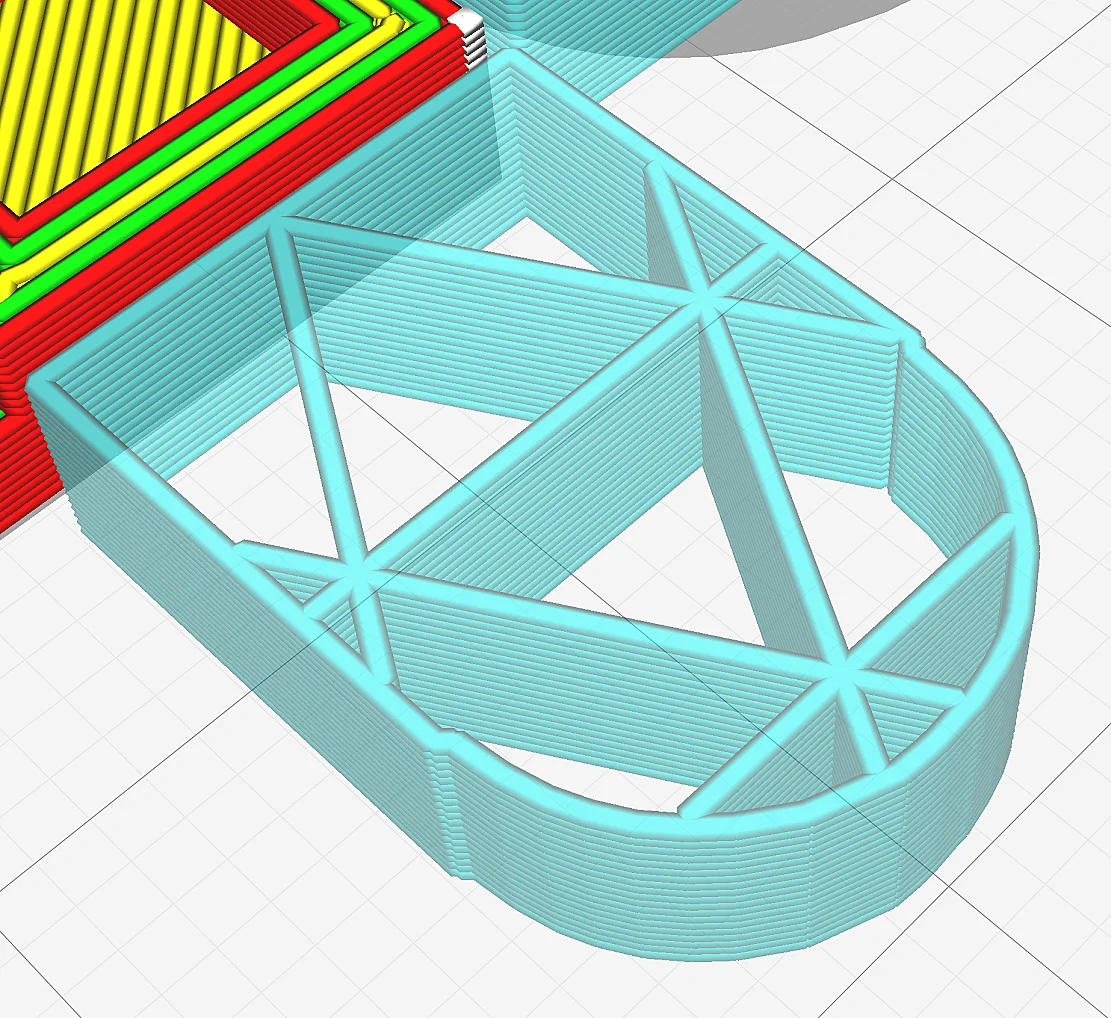
- Triangle: Provides high strength, particularly against lateral forces; good for complex models.
- Cross: Adds stability in multiple directions, useful for intricate support structures.
- Gyroid: Excellent for strong support in all directions while being efficient with material usage. (perfect for extra sturdy supports that are easy to remove)
Additional useful support infill settings:
- Support Brim: Enhances the adhesion of support structures to the build plate, preventing warping and ensuring a more stable base for the supports.
- Gradual Support Infill: Gradually increases the density of support infill where necessary, optimizing material usage and reducing print time while maintaining structural integrity.
- Support Wall Line Count: Increases the number of walls around the support structure, adding rigidity and reducing the likelihood of support failure during the print process.
Understanding 3D Printing Support Infill
Support placement plays a pivotal role in the 3D printing process by providing temporary structures for overhangs and bridges. The process is akin to the use of scaffolding in construction, offering essential support until the structure is self-sustaining. Without this critical support, overhangs may collapse, leading to a decrease in print quality and even potential print failures.

However, deciding how strong the infill should be through support infill values is a delicate balancing act. Too sparse support can lead to sagging or deformation, whereas excessively dense or improperly placed support can make post-processing a nightmare. Hence, comprehending support infill, its significance, and its correlation with print stability facilitates in maximizing 3D printing capabilities.
Relationship Between Support Infill and Print Stability
The density of the support infill can directly impact the stability of a 3D-printed object during printing. Imagine constructing a building with a weak scaffolding system. The building might still stand, but it would be at a higher risk of collapsing under stress. Similarly, insufficient support infill density can lead to unstable prints.
Finding the perfect balance between strength, print speed, and support removal ease is key. Here are some factors to consider when selecting the support infill density:
- High-density support infill provides increased rigidity, making it suitable for printing complex or detailed structures.
- However, it may also lead to increased print time and more challenging post-processing efforts.
- Consequently, selecting the support infill density should be tailored according to the individual needs of the print.
Choosing the Right Infill Density for Your Support Structures
One size does not fit all when it comes to support infill density. The ideal density varies depending on the complexity of the design and the intended use of the final product. For instance, small and lightweight models can utilize a lower infill density of 0-15%, while standard prints may use 15-30%, balancing strength and material efficiency.
Using less than 10% infill for your supports can result in flimsy or insufficient support, whereas going beyond 50% infill increases material consumption and print time unnecessarily. Therefore, thinking about the needed support infill density in accordance with the distinct needs of your print is a good idea before you start printing.
Of course, if you are only 3D printing as a hobby, you can find a “one fits all” solution easily. But to save on support material usage, it could be worthwhile to test how low you can set the density until the support structures fail.
Balancing Material Usage and Print Quality
When it comes to 3D printing, there’s a delicate balance between material usage and print quality. Too much material can lead to waste and increased printing time, while too little material can compromise the print’s quality, strength and stability. The key lies in adjusting the support infill percentage to optimize material usage.
Higher density supports consume more material and are used in detailed or complex areas for better support. In contrast, lower density supports are enough for normal areas and can save filament cost and print time.
Thus, the goal is to generate high-quality prints with as minimal support structures as possible!
Impact of High Support Density
While high support density can provide increased rigidity and better withstand vibrations, making it suitable for printing complex or detailed structures, it also has its drawbacks. High-density supports can be more challenging to remove, which could lead to longer post-processing efforts and potential damage to the print surface.
Moreover, high-density supports can negatively affect the surface finish of the print due to increased contact with overhangs. While a higher support density can lead to stronger supports, advantageous for the structural integrity of the print, it’s critical to weigh its effects on the print’s surface quality and subsequent post-processing work.
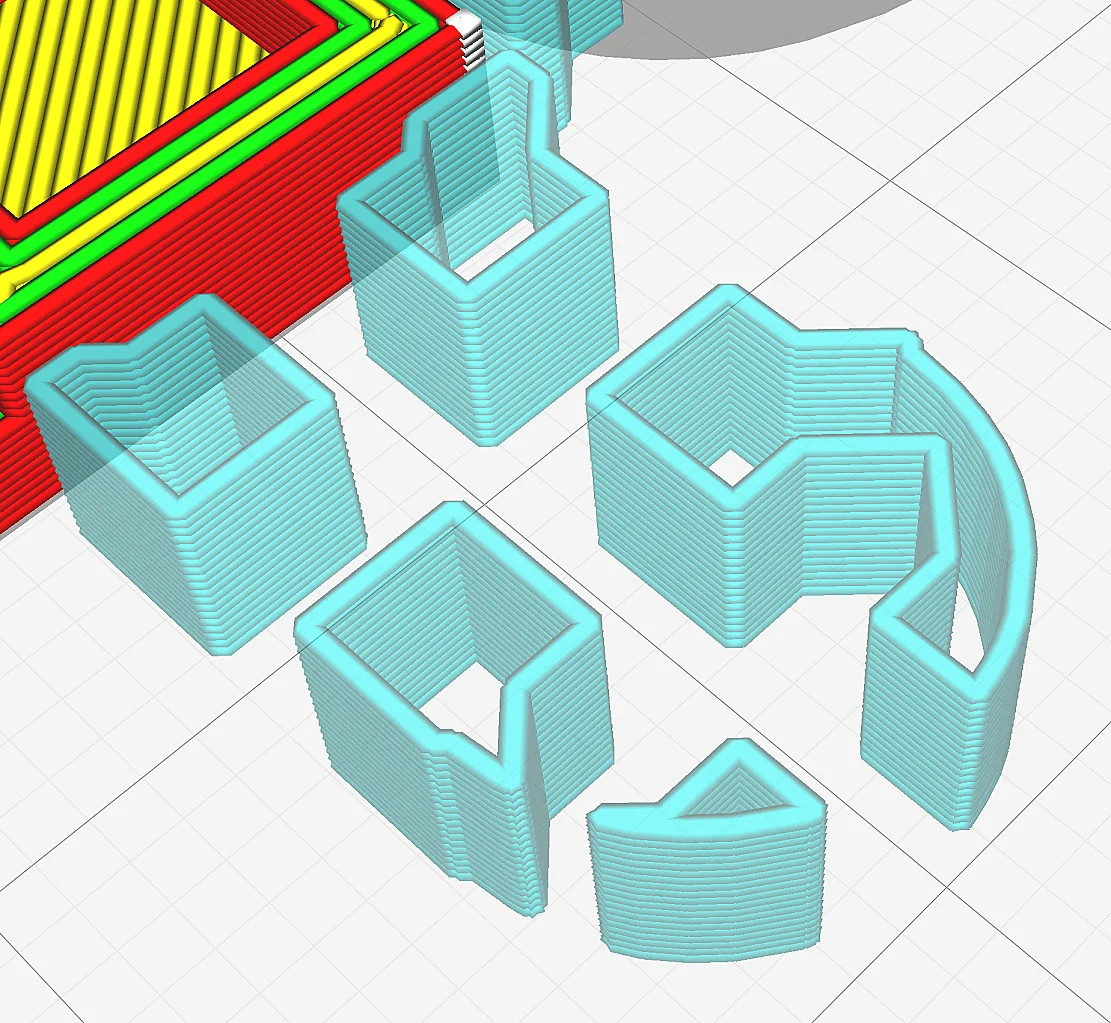
Selecting the Best Support Infill Patterns
Choosing the right support infill pattern is like choosing the right tool for a job. Different patterns have different strengths and are suited for different scenarios. Some patterns provide strength but use more material, while others are quicker to print but may not provide the same level of stability.
Slicers like Cura provide a variety of support infill patterns, such as:
- Line
- Zigzag
- Grid
- Concentric
- Triangle
- Cross
- Gyroid
You can choose from these options to customize your 3D printing projects according to your specific requirements. Depending on the specifics of your model, such as the geometrical shape and placement of overhangs, choosing the right pattern can maximize print success. We’ll explore these patterns in greater detail in the following sections.
Common Patterns: Grid, Line, ZigZag
Common support infill patterns like grid, line, and zigzag each have their unique strengths. Here are some details about each pattern:
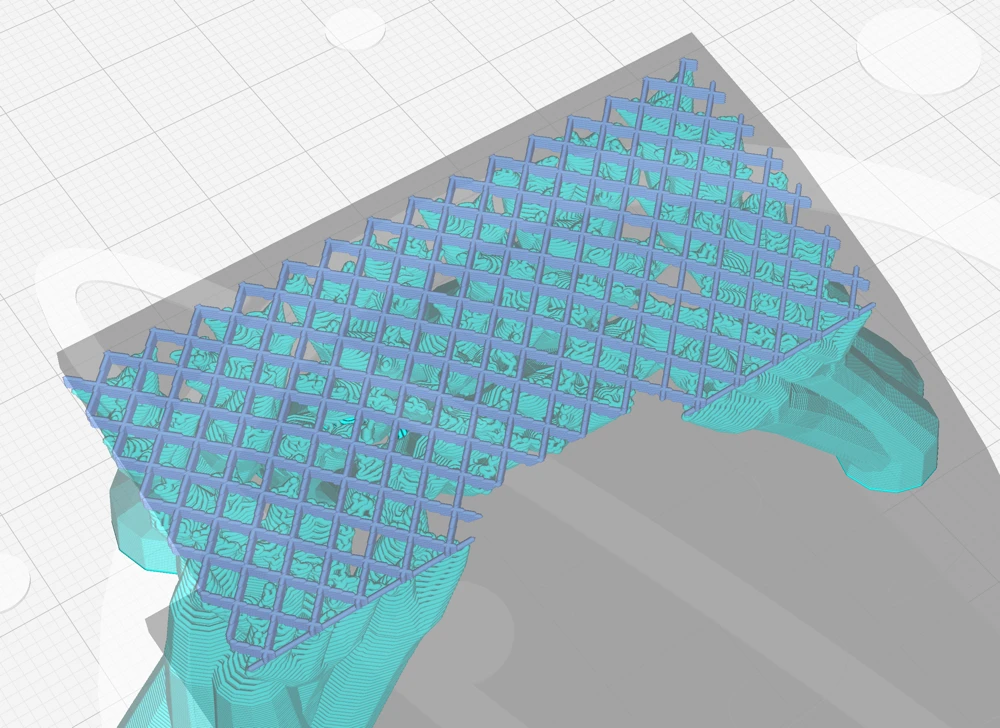
Grid Pattern:
- Description: The grid pattern is created by intersecting lines that form a grid-like structure. This pattern is applied in both horizontal and vertical layers to create a sturdy internal mesh.
- Strengths: It provides a solid balance between strength and material usage. The intersecting lines distribute forces and stress more evenly across the structure, offering better support for the layers above.
- Applications: Ideal for support structures that require a moderate level of internal support without excessive material consumption. It’s versatile, making it suitable for a wide range of printing projects where durability is a concern but extreme strength is not necessary.
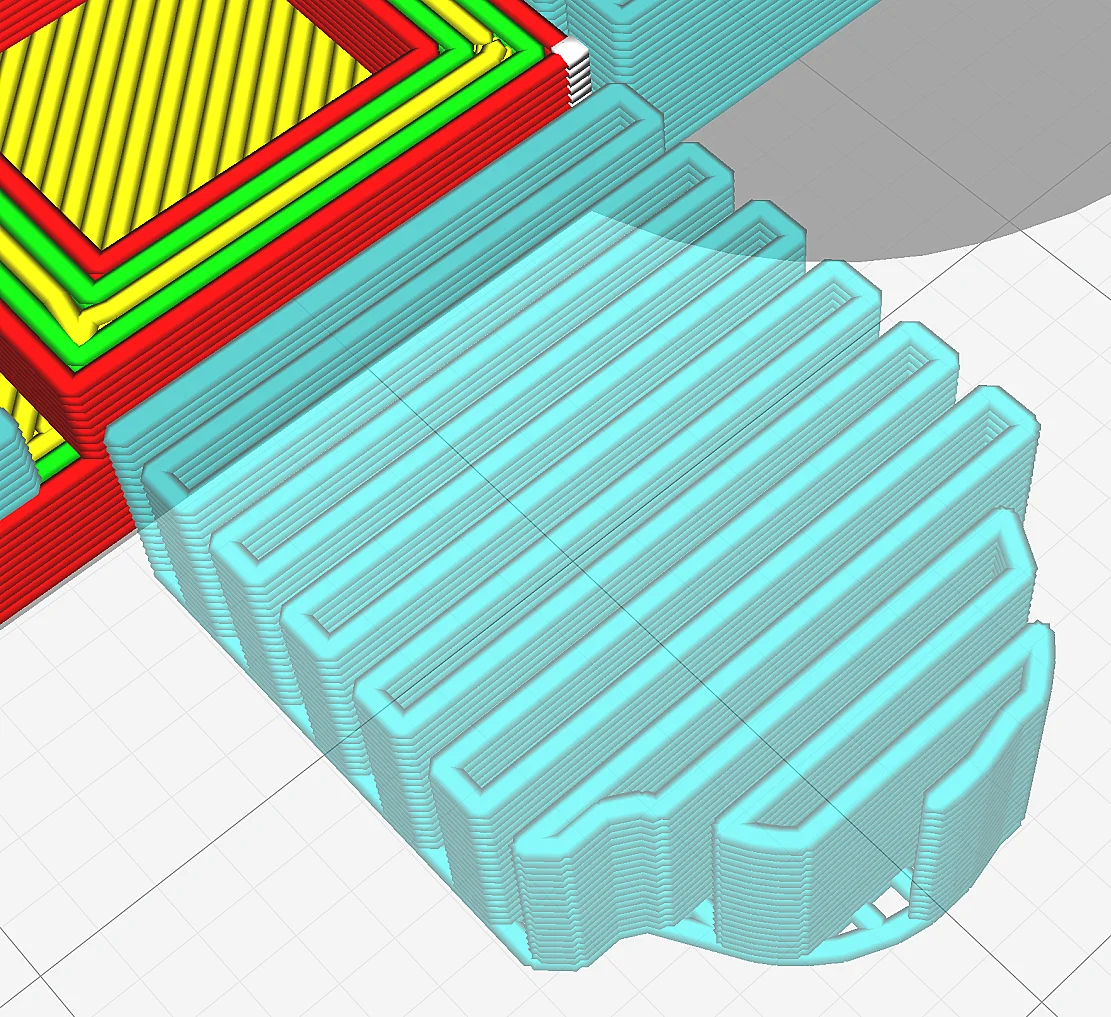
Lines Pattern:
- Description: This pattern consists of parallel lines that do not intersect, laid down in one direction for each layer, with the direction often alternating between layers. It’s one of the simplest support patterns to print.
- Strengths: Lines are quick and efficient to print, making this support pattern one of the most material and time-efficient choices. It provides enough support for many applications while conserving filament.
- Applications: Best used for supports that require minimal internal support or for the initial layers of support structures where complex strength is not critical. It’s excellent for rapid prototyping where speed and material conservation are prioritized.
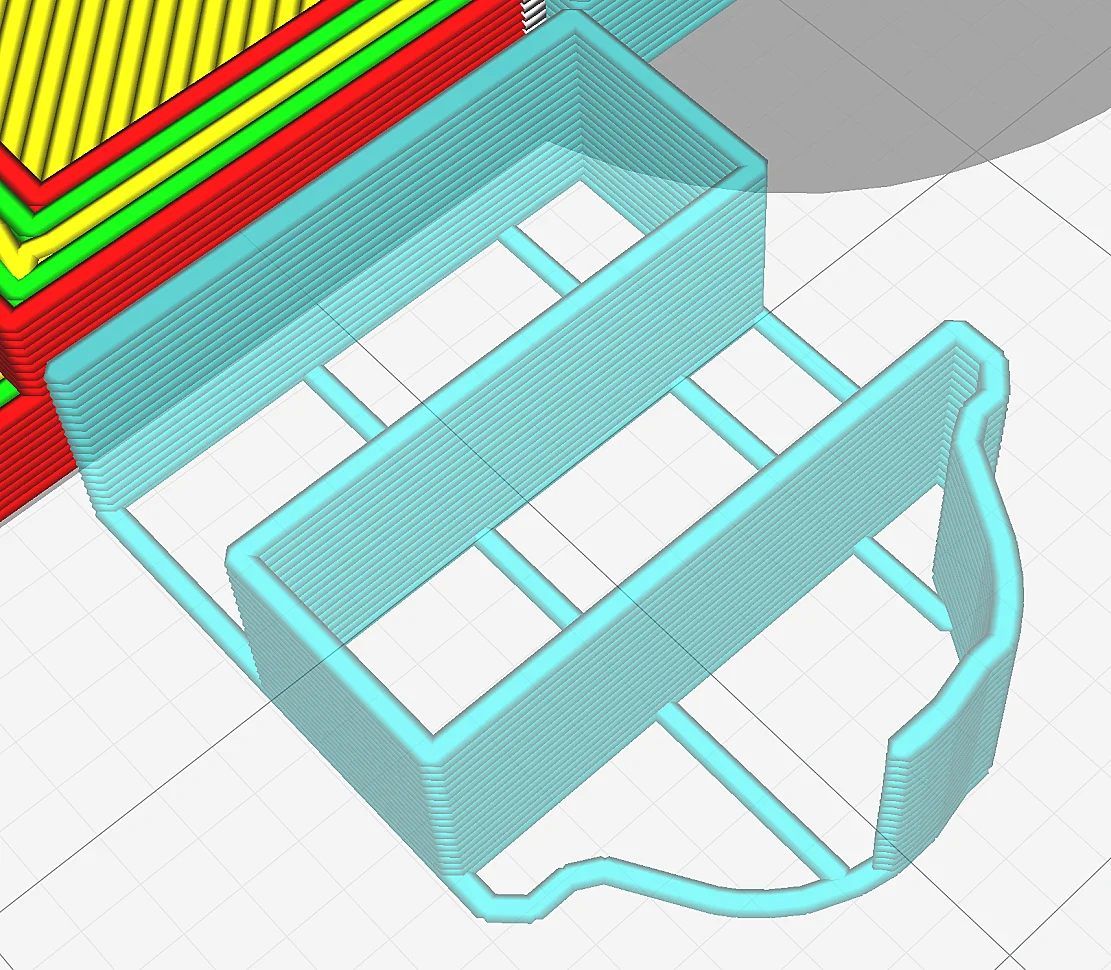
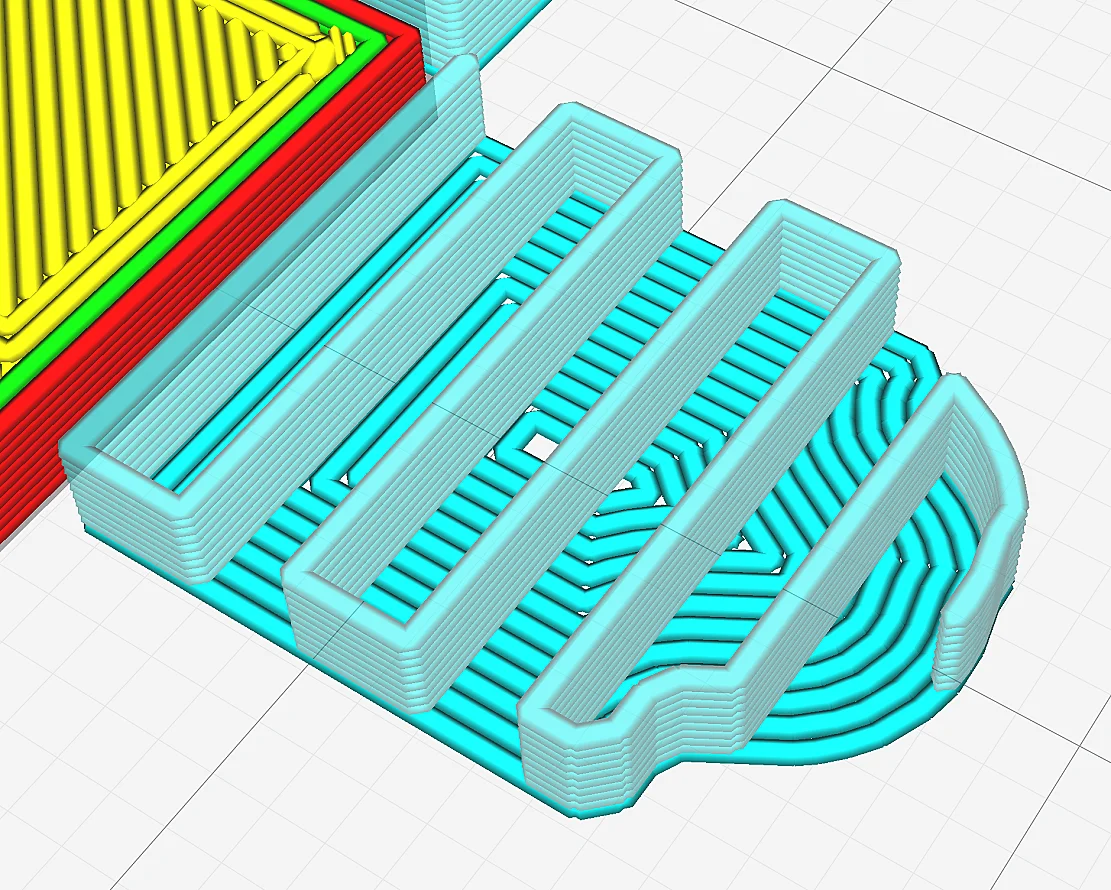
Zigzag Pattern:
- Description: Similar to the lines support pattern but with the lines zigzagging back and forth, creating a continuous line that moves back and forth in a zigzag manner. This pattern is also laid down in a single direction for each layer but provides a more connected form of support.
- Strengths: Zigzag combines efficiency with slightly enhanced strength and flexibility compared to the lines pattern. The continuous nature of the zigzag line helps in providing consistent support with easier removal, as it lacks the rigid structure of a grid but maintains good cohesion.
- Applications: Particularly useful for support structures due to the balance between support strength and ease of removal. It’s also a good choice for parts that require more internal support than what lines offer but where a full grid would be overkill or would waste material.
The grid pattern is preferable for its balanced strength and efficiency, lines are best for speed and material conservation, and zigzag offers a middle ground with easier support removal. Zigzag is my first choice for almost every project!
Advanced Patterns: Triangles, Cross, Concentric, Gyroid

Advanced support infill patterns, such as triangles, cross, concentric, and gyroid, offer more specialized benefits.
Triangles Pattern:
- Description: This pattern consists of triangular shapes that are aligned and stacked in a way that each layer supports the other. The triangles are arranged in a tessellating pattern, creating a strong and rigid internal structure.
- Strengths: Triangles provide excellent strength and rigidity due to the geometric stability of the shape. This pattern efficiently distributes stress throughout the print, making it highly durable and resistant to deformation under load.
- Applications: Ideal for supports that require high structural strength and stiffness. The triangle pattern is less commonly used for support structures and more for structural infill due to its strength.
Cross Pattern:
- Description: The cross pattern consists of lines arranged in a cross-like shape. This pattern can provide support with more spacing, reducing material usage.
- Strengths: Offers a good balance between strength and material efficiency. The intersecting lines provide more support than a single direction line pattern, without the material density of a full grid.
- Applications: Suitable for supports that require more strength than what lines offer but less density than a grid. It’s effective for medium-load supports that need a bit more stability without being overly difficult to remove.
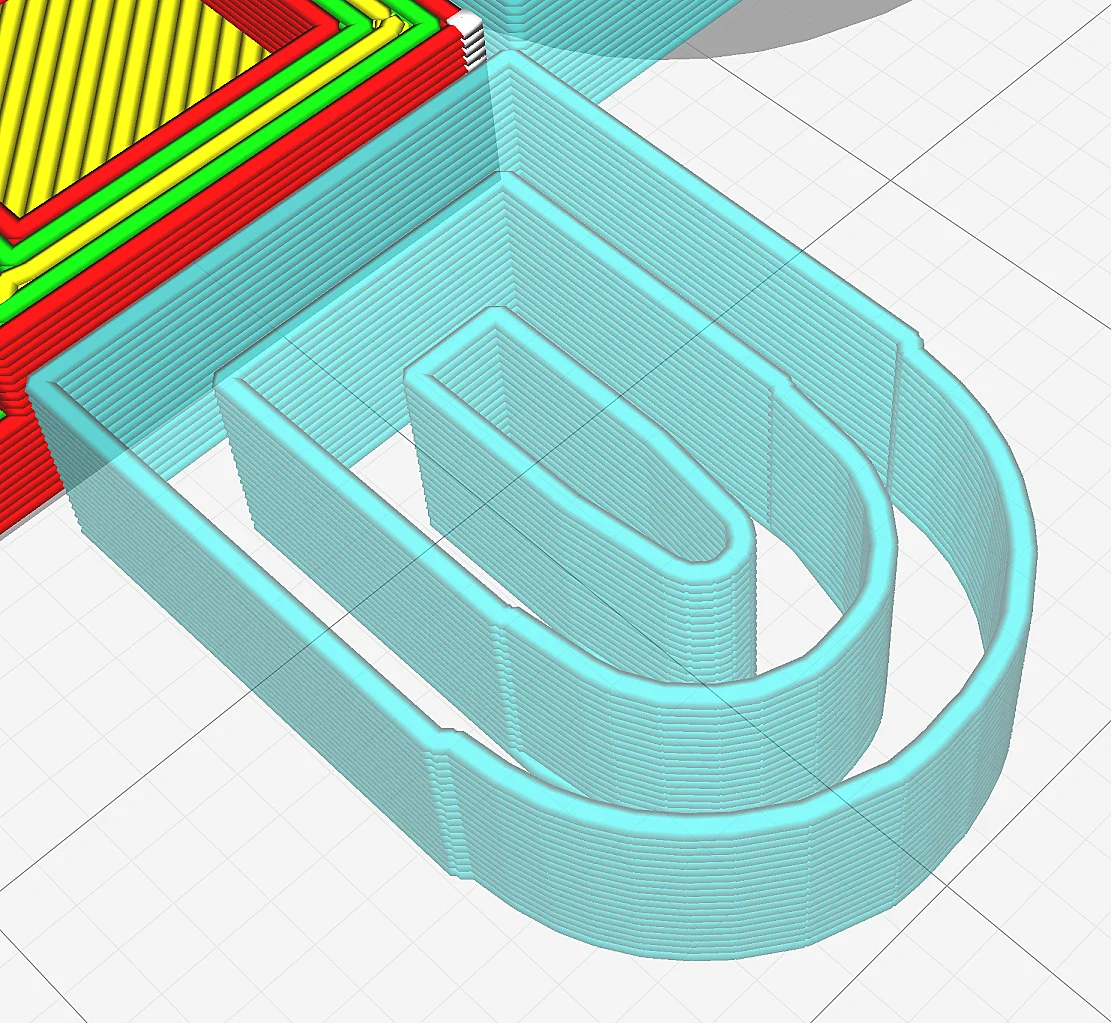
Concentric Pattern:
- Description: Concentric infill patterns follow the outer perimeter of the support, creating successive inward loops.
- Strengths: Provides excellent surface quality if the object surface is round. This results in a smooth finish and consistent support for overhanging areas.
- Applications: Best used for objects with curved or complex outer geometries where surface finish is critical.
Gyroid Pattern:
- Description: The gyroid pattern is a complex, three-dimensional sinusoidal structure that creates a continuous, smooth surface throughout the print. It is highly efficient in terms of strength-to-weight ratio and provides isotropic properties, meaning it has uniform strength in all directions.
- Strengths: Exceptional for its combination of lightweight structure with high strength and flexibility. The gyroid pattern is very efficient in filament usage and provides excellent support for overhangs, with good airflow throughout the print.
- Applications: Highly versatile, suitable for a wide range of applications, including parts or supports requiring uniform strength in all directions, flexible objects, and models where weight is a concern. It’s also favored for support structures due to its ease of removal and efficient use of material.
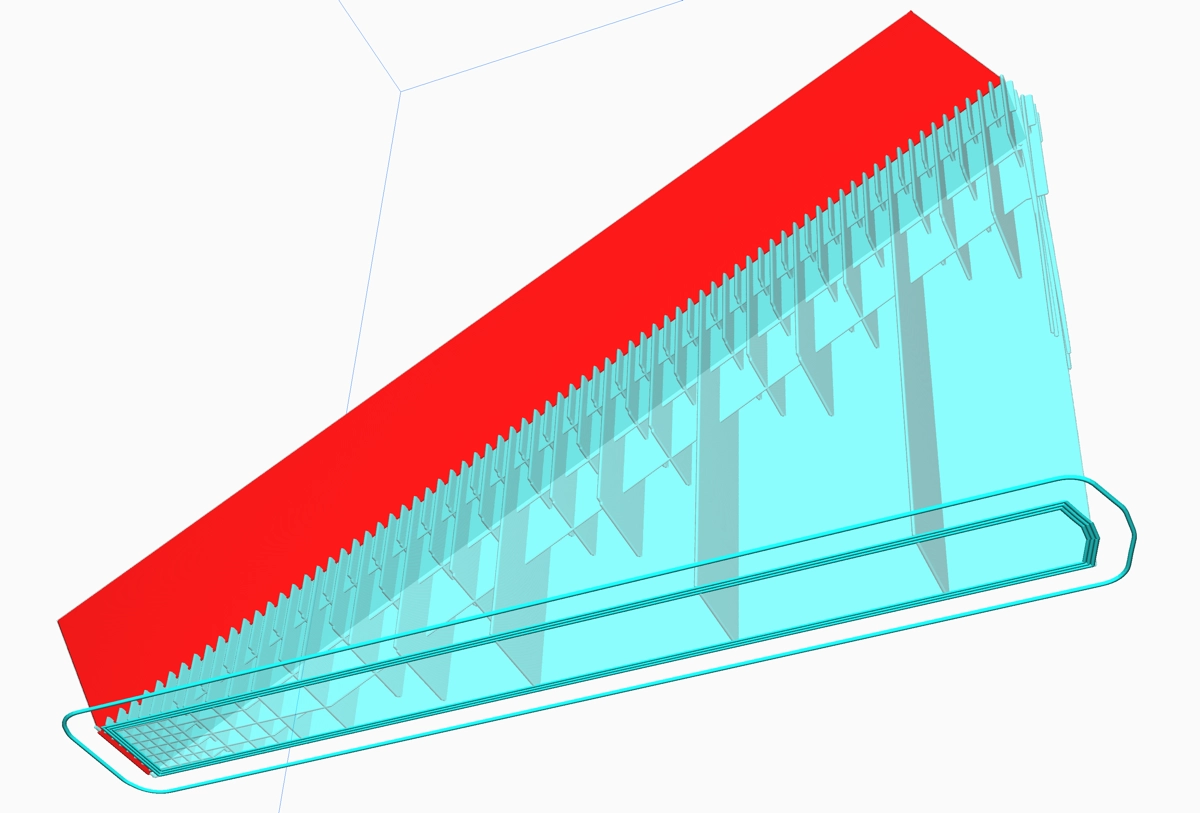
Increasing the Support Infill Layer Thickness
Just as you can adjust the support infill density and pattern, you can also control the support infill layer thickness. Increasing the support infill layer thickness can lead to faster printing rates and reduced print time, all while maintaining adequate support.
The support infill layer thickness must be a multiple of the ordinary layer height, or else it will be rounded to the closest layer height.
This configuration proves particularly beneficial when printing the support with a different material, leading to significant time savings and promoting more dependable printing by using optimal Cura support settings.
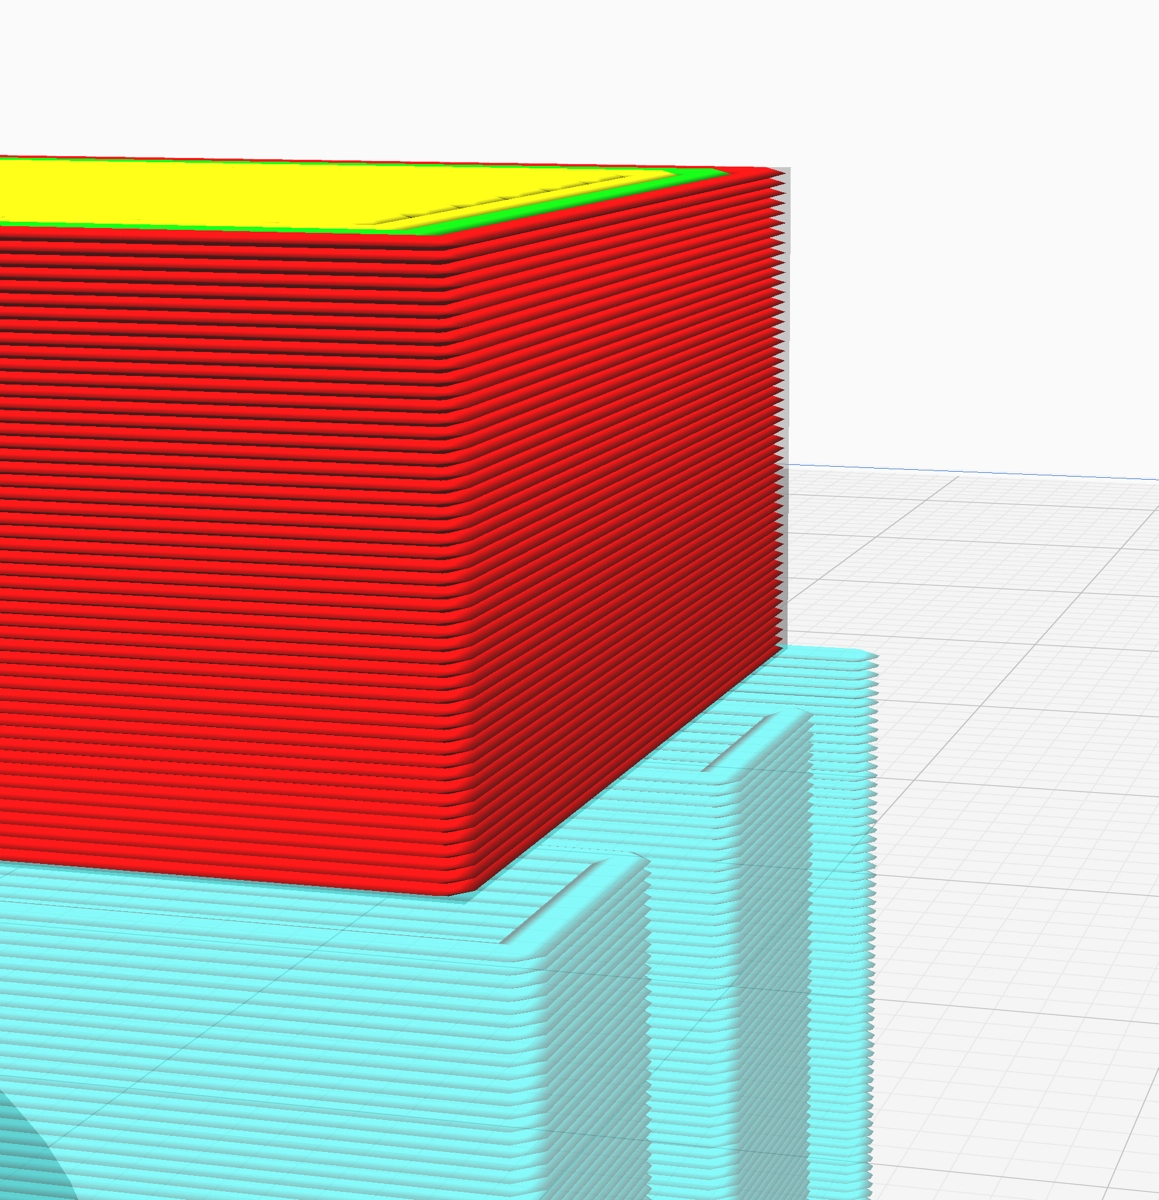
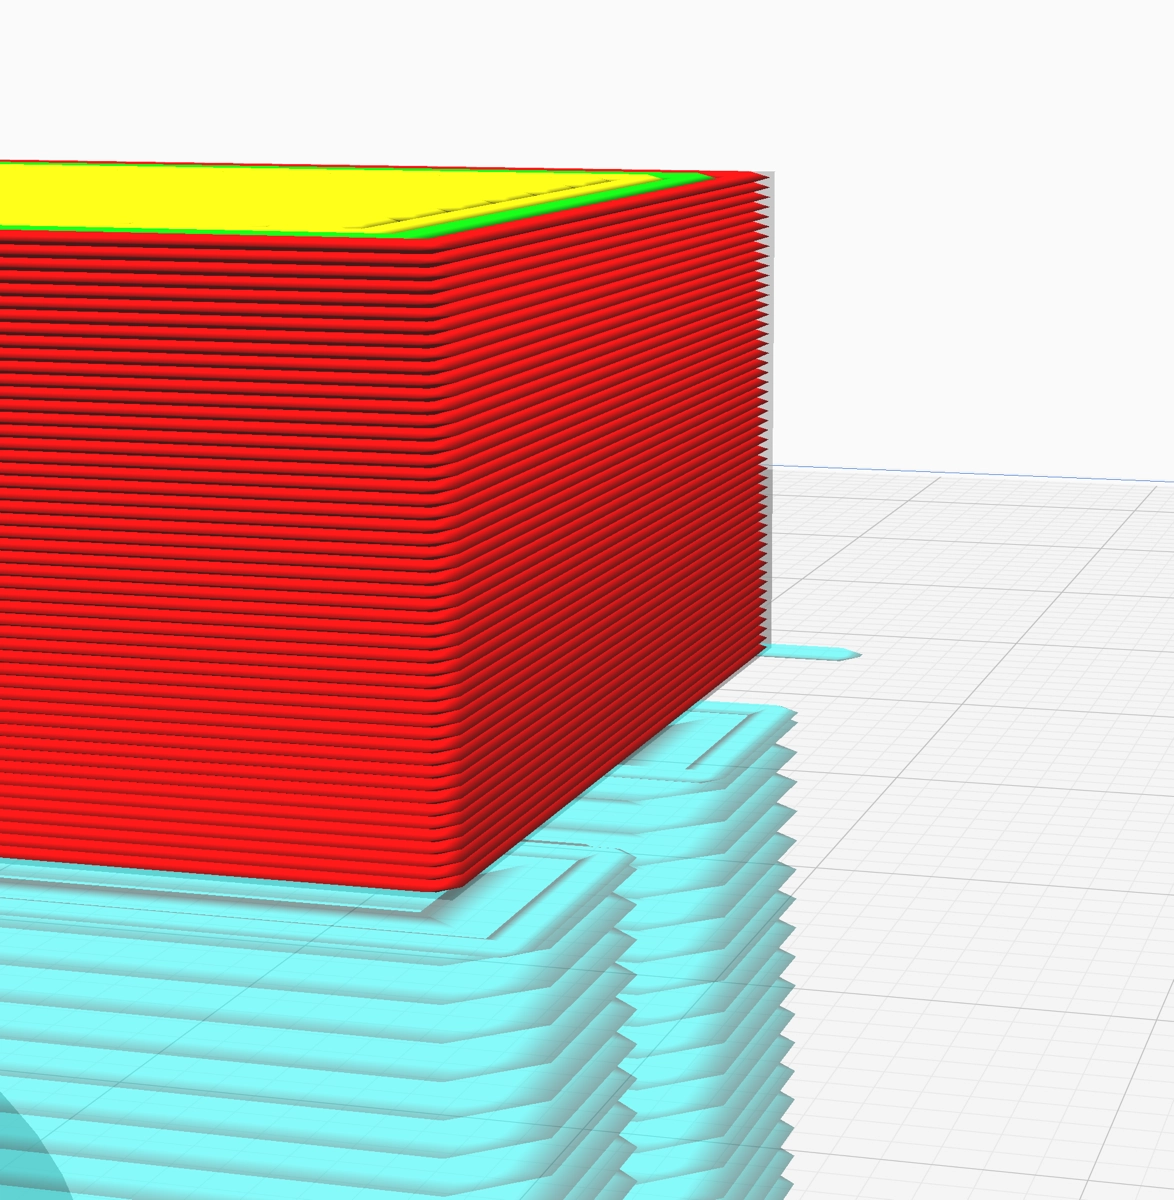
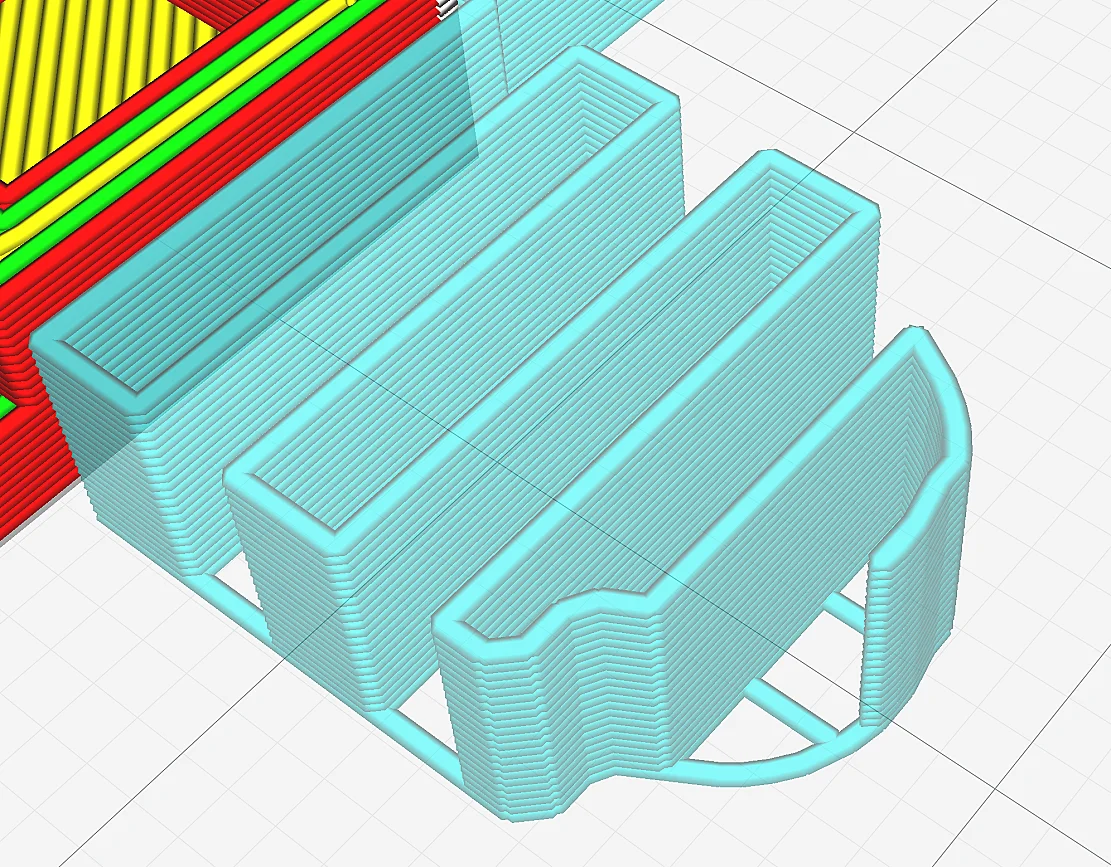
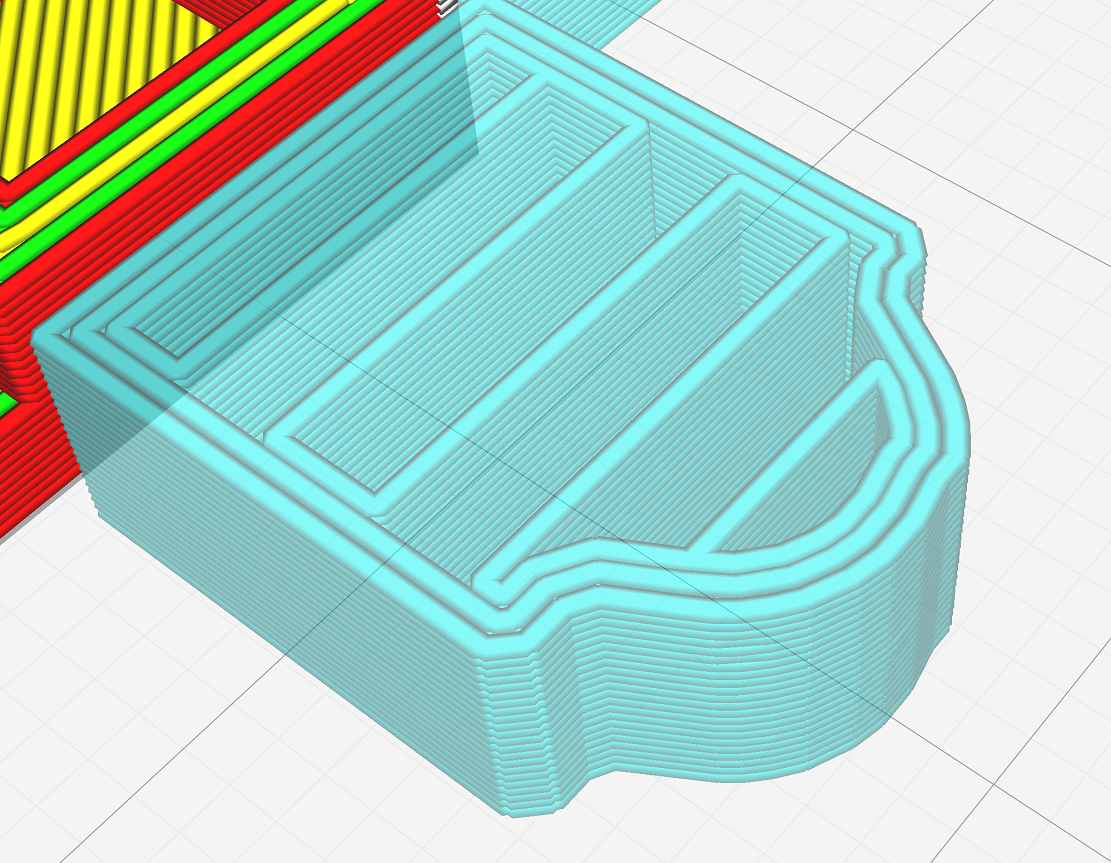
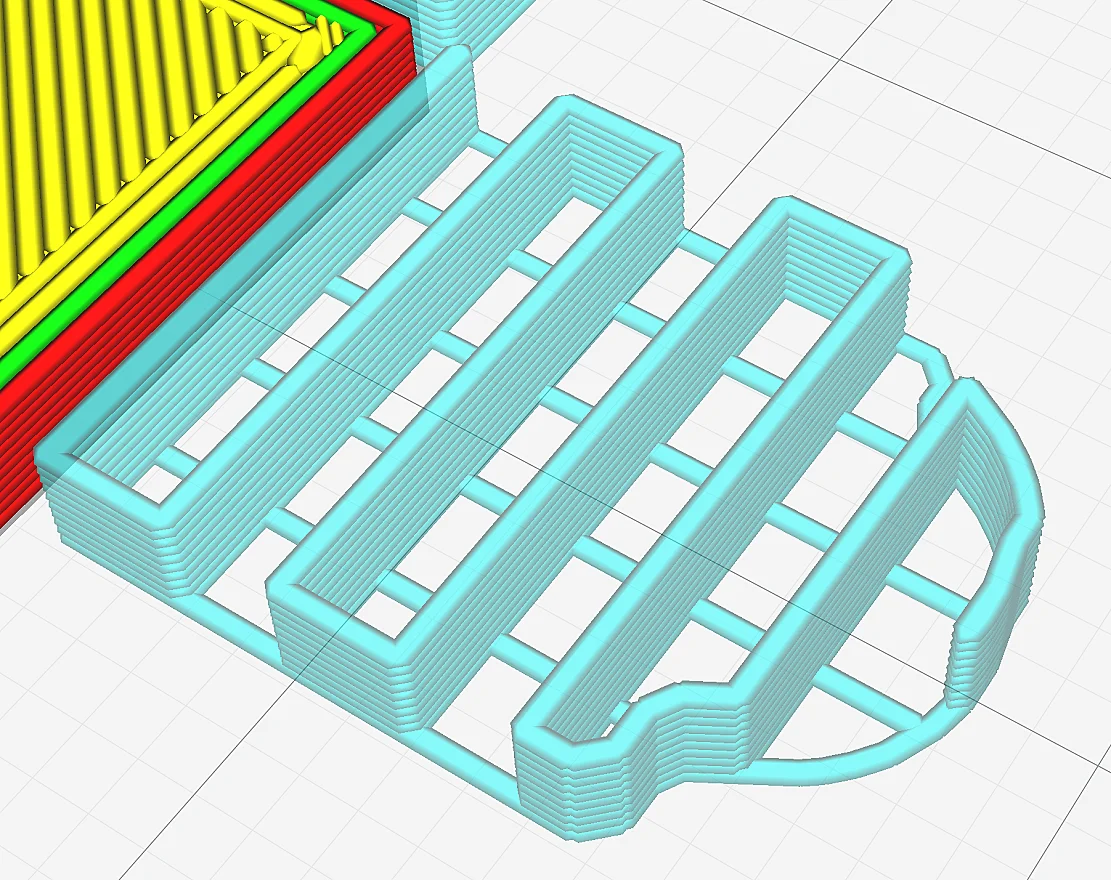
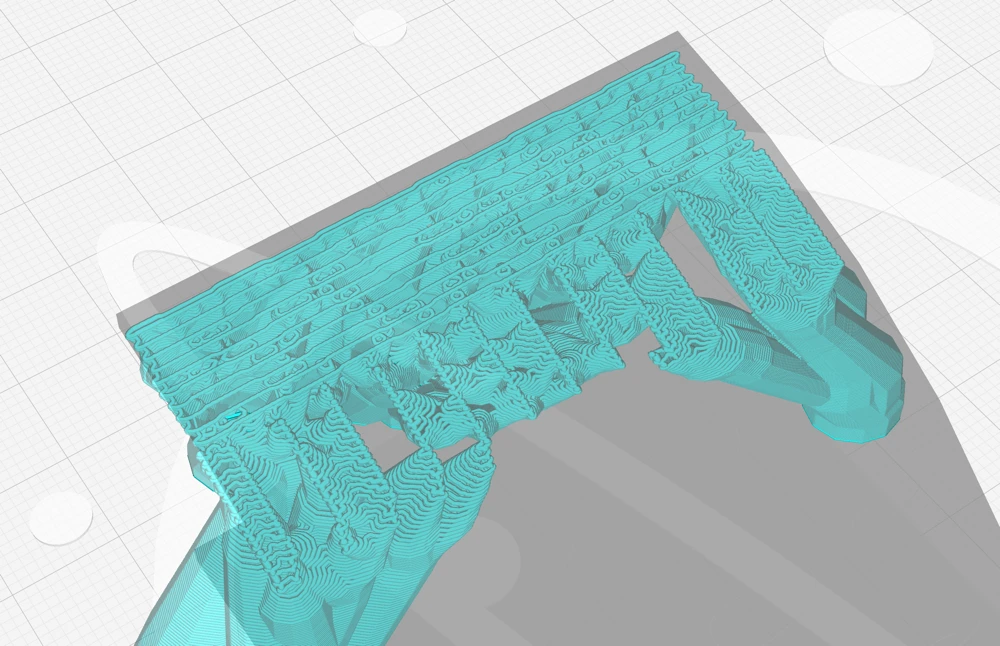
Save Support Material with a Gradual Support Structure
Gradual support infill steps are a game-changer. This technique saves material and reduces printing time by increasing density only at crucial points near the support roof layer. Rather than using the same density throughout the print, gradual support infill steps allow the printer to use a lower density in less critical areas at the bottom of the supports and a higher density where more support is needed.
Setting Up Gradual Support Infill

Setting up gradual support infill steps in your slicer software is a process that involves specifying when and how the infill density will change as the print height increases. Parameters such as ‘gradual support infill steps’ and ‘gradual support infill step height’ control the density transition and are crucial for setting up gradual support infill.
Advantages of Gradual Infill for Complex Models
Gradual infill offers several advantages for complex models. One of the main benefits is that it enhances support for intricate overhangs or severe angles by creating denser mesh patterns near the lower faces of the part. This means that the areas that need the most support get it, while less critical areas use less material.
Large parts, especially those that need support in upper layers, also benefit from minimized material waste. By using denser infill only where it’s needed, you can save material and reduce print time. Adaptive infill facilitates a balance between the print’s operational performance and its manufacturing efficiency, particularly for models that don’t necessitate even distribution of strength, by allowing varied density throughout the structure.
Even Sturdier With a Higher Support Wall Line Count
Adding more walls around the perimeter of the support can strengthen the support structures, reducing the chance that they topple over. This also allows the support to better support the very edges of the overhang area, where lines often end in mid-air, causing problems. By considering the support overhang angle, you can optimize the design and ensure a more stable structure.
However, there’s a trade-off. The extra walls also take more time to print, use more material, and make the support harder to remove from the object afterwards. Therefore, while this configuration can enhance the support’s strength, it’s imperative to evaluate its implications on the printing time, material expense, and post-processing tasks.
Enhancing Adhesion with a Support Brim
Believe it or not, a simple brim can greatly enhance the adhesion of your support structures to the build plate. When the support brim is activated, an additional brim will be drawn inside the support area on the first layer, providing more surface area where the support can adhere to the build plate.
A support brim can increase the printing duration and material cost slightly, but since it’s only on the first layer, this is usually minimal.
Tree Support Density
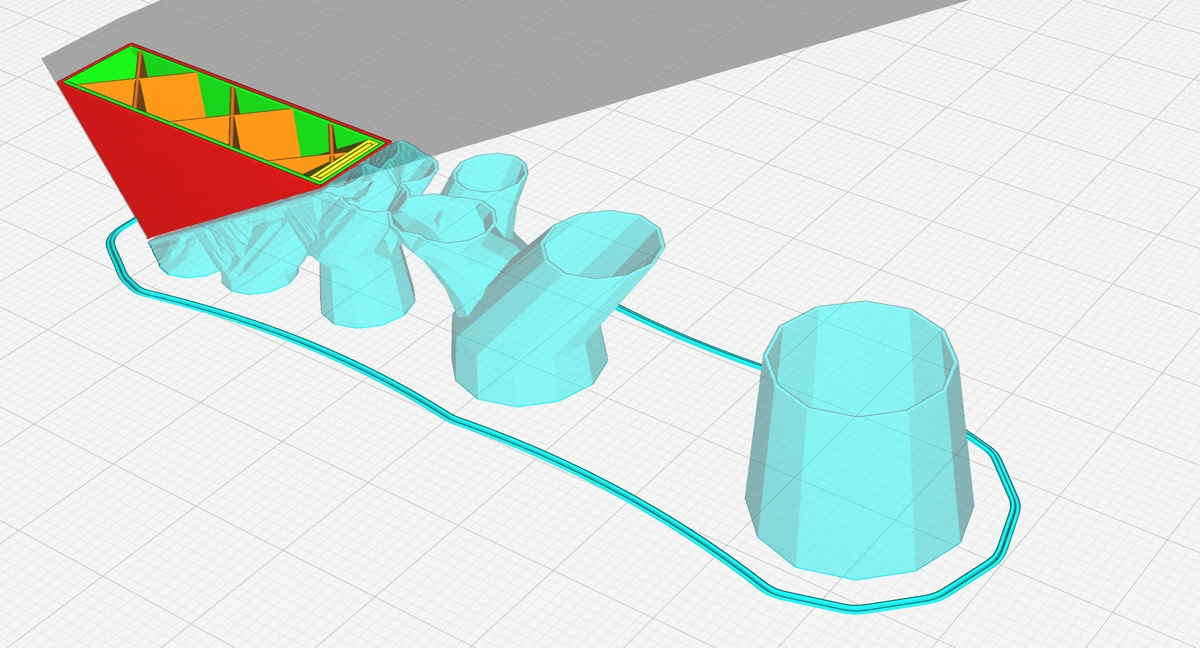
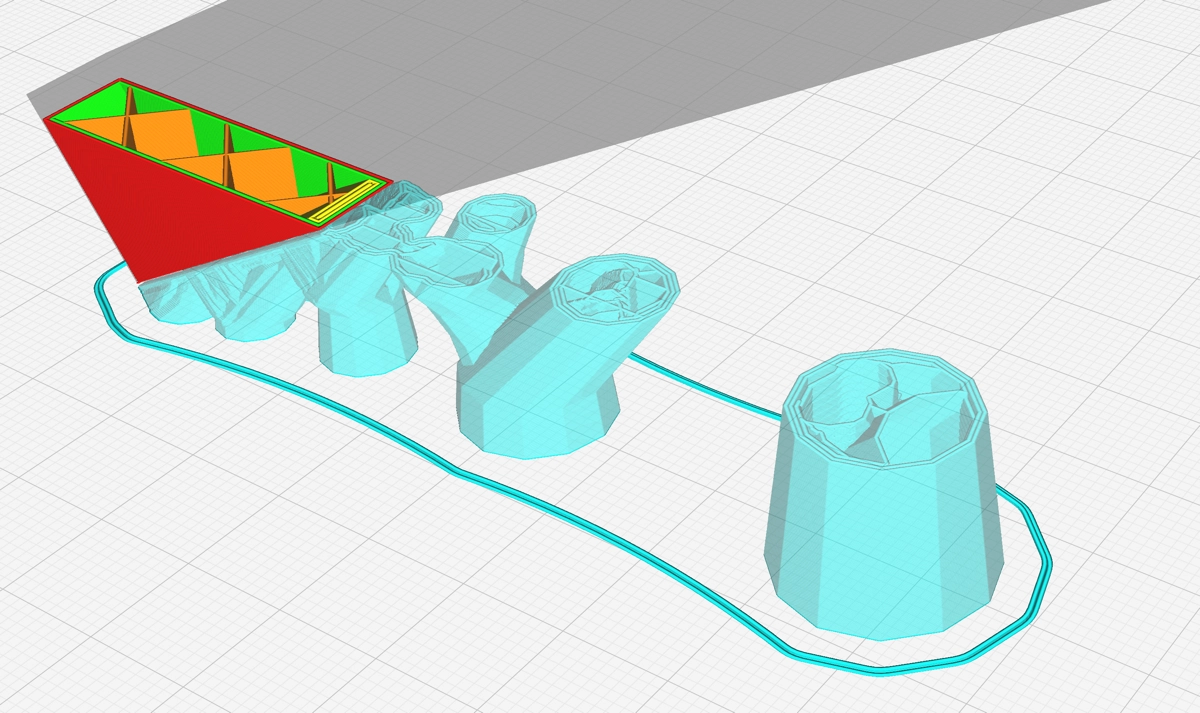
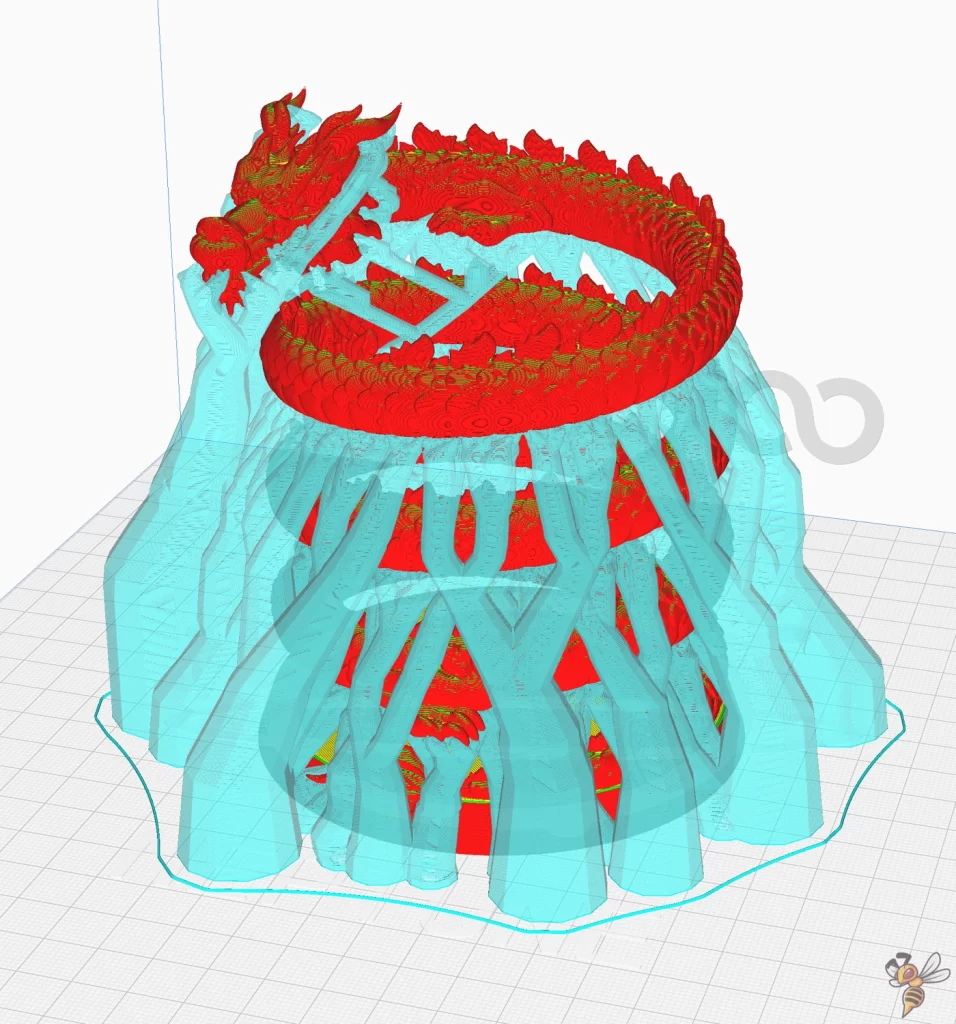
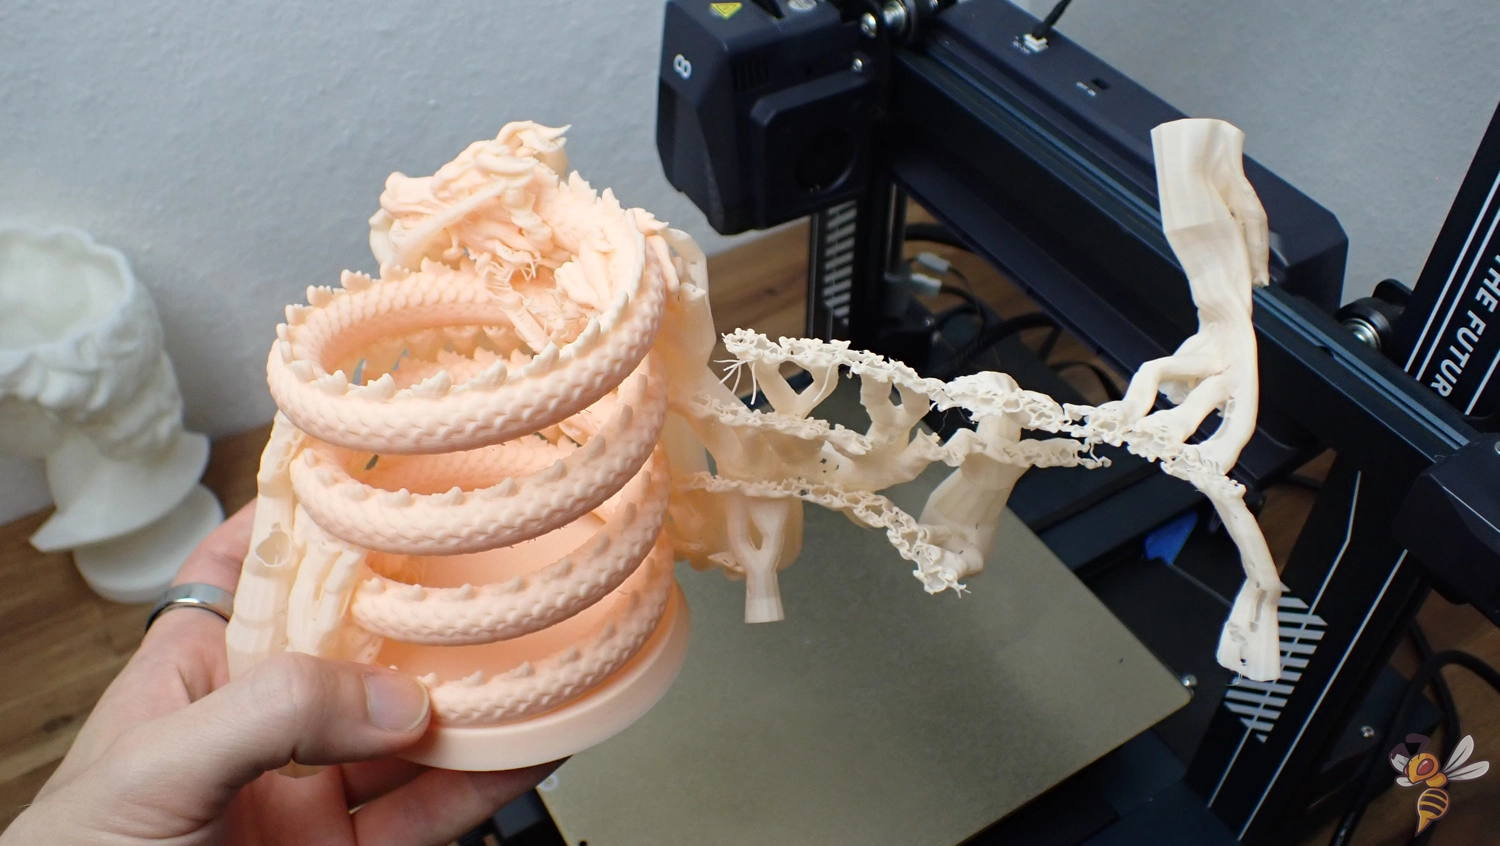
Tree supports are a unique type of support structure that mimics the branching of trees. Tree supports generate support material in an organic way to support overhangs and complex geometries with minimal contact points on the model, which can lead to a cleaner post-processing experience.
Unlike traditional grid or line supports, tree supports are designed to branch out from the build plate and provide support only where necessary. This method reduces the amount of wasted material and can decrease print times. Tree supports are typically printed with a 0% infill because they rely on their contour lines to provide strength. The contour lines follow the shape of the tree structure’s branches, creating a supportive exoskeleton.
While tree supports are generally printed with 0% density, it’s possible to increase their strength by adjusting the density settings. By increasing the density, you can improve the support’s ability to hold up more substantial overhangs. However, this comes with a trade-off of using more material and potentially making the supports more challenging to remove.
Solving Common Support Infill Challenges
While 3D printing is a powerful technology, it’s not without challenges, especially when it comes to supports. Two of the most common challenges are difficulty with support removal and ensuring surface quality post-support removal. Both of these are heavily influences by the density and pattern of your supports.
In the following sections, we will provide some practical tips on how to overcome these common challenges. Armed with some knowledge and a few handy tips, you’ll tackle these challenges proficiently!
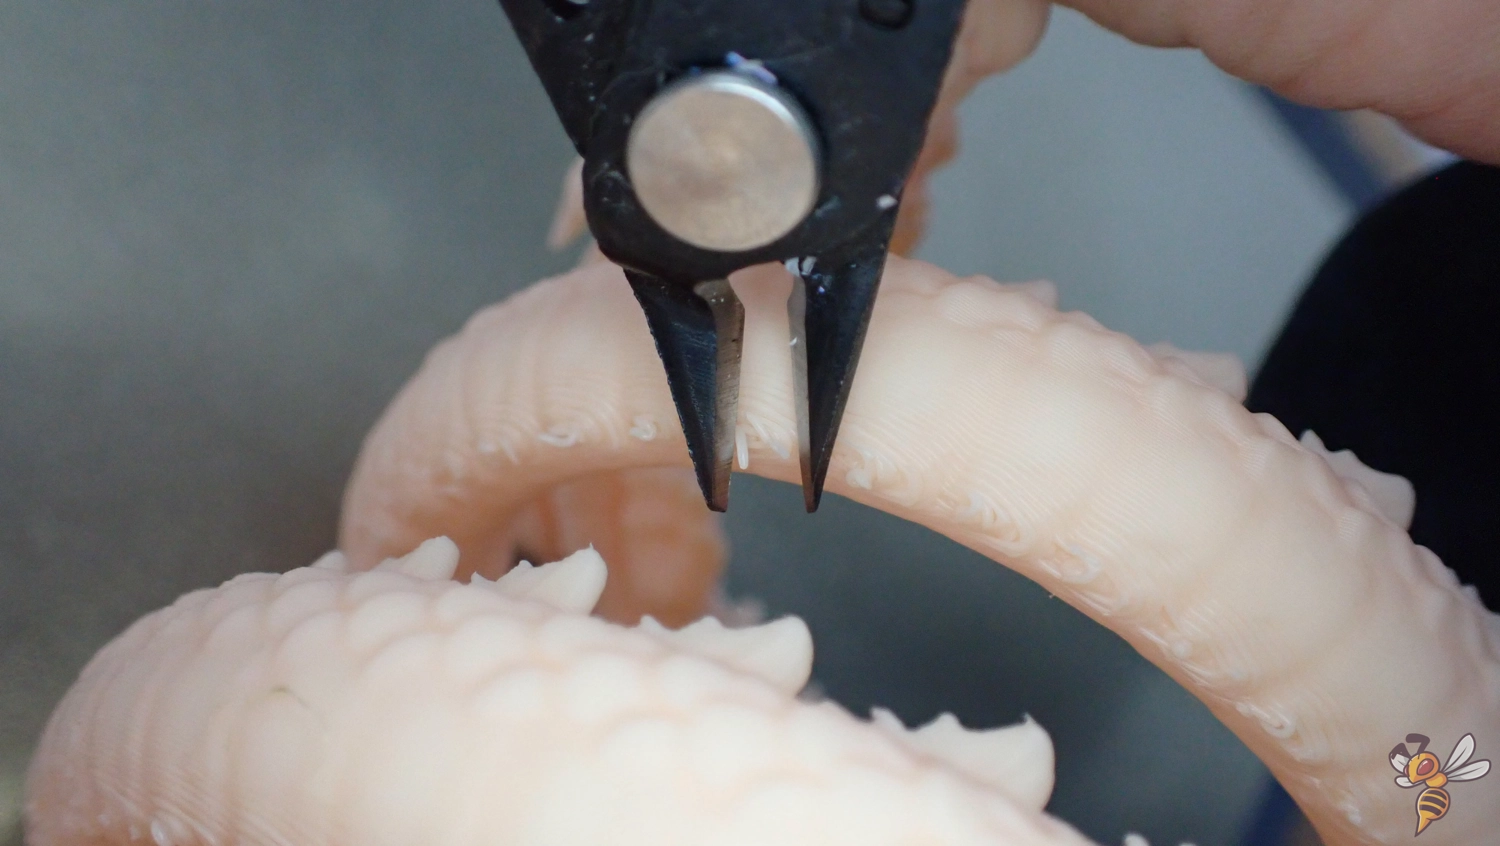
Difficulty with Support Removal
Removal of support structures can be a tricky process. High-density supports can be challenging to remove, potentially leading to longer post-processing efforts and possible damage to the print surface. Thankfully, there are several strategies you can use to make this process easier.
One of the most successful tactics is to either reduce the support density or tweak the thickness and density of the support interfaces. This can make the supports less dense and therefore easier to remove.
For more stubborn supports, you can gently heat the model with a hairdryer to soften the support structures, making them more flexible and easier to detach. Here is the full guide on that technique: How to Remove 3D Printing Supports (FDM) – Smooth & Easy
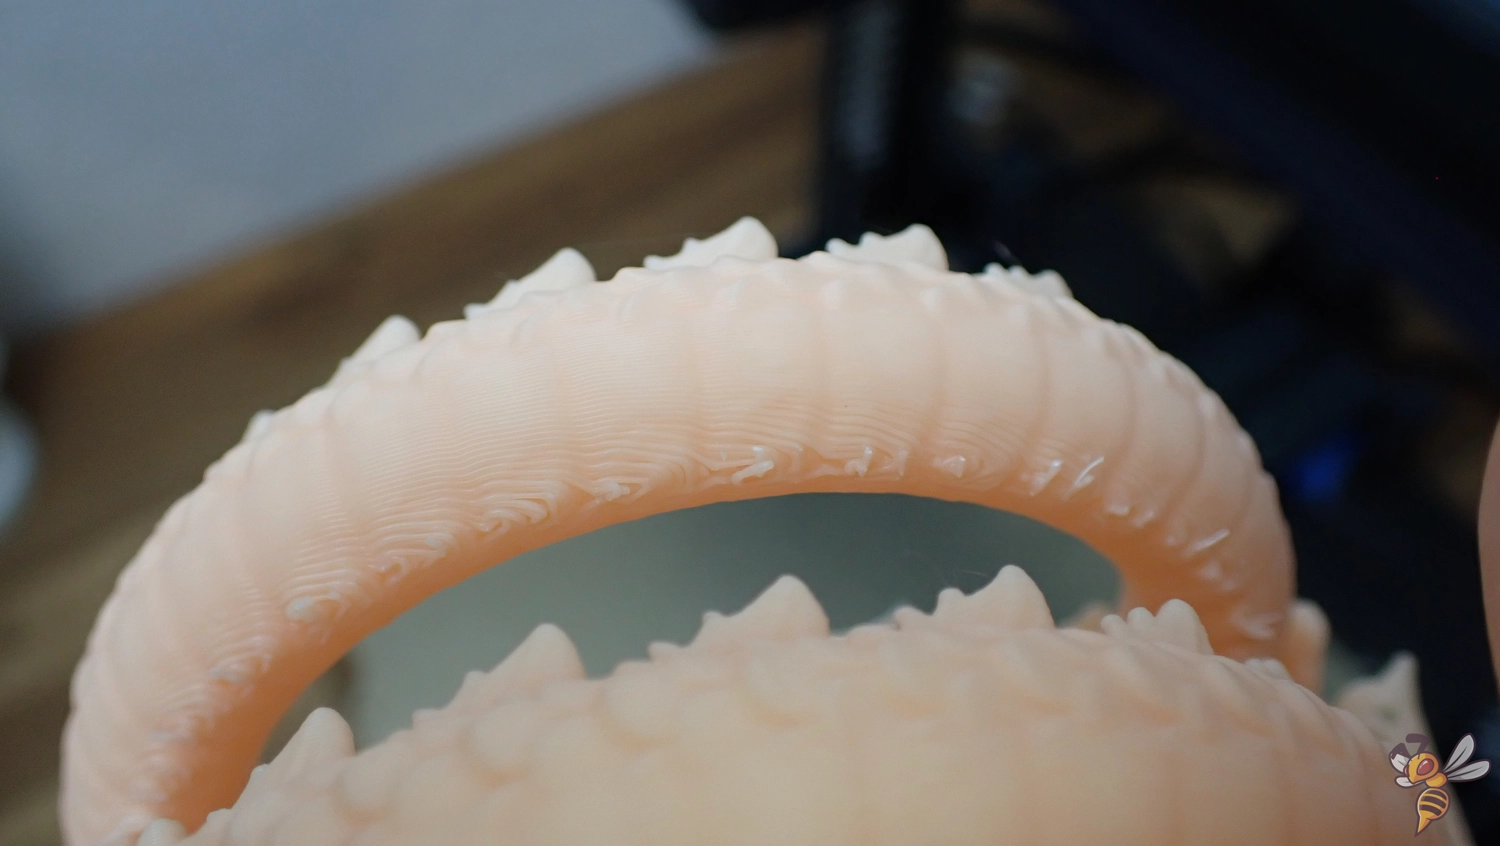
Ensuring Surface Quality Post-Support Removal
Once the supports are removed, you may find that the surface where the supports were attached isn’t as smooth as you’d like. But don’t worry, there are solutions for that too! One of the most productive approaches involves utilizing the Support Interface option in your slicer software.
To enable the support interface, simply activate this option in the software settings. This creates a thin layer between the support structure and the model, serving as a buffer for easier support removal without damaging the model’s surface.
Additionally, you can smooth out any remaining imperfections with a bit of sandpaper. Start with a coarse grain to remove larger imperfections, then switch to a finer grain to smooth out the surface.
Disclosure: This website is the property of Martin Lütkemeyer and is operated by Martin Lütkemeyer. Martin Lütkemeyer is a member of the Amazon Services LLC and other Affiliate Programs. These are affiliate advertising programs designed to enable websites to earn advertising revenue through advertising and linking to Amazon.com and others. Links marked with * are affiliate links.
