
- Wet Filament: Prevention, Symptoms & Drying - July 18, 2024
- Sovol SV08 – Best PrusaSlicer Settings & Profile - June 26, 2024
- Sovol SV08 – Best Orca Slicer Settings & Profile - June 26, 2024
Disclosure: Links marked with * are Affiliate Links. I earn from qualifying purchases if you decide to make a purchase through these links – at no additional cost for you!
While printing PLA filament, a heated bed helps with adhesion. But you can’t just increase the print bed temperature endlessly – the right balance is crucial to avoid printing errors.
- Higher bed temperatures lead to better adhesion because they keep the base of the 3D print warm, allowing the PLA filament to melt slightly and fuse with the print bed. When the filament cools and solidifies uniformly on a heated bed, it sticks better, reducing the chances of warping or the print coming loose during the printing process.
- But if the bed temperature is too high, it can lead to other issues such as the print base spreading too much, commonly referred to as an elephant foot. The excessive heat keeps the filament too soft for too long, causing the bottom layers to squish outwards.
In this article, you’ll find the optimal bed temperature for PLA and how to find the fine balance in bed temperature for your specific filament brand and print bed surface.
Table of Contents:
Optimal PLA Bed Temperature Range
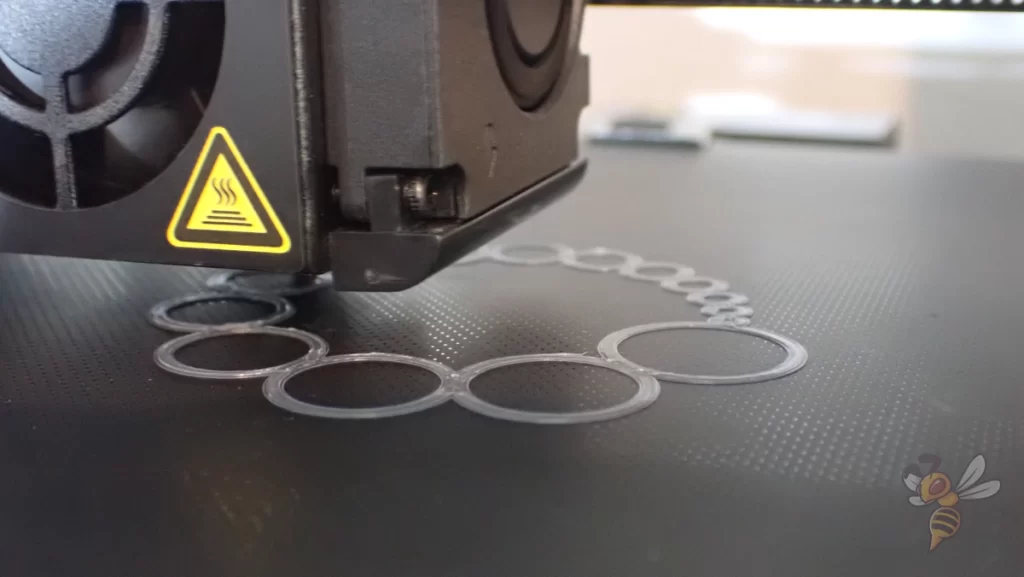
The ideal bed temperature for PLA is between 55 °C and 65 °C. This range provides a good balance, allowing the PLA to adhere properly without warping and without forming an elephant foot.
Temperatures within this range help the first layer of PLA to stick to the heated bed, ensuring a smooth and strong foundation for the rest of your print.
- Start at 55 °C: Begin with your bed set to 55 °C, which is often sufficient for most PLA filaments.
- Adjust if Necessary: If you notice the first layer is not sticking well, increase the temperature in 5 °C increments, but try not to exceed 65 °C.
- Monitor and Modify: Observe your prints and adjust the temperature based on performance and the specific brand of PLA you are using. Some brands may require slight adjustments within this range for optimal adhesion.
Remember, the goal is to achieve a bed temperature that allows the PLA to stick during printing but does not cause it to warp or deform. Experimenting within this suggested range and closely monitoring your results will lead you to the best setting for your specific 3D printer and filament combination.
Fine-Tuning Bed Temperature Settings for PLA
Fine-tuning the bed temperature is key to getting a perfect first layer. Your goal is to find a balance that ensures strong adhesion without causing issues like an elephant foot.
Here’s how you can adjust and recognize the signs of temperatures that are too high or too low:
Signs your bed temperature is too high:
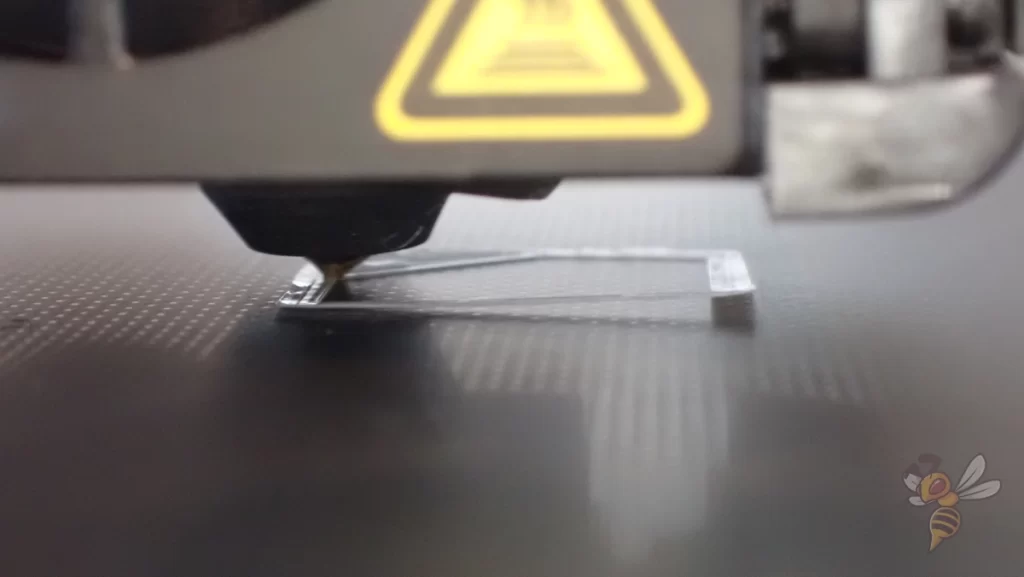
- Warping: Edges lift off the bed as the print cools unevenly.
- Soft Base: The first layer is too soft or squishy, indicating the PLA hasn’t cooled sufficiently. This can lead to the first layers being too wide.
- Excessive Stickiness: The print is difficult to remove, risking damage to both the print and the bed.
Signs your bed temperature is too low:
- Poor Adhesion: The first layer doesn’t stick, leading to prints moving or sliding on the bed.
- Rapid Cooling: The PLA cools too quickly, failing to bond properly with the bed or subsequent layers.
- Incomplete Prints: Prints may fail early if the first layer doesn’t adhere well, leading to misalignment or detachment.
Adjust the temperature settings if you notice one or more of the mentioned signs. Start at 55 °C and observe. If you experience signs of poor adhesion, gradually increase the temperature by 5 °C until improvements are seen. If the bed temperature seems too high based on the signs above, decrease in small increments, allowing each print to guide further adjustments.
Rule of thumb: If you do not achieve good adhesion with PLA at 60 °C, you should first try to improve the bed adhesion with other methods before increasing the bed temperature.
Improving Print Bed Adhesion without Increasing the Bed Temperature for PLA
If the only way to get enough bed adhesion is by using too high temperatures that lead to an elephant foot, you should implement some of the methods below. These methods will help you improve adhesion and obtain a perfect first layer at 60 °C.
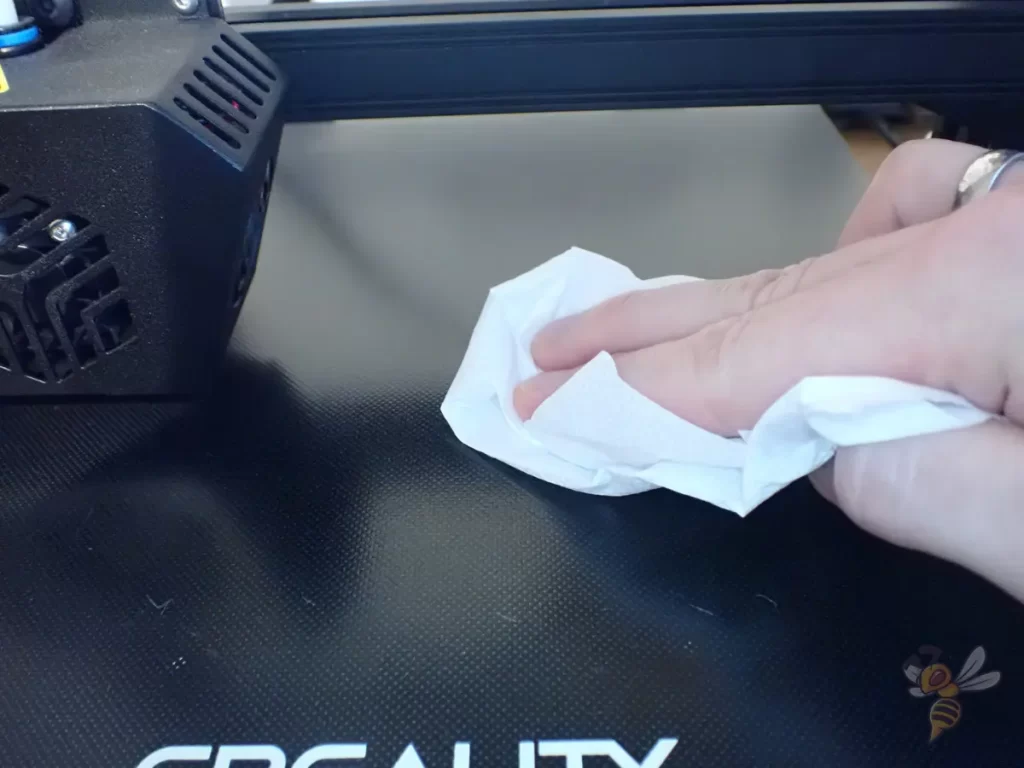
Clean the Print Bed Regularly:
- Why: Residue from previous prints and oils from your skin can prevent filament from sticking properly. A clean bed promotes better adhesion.
- How: Use a spatula or your fingernails for old filament, a lint-free cloth for dust, water and dish soap for grease, and isopropyl alcohol for stubborn residues.
Level the Print Bed Accurately:
- Why: An uneven bed causes inconsistent adhesion across the print surface. A level bed ensures uniform contact between the filament and the bed.
- How: Adjust bed screws to level, using a piece of paper to gauge the nozzle distance for slight resistance.
Optimize the First Layer Settings:
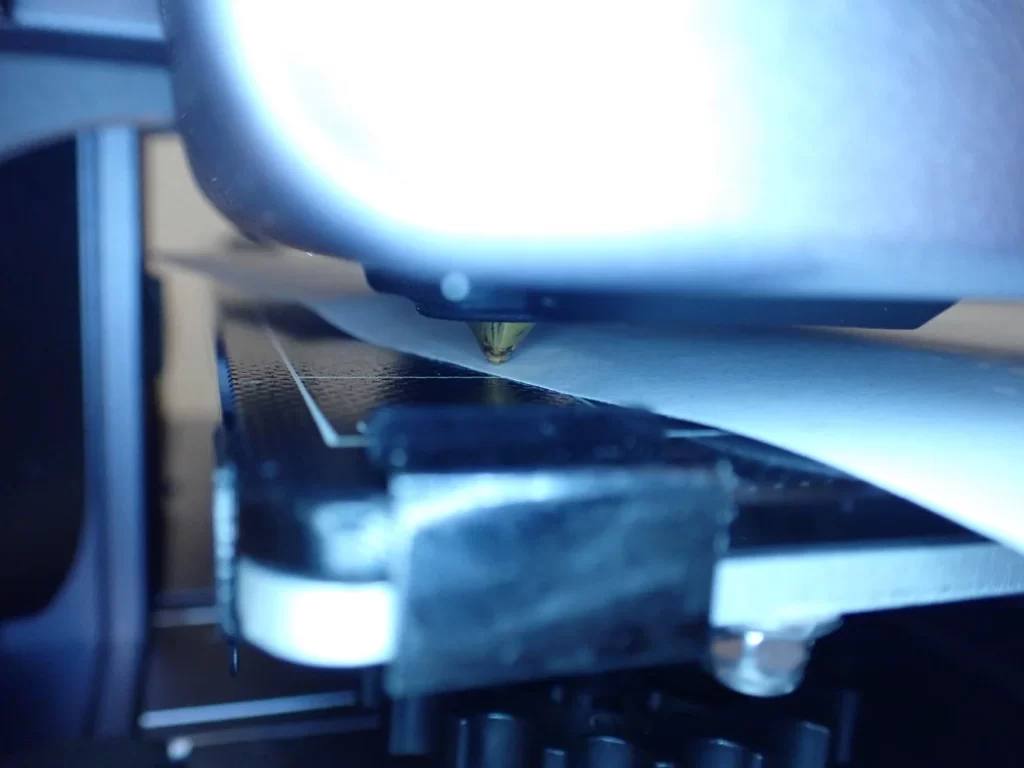
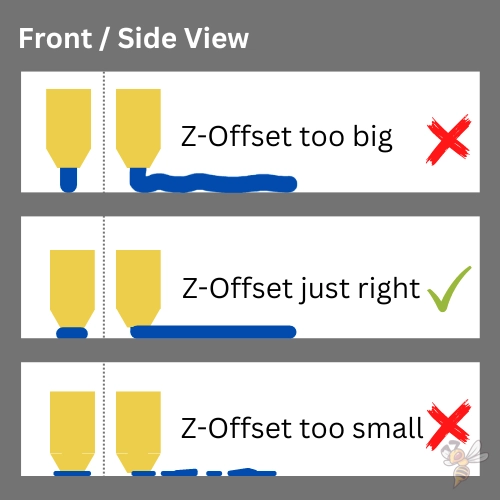
- Z-Offset: Closer nozzle-bed distance presses the filament into the bed, enhancing adhesion. But be careful not to squash the filament or block the extrusion altogether.
- Speed: Reducing the initial layer print speed to 5-10 mm/s allows the filament more time to heat and meld with the bed, preventing it from cooling too rapidly.
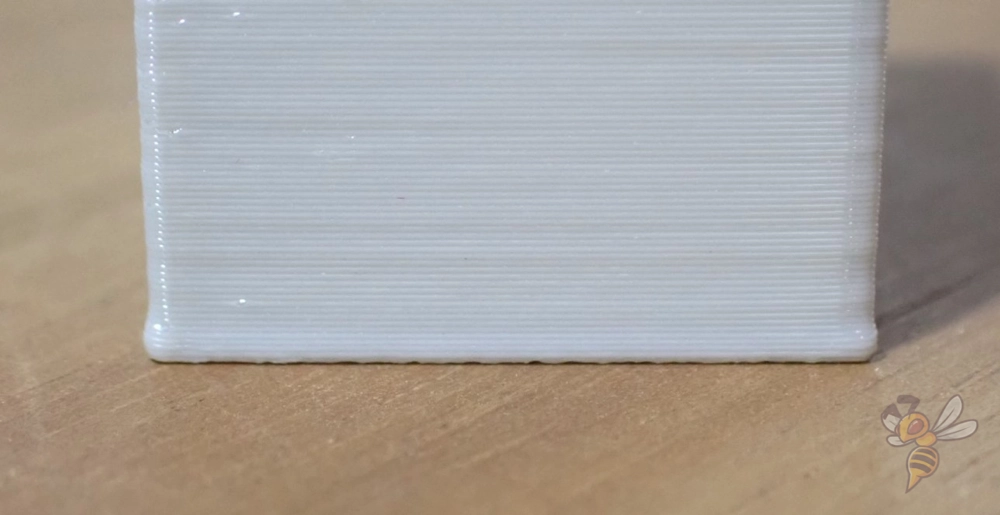
- Thickness: A thicker first layer increases surface contact with the bed, improving grip. The first layer height should be at least 0.2 mm.
Turn Off First Layer Cooling:
- Why: Cooling the first layer too quickly can cause it to contract and lift from the bed. Turning off cooling helps the filament bond better with the bed.
- How: Disable cooling for the initial layers in your slicer settings.
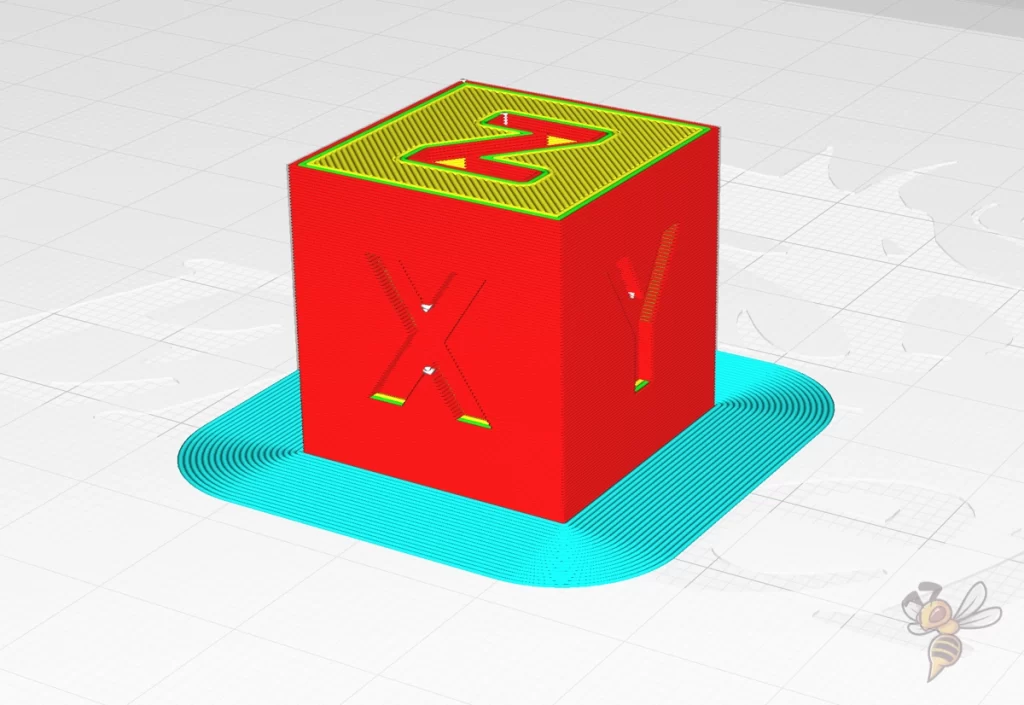
Use a Brim, Raft or Mouse Ears:
- Why: Increases the first layer’s surface area touching the bed, distributing the stress and minimizing warping.
- How: Select the Brim or Raft option in the bed adhesion options in your slicer. For Mouse Ears, you’ll often need to use a slicer plugin. Mouse Ears and Brims are easier to remove and ideal for delicate parts, while Rafts provide a stable base for prints with small footprints.
Disclosure: This website is the property of Martin Lütkemeyer and is operated by Martin Lütkemeyer. Martin Lütkemeyer is a member of the Amazon Services LLC and other Affiliate Programs. These are affiliate advertising programs designed to enable websites to earn advertising revenue through advertising and linking to Amazon.com and others. Links marked with * are affiliate links.
