- Wet Filament: Prevention, Symptoms & Drying - July 18, 2024
- Sovol SV08 – Best PrusaSlicer Settings & Profile - June 26, 2024
- Sovol SV08 – Best Orca Slicer Settings & Profile - June 26, 2024
Disclosure: Links marked with * are Affiliate Links. I earn from qualifying purchases if you decide to make a purchase through these links – at no additional cost for you!
ABS is a very difficult filament to print. If you’re used to the relatively easy-to-print PLA filament, you’ll have to make some adjustments with ABS.
To improve the layer adhesion of ABS and avoid delamination, the 3D printer needs an enclosure, the printing temperature must be high enough and the printing speed must not be too fast. But there are more approaches to solve this problem.
In this article, you will learn about all the solutions that improve the adhesion of ABS layers and prevent delamination.
Table of Contents:
- 1 Use a 3D Printer Enclosure
- 2 Decrease Part Cooling or Turn it Off
- 3 Increase the Printing Temperature
- 4 Clean the Nozzle
- 5 Decrease the Print Speed
- 6 Reduce the Layer Height
- 7 Increase the Line Width
- 8 Increase the Flow Rate
- 9 Use Dry Filament
- 10 Reduce the Infill Density
- 11 Increase the Print Bed Temperature
- 12 Use Adhesives for the Print Bed
Use a 3D Printer Enclosure

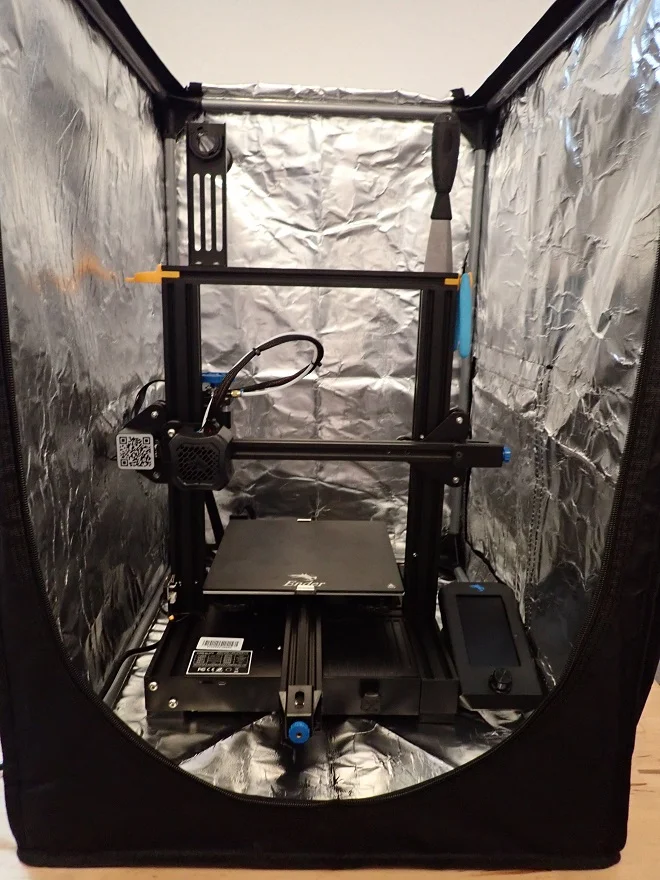
ABS is very susceptible to rapid temperature changes. Therefore, it is advisable to use an enclosure for the 3D printer when 3D printing with this filament. Many 3D printers already have an enclosure, others can be upgraded with a suitable enclosure.
If ABS cools down too quickly, it warps. This often leads to the dreaded warping. However, cracks can also form where the individual layers separate from each other. ABS needs a certain amount of time in the molten state to bond with the underlying surface. If the filament cools down too quickly, the bond is too weak or even non-existent.
Most of the solutions in this article are based on this phenomenon and try to extend the time that the filament has to cool down so that a better adhesion can develop.
The most effective variant for this is a 3D printer enclosure that keeps the ambient temperature warmer than the normal room temperature. By increasing the ambient temperature, the ABS cools down much slower and has more time to bond with the lower layer or the print bed.
If your 3D printer reaches the necessary temperatures for ABS but has no enclosure, you do not necessarily need to buy a new 3D printer, but can simply buy a suitable enclosure. I have tested the 3D printer enclosure from Creality and use it for my ABS prints. It is compatible with most 3D printers and is available in two different sizes.
A 3D printer enclosure is a must for ABS!
Decrease Part Cooling or Turn it Off
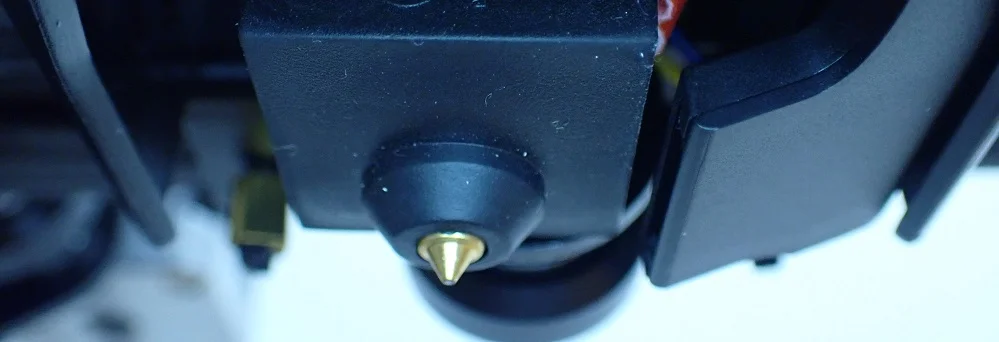
If a filament cools down too quickly, poor adhesion occurs between the individual layers and to the print bed. Certain temperature-sensitive filaments such as ABS are particularly susceptible to this. ABS requires very little or no cooling during printing.
Again, the same principle applies as for the 3D printer enclosure. The longer the filament has time to cool, the better the adhesion to the underlying surface.
Even with the very easy-to-print filament PLA, cooling the first layers leads to poor print bed adhesion or the first layers warping strongly. With ABS, this effect is many times stronger. With ABS, cooling must be deactivated for the first layers and either set extremely low or even completely deactivated for the rest of the object.
Sometimes the parts fan on the print head is not the only source of unwanted air drafts that cool the filament too quickly. If you don’t have a 3D printer enclosure or have a homemade enclosure that has cracks here and there that can allow air drafts to reach the object, you could try printing your print with a draft shield.
This draft shield basically consists of a wall that is printed directly around your object and protects it from drafts. This construction can also make sense if you have a 3D printer enclosure. Then the ambient temperature at the object is a bit higher and more homogeneous than without.
Increase the Printing Temperature
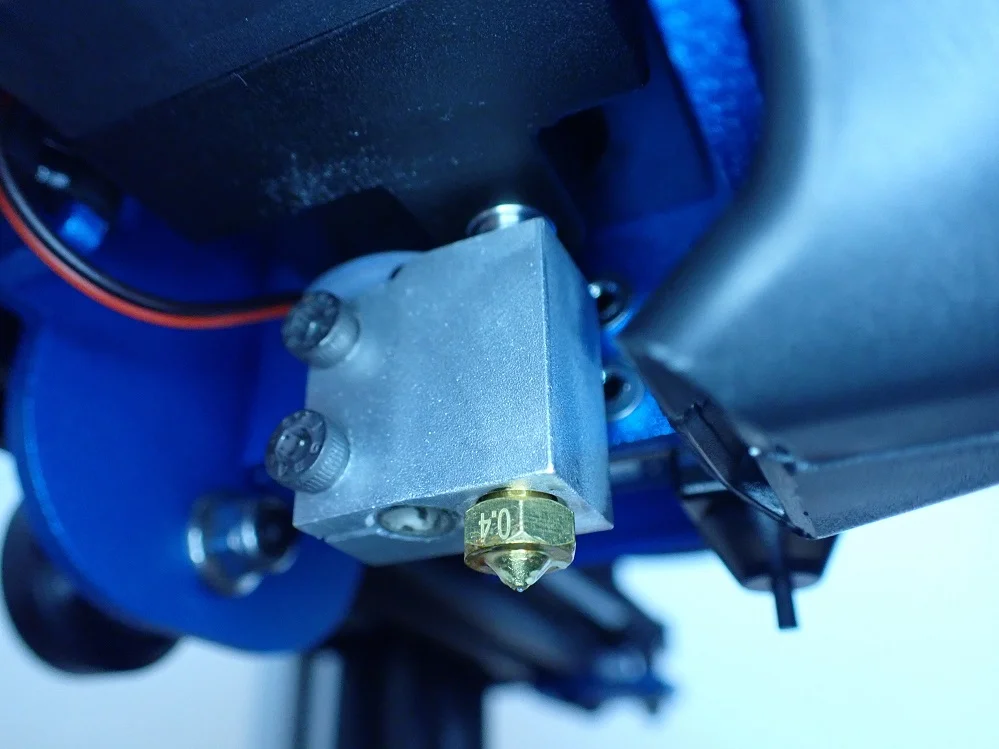
The printing temperature should be at about 250 °C for ABS to produce good layer adhesion and avoid delamination. The temperature varies between individual manufacturers and must be calibrated for each filament-printer combination.
Too low a printing temperature also leads to phenomena such as under-extrusion and poor adhesion to the print bed or between the individual layers of the filament. However, if the temperature is too high, other printing errors can also occur.
In order to ensure good adhesion of the layer, temperatures at the upper end of the recommended temperature range of the respective ABS filament have proven to be effective. Otherwise, you should increase your printing temperature in 5 °C steps.
Printing with higher printing temperatures does not only lead to better layer adhesion for ABS. Printing at higher temperatures also produces more stable objects with other filaments. As with most of the other solutions in this article, the printing temperature has a direct effect on the time it takes for the filament to cool down.
Only hot filament can form an adhesive bond with the underlying surface by flowing into the small cracks and corners of the other surface. If it cools too quickly, it does not have enough time to flow into these small cracks and corners, resulting in poor adhesion.
However, make sure that your 3D printer supports these high printing temperatures. Many hobby 3D printers state that they can print ABS, but they only have a PTFE-lined hot end with a maximum operating range of 240 °C. At temperatures above 240 °C, the PTFE begins to melt and releases toxic gases. So if you want to use your 3D printer at higher temperatures, you should check if there is an all-metal hot end for your 3D printer.
Clean the Nozzle

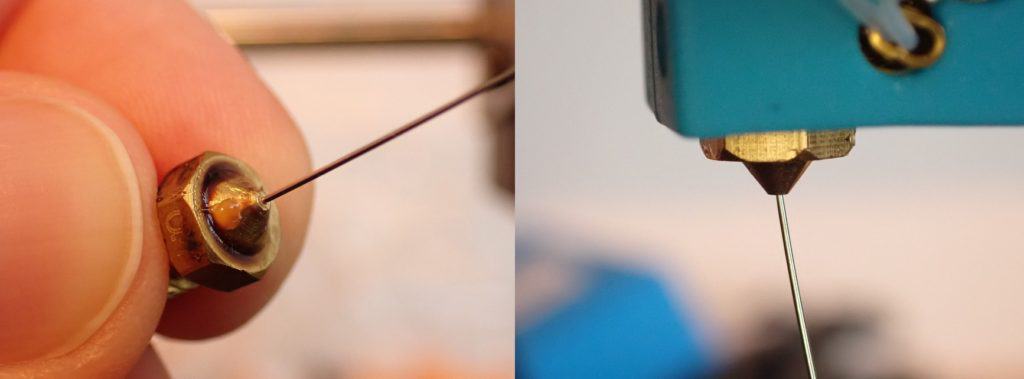
A dirty nozzle can lead to poor layer adhesion, especially with ABS. If less filament is extruded than normal due to the partially clogged nozzle, the little hot filament cannot form an adhesive bond to the underlying layers.
To avoid a clogged nozzle you should only use high-quality ABS filament*. Poor quality filament can often be contaminated and clog the nozzle after multiple uses. But also completely pure ABS filament can deposit residues in the nozzle over time which can lead to a completely or only partially clogged nozzle.
To clean the nozzle you can heat it up to the melting temperature of the filament and use a fine needle to loosen the blockage inside and extrude it. This is only necessary in case of heavy contamination and you should only use mechanical cleaning with needles or wire brushes in an emergency, as this can damage the nozzle.
A gentle variant to clean the nozzle is with cleaning filament*. This filament is not printed but only extruded to clean the nozzle. Even though cleaning filament is comparatively expensive, you only need very little of it for cleaning. Even with regular use, a spool of cleaning filament will last a very long time. You will be amazed at how much dirt is in your nozzle!
Decrease the Print Speed
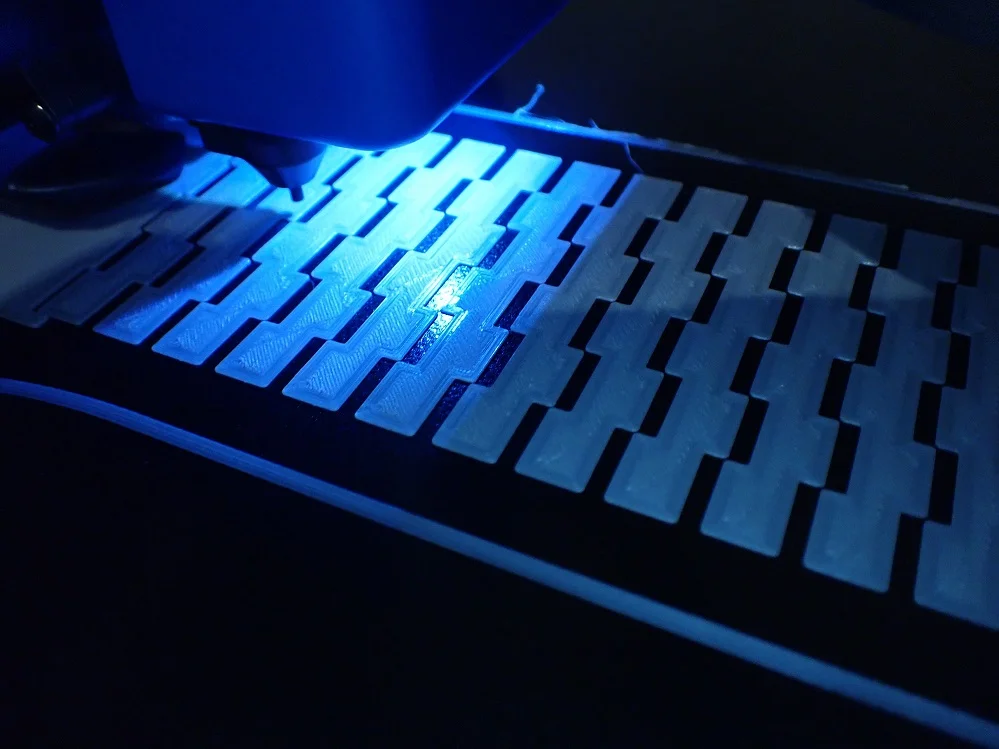
The layer adhesion of ABS filament can be improved by a lower printing speed. Due to the lower speed, the filament cools down more slowly and thus has a longer time to form a strong adhesion to the lower layer.
If the print speed is set too high, the filament will move through the nozzle so quickly that the hot end will not have time to heat the filament to the required final temperature. This causes the filament to extrude colder than it should. However, this only occurs at very high printing speeds.
The more important effect is that at a slower print speed, the hot Nozzle stays near the extruded filament longer, so the temperature of the extruded filament stays warm longer and it cools down slower.
A lower print speed helps with many print errors. Here, too, it is a good way to quickly find a solution.
For ABS, print speeds of 30 to 60 mm/s are suitable. If you are already in this range, you can decrease the print speed in 5 mm/s increments and see if the problem improves. If you are already at the lower end of this range of print speed, a reduction will probably not bring any improvement and you should try another approach.
Reduce the Layer Height
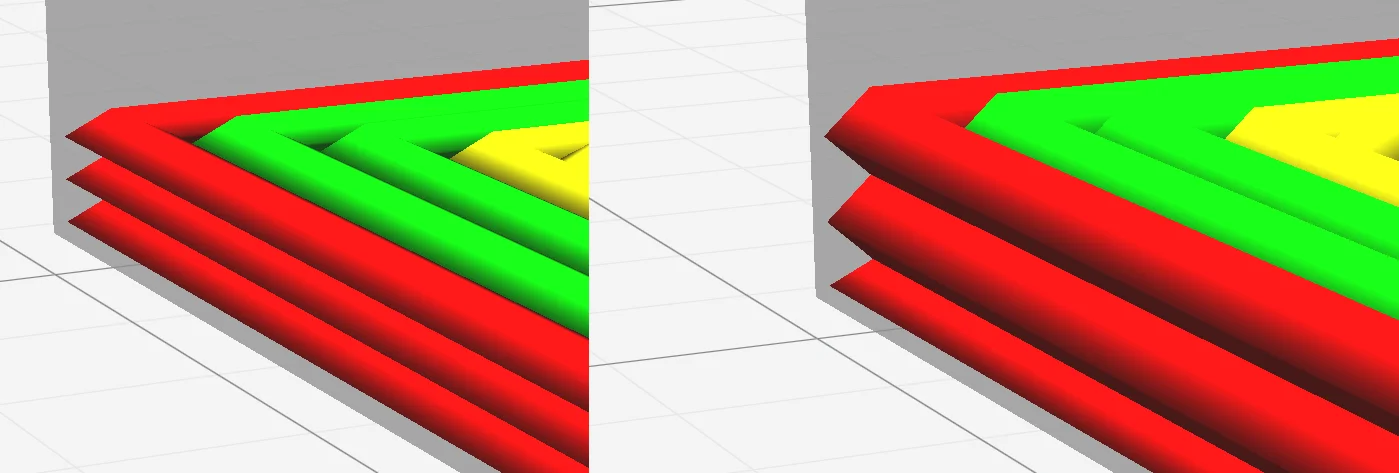
A layer that is too thick can also lead to poor adhesion of ABS filaments. Due to the higher layer height, the individual filament lines are not pressed together as much and therefore do not stick together as well after they have cooled down.
During printing, the filament is compressed somewhat by the nozzle. Normally, the line width is higher than the layer height. The rounder the cross-section becomes, the smaller the area of the individual layers where they touch. The thinner the layers become, the more oval the cross-section becomes, which increases the connecting area to the lower layer.
Here, however, two different effects work against each other. On the one hand, there is the effect of the larger surface area between the layers just mentioned, but a thinner layer cools faster than a thicker one. Apparently, the former phenomenon predominates, whereby lower layer heightlead to better layer adhesion and can prevent delamination.
Make sure, however, that you stay within the feasible layer heights of your nozzle. With a 0.4 mm nozzle, the layer height is usually 0.2 mm. However, layer heights of 0.1 to 0.3 mm are also possible.
Increase the Line Width
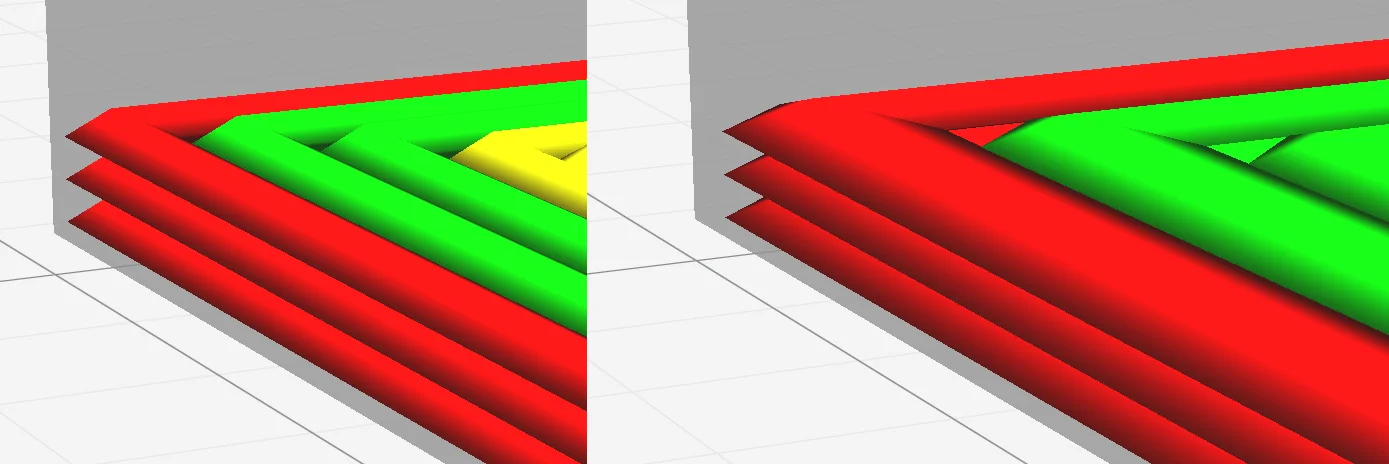
The larger the area where two layers touch, the greater the adhesion of the layers. Increasing the line width leads to exactly this. Particularly with ABS, this can greatly increase layer adhesion and prevent delamination.
The greater the line width, the less creasing there is between the individual lines, as there are simply fewer lines per layer. As a result, and due to the increasingly oval cut surface of the individual lines, the layer adhesion is increased by a higher line width.
You can increase the line width to a maximum of 200% of the nozzle diameter. However, this is the absolute maximum and recommended line widths are between 100% and 120% of the nozzle diameter.
However, a higher line width also brings other advantages. Above all, the printing time is greatly reduced the wider the lines become. Also, the stability is not only improved by the increased layer adhesion but also the walls become thicker depending on how many lines the wall should have.
If the increase in line width is still too little, it might be worth investing in a wider nozzle. Make sure, however, that you have to readjust and calibrate the slicer profile. However, it is usually not necessary to change to a larger nozzle just because of poor layer adhesion. In most cases, it is sufficient to use the higher line width within the possible range of the nozzle used and to apply other solutions from this article.
Increase the Flow Rate
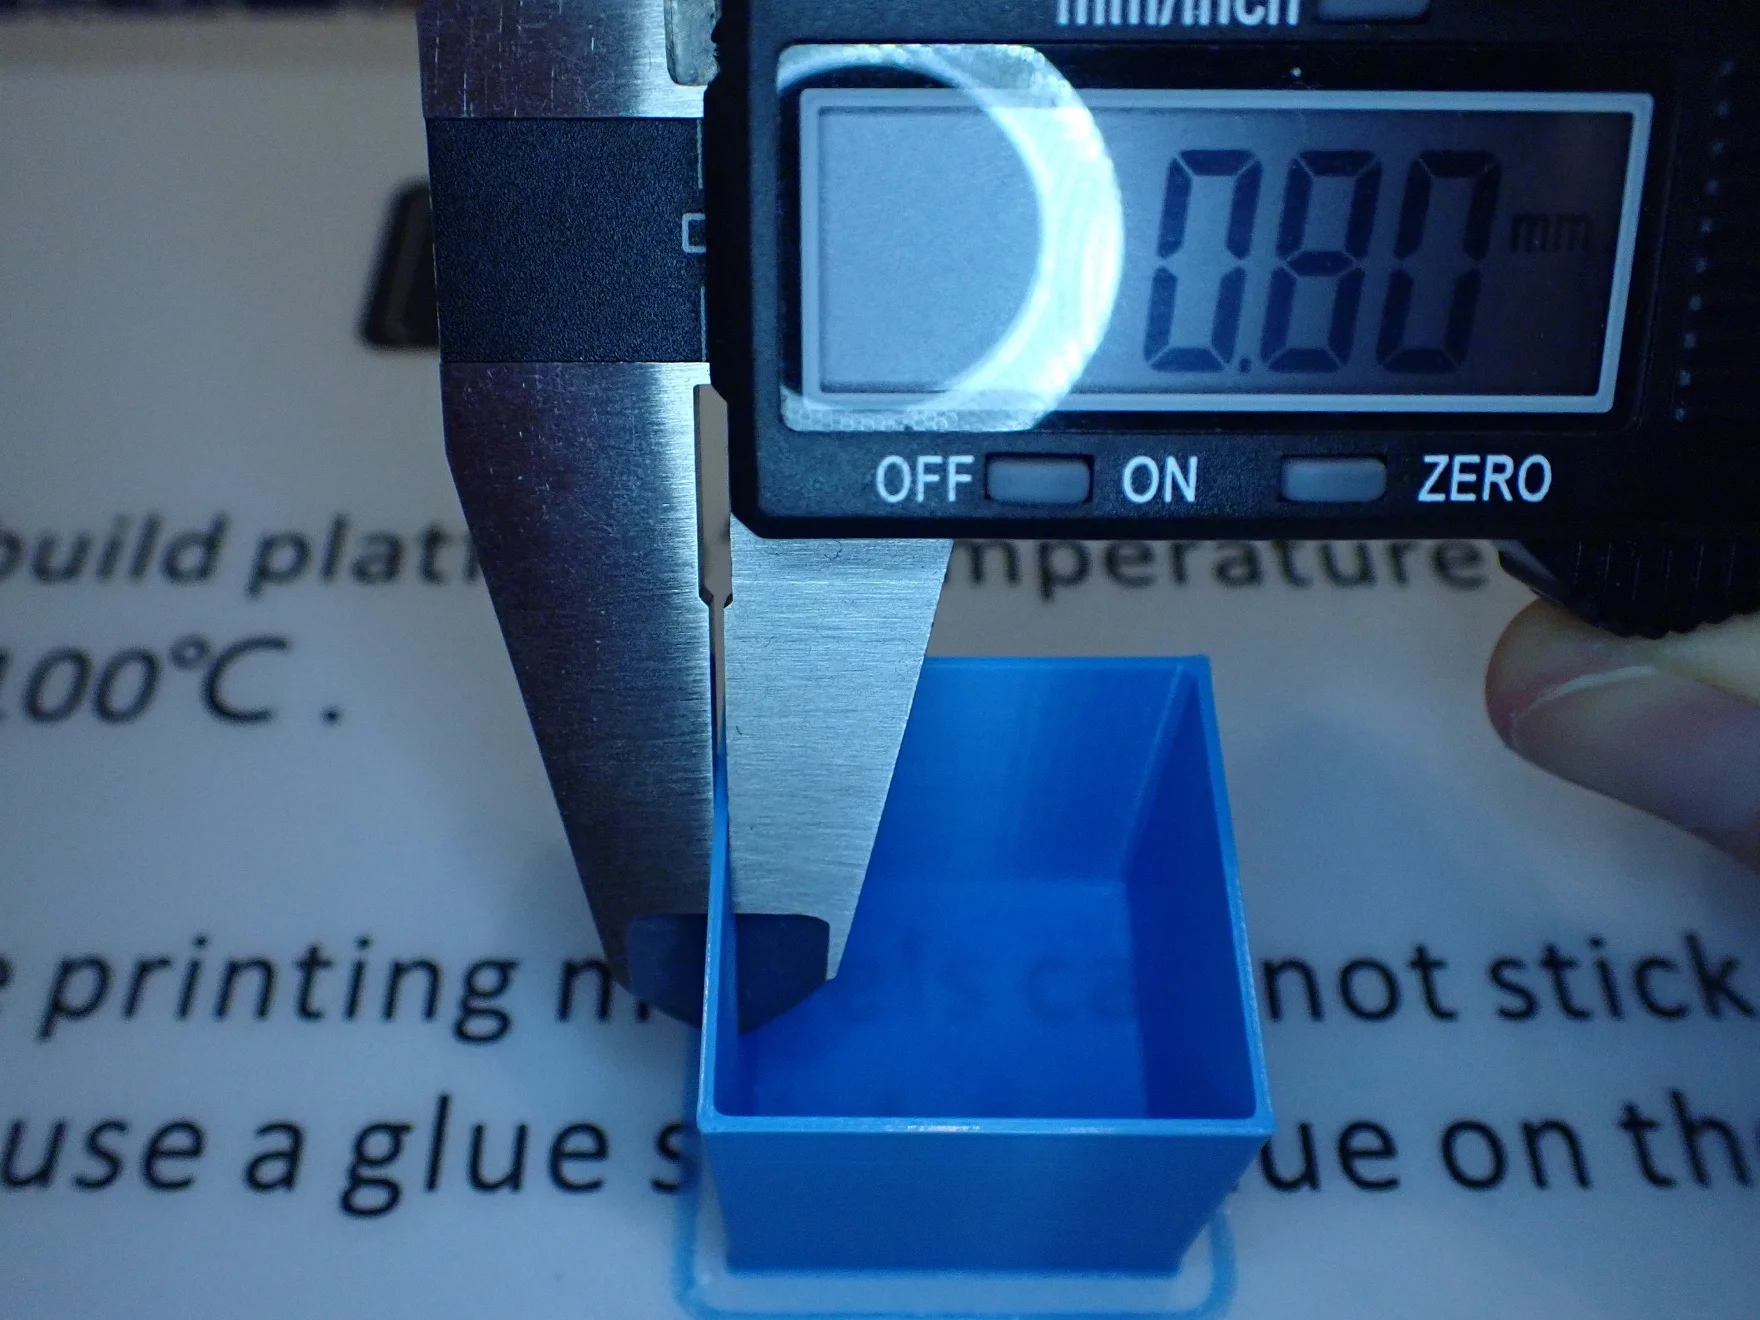
Wider lines cool slower than narrow filament lines. A higher flow rate causes more filament to be extruded, which means that the lines are printed wider and cool down more slowly. This increases layer adhesion and can prevent delamination.
In principle, increasing the flow rate is another way to increase the line width. This method is especially suitable if you already observe under-extrusion. Poor layer adhesion and especially delamination can indicate under-extrusion, and increasing the flow rate would be just the right solution. Be careful not to increase the flow rate too much or you will get over-extrusion with unsightly blobs and zits on your object.
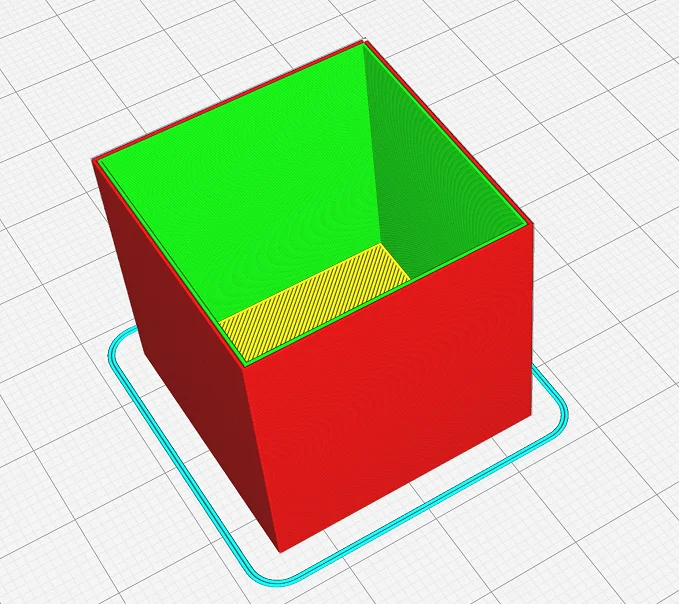
It is best to calibrate your flow rate. This will allow you to quickly see if your 3D printer is suffering from extrusion problems or not. Print a cube without top layers, without infill and with two walls. After the cube is printed, use a caliper gauge to measure the wall thickness.
If the wall thickness is not twice the set line width, you must adjust the flow rate. If the measured value is too high, you must decrease the flow rate, if it is too low, you must increase the flow rate.
Use Dry Filament
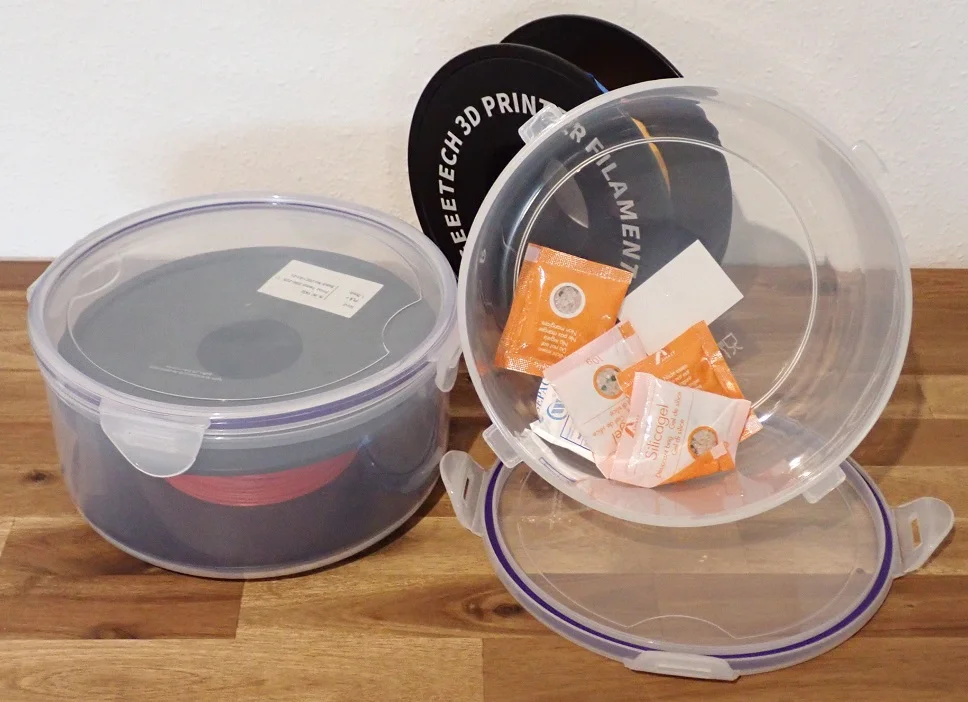
Moist ABS filament has poorer printing properties than dry filament. Good layer adhesion can only be produced with dry filament. Airtight and dry storage is recommended for ABS.
Wet filament can cause various printing errors. These include stringing and the appearance of bubbles during printing. 3D printing filaments are generally hygroscopic and readily absorb moisture from the air. So you have to make sure that the filament stays dry during storage. The best way to do this is in an airtight container with silica gel. There are also special filament storage boxes* for this purpose.
Even if it is annoying to store the filament after each print and then mount it again for the next print, it is worth the effort. If you are afraid that your filament is already wet, you can dry it. There are many ways to do this. Storing the filament in an airtight container with silica gel for several days is an easy way to dry the filament and at the same time the perfect storage.
However, there is another way in which incorrect storage of ABS filament can have a negative effect on the printing properties. If the filament is not stored away from UV rays, i.e. sunlight, it becomes brittle over time. It can then break in the extruder and cause severe clogging.
Reduce the Infill Density
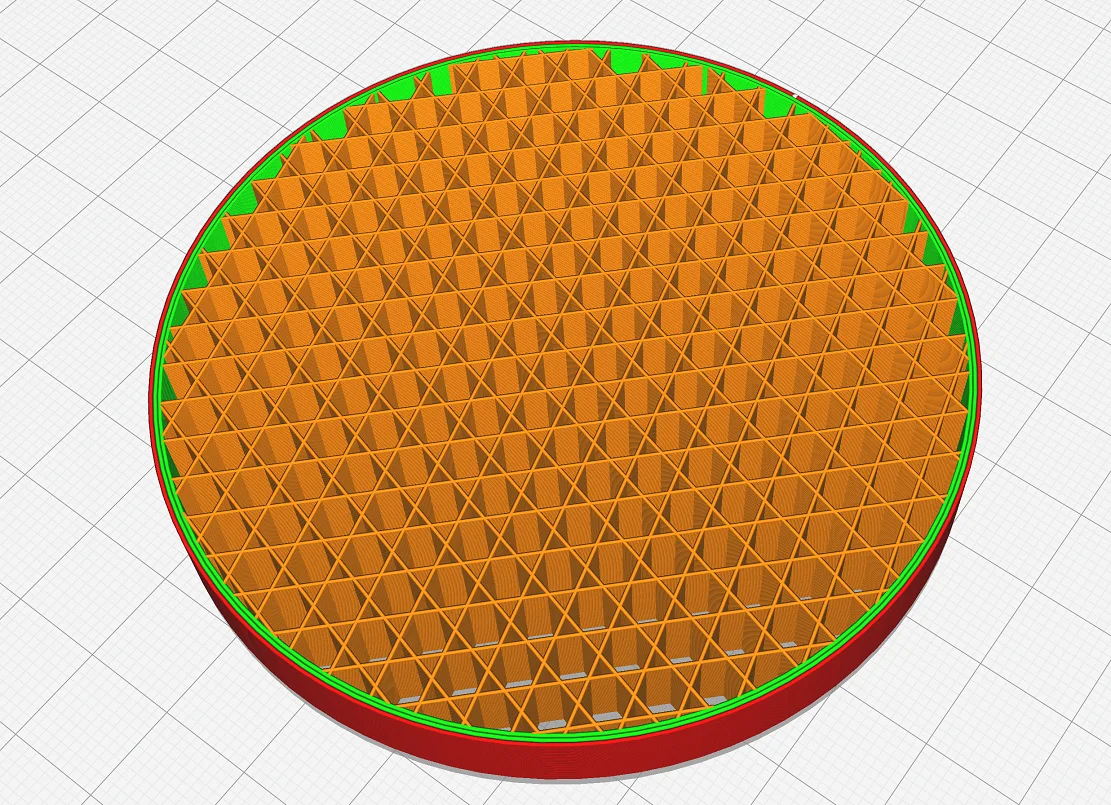
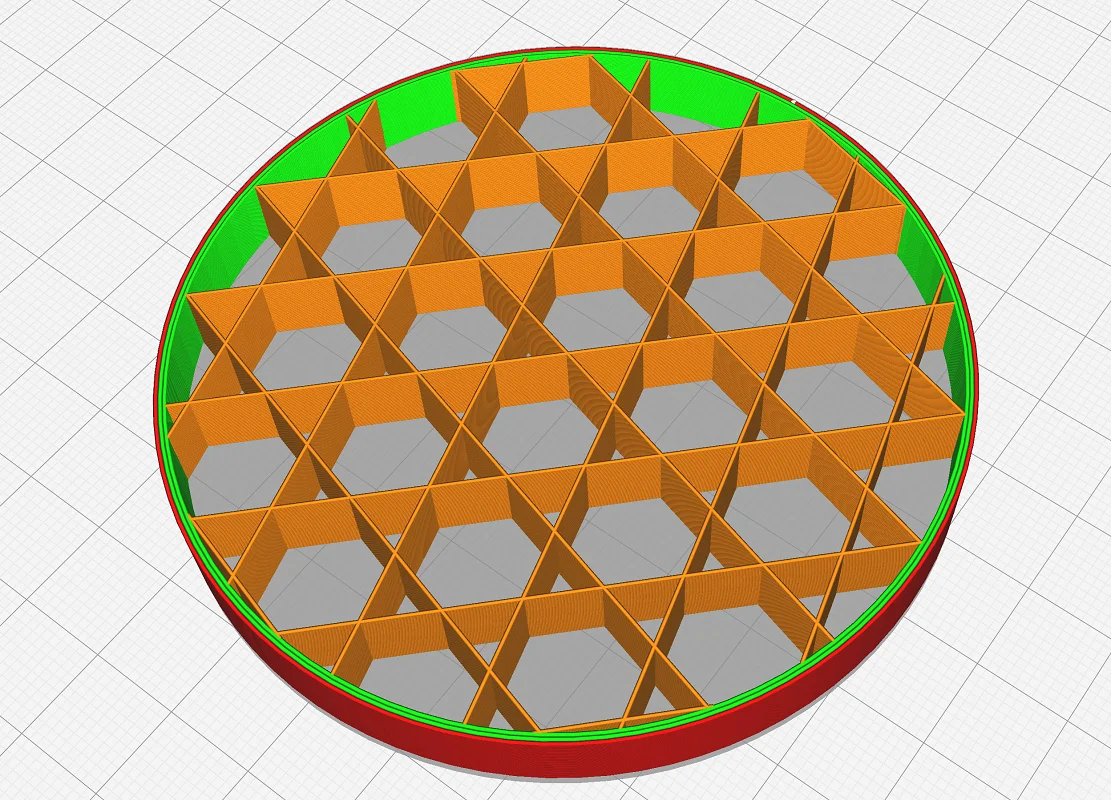
Delamination in ABS 3D printing occurs due to internal stresses caused by thermal contraction when the filament cools. The more filament there is, the greater the forces. Reducing the infill density can therefore reduce the effects.
Sometimes the settings are perfect for one object and the next object suddenly delaminates. One of these causes can be an increase in infill density.
Since the problem of poor layer adhesion is due to shrinkage of the ABS filament as it cools, the effect is also magnified the more filament there is. Depending on your requirements for the stability of your printed object, you can try to reduce the infill density to eliminate the problem.
Most of the time, however, this solution is not necessary, as the other solutions in this article should prevent delamination.
Increase the Print Bed Temperature

Poor layer adhesion and delamination of the individual layers in ABS also frequently result in poor print bed adhesion. This can be improved by increasing the print bed temperature. For ABS, this should be around 100-110 °C.
With filaments such as ABS that tend to shrink on cooling, poor print bed adhesion inevitably causes the lower part of the object to contract. This phenomenon is also called warping. Good print bed adhesion can prevent this. If a good print bed adhesion keeps the object and especially the lower layers in place while the filament slowly cools down, warping can be effectively prevented.
With the print bed temperature, however, you have to be careful not to set it too high. Otherwise, you could quickly end up with an elephant’s foot, where the lower layers are so warm that they are compressed under the weight of the layers higher up. It’s best to start at the upper range of the recommended temperature for your filament and then tweak the temperature in small increments of 5°C.
If you are struggling with poor layer adhesion or print bed adhesion, especially in the first layers of your ABS 3D print, it would make sense to use auxiliary prints such as a Brim or Raft. These auxiliary prints increase the footprint of the object and thus artificially increase the print bed adhesion.
Use Adhesives for the Print Bed
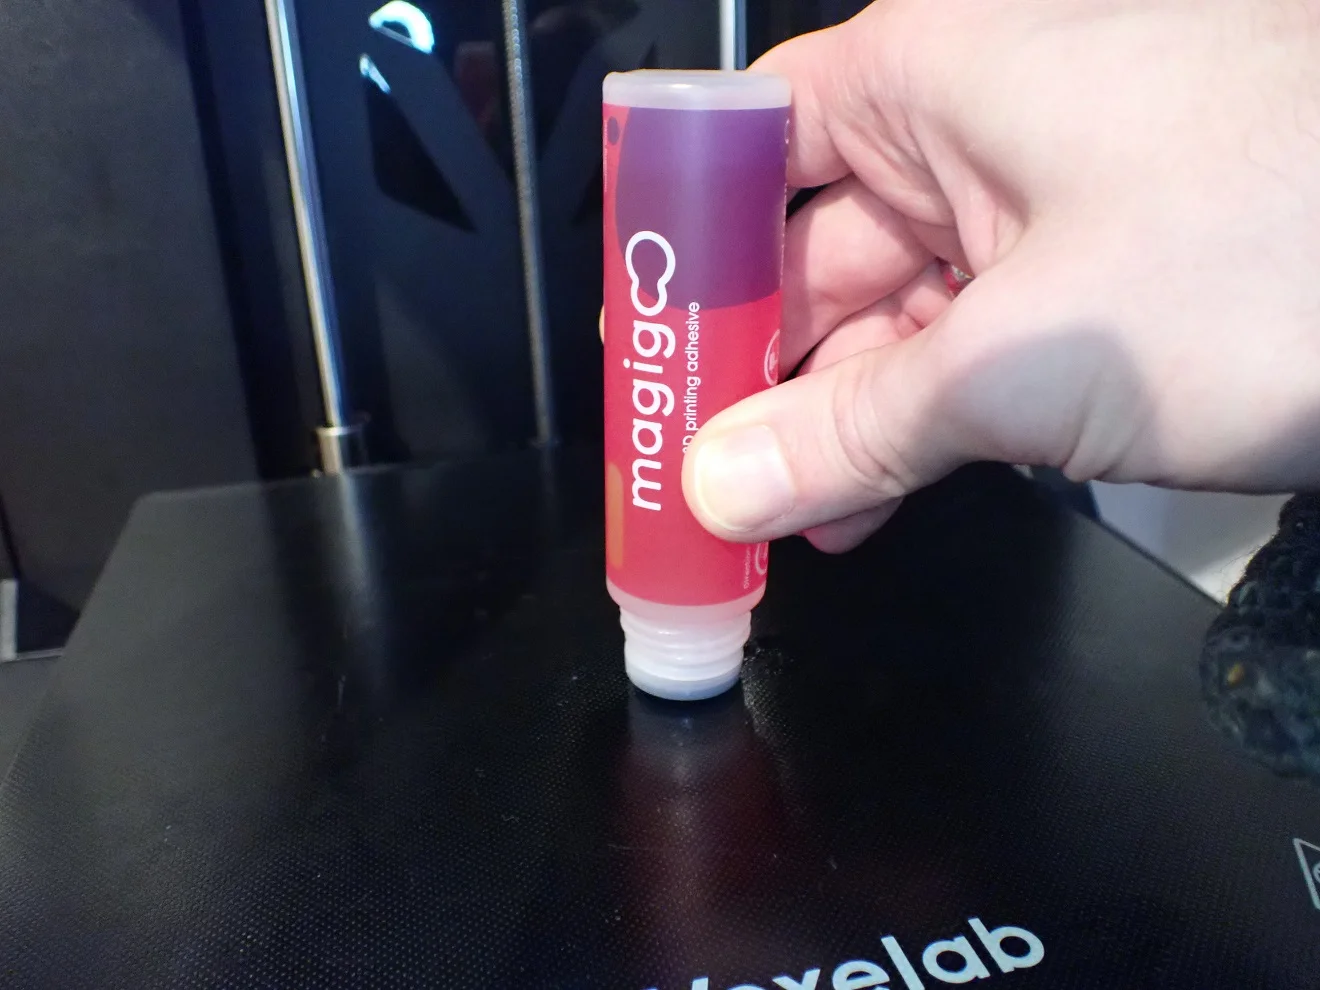
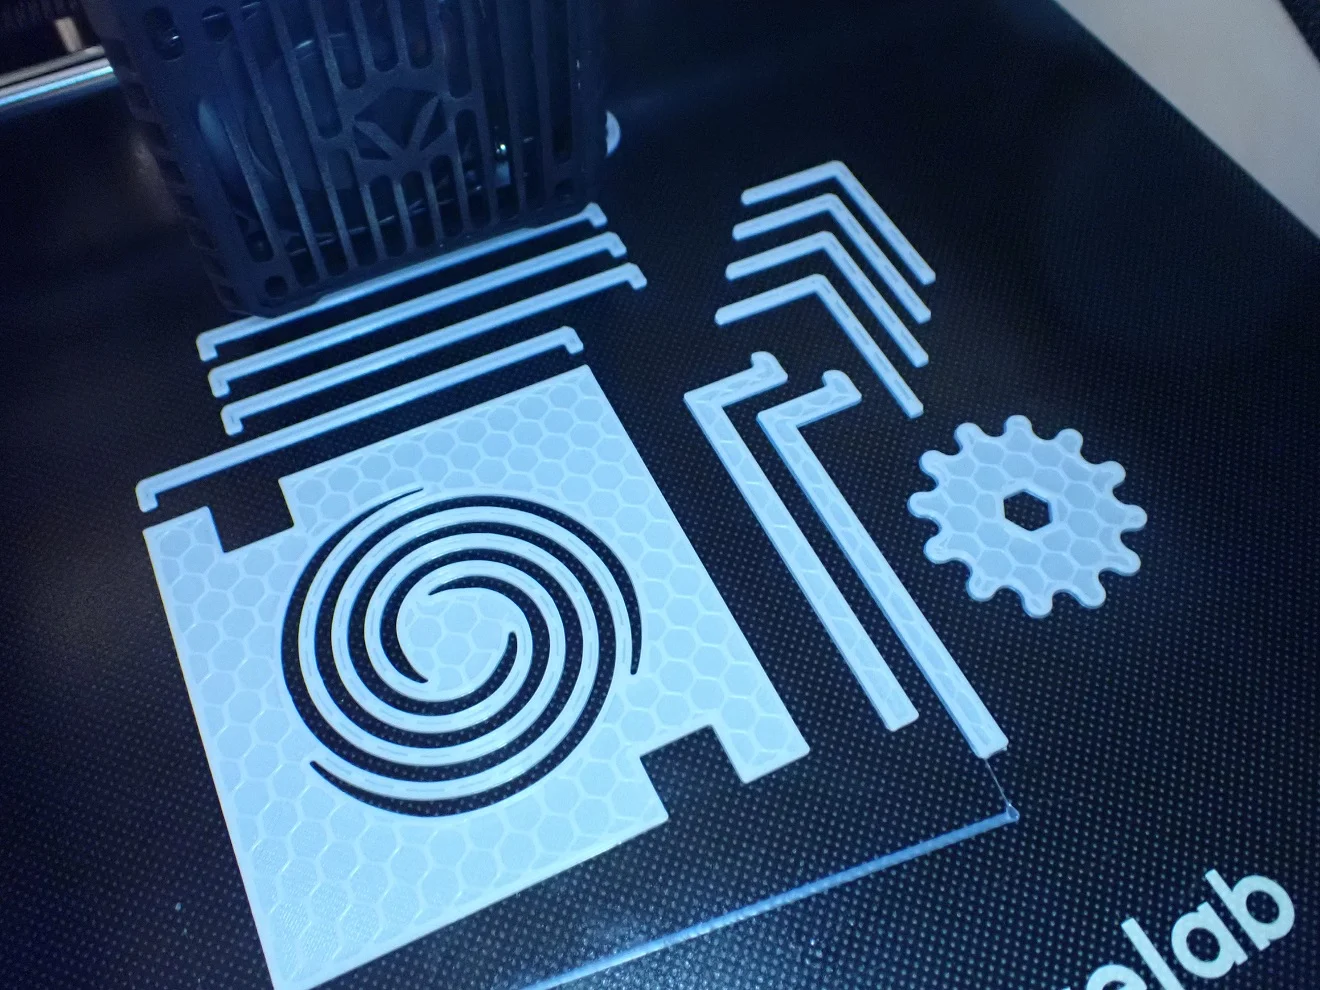
If the print bed surface of the 3D printer is not well suited for ABS, certain adhesives can be used to increase adhesion. For ABS, Magigoo and ABS Juice are popular adhesives to improve the adhesion of the first layer to the print bed.
Even if you have the layer adhesion under control, you may still have poor adhesion to the print bed if your print bed surface is not well suited for ABS. Depending on what kind of 3D printer you are using, you can replace the print bed or use specific adhesives.
I myself have achieved very good results with Magigoo and ABS (click here for the review). This adhesive was specially developed for 3D printers and no longer sticks after cooling. It is therefore very easy to remove from the finished model, if it still sticks to it at all.
Another variant is the so-called ABS Juice. Here, finely chopped ABS filament is dissolved in a little acetone to obtain a viscous to watery ABS-acetone mixture. This juice sticks very well to the print bed and applied ABS filament adheres excellently to a print bed smeared with ABS Juice. The disadvantage of this variant is that you have to handle acetone and clean the print object after printing.
Disclosure: This website is the property of Martin Lütkemeyer and is operated by Martin Lütkemeyer. Martin Lütkemeyer is a member of the Amazon Services LLC and other Affiliate Programs. These are affiliate advertising programs designed to enable websites to earn advertising revenue through advertising and linking to Amazon.com and others. Links marked with * are affiliate links.

