
- Wet Filament: Prevention, Symptoms & Drying - July 18, 2024
- Sovol SV08 – Best PrusaSlicer Settings & Profile - June 26, 2024
- Sovol SV08 – Best Orca Slicer Settings & Profile - June 26, 2024
Disclosure: Links marked with * are Affiliate Links. I earn from qualifying purchases if you decide to make a purchase through these links – at no additional cost for you!
Overhangs and bridges are one of the print defects in 3D printing that make the difference between an excellent print and a poor print. By choosing the appropriate settings, you can prevent your overhangs and bridges from curling up.
Here are our tips for avoiding bulges, warping, curling and other flaws in overhangs:
- Smaller layer thickness
- Lower temperatures
- Experiment with print speed
- Larger extrusion width
- PLA* makes the most beautiful overhangs
- Increase density
- Cool faster
- Support structures
We will go into the individual points in more detail in this article.
To test your measures, you will find suitable test objects in this article. And here you will find general tips for better overhangs.
Table of Contents:
Layer Thickness

If you want to print overhangs cleanly, you should play with some parameters. Unfortunately, only a few users have the factor of the layer thickness on the radar.
Remember that the ideal layer thickness for a clean overhang is essential. A generous layer thickness provides more contact surface, while a thinner layer thickness means less void space. Less void space means cleaner overhangs and you can increase the angle at which you print overhangs with a thinner film thickness.
This is because the printed material is a slightly squashed round layer. Remember that several small lines make a cleaner image than a few large filament strands.
Temperature
Another factor for beautiful overhangs is the right temperature.
If you set the temperature too high, the material will start to hang easily at more extreme angles.
If the temperature is too low, there is a risk that the material will not bond nicely with the underlying layer.
In general, you should set the temperature for overhang 3D printing as cold as possible. The hotter the material is, the more fluid the filament becomes and the sooner it starts to hang down.
The problem here is that the behavior of the transition and the bridge depends very much on the filament used.
Note that not only do different filament types such as PLA, ABS, PETG and TPU require different printing temperatures, but also the same materials from different manufacturers.
Tip for the Ideal print temperature:
Temperature towers prove to be particularly helpful. You can use them to test the printing behavior of materials when 3D printing overhangs at different temperatures.
For perfect results, you should use the temperature tower for each filament of a new material or manufacturer so that you find the ideal setting for your overhangs and bridges.
Print Speed
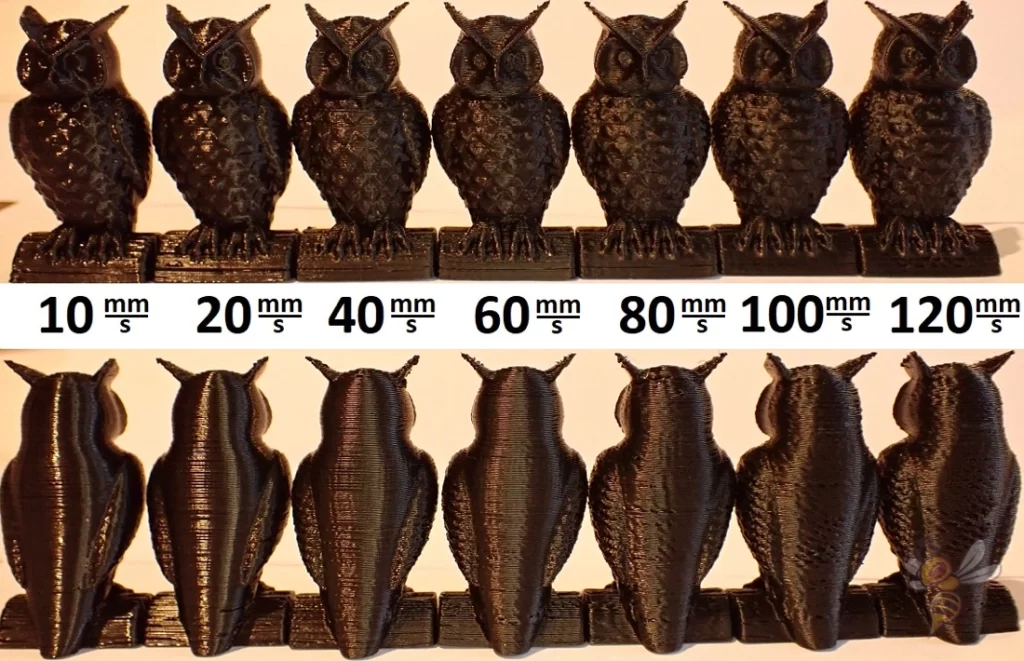
Speed is also an important criterion for the print quality of the overhang or bridge. Unfortunately, we cannot help you with a general recommendation for the printing speed. Some materials will give better print results if you print slowly, while with other filaments a higher printing speed is recommended.
You can only find out the appropriate printing speed by experimenting.
Even if your slicer has no own value for the speed for bridges and overhangs, some cheats offer the possibility to play with this parameter. If you have a Slic3r, you can use the option “Detect bridging perimeters” to set the appropriate settings for printing bridges.
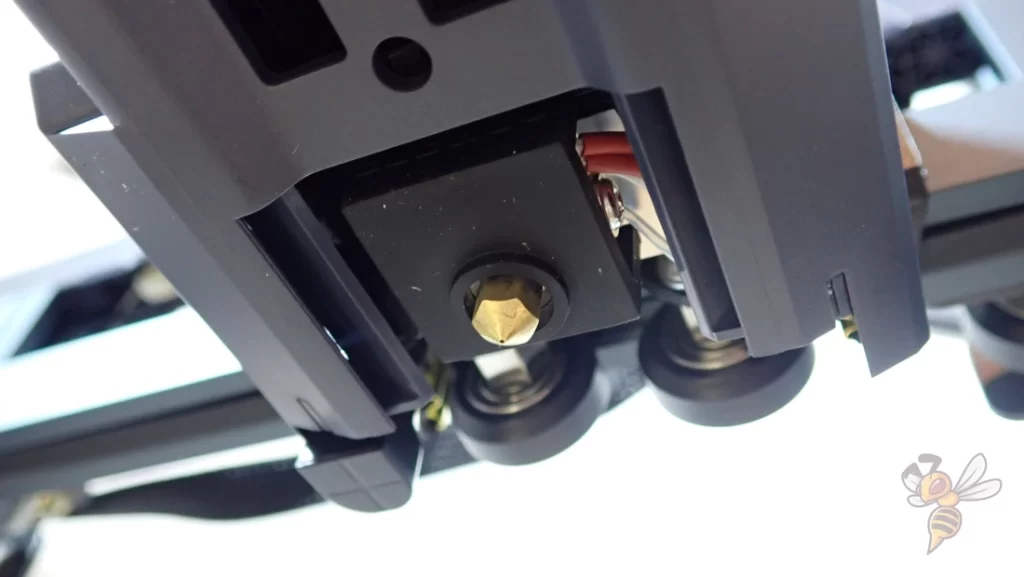
Extrusion and Nozzle Width
A wider line width can be helpful for extreme overhangs. The wider the lines are printed, the easier it is to print a stable structure for overhangs or bridges.
The extrusion width can be a maximum of 200% of the nozzle diameter. With a normal 0.4 mm nozzle, this would give a maximum line width of 0.8 mm.
If you want to extrude the filament wider, you should go for a larger nozzle. If the filament is printed even wider, a stronger overhang angle can be achieved. This is because the contact surface is larger.
Skin Print Sequence
You should always print the outer layers from the inside out. Make sure that the outermost layer is printed particularly slowly.
If you print overhangs, it is advisable to print from the inside out. The outermost layer should be printed very slowly.
Especially for steep overhangs, printing from the inside to the outside is recommended. The reason for this is that the critical outer layer can adhere to the layer underneath as well as to the infill.
Quality of the Filament
The quality of the material used plays a decisive role in 3D printing. Some filaments and brands have better printing results on overhangs and bridges than others.
PLA is known for being a high-precision filament. If you print overhangs and bridges with PLA, this material shines!
The HIPS and ABS filaments are less suitable for overhangs and bridges. Both materials produce unsightly hanging loops and ugly overhangs with the same layer thickness and lower angles.
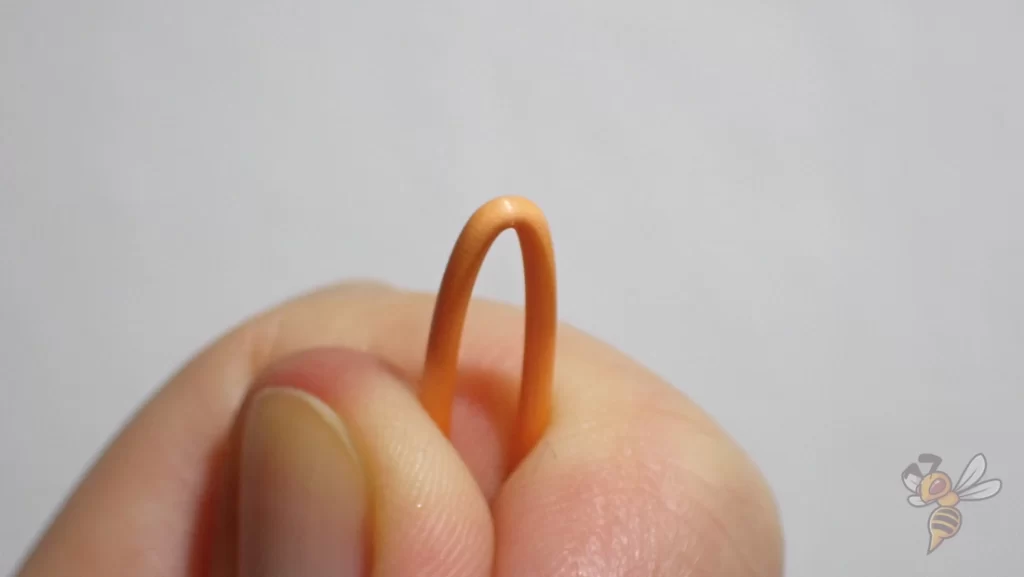
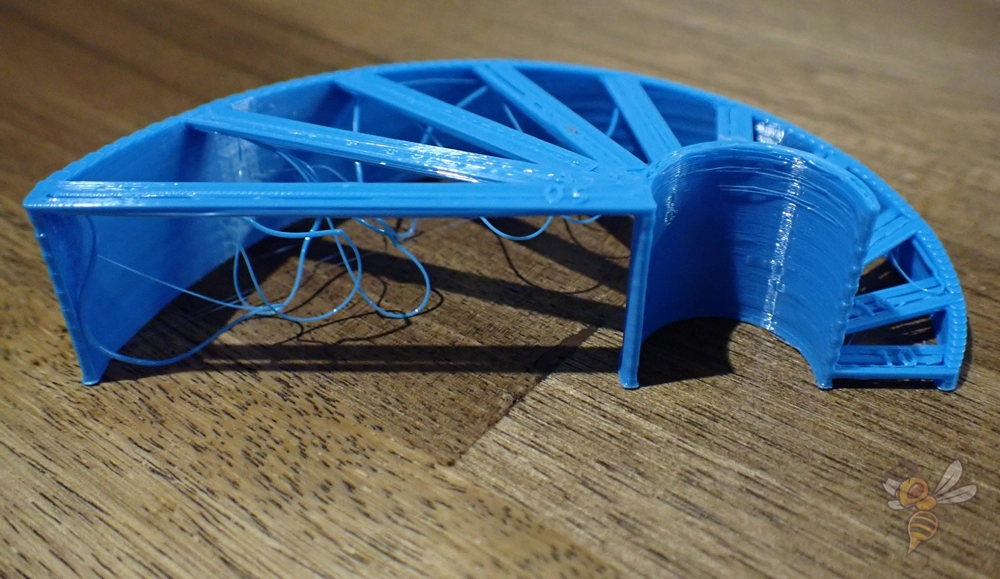
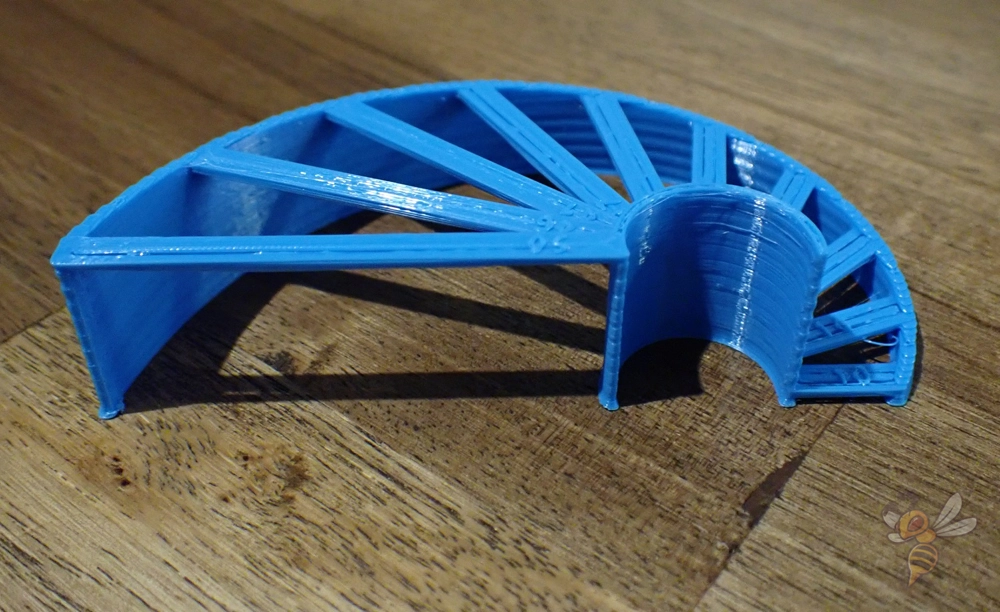
Some materials tend to bulge or curl upwards during 3D printing of overhangs during printing. This warping or curling has a negative effect on the print quality and appearance of the object.
The print result will also deteriorate if the print head presses from the inside against the bulging area and the print is thus pressed down again to the appropriate height.
The absolute death of quality is a print head that moves onto the highly curved material from the outside. Depending on the filament, you may even hear an unpleasant noise. Remember that in the worst case, your print object can even come loose from the print bed and thus ruin your print object.
In the best case, simply the appearance of the overhang or bridge is ugly or has holes in the areas where the print head has gone.
What to Do Against Curling and Warping in Overhangs
We would like to give you an idea of some of the measures that can be taken when the printed overhangs curl upwards.
Slicer Settings Against Head Collision
You can counteract this catastrophe by activating the “Z-Hop” function. This setting causes the print head to be raised a little at first for all empty movements and lowered a little before the following extrusion. When you have made the ideal setting, the print head will float over the curved overhang in case of empty movements.
If you have a Slic3r, select the option “Lift Z” in the printer settings. As a rule of thumb, a value between 0.3 and 0.8 mm is recommended. The exact setting can only be found by experimenting.
Remember that the “Z-Hop” setting extends the printing time slightly. The loss of time is limited, however, because the majority of the objects to be printed only require a few empty movements.
New Ways Around the Outer Layer
Another helpful feature of Slic3r is the setting “avoid crossing perimeters. As an owner of a Slic3r you can find this feature in the print settings at “Layers and perimeters”.
If you make this setting, your slicer will try to find a new path around the outer layers. This is especially advantageous when the outer layers curl outwards.
You have to expect that the printing time will be a little longer. However, you should accept the small loss of time to improve the printing result.
Prevent Curling With the Right Slicer Settings
It makes more sense to change the slicer settings so that an upward curvature does not occur at all.
Curling overhangs always look ugly, even in a successful printing process.
You can prevent warping by using four slicer settings.
Increase Density
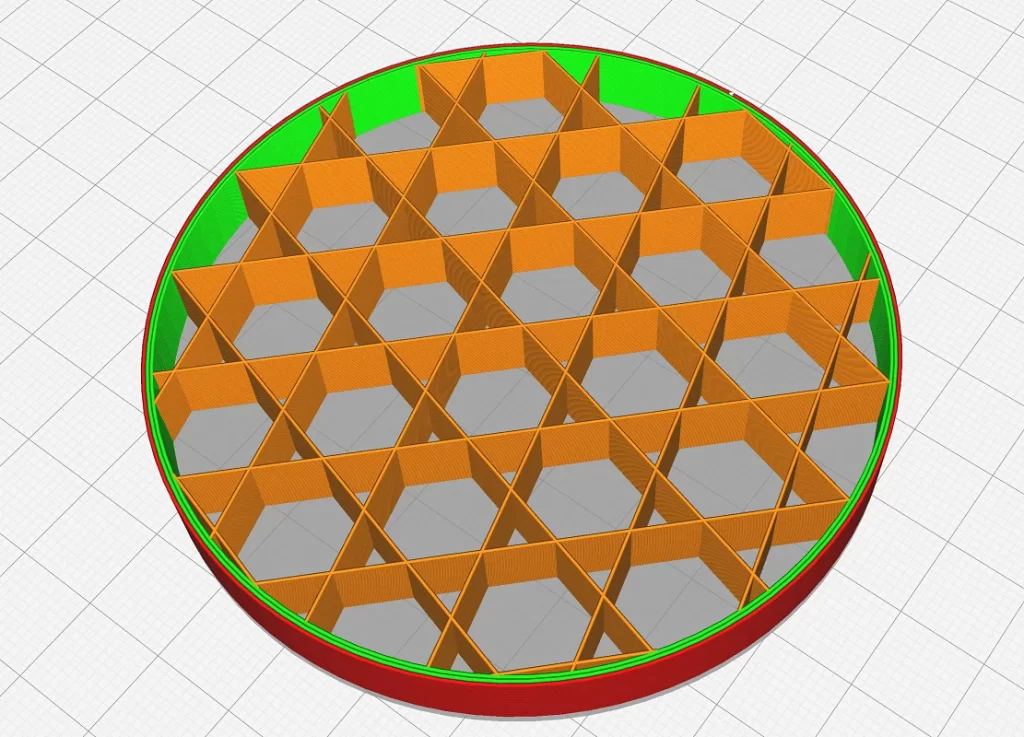
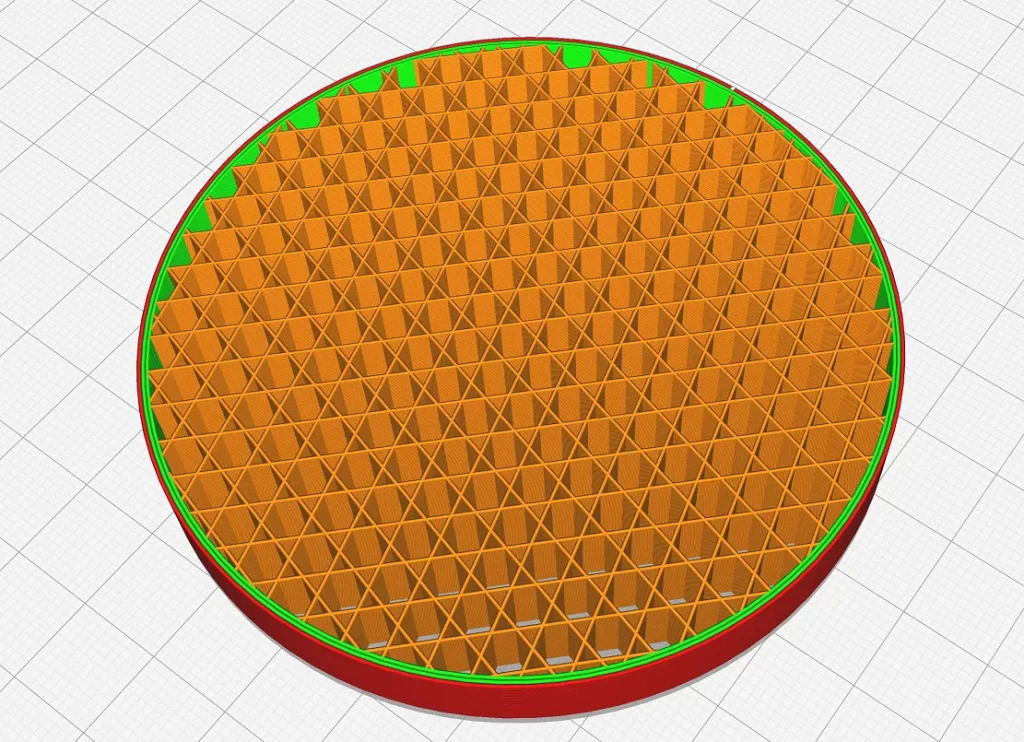
Increase the internal density, which maximizes object stability.
You can increase the density by using more infill. Alternatively or in addition, you can print more outer layers, which makes for thicker walls.
The denser your print object is, the lower the risk of the layers curling outwards.
The infill pattern also influences the density. The “gyroid” pattern offers a high density, while the “rectilinear” infill pattern offers less density.
Maximize Fan Speed

The second option, relevant for curling, is the fan speed.
If the fan blows against the extruded material, the filament can cool and harden more quickly. As a result, the extruded filament has less time to drop, curl and warp. The material already solidifies in the air due to the ventilation.
Therefore, make sure that when printing bridges and overhangs, you run the object fan up to the maximum for the respective filament.
Respect the fact that each filament has specific requirements.
If you run prints with ABS, you should never set your fan to 100 percent. With ABS, a fan running at 100 percent will cause cracks to form due to shrinkage as it cools. When printing with ABS, you should set the fan for overhangs and bridges to only about 50 percent.
Adjust the fan so that the overhang is directly in the airflow of the object fan. Only if you position the fan accordingly, ideal cooling can be guaranteed. Even a slight rotation of your print object can work wonders. An overhang that is blown directly by the fan will print much cleaner than an overhang that is in the slipstream.
Support Structures
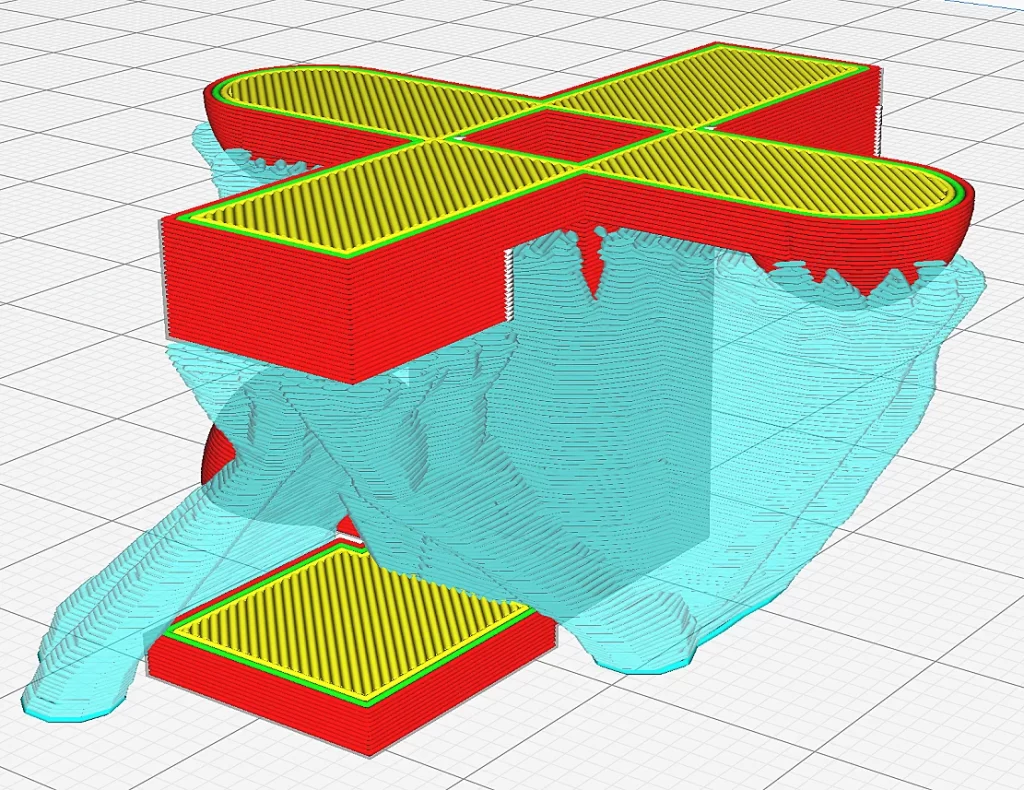
The third setting you can make with the slicer is to create support structures directly under the overhang. Supporting structures are excellent for counteracting the curling of the overhang or a bridge. The reason for this is that the printed overhangs and bridges stick to the supporting structures, so you can prevent an ugly bulge.
Make sure that you do not plan the supporting structures too far away from the overhangs and bridges, as a connection to the supporting structure is required.
With the Slic3r you can reduce the setting “Contact Z Distance”. Another setting of Slic3r is the function ” XY separation between an object and its support”. You can find this setting in “Print Settings” under “Support Material”.
Rotation of the Print Object
The fourth setting option represents a rotation of your print object in the slicer. Especially if your printer is equipped with a simple fan nozzle with an air outlet slot. The cooling is much more efficient if the overhang or bridge is directly blown on by the fan.
Which Angles are Printable?
When you print overhangs, as the angle increases, they first become dirty and ugly before the printed loops bend. Most 3D printers are capable of printing overhangs up to 45 degrees.
If you aim for overhangs up to 70 degrees, the right settings and the right material are basic requirements.
Remember that printing linear and concave overhangs is easier than printing convex overhangs.
The size of your print object is also a decisive factor. For large and solid objects, you can print at more extreme angles than for very fine structures, such as sloping struts like the Eiffel Tower.
Invest time in overhang test objects, which allow you to find out which settings are suitable for which angles.
Bridges
Bridges are a special case, as they have a 90-degree overhang. Remember that the filament must dock at the other end.
Good 3D printers are able to bridge between eight and ten centimeters with the appropriate settings and high-quality materials without the material hanging down.
Bridge Settings in the Slicer
With Slic3r you can play with several values at once to make decent bridges.
You control the speed of the fan when printing bridges by optimizing the Bridges Fan Speed setting under Filament Settings and Cooling.
If you want to print a bridge with PLA, the value of 100 percent is recommended, while you should only set 30 percent for ABS printing.
Change the extrusion rate when printing bridges under “Advanced”. This setting can be found under “Print Settings”. Now click on “Bridge Flow Ratios” and change the filament flow rate. Make sure that the value is less than one so that as little material as possible is extruded. Start with 0.8 and make changes in tiny steps.
Also under “Print Settings” you will find the setting “Bridges Speed” under “Speed”. Here you can set the speed for printing the bridge.
For a print with PLA, a setting between 30 and 40 millimeters per second is recommended.
The “Bridges Acceleration” setting refers to the print head acceleration for bridges.
Prevent the printing of support material under bridges under “Support material” and “Don’t support Bridges”.
If you want to set a fixed angle at which your 3D printer prints the infill of the bridges, you should select the Bridging Angle option under Infill.
Only if the value 0 is entered, your Slic3r tries to find the ideal angle for the bridge to be printed.
As a Simplify3D user, you choose the option “Use fixed Bridging Angle”.
A recommended experimental option can be found at Slic3r under “Layers and perimeters”. Click on “Detect bridging perimeters”. Only with this setting, your Slic3r will treat all outer layers like an infill.
If you use the Simplify3D, this option is called “Apply Bridging to Perimeters”.
You should always enable this option when printing bridges with problematic filaments such as ABS.
In Cura there are also special bridge settings that allow you to avoid overhangs curling up.
Disclosure: This website is the property of Martin Lütkemeyer and is operated by Martin Lütkemeyer. Martin Lütkemeyer is a member of the Amazon Services LLC and other Affiliate Programs. These are affiliate advertising programs designed to enable websites to earn advertising revenue through advertising and linking to Amazon.com and others. Links marked with * are affiliate links.
