
- Wet Filament: Prevention, Symptoms & Drying - July 18, 2024
- Sovol SV08 – Best PrusaSlicer Settings & Profile - June 26, 2024
- Sovol SV08 – Best Orca Slicer Settings & Profile - June 26, 2024
Disclosure: Links marked with * are Affiliate Links. I earn from qualifying purchases if you decide to make a purchase through these links – at no additional cost for you!
Is the Ender-5 S1 a worthy successor to the Ender-5 Pro? In this hands-on comparison of the two 3D printers, I’ll show you their similarities and differences, so you can make the right buying decision.
Compared to the Ender-5 S1, the print bed of the Ender-5 Pro reaches a temperature of 135 °C instead of 110 °C and the print volume is 20 mm higher in the Z-direction. In return, the Ender-5 S1 has a direct drive extruder, automatic print bed levelling and a high print speed.
In this article, you will find out in detail which features are new in the Ender-5 S1 and how they differ from each other.
Table of Contents:
- 1 Key Takeaways
- 2 Advantages & Disadvantages – Ender-5 S1
- 3 Advantages & Disadvantages – Ender-5 Pro
- 4 Technical Specifications
- 5 Scope of Delivery & Setup
- 6 Print Bed Levelling
- 7 Extruder
- 8 Print Speed
- 9 Print Volume
- 10 Print Bed
- 11 Filament Sensor
- 12 Touchscreen
- 13 Resume Print
- 14 Slicer
- 15 Print Quality
- 16 Conclusion: Ender-5 S1 or Ender-5 Pro? – Which is Better?
Key Takeaways
- Best price-performance ratio: Ender-5 S1
- Highest accuracy: Ender-5 S1
- Largest print volume: Ender-5 Pro
- Best features: Ender-5 S1
- User-friendliness: Ender-5 S1
- Larger community: Tie
- More buyable/printable upgrades: Tie
- Simplest assembly: Tie
Check Price at:

Check Price at:
Advantages & Disadvantages – Ender-5 S1
PRO:
- The direct drive extruder enables the processing of flexible filaments.
- Very high printing speed
- PC-coated, flexible print bed
- Automatic print bed levelling
CON:
- Print volume is somewhat small compared to its size
Advantages & Disadvantages – Ender-5 Pro
PRO:
- Slightly larger print volume
- Print bed reaches very high temperatures
- PC-coated, flexible print bed
CON:
- Bowden extruder
- Lower print temperature
- Lower print speed
- Manual print bed levelling
- No filament sensor
- No touch screen
Technical Specifications
| Ender-5 S1 | Ender-5 Pro | |
|---|---|---|
| Print volume | 220 × 220 × 280 mm | 220 × 220 × 300 mm |
| Layer height | 0.05 to 0.35 mm | 0.1 to 0.3 mm |
| Accuracy | ± 0.1 mm | ± 0.1 mm |
| Print speed | 100-120 mm/s | 40-60 mm/s |
| Max. print temperature | 300 °C | 260 °C |
| Max. print bed temperature | 110 °C | 135 °C |
| Print bed | PC-coated spring steel, magnetic, flexible | PC-coated spring steel, magnetic, flexible |
| Print bed levelling | Automatic (CR-Touch) | Manual |
| Extruder | “Sprite” Dual Gear, Full Metal, direct drive extruder | Bowden extruder |
| Filament | 1.75 mm PLA, ABS, PETG, TPU | 1.75 mm PLA, ABS, PETG |
| Operation | 4,3″ touch screen | Two-color display with rotary knob |
| Double Z-axis | No | No |
| Filament sensor | Yes | No |
| Resume Print | Yes | Yes |
| Connectivity | SD card, USB-C | MicroSD card, Micro USB |
| Slicer | Creality Slicer, Creality Print, Cura, Repetier-Host, Simplify3D | Creality Slicer, Creality Print, Cura, Repetier-Host, Simplify3D |
Scope of Delivery & Setup

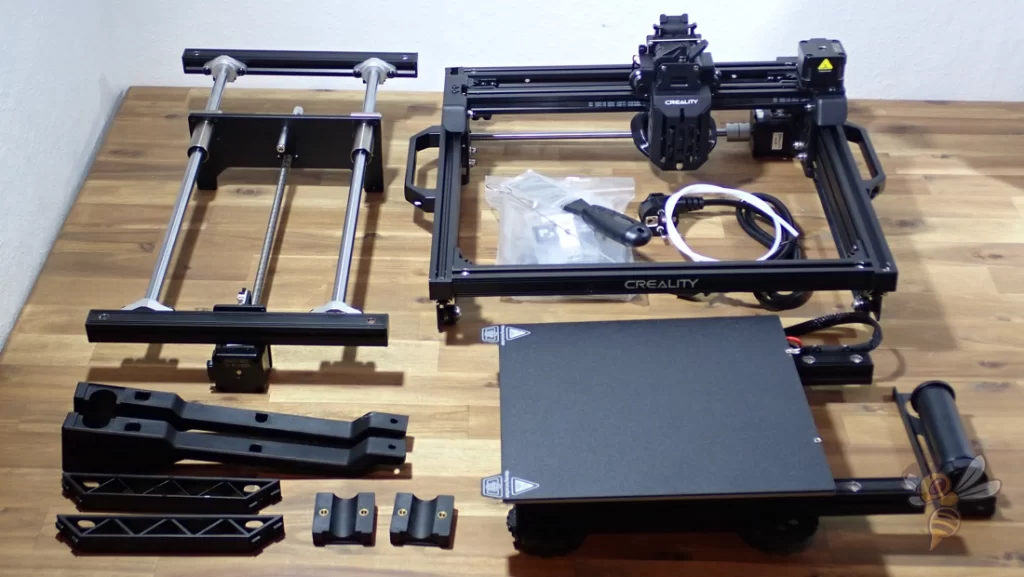
- Ender-5 S1: Partially pre-assembled, everything included for assembly & test print, 20-40 minutes
- Ender-5 Pro: Partially pre-assembled, everything included for assembly & test print, 20-40 minutes
The scope of delivery is comparable for both 3D printers. The individual parts come partially pre-assembled in a compact package. All tools and screws that you need for the assembly are included.
As with most 3D printers you can buy these days, there’s a small filament sample included, so you can get started right away with your first test print.
No matter which of the two 3D printers you choose, you should buy more filament because the sample is only enough for 2-3 small objects. For the beginning, I would definitely recommend PLA, as it is the easiest filament. Here you can find more information and the best filament brands.
The assembly is also very similar for both 3D printers. The number of modules is about the same, but the Ender-5 Pro still has the screen with the rotary knob, which must be mounted on the side. The display on the Ender-5 S1 is built into the base and does not need to be mounted.
The Ender-5 S1 also includes stabilizers for the frame and print bed to prevent vibrations.
The user manual for both 3D printers is very intuitive and easy to understand. However, I have to say that the manual for the Ender-5 S1 is better.
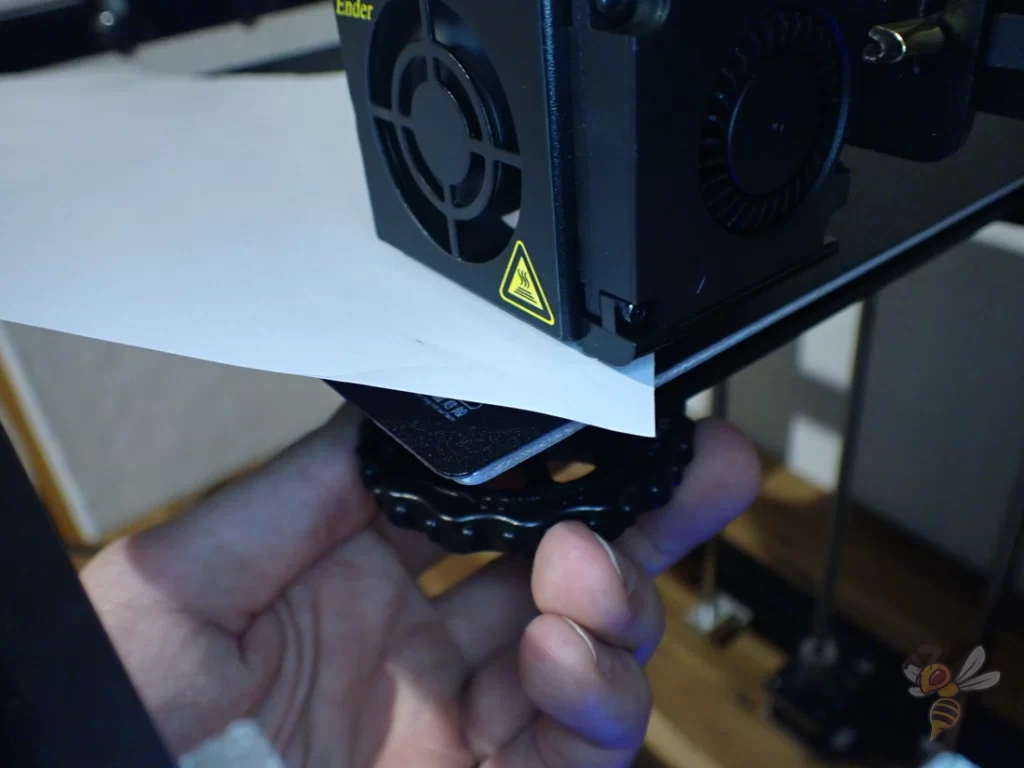
Print Bed Levelling

- Ender-5 S1: Automatic (CR-Touch)
- Ender-5 Pro: Manual
Print bed leveling is an important requirement for good 3D printing. Since you need to perform the leveling regularly, it is extremely convenient if the 3D printer has a sensor for automatic print bed leveling.
The Ender-5 S1 uses a CR-Touch built into the print head that automatically measures the distance between the nozzle and the print bed in multiple locations at the touch of a button.
With manual leveling you adjust the inclination of the print bed with a piece of paper. For this purpose, there are rotary screws under the print bed. With the screws, you adjust the distance between the nozzle and the print bed in several places on the print bed so that you can move the piece of paper with some friction between nozzle and print bed.
You need to perform this type of leveling regularly on the Ender-5 Pro. With the Ender-5 S1, you only need to perform it once after assembly and can then run the automatic leveling regularly.
Extruder
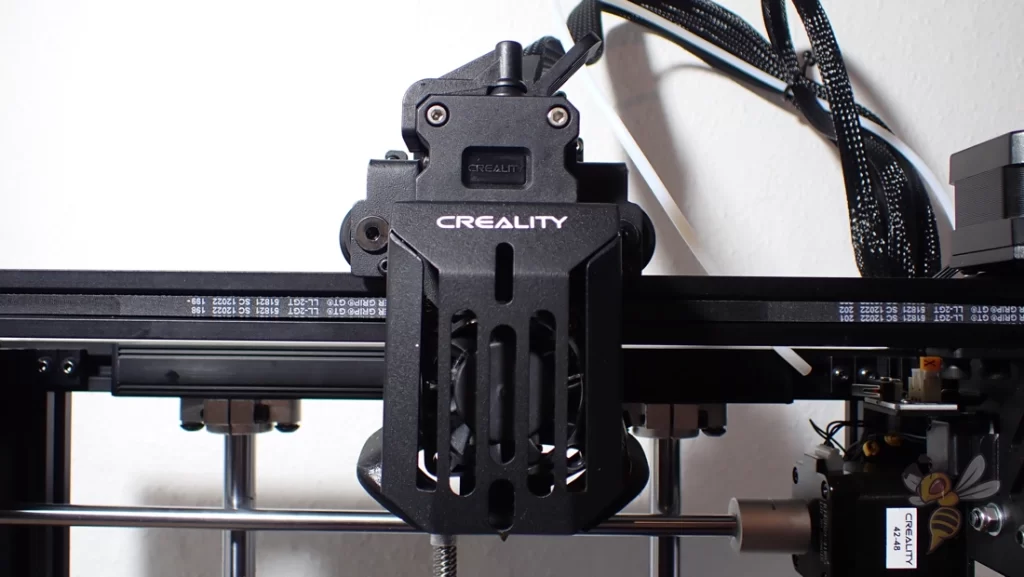
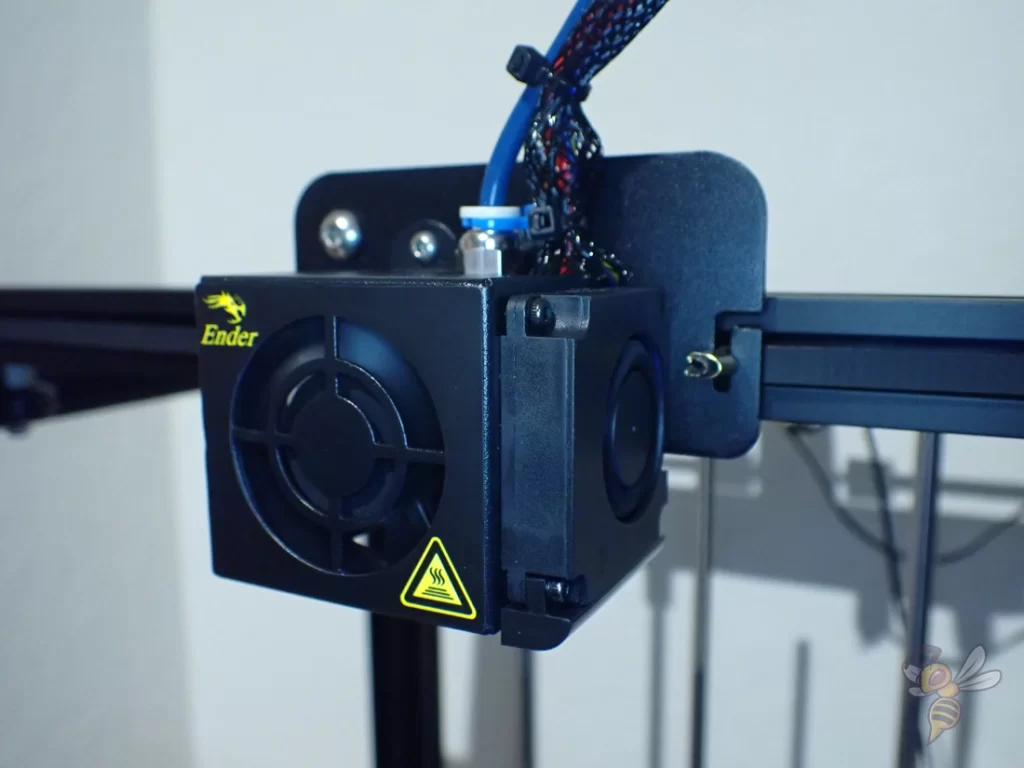
- Ender-5 S1: “Sprite” direct drive extruder
- Ender-5 Pro: Bowden extruder
The difference between a direct drive extruder and a Bowden Extruder is the distance between the extruder and the nozzle.
A direct drive extruder is built directly into the print head, so this distance is minimal. A Bowden extruder sits on the frame of the 3D printer and the filament has to travel a much longer distance to the nozzle.
Both extruder types have their advantages and disadvantages, whereby the advantages of the direct drive extruder outweigh the disadvantages. The advantages of a direct drive extruder are that it can also process flexible filaments and offers a higher extrusion accuracy with rigid filaments. The disadvantage is that it makes the print head a little heavier and increases the risk of vibration.
The advantage of a Bowden extruder is therefore that it is lighter and theoretically allows higher printing speeds. The disadvantage is that it is difficult to process flexible filaments with a Bowden extruder. The long distance between the extruder and the nozzle means that the flexible filament can partially compensate for the extrusion movements.
It is therefore almost impossible to print flexible filaments error-free with a Bowden extruder. However, the fact that the direct drive extruder is somewhat heavier on the Ender-5 S1 is compensated for by the stable construction. The Ender-5 S1 nevertheless reaches much higher speeds than the Ender-5 Pro without causing vibrations.
Print Speed

- Ender-5 S1: 100-120 mm/s
- Ender-5 Pro: 40-60 mm/s
The printing speed of the Ender-5 S1 is twice that of the Ender-5 Pro. This is mainly due to the stable construction, which can withstand high acceleration forces before vibrations occur.
Such a high printing speed is normally hard to achieve for a Cartesian 3D printer without producing vibrations and printing errors such as ghosting or ringing. Until now, these print speeds were reserved for delta 3D printers (like the FLSUN Super Racer).
The maximum speed of the Ender-5 S1 is 250 mm/s. However, at this speed you will lose accuracy, which is why it is only suitable for rough prototypes or mechanical applications.
Print Volume


- Ender-5 S1: 220 × 220 × 280 mm
- Ender-5 Pro: 220 × 220 × 300 mm
The print volume of the Ender-5 Pro is 20 mm larger in the z-axis than the Ender-5 S1. In practical terms, the print volume is identical. So with both 3D printers, you can print small and medium-sized objects in one piece.
Both 3D printers have a relatively small print volume compared to their size. This is due to their design, which prioritizes stability. However, there is also one 3D printer in the Ender-5 series that has a gigantic print volume, the Ender-5 Plus.
Print Bed
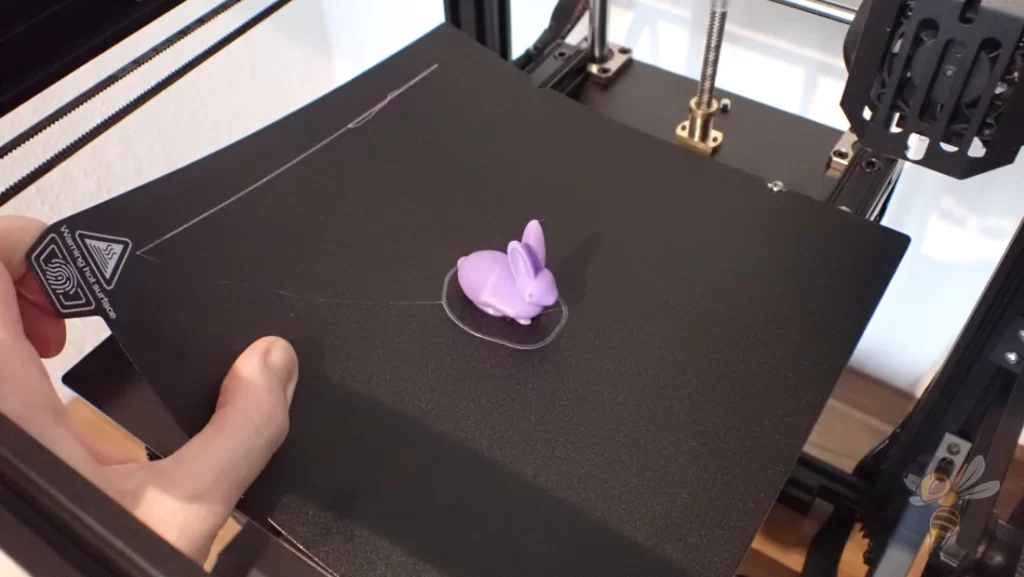
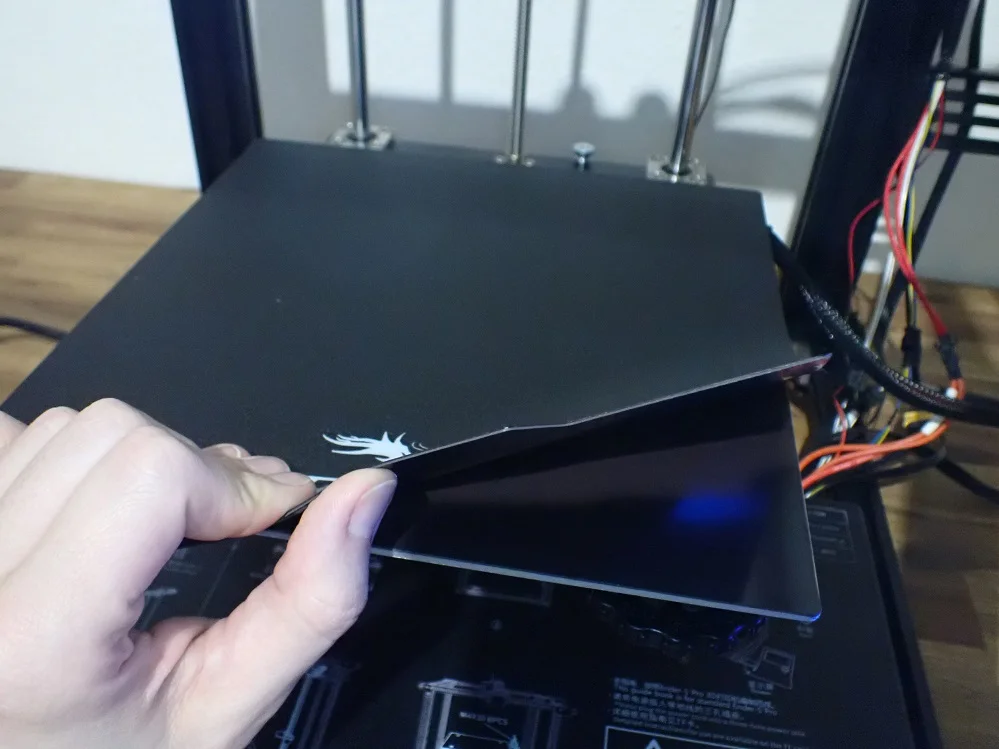
- Ender-5 S1: PC-coated spring steel, magnetic, flexible
- Ender-5 Pro: PC-coated spring steel, magnetic, flexible
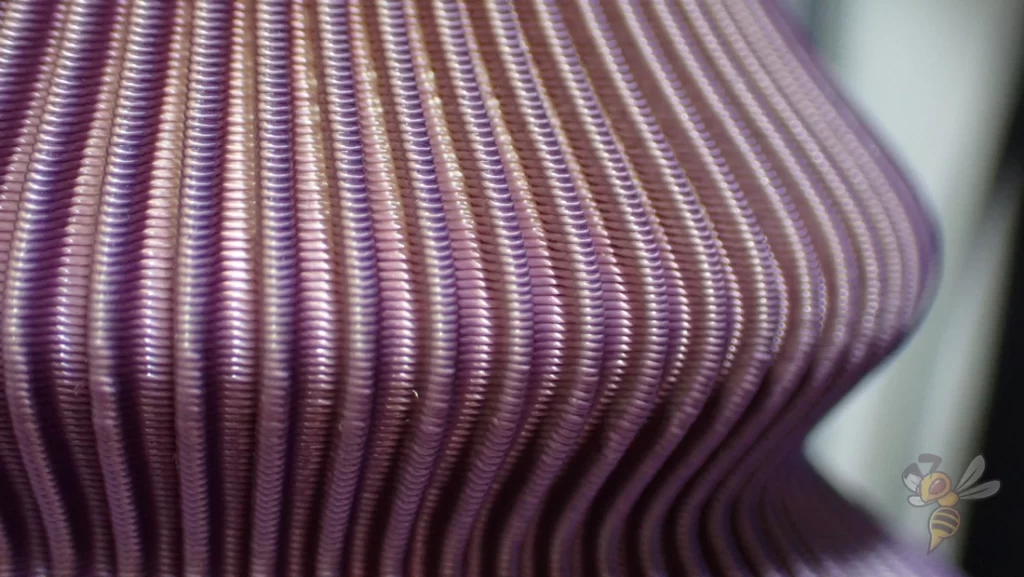
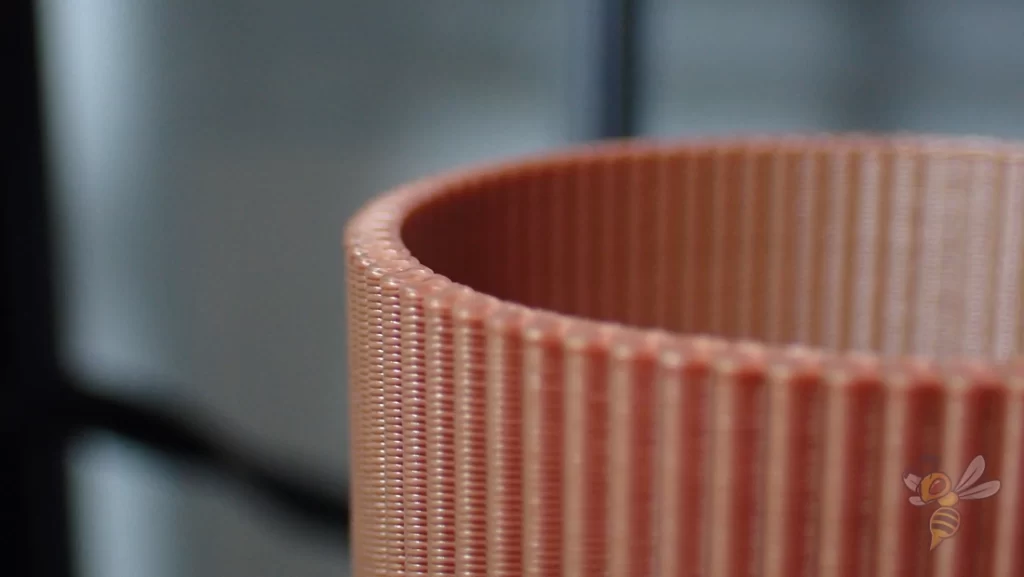
The print bed is the same for both 3D printers. A PC-coated spring steel sheet is used in each case, which is both magnetic and flexible.
This has several advantages. Most filaments adhere excellently to the coating and removing the object after printing is easy. As soon as you take off the print bed and bend it, the object comes off by itself. So, you don’t need a spatula anymore and you never run the risk of damaging or scratching the print bed.
However, there is one advantage to the Ender-5 S1 print bed. At the rear end are two screws that protrude from the print plate and the print bed has two notches into which these screws fit. With removable print bed surfaces, it can be a little tricky to get the print bed back in the right place. With these two screws, you can simply snap the print bed into place and put it down.
Filament Sensor
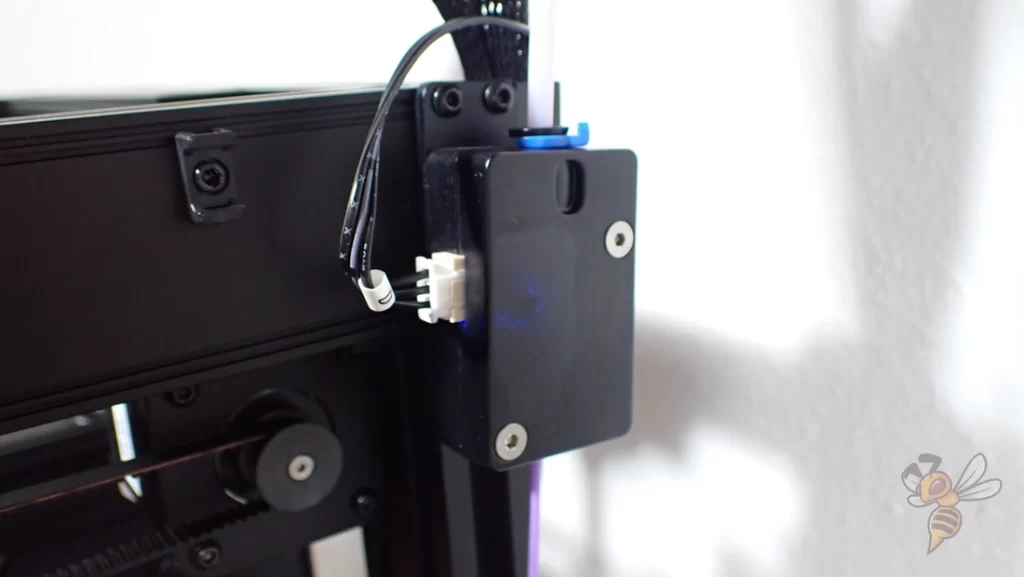
- Ender-5 S1: Yes
- Ender-5 Pro: No
Nowadays, a filament sensor is a must-have feature in my opinion. The filament sensor pauses the print as soon as there is no filament left or when it broke.
If you’re printing an object and you’re uncertain if you have enough filament left on the spool, you don’t have to worry about that with a filament sensor because you can easily add more. Without a filament sensor like the Ender-5 Pro, you need to be certain you have enough filament for your project.
With some types of filament, humidity and UV radiation can cause it to become brittle. With a filament sensor, breaking is also only a minor problem, since you can then add more directly.
Touchscreen


- Ender-5 S1: 4.3″ touchscreen
- Ender-5 Pro: No
The Ender-5 S1 is much more comfortable and efficient to use than the Ender-5 Pro. The color touchscreen allows you to quickly access the desired setting and clearly monitor the status of the print.
While the Ender-5 Pro’s knob operation isn’t bad, it’s a bit outdated when you look at Creality’s newer 3D printers.
Resume Print
- Ender-5 S1: Yes
- Ender-5 Pro: Yes
The Resume Print feature has become a standard feature. If you live in a region where power outages are common, this feature is worth its weight in gold.
When power is interrupted, the 3D printer remembers where it was interrupted with the last bit of power. Once power is restored, it will continue printing at the same location.
Only if the print was interrupted when the nozzle is on the outer skin of the object, you can see after the print where it was interrupted. Usually, a blob of filament remains on the outer skin. Otherwise, the interruption remains invisible.
Slicer

- Ender-5 S1: Creality Slicer, Creality Print, Cura, Repetier-Host, Simplify3D
- Ender-5 Pro: Creality Slicer, Creality Print, Cura, Repetier-Host, Simplify3D
Both 3D printers can be operated with the same slicers. If you decide to use either 3D printer, here is an article on the best settings for each in Cura:
Print Quality


- Ender-5 S1: ± 0.1 mm
- Ender-5 Pro: ± 0.1 mm
The print quality is theoretically the same for both 3D printers. They use the same nozzle with a 0.4 mm diameter and both have a print accuracy of 0.1 mm.
In my experience, however, the print quality is slightly better with the Sprite direct drive extruder of the Ender-5 S1.
Conclusion: Ender-5 S1 or Ender-5 Pro? – Which is Better?
The result of the detailed comparison between the Ender-5 S1 and the Ender-5 Pro is that the Ender-5 S1 is better in just about everything.
Even if the Ender-5 S1 should be a bit pricier, it still has the better price-performance ratio. So, your buying decision is relatively clear, unless there are extreme discounts for the Ender-5 Pro.
If you want to learn more about the Ender-5 S1, you can check out the hands-on review.
Check Price at:
Check Price at:
Disclosure: This website is the property of Martin Lütkemeyer and is operated by Martin Lütkemeyer. Martin Lütkemeyer is a member of the Amazon Services LLC and other Affiliate Programs. These are affiliate advertising programs designed to enable websites to earn advertising revenue through advertising and linking to Amazon.com and others. Links marked with * are affiliate links.
