
- Wet Filament: Prevention, Symptoms & Drying - July 18, 2024
- Sovol SV08 – Best PrusaSlicer Settings & Profile - June 26, 2024
- Sovol SV08 – Best Orca Slicer Settings & Profile - June 26, 2024
Disclosure: Links marked with * are Affiliate Links. I earn from qualifying purchases if you decide to make a purchase through these links – at no additional cost for you!
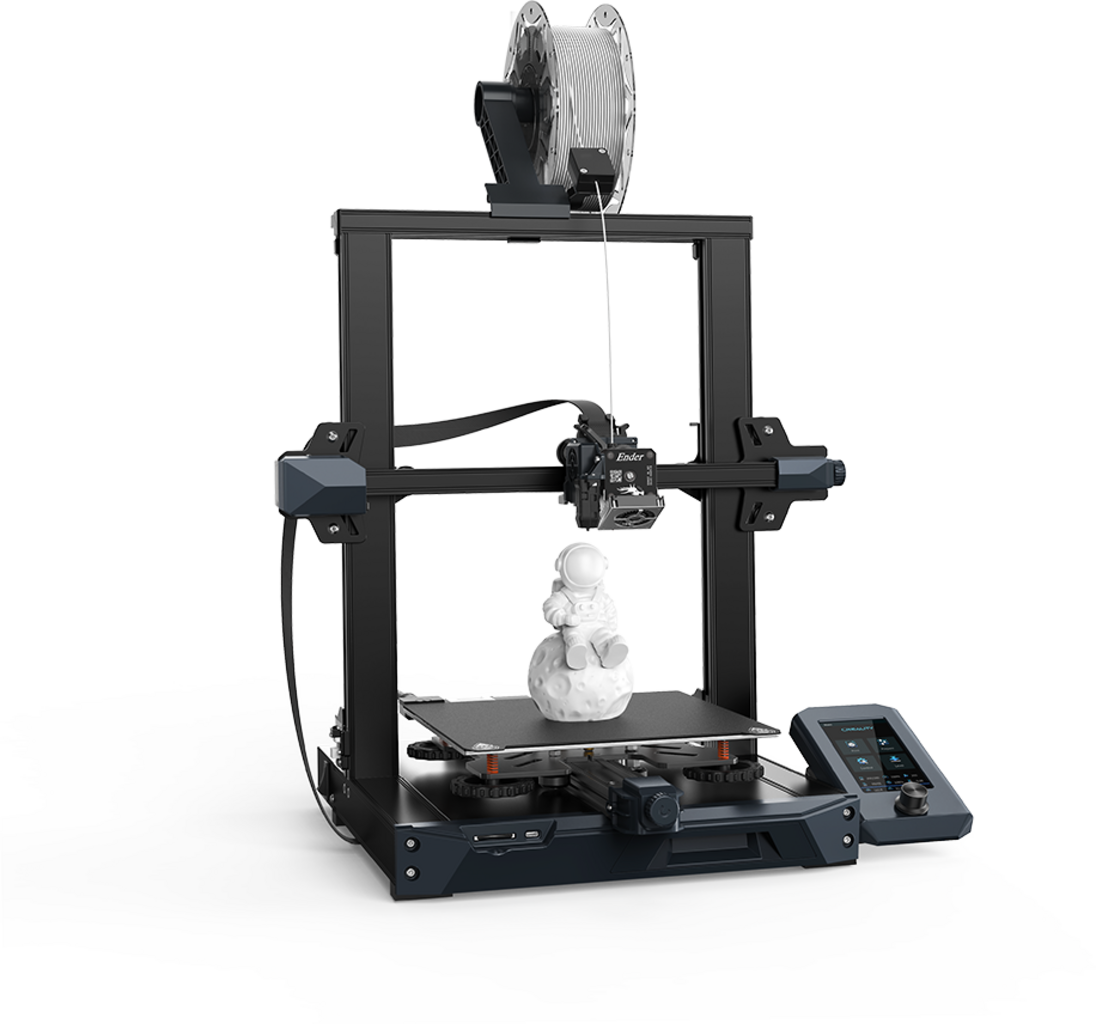
Creality revolutionized the hobby world of 3D printing with the original Ender 3. Of course, this success was followed by various successors, such as the greatly improved and extremely popular Ender 3 V2. But even this improved version is now getting outdated, which is why the bestseller has now been brought up to date with the Ender 3 V2 Neo*.
The Ender 3 V2 Neo features several modern upgrades over its predecessor, the Ender 3 V2, that improve handling and print quality. These include the flexible print bed and the CR-Touch for automatic print bed leveling.
I’ve already tested its predecessor and other members of the Ender 3 series, and I’ll be taking a close look at the Ender 3 V2 Neo in this hands-on review as well.

Check Price at:
Table of Contents:
- 1 Key Takeaways
- 2 Who Should Buy the Ender 3 V2 Neo?
- 3 Advantages & Disadvantages
- 4 Technical Specifications
- 5 Scope of Delivery
- 6 Setup
- 7 Features & Design
- 8 Heating Times
- 9 Noise Level
- 10 Power Consumption
- 11 Slicer
- 12 Print Quality – Practical Test
- 13 Ender 3 V2 Neo vs. Ender 3 V2
- 14 Ender 3 V2 Neo vs. Ender 3 S1
- 15 Is the Ender 3 V2 Neo Worth It?
Key Takeaways
- Modernized version of the Ender 3 V2
- Automatic print bed leveling by the built-in CR-Touch
- Excellent print bed adhesion on the flexible, coated spring steel print bed
- Full metal Bowden extruder
Who Should Buy the Ender 3 V2 Neo?
The Ender 3 V2 Neo is an ideal entry-level 3D printer. The device is almost plug-and-play and does not require any essential upgrades to deliver great quality. Thanks to Creality’s extensive experience, it is very reliable and user-friendly.
Advantages & Disadvantages
PRO:
- Proven technology
- Simple assembly
- Color display
- Flexible, PC-coated print bed
- Automatic print bed leveling
- Tool drawer
- Full metal extruder
- Relatively quiet
- Belt tensioner
- Resume print feature
CON:
- No double z-axis
- No direct drive extruder
- No touch screen
Technical Specifications
DEVICE
- Technology: FDM (Fused Deposition Modeling)
- Assembly: Partially pre-assembled, approx. 5-10 minutes
- Size: 438 × 424 × 472 mm
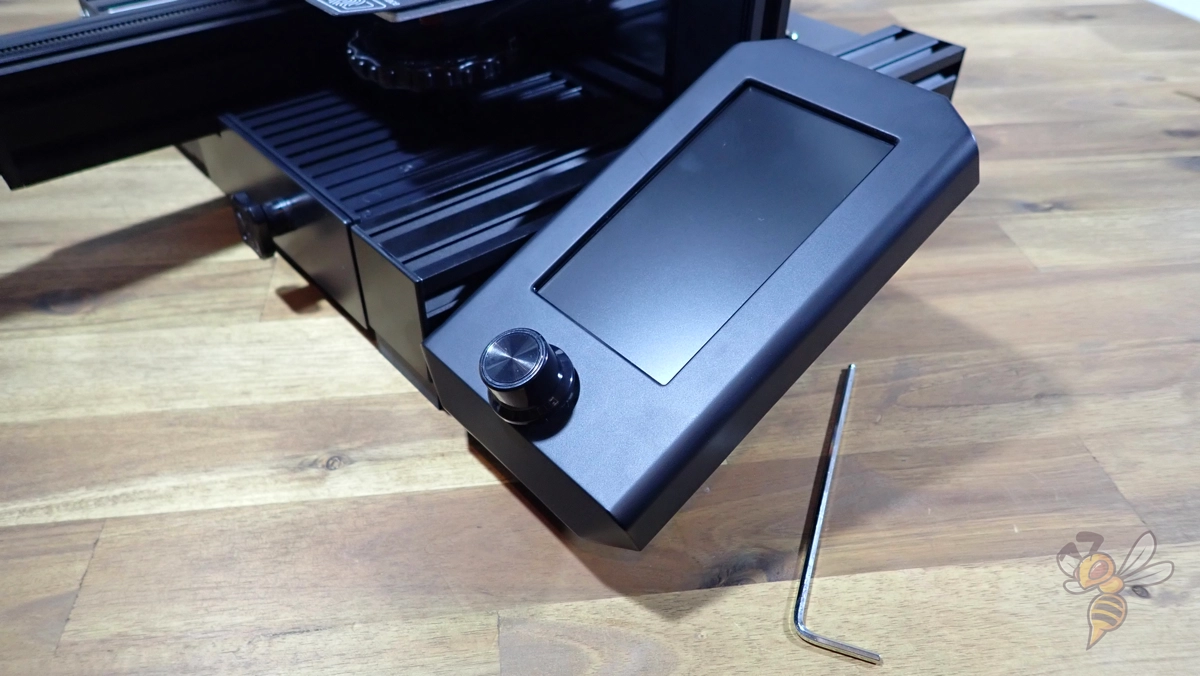
- Operation: 4.3-inch color screen with rotary knob
- Extruder: Full metal Bowden
- Print volume: 220 × 220 × 250 mm
- Accuracy: 0.1 mm
- Print speed: 40-60 mm/s (max. 120 mm/s)
- Nozzle quantity: 1
- Nozzle diameter: 0.4 mm
- Max. nozzle temperature: 260 °C
- Max. print bed temperature: 100 °C
- Filaments: PLA, ABS, PETG
- Filament diameter: 1.75 mm
- Print bed: Flexible, magnetic, PC-coated
- Print bed leveling: Automatic
- Resume print: Yes
- Filament sensor: No
SOFTWARE
- Connectivity: Micro USB, Micro SD card
- Slicer: Creality Slicer, Creality Print, Cura, Simplify3D
Check Price at:
Scope of Delivery
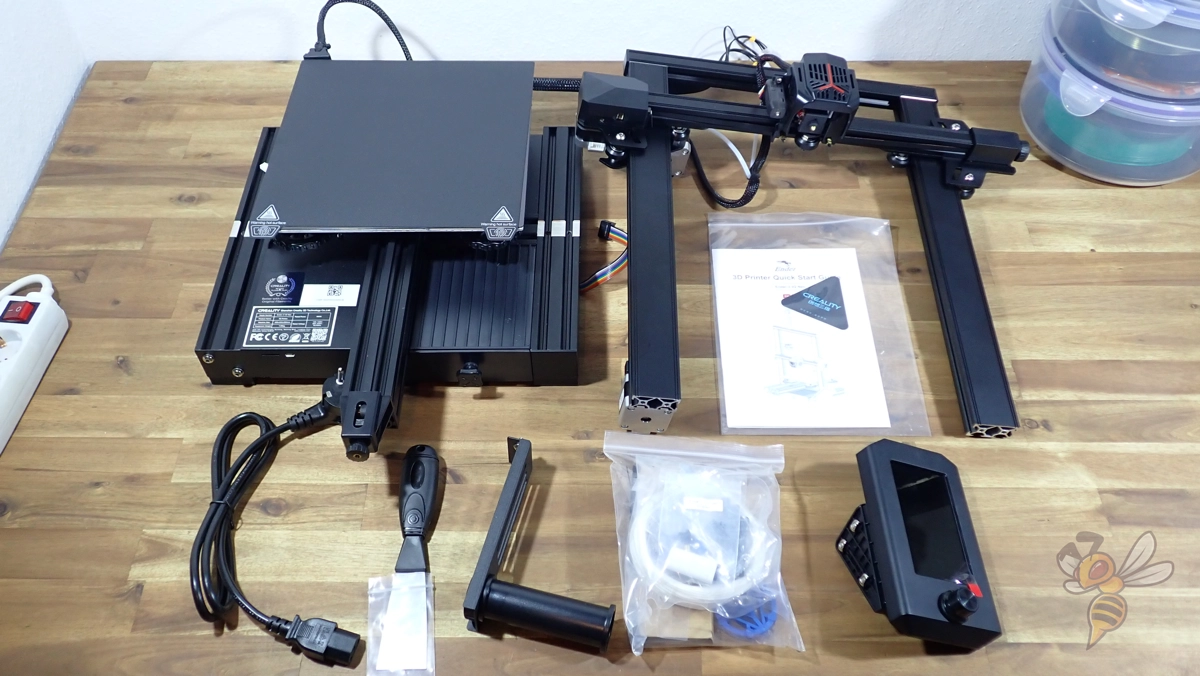
The scope of delivery of the Ender 3 V2 Neo contains all parts and tools for the assembly and a little filament to start directly with the first test prints. The SD card already contains G-codes for this purpose.
Included with the Ender 3 V2 Neo are the following items:
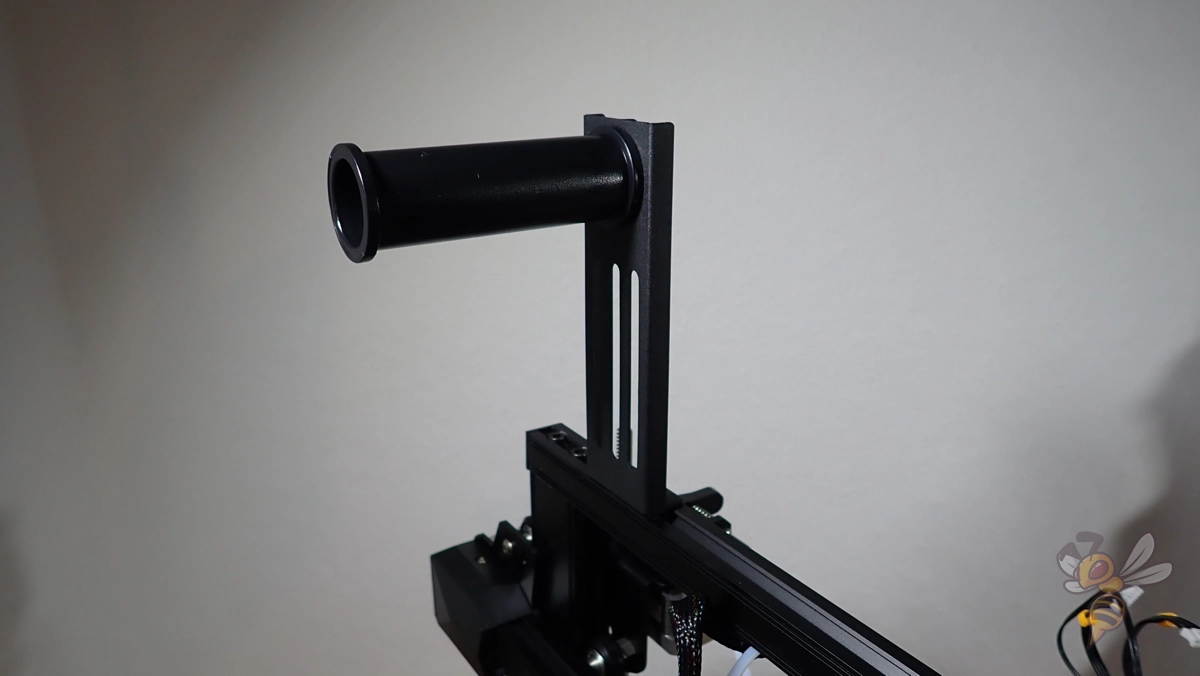
- The four pre-assembled modules of the 3D printer (base with print bed, frame with extruder, filament holder and display)
- Tool
- Spare parts
- Power cable
- Needle for nozzle cleaning
- Some PLA filament
- Operating instructions
- MicroSD card:
- digital manual
- videos
- test models
- slicer software
The only thing missing besides the scope of delivery is more filament. The included filament is only a small PLA sample for the first test prints.
The Ender 3 V2 Neo can process PLA, ABS and PETG and their blends. So, it’s a good idea to at least get some more PLA filament. In this article, you’ll learn which PLA filament is the most worthwhile right now.
Setup
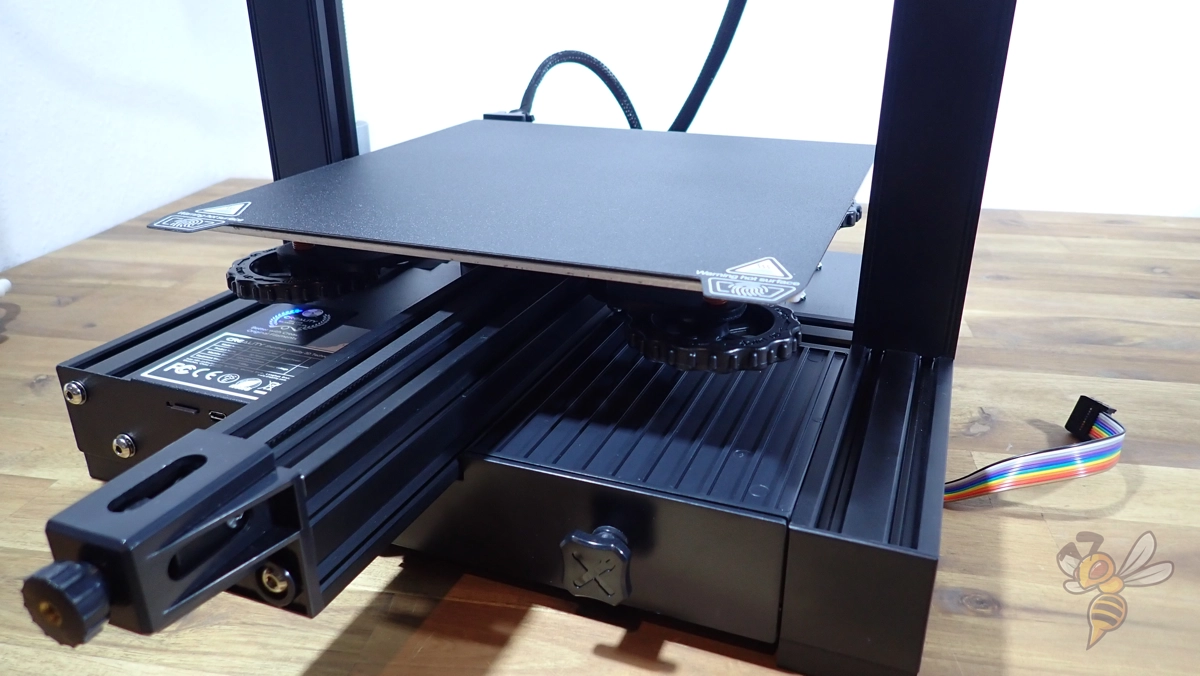
The assembly of the Ender 3 V2 Neo is done within five to ten minutes thanks to the pre-assembled modules.
The operating instructions explain the individual steps relatively well and with clear pictograms. With some experience, the pictograms are sufficient to complete the assembly.
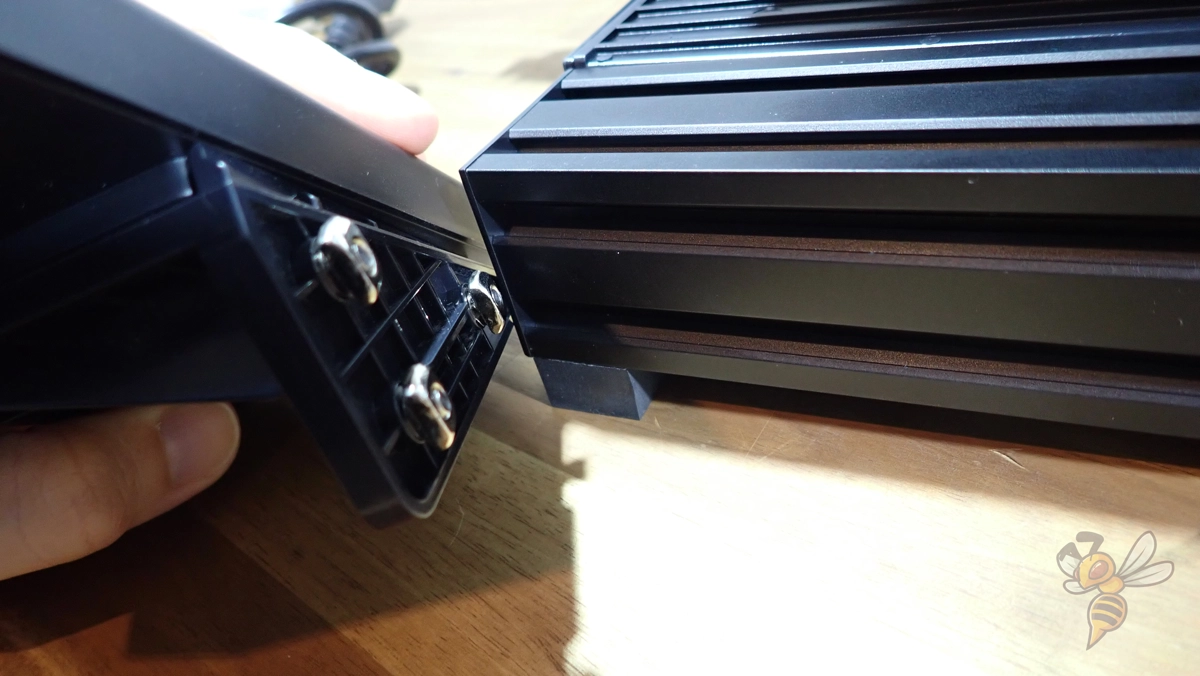
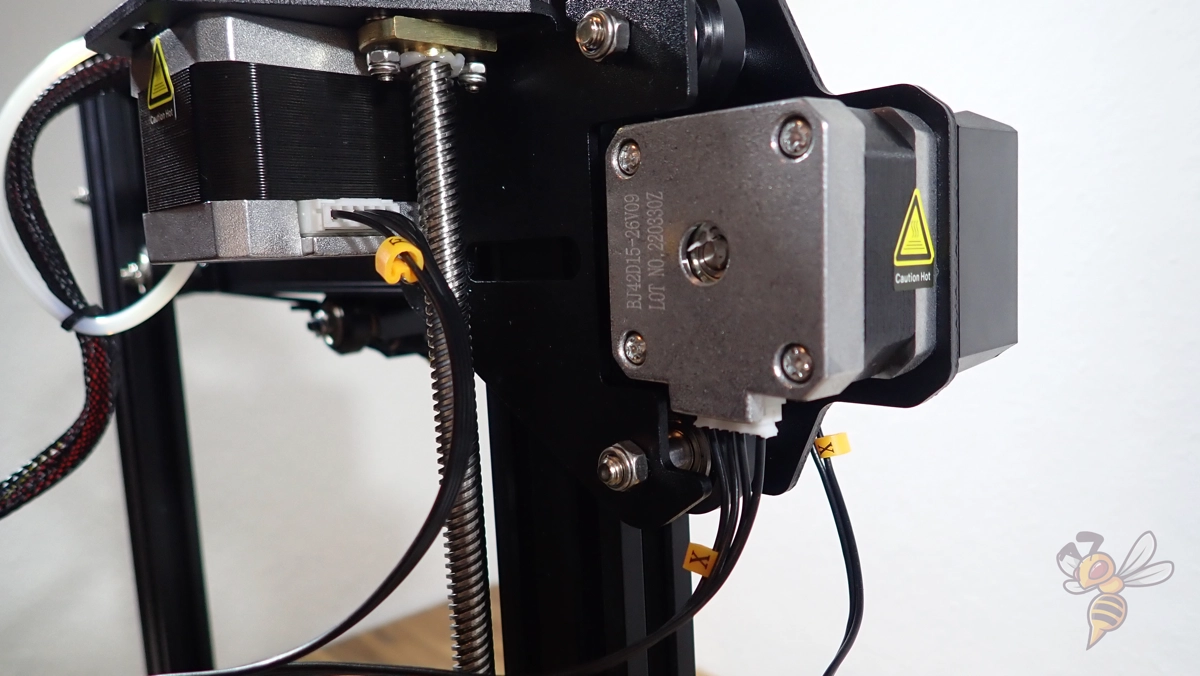
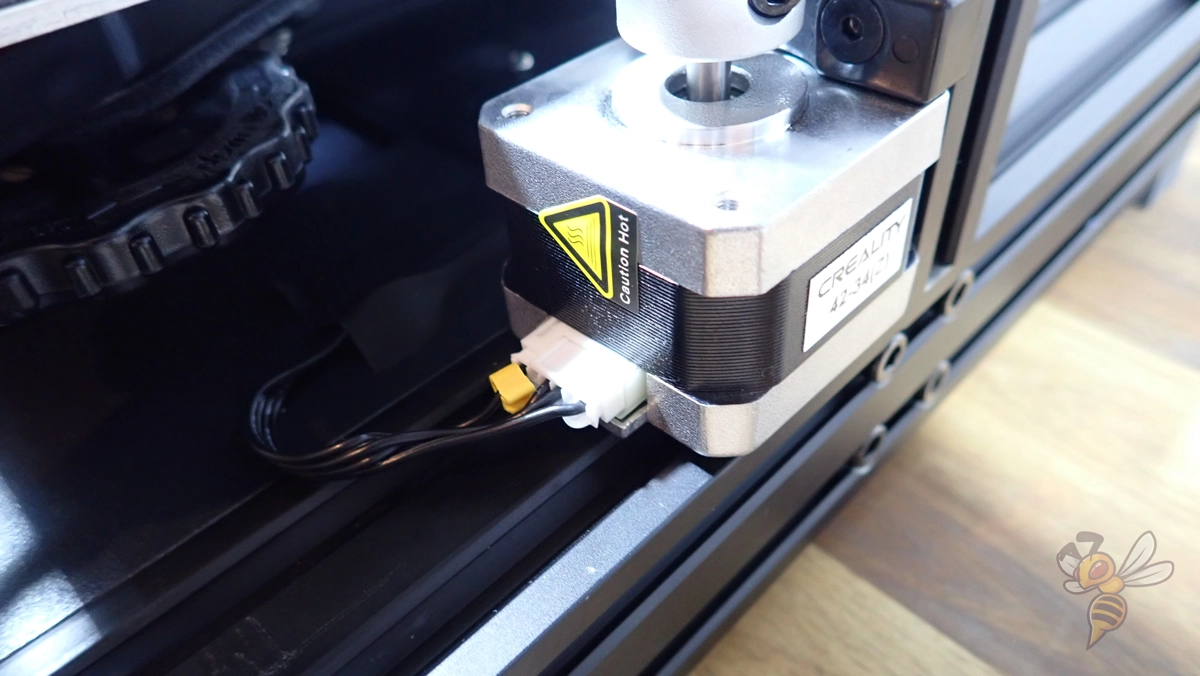
At the end of the assembly of the individual modules, the cables must still be plugged into the corresponding stepper motors and end stops. Each cable is marked, so that a wrong connection is hardly possible.
After mounting, the print bed needs to be leveled. While there are still screws underneath the print bed to manually adjust the tilt, you will likely never need these as the Ender 3 V2 Neo has a CR Touch.
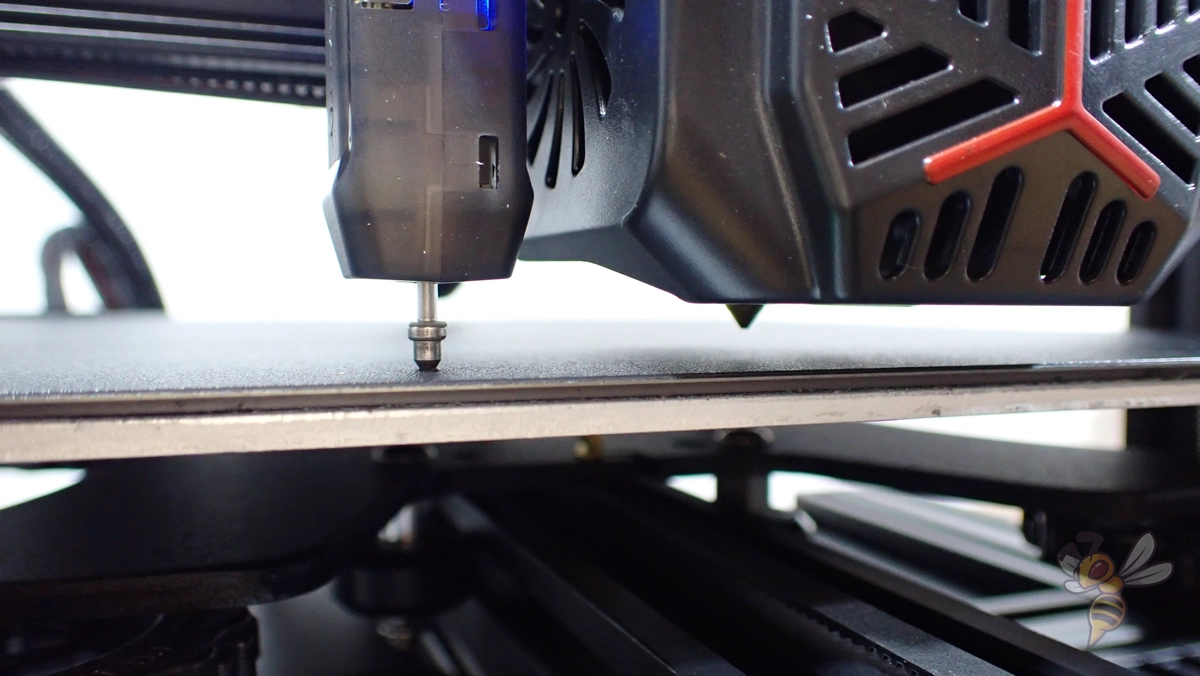
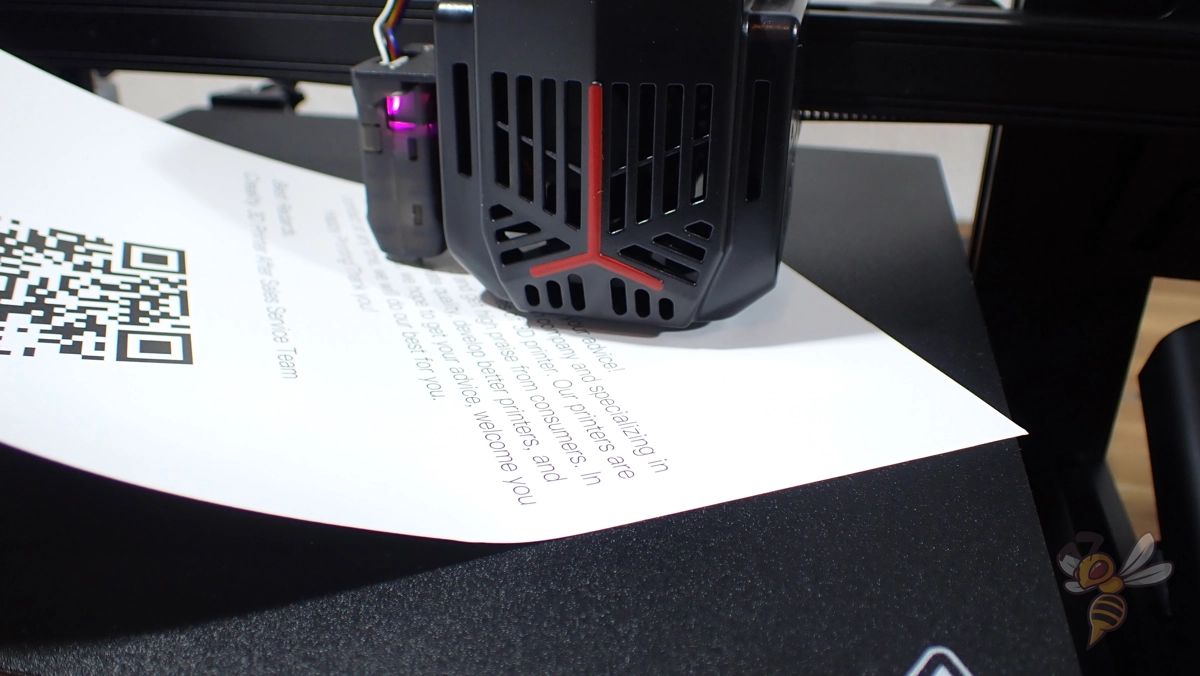
With this leveling sensor, you can automatically align the print bed via the menu. Then you only have to calibrate the z-offset with a piece of paper at one point of the print bed to adjust the distance of the nozzle to the print bed.
This distance should not be too large. Otherwise, the filament will not adhere properly to the print bed. But the nozzle must not be too close either so that the extrusion is not disturbed or the filament is squeezed too much.
Compared to the original Ender 3 V2, this makes print bed leveling extremely comfortable and user-friendly. Beginners often have difficulties when they have to manually level a print bed for the first time. The CR Touch makes this task much easier.
Features & Design
If you place the Ender 3 V2 Neo next to its predecessor, the two 3D printers are very similar. However, it is immediately noticeable that important features and design elements have been modernized. The new version not only looks better, essential features have also been added or upgraded.
These are the main features of the Ender 3 V2 Neo:
- CR-Touch: A sensor for automatic print bed leveling.
- PC spring steel print bed: Creates high print bed adhesion and flexes after printing for easy object removal.
- Full metal extruder: Better control over the filament.
- Screen with new UI: Modern menu navigation with preview images of the object to be printed.
- High temperatures: Allows the processing of all standard filaments.
- Resume Print: Printing resumes automatically after a power failure.
- Belt tensioner: Convenient tensioning of the toothed belts possible without dismantling the axles.
- Tool drawer: space for all tools.
CR Touch
The Ender 3 V2 Neo has a CR Touch for automatic print bed leveling. The sensor measures several points on the print bed and calculates the inclination so that it can be leveled during printing.
The act of print bed leveling is thus extremely simplified. One command in the menu is enough for the sensor to start working. After that, you only have to adjust the distance between the nozzle and the print bed with a piece of paper. How exactly this works, you can also read in this guide on how to level a print bed.
PC Spring Steel Print Bed
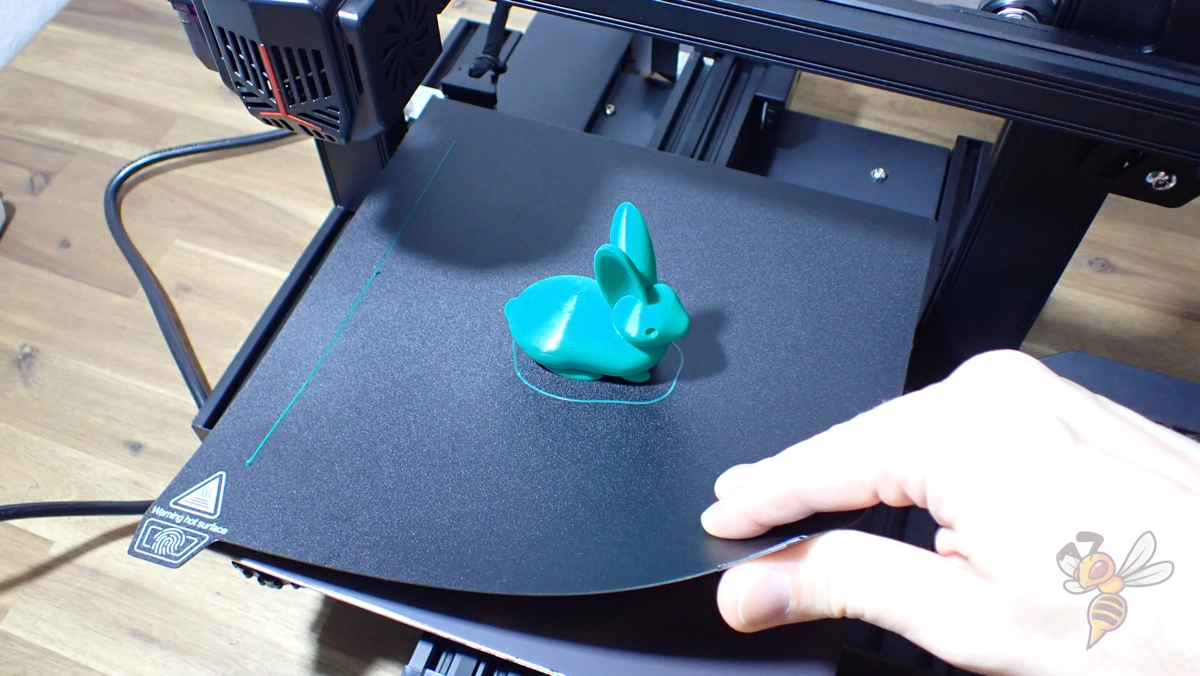
Meanwhile, flexible print bed surfaces with a PC or PEI coating have proven themselves in hobby 3D printers. The Ender 3 V2 Neo also has a PC-coated spring steel print bed.
This print bed surface provides excellent print bed adhesion for most standard filaments. In my test, there were no problems with print bed adhesion, even with extremely filigree first layers.
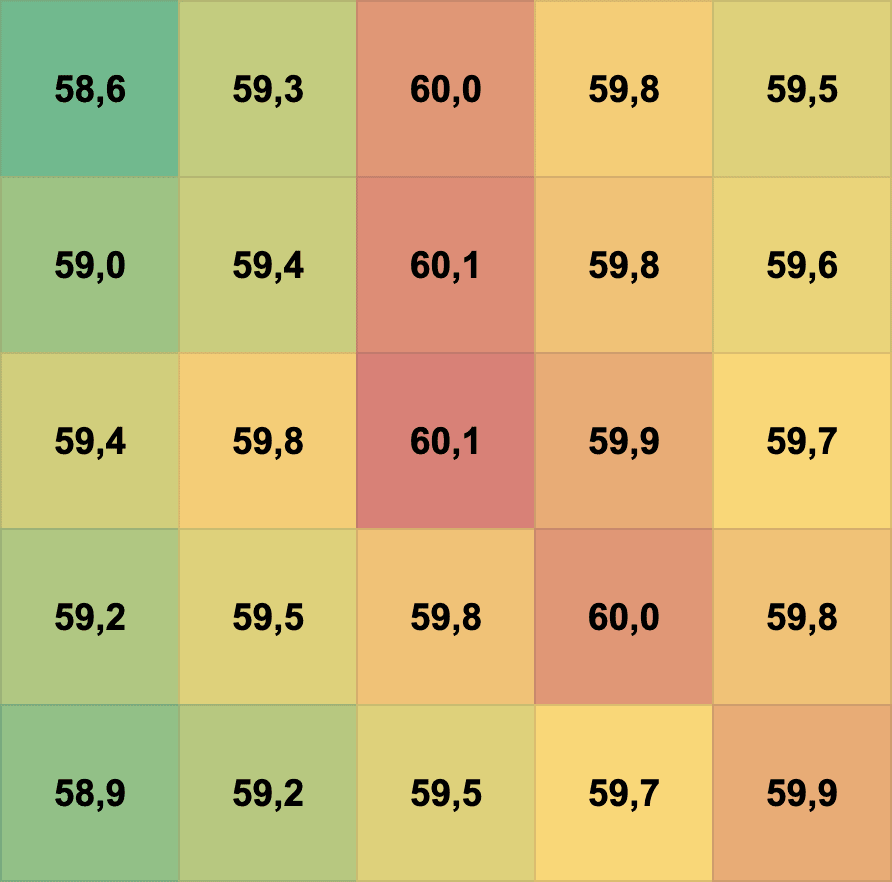
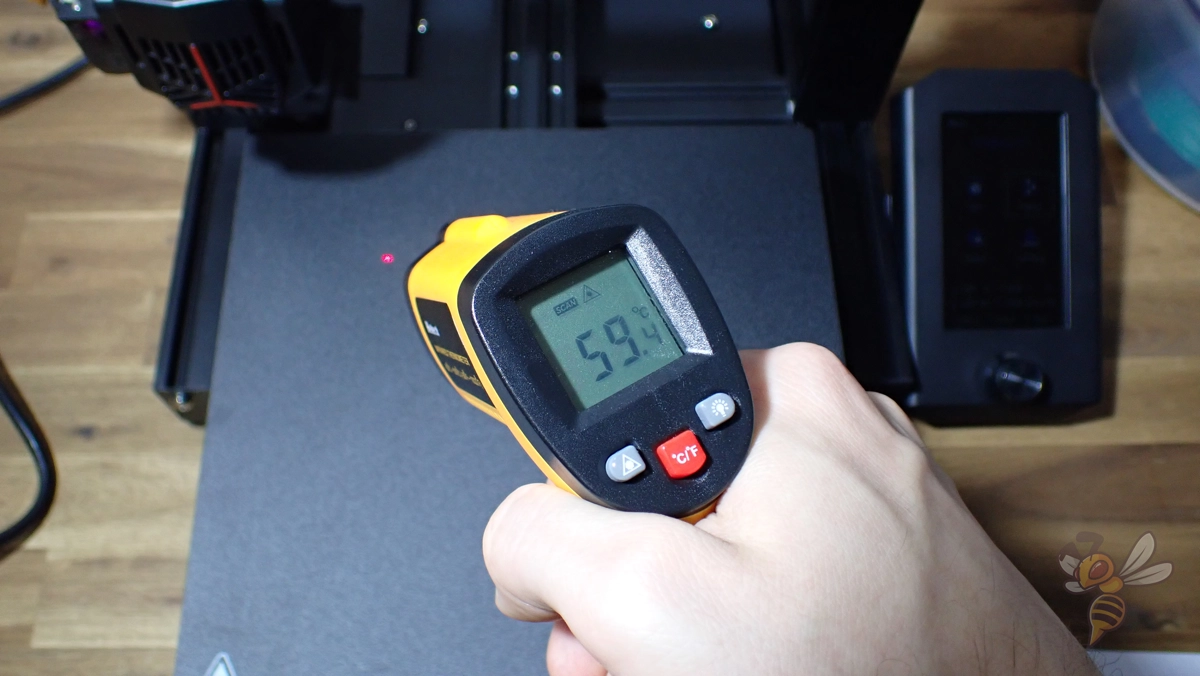
The print bed is quite homogeneous as far as the set temperature is concerned. I measured the temperature on the print bed at 25 points each, with a set temperature of 60 °C. The difference between with the lowest and the highest temperature value is 1.5 °C, which is relatively normal.
Full Metal Extruder
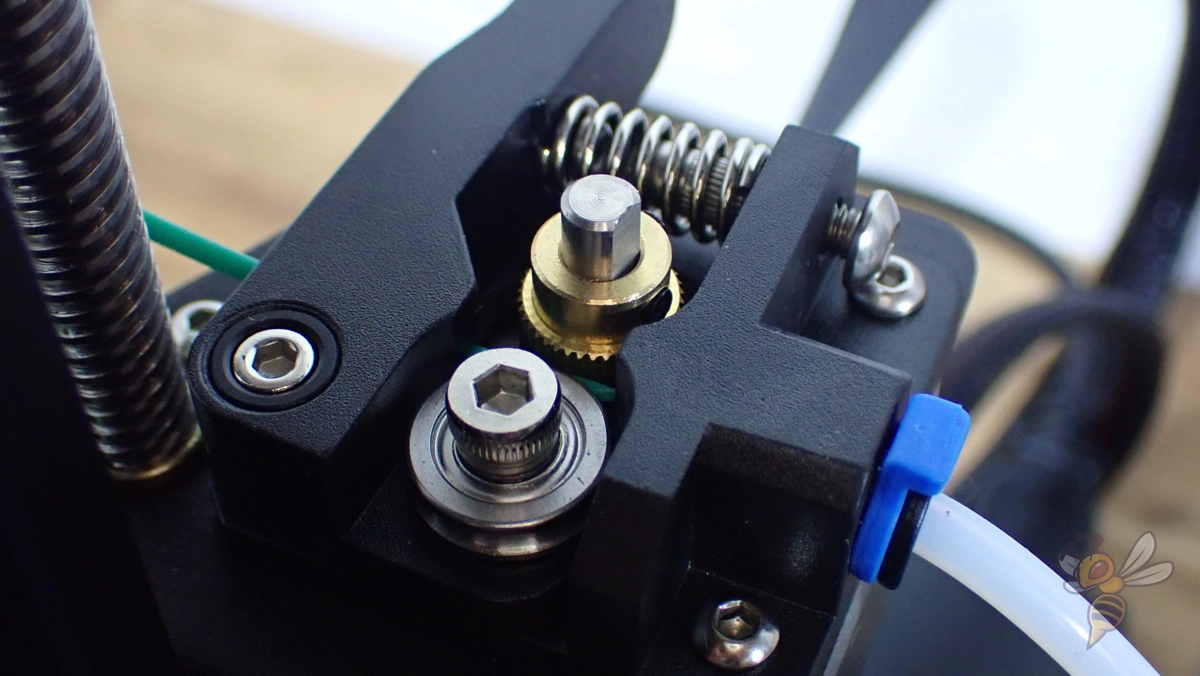
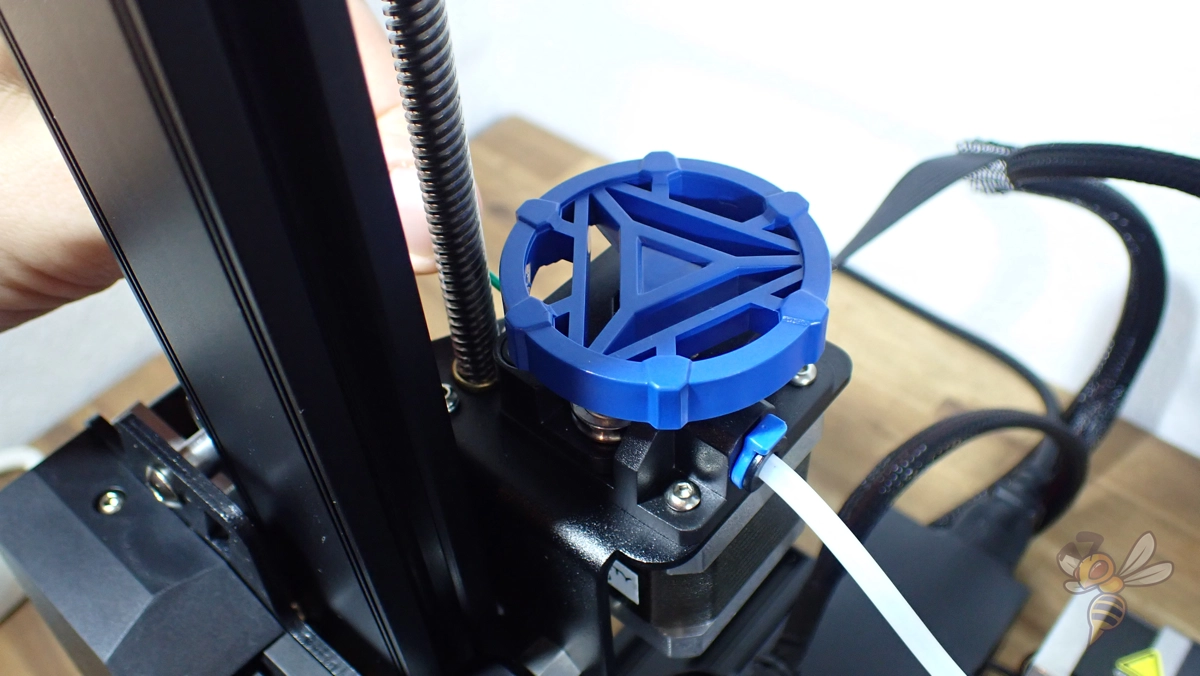
The full metal extruder has good control over the filament, resulting in high print quality with few extrusion errors. Also, the extruder comes with a removable feed wheel, so you can comfortably push the filament up to the nozzle after insertion.
The only downside to the extruder is that inserting filament is sometimes a bit tricky. The filament must be cut at the correct angle so that the tip fits directly into the second hole of the extruder. However, this problem has just about every extruder and with a little practice, you know how to cut the filament so that it can be inserted directly without problems.
Resume Print
The Resume Print feature allows printing to resume from exactly where it left off after an unexpected power failure.
Belt Tensioner
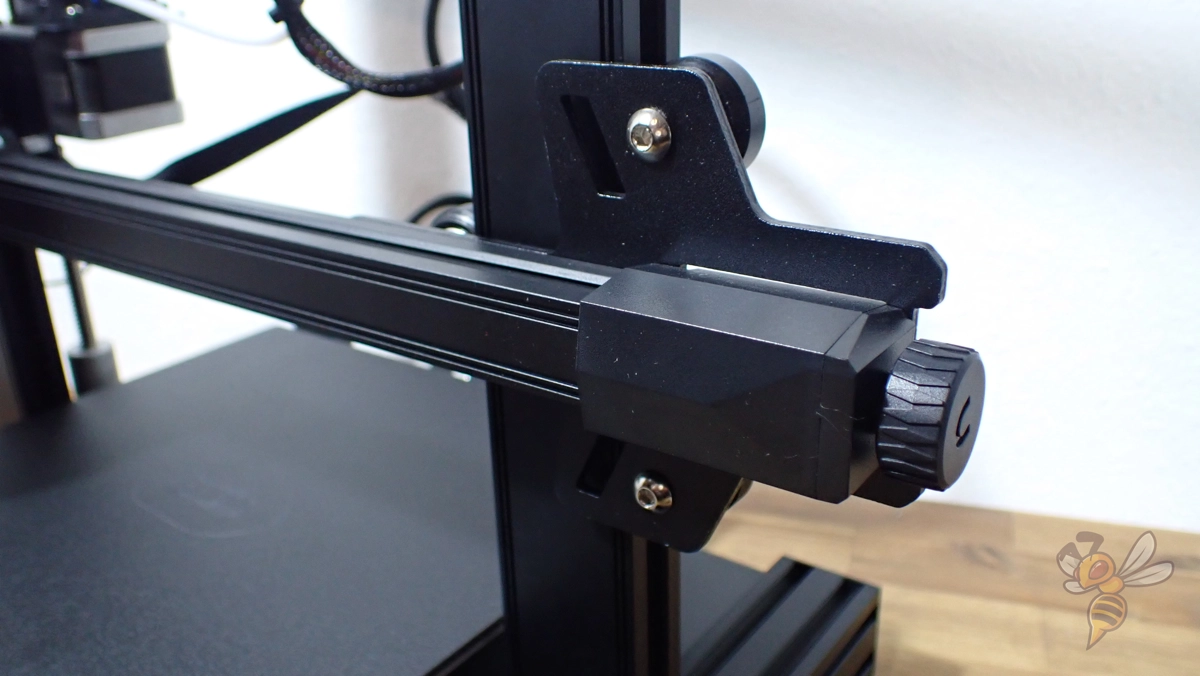
Proper tension of the belts is important to prevent slippage of the print bed or print head.
With many inexpensive 3D printers, the belts still have to be tensioned manually by partially disassembling the axles completely.
Due to the toothed belt tensioners on both axles, this is done within seconds.
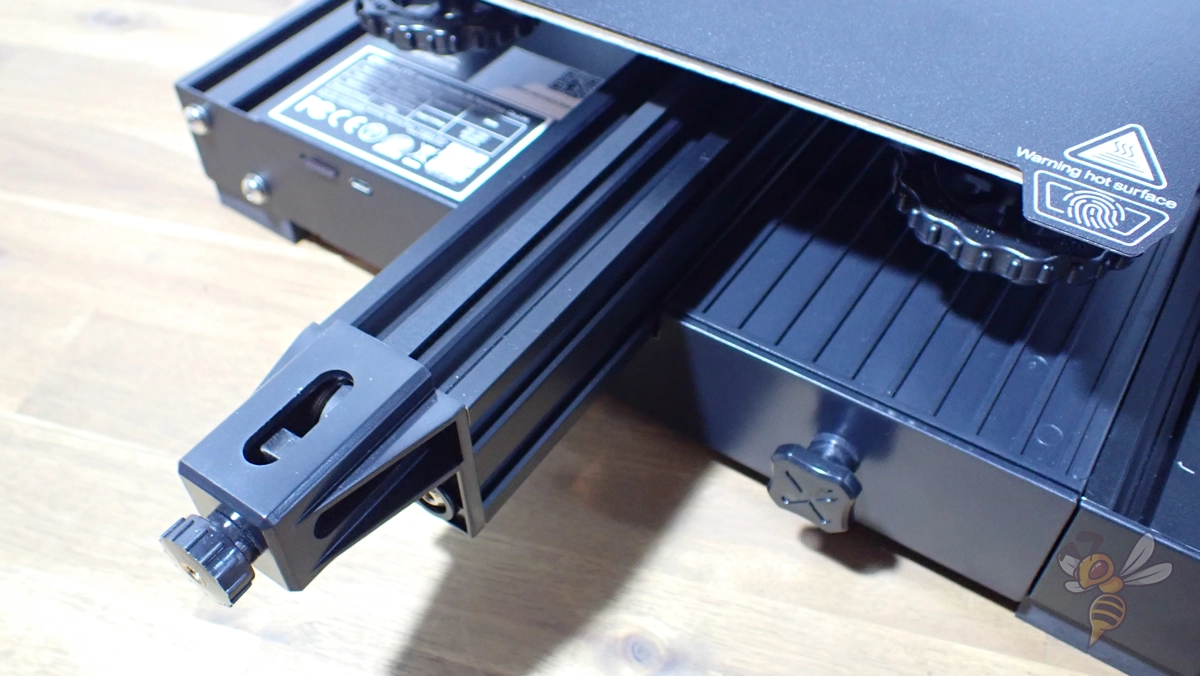
Tool Drawer
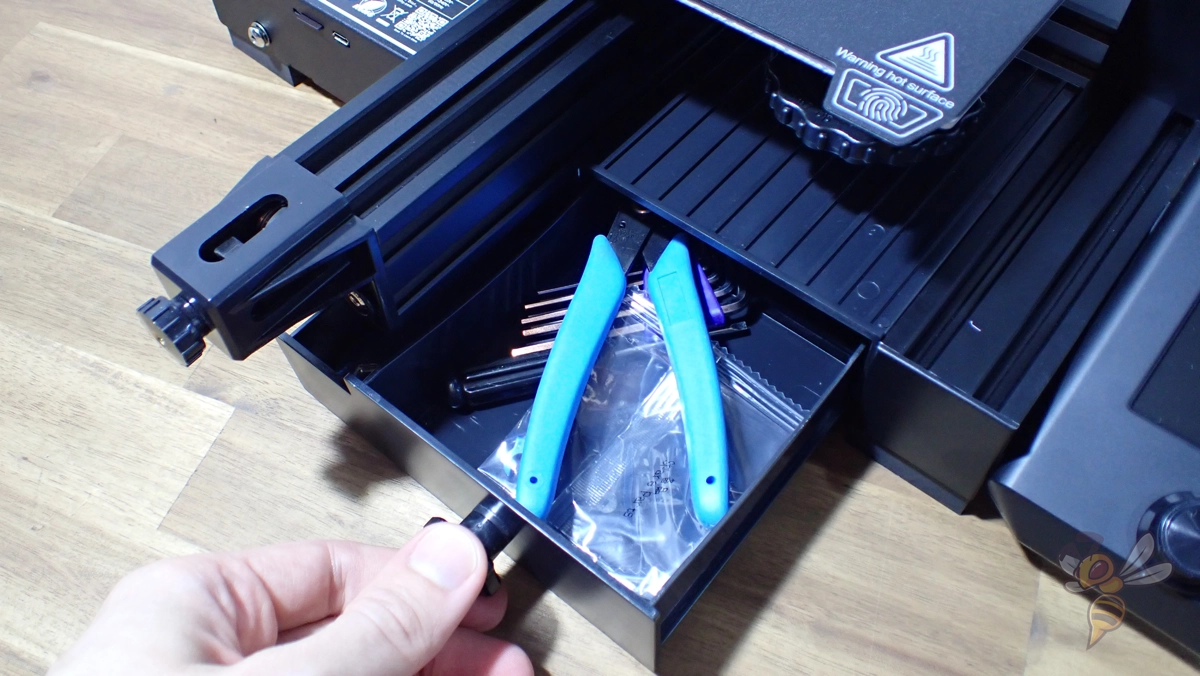
In the base of the Ender 3 V2 Neo is a handy drawer where you can store all the tools. This makes it easier to keep the space around the 3D printer clean and tidy.
Heating Times
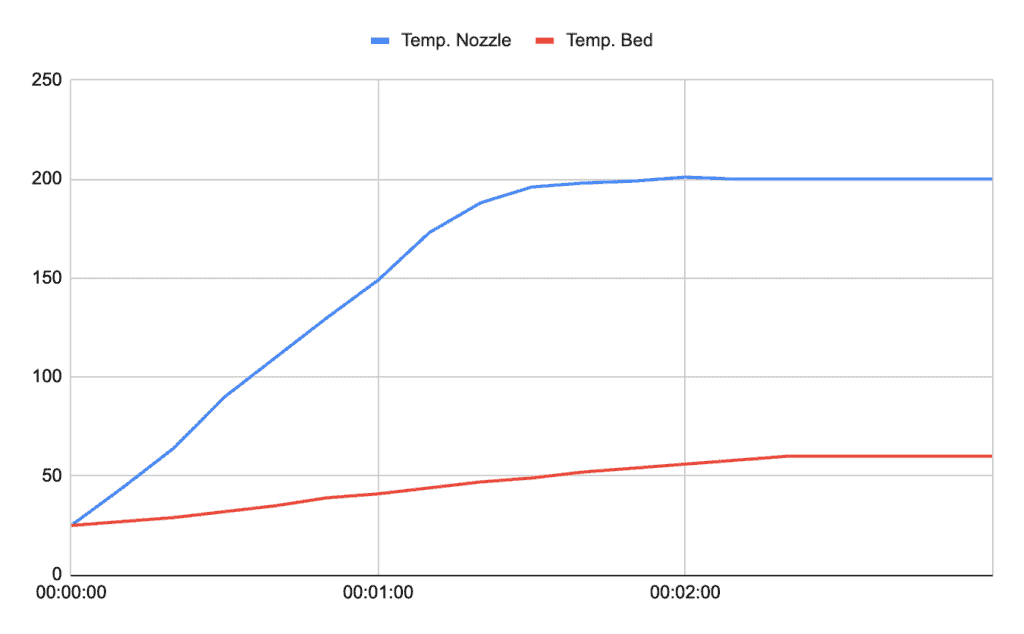
The Ender 3 V2 Neo heats up to typical PLA temperatures within 2.5 minutes. Even the nozzle is faster than the thin print bed.
After the 2.5 minutes, the temperatures are also quickly stable, so you can start printing directly. A lengthy heat-up and temperature adjustment is not necessary with this 3D printer.
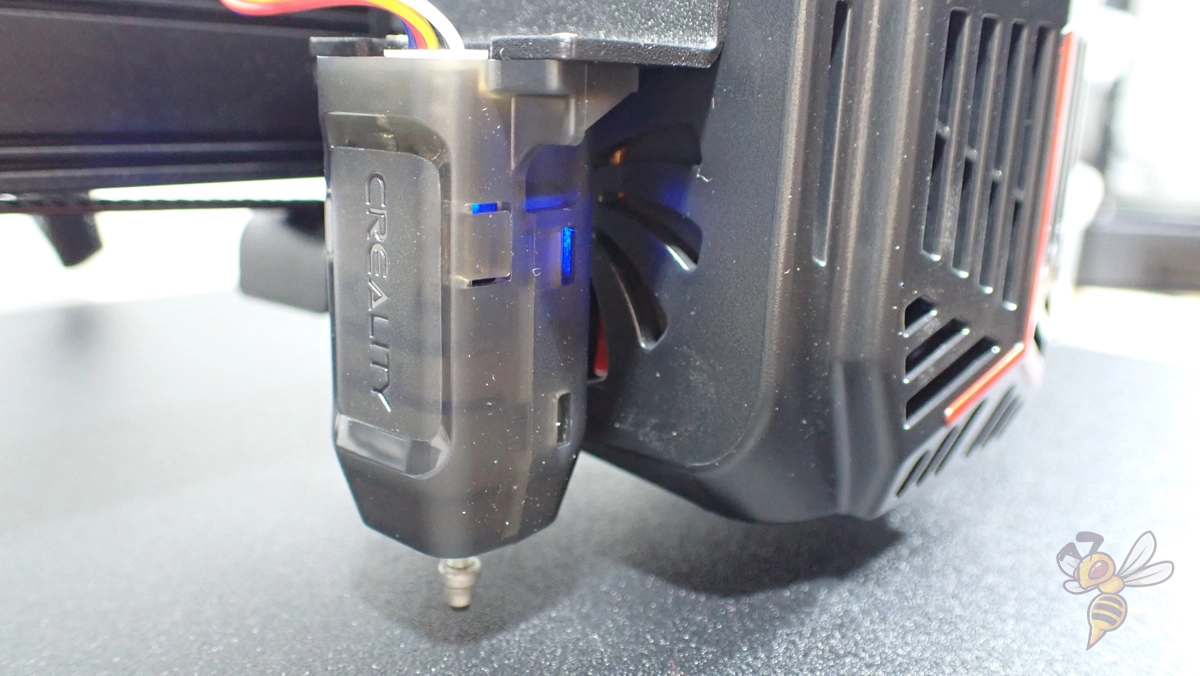
Noise Level
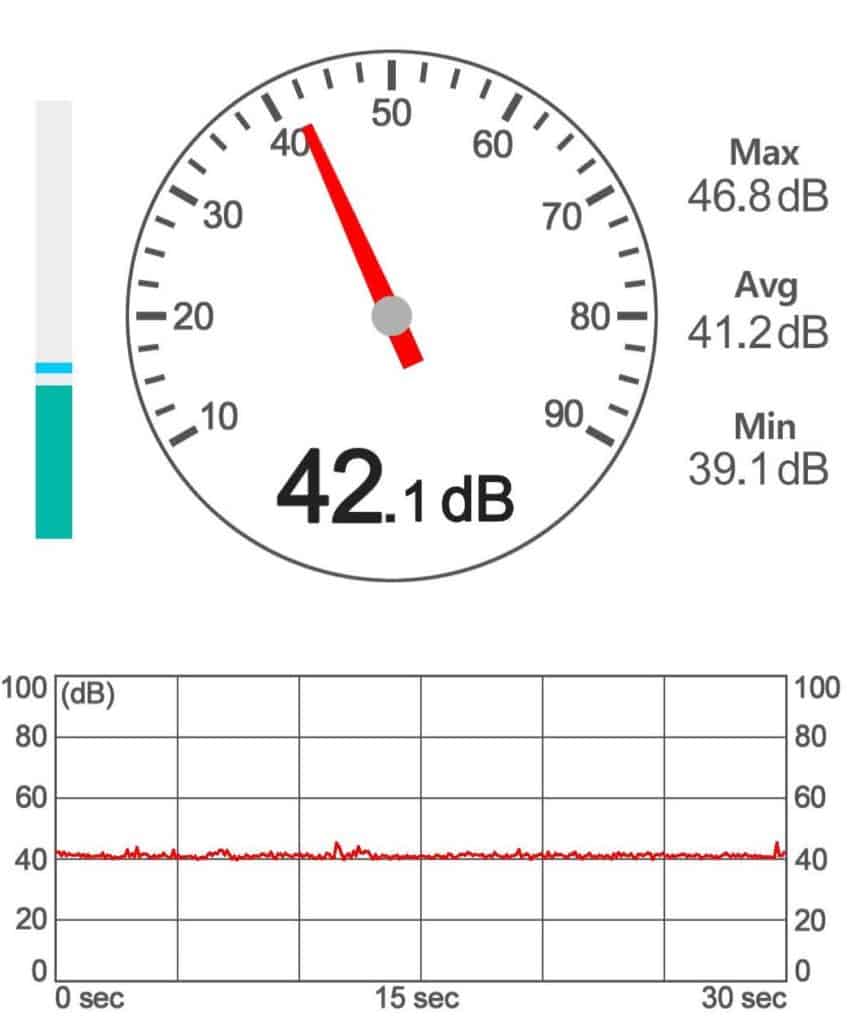
The Ender 3 V2 Neo is quiet, with about 40 to 45 decibels. The motherboard makes almost no noise. The only things you can hear are the fans in the print head and the movements of the axes.
So upgrading the fans in the print head would be a sensible upgrade if you still find the noise too high.
Power Consumption
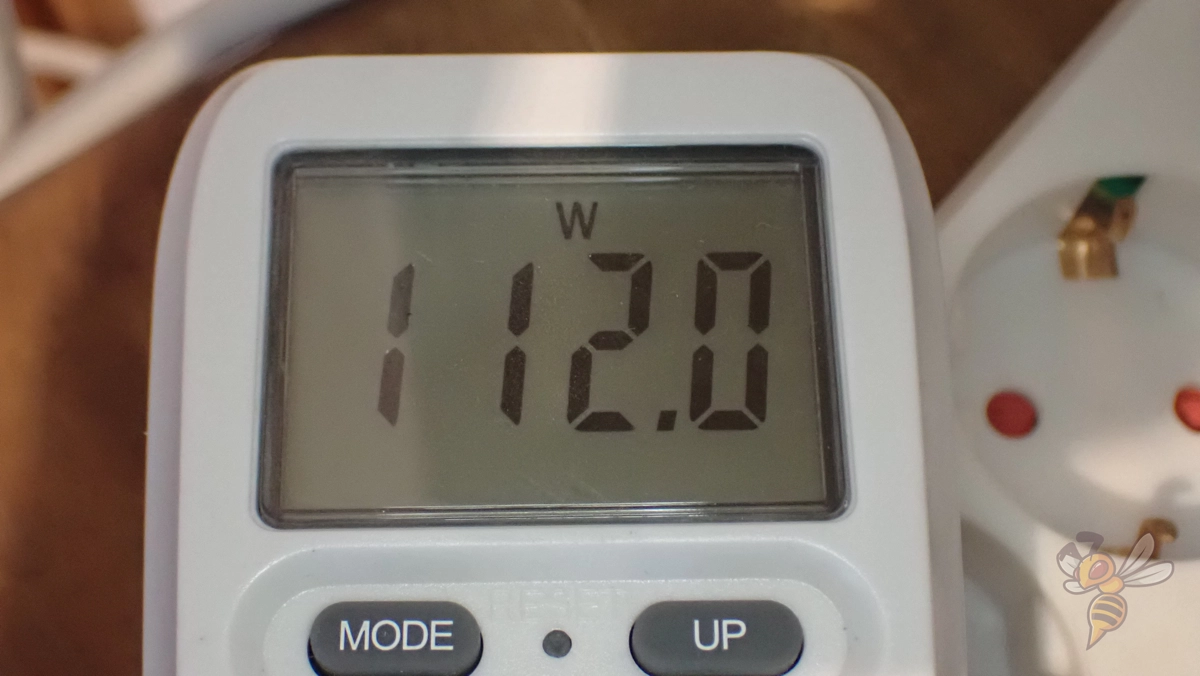
During printing, the Ender 3 V2 Neo consumes 110 to 115 watts. Without heating the nozzle or print bed, it is only 7 watts. These are normal values and to be expected for a print bed of this size.
It’s also nice to see that the 3D printer doesn’t consume any power when it’s turned off. So, you don’t have to worry about background software activity in a standby mode.
Slicer
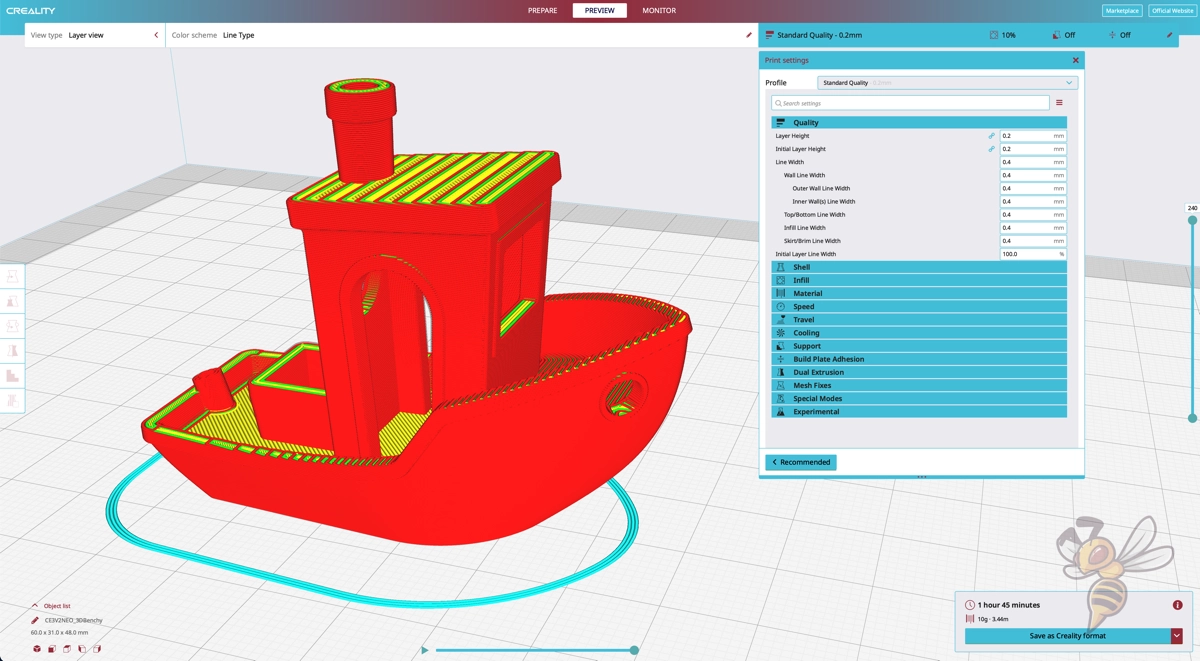
The Ender 3 V2 Neo is compatible with these slicers: Creality Slicer, Creality Print, Cura, Simplify3D.
I have used it with the Creality Slicer. Here there is already a prefabricated standard profile for the Ender 3 V2 Neo. This simplifies the calibration because many settings are already well-matched to the model.
If you are looking for fitting Cura settings for the V2 Neo, you should check out this article: Ender 3 V2 Neo | Cura Settings & Profile – Guide & List
Check Price at:
Print Quality – Practical Test

The print quality of the Ender 3 V2 Neo has an accuracy of ± 0.1 mm.
To test the quality, I printed various objects. On the supplied microSD card were already two GCode files, which I printed first.
After that, I printed more calibration objects to optimize the settings. In the end, I added a ghost and a “print-in-place” model.
Especially the mechanical lion shows that the printing quality is very satisfactory and printing errors hardly occur due to the precise extrusion.
Ender 3 V2 Neo vs. Ender 3 V2

Check Price at:
The Ender 3 V2 Neo differs from its predecessor, the Ender 3 V2, in several ways. The new version has an automatic print bed leveling and a better print bed surface.
| Ender 3 V2 Neo | Ender 3 V2 | |
|---|---|---|
| Print volume | 220 × 220 × 250 mm | 220 × 220 × 250 mm |
| Max. hotend temperature | 260 °C | 255 °C |
| Max. print bed temperature | 100 °C | 100 °C |
| Extruder | Bowden, full metal | Bowden |
| Driven Z-axes | 1 | 1 |
| Print bed | PC-coated spring steel | Textured glass |
| Leveling | CR-Touch, automatic | manually |
| Filament sensor | No | No |
| Resume Print | Yes | Yes |
| Belt tensioner | Yes | Yes |
| Tool drawer | Yes | Yes |
| Year of release | 2022 | 2020 |
So, the main features that differentiate the Ender 3 V2 from the V2 Neo are the automatic print bed leveling, the improved extruder and the PC-coated spring steel print bed.
This not only makes the new version more user-friendly, but also delivers better and more reliable results.
Ender 3 V2 Neo vs. Ender 3 S1
Check Price at:
The Ender 3 S1 has some features that make it better than the Ender 3 V2 Neo. These are the direct drive extruder, the double z-axis and the filament sensor. Through the first two features, the S1 can deliver a higher print quality and process flexible filaments.
| Ender 3 V2 Neo | Ender 3 S1 | |
|---|---|---|
| Print volume | 220 × 220 × 250 mm | 220 × 220 × 270 mm |
| Max. hotend temperature | 260 °C | 260 °C |
| Max. print bed temperature | 100 °C | 100 °C |
| Extruder | Bowden, full metal | Sprite direct drive |
| Driven Z-axes | 1 | 2 |
| Print bed | PC-coated spring steel | PC-coated spring steel |
| Leveling | CR-Touch, automatic | CR-Touch, automatic |
| Filament sensor | No | Yes |
| Resume print | Yes | Yes |
| Belt tensioner | Yes | Yes |
| Tool drawer | Yes | Yes |
| Year of release | 2022 | 2022 |
If money is less of a priority than print quality and the ability to process flexible filaments, I would recommend the Ender 3 S1, which is about 30% more expensive.
Is the Ender 3 V2 Neo Worth It?
The Ender 3 V2 Neo* is definitely worth checking out if you’re looking for a good entry-level 3D printer that can print PLA, ABS, PETG and other non-flexible filaments in reliably good quality.
The original Ender 3 V2 was so popular that Creality didn’t have to be very creative to identify the most important potential improvements. Mainly, the most popular DIY upgrades were transferred to the standard, like the flexible print bed or the CR-Touch print bed sensor.
If your budget is big enough, the Ender 3 S1 is highly recommended. In addition to the features of the V2 Neo, it also has a double z-axis and a direct drive extruder.
Check Price at:
Disclosure: This website is the property of Martin Lütkemeyer and is operated by Martin Lütkemeyer. Martin Lütkemeyer is a member of the Amazon Services LLC and other Affiliate Programs. These are affiliate advertising programs designed to enable websites to earn advertising revenue through advertising and linking to Amazon.com and others. Links marked with * are affiliate links.
