
- Wet Filament: Prevention, Symptoms & Drying - July 18, 2024
- Sovol SV08 – Best PrusaSlicer Settings & Profile - June 26, 2024
- Sovol SV08 – Best Orca Slicer Settings & Profile - June 26, 2024
Disclosure: Links marked with * are Affiliate Links. I earn from qualifying purchases if you decide to make a purchase through these links – at no additional cost for you!
A PEI film is a useful upgrade to increase the print bed adhesion. Especially for PETG PEI is excellent, but also other standard filaments like PLA or ABS usually adhere well to this print bed surface.
However, since PEI films are not all the same, some products may have poor print bed adhesion with PLA. The first thing you should do is make sure that your PEI film is really PEI and that you buy it from a trustworthy manufacturer. With this PEI film* I have had excellent print bed adhesion with PLA.
For good print bed adhesion of PLA on PEI, the print bed must be well leveled and free of grease and oils. To further improve adhesion, the print speed of the first layers can be reduced, the print bed temperature can be increased or the PEI film can be roughened.
What other options are available to you and how you do this in detail, you will learn in this detailed guide.
Table of Contents:
Level the Print Bed
No matter what problem you have with the first layers of your 3D print, the first solution is always to re-level the print bed. An improperly leveled print bed can lead to a whole host of printing errors. This is also a quick and easy fix and can save you a lot of trouble.
A strong indication that your print bed is not properly leveled is if only parts of the first layer are lifting off your print bed. If the distance between the nozzle and the print bed is greater at one corner than another, the print bed adhesion will also be worse there.
You can either level your print bed using the paper method, use an automatic print bed leveling sensor such as the BL-Touch or CR-Touch, or use other tools for print bed leveling.
When using the paper method, make sure that you use a paper with a thickness of about 0.1 mm. If the paper is too thick, the distance between the nozzle and the print bed may be too great, resulting in poor print bed adhesion.
There are now also many 3D printers that have automatic print bed leveling built in by default. If you own such a 3D printer, you should still manually level the print bed regularly to check the automatic process.

3D printing can be difficult – especially in the beginning. Many beginners struggle with print errors, poor print bed adhesion, or don’t know how to properly set up the slicer.
That’s why I created an online course to get everyone up to my expert level and as quickly as possible.
The course covers everything you need to know about FDM 3D printing to get perfect results every time. Click the link below to learn more about the content and what to expect (and don’t worry: there are no tests! Learn at your own pace, completely stress-free).
Clean the Print Bed with 99% Isopropyl Alcohol
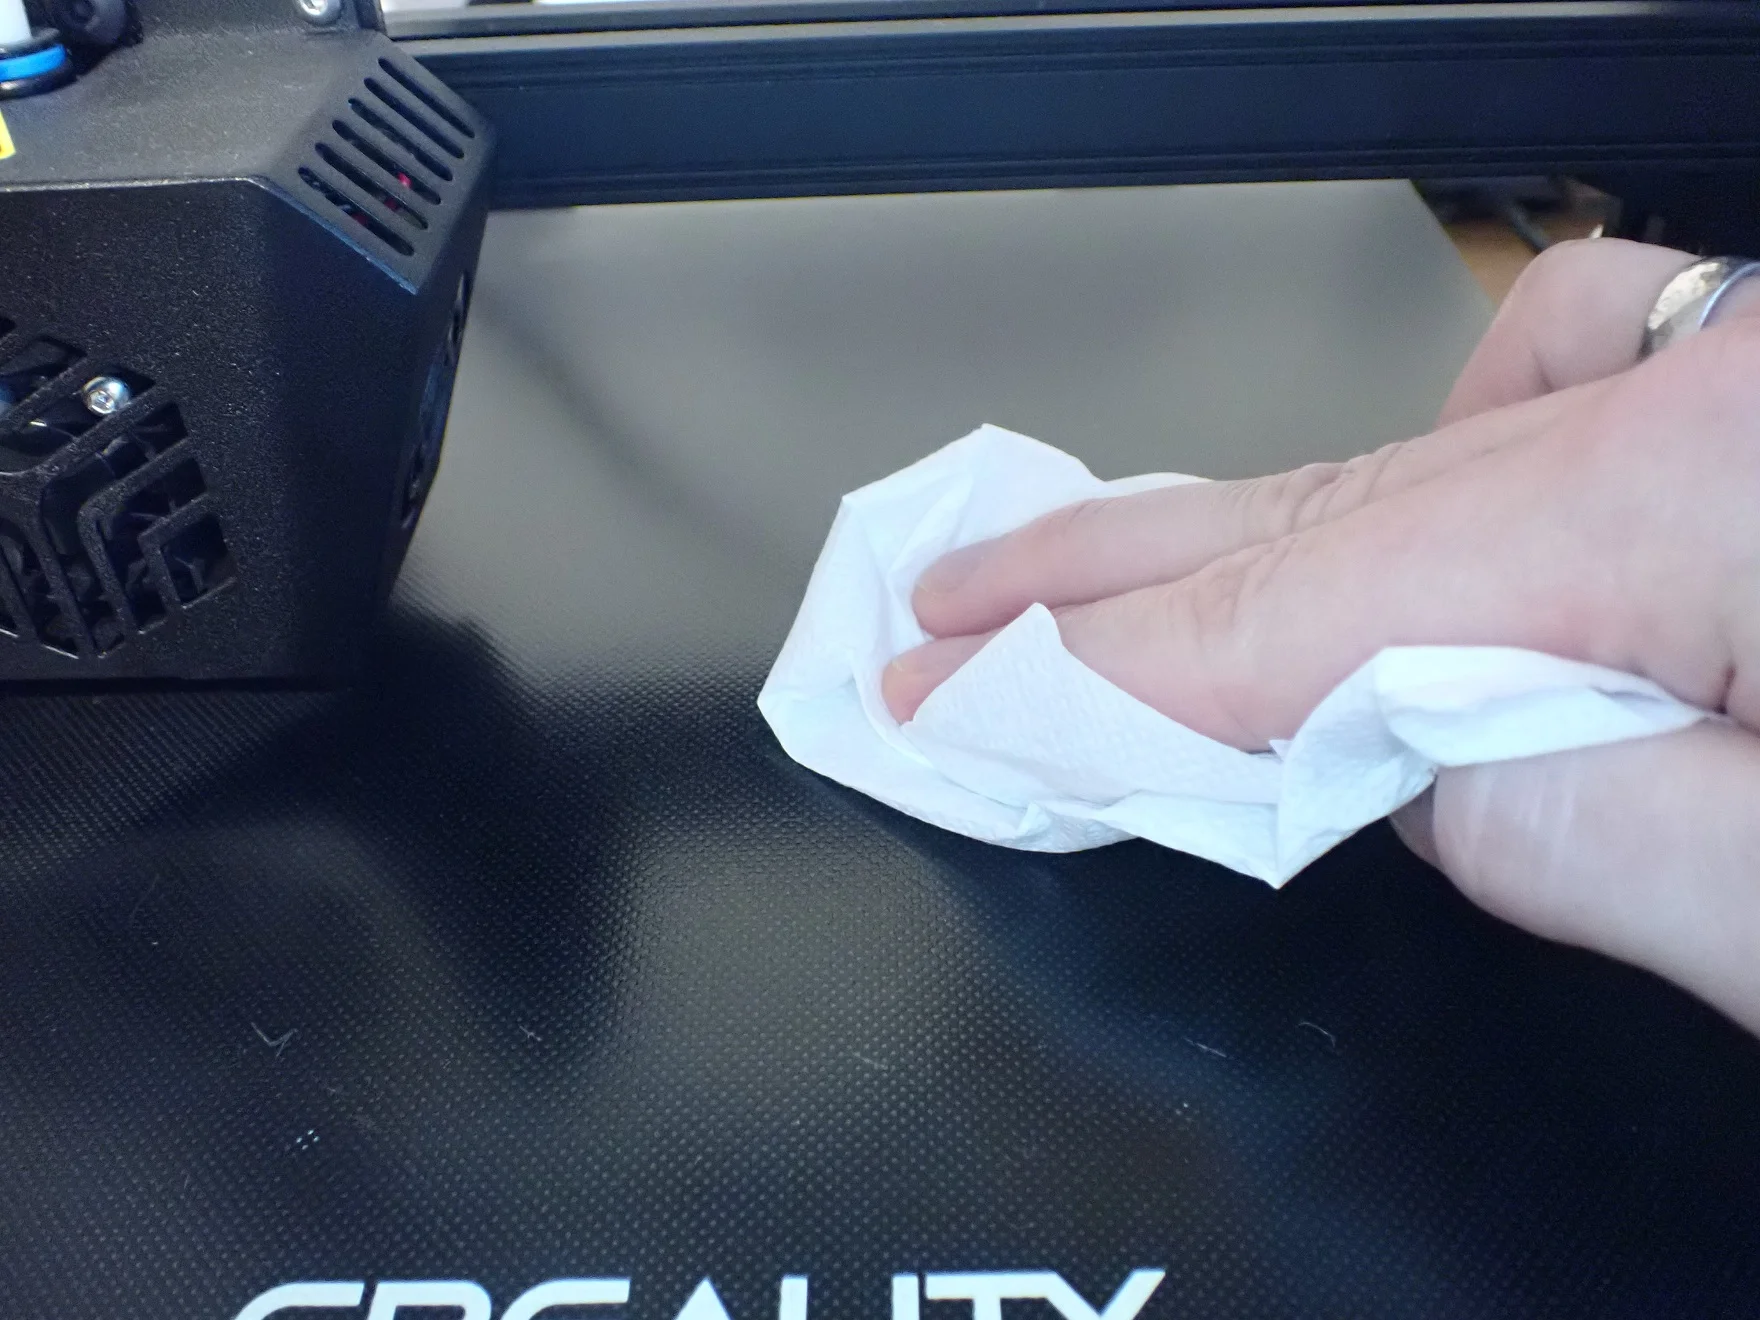
One of the most common reasons for poor print bed adhesion between PLA and PEI are oils and greases on the print bed. Even fingerprints are enough to reduce the print bed adhesion.
It is therefore best to clean the print bed or PEI film with 99% isopropyl alcohol* before each print. Sometimes hot water with dishwashing liquid is sufficient, but it is much better to clean with isopropyl alcohol, as it evaporates completely and you can remove all grease and oil residues from the print bed.
Even though PEI normally bonds very well with PLA, this bond is immediately destroyed by grease and oil. Other print bed surfaces are not as sensitive to grease and oil, so this measure may seem a bit excessive. With PEI, however, it is indeed necessary that the surface of the print bed is as clean as possible.
Make sure that the isopropyl alcohol has a 99% concentration. With lower concentrations, residues of the additives can remain on the print bed and negatively influence the print bed adhesion.
Lower the Z0 Position
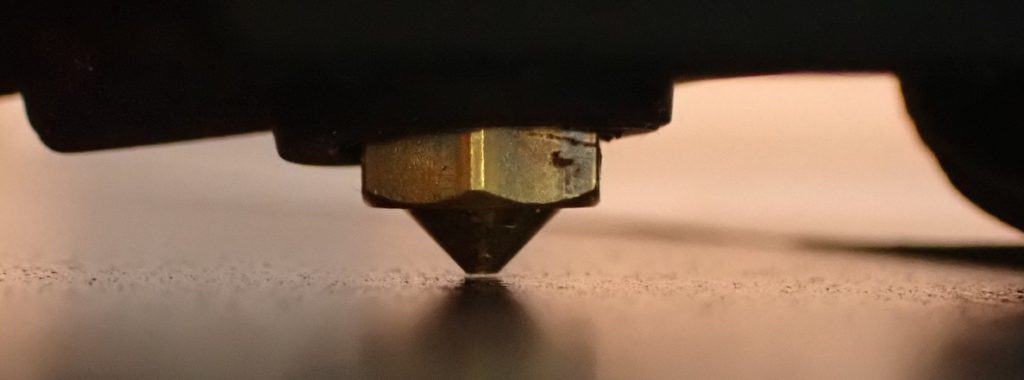
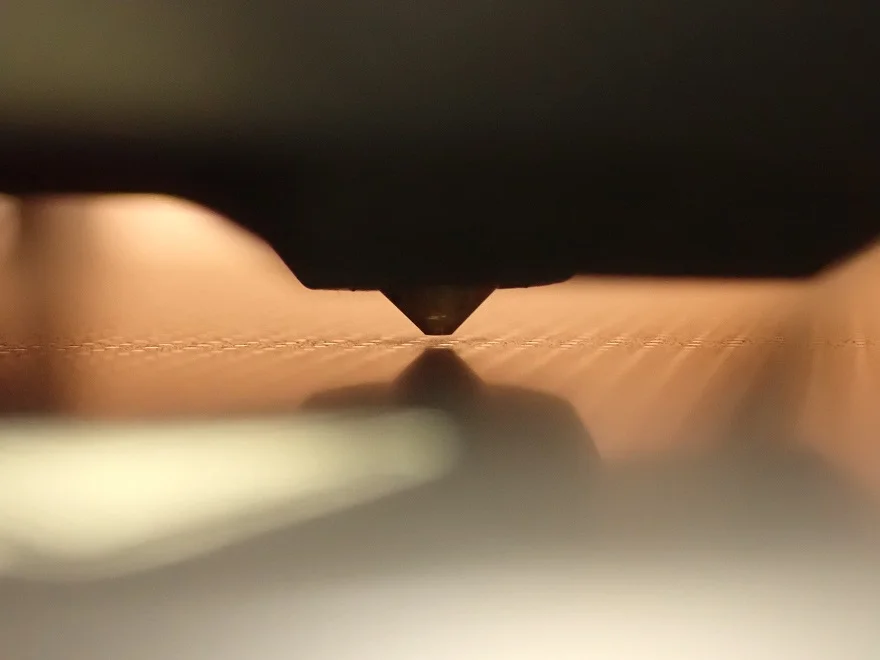
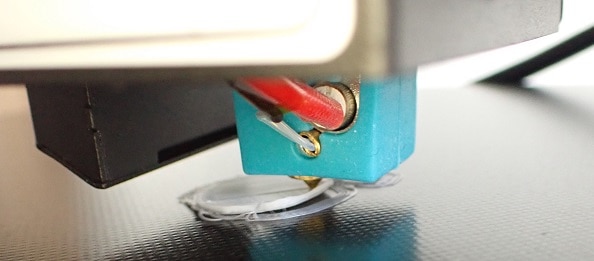
The Z0 position is crucial for good print bed adhesion. If the distance between the nozzle and the print bed is too large, the filament has no chance to bond properly with the PEI film.
The filament has to be squeezed a little bit onto the print bed when extruding the first layer so that the surface between the filament and the print bed is large enough to form good adhesion.
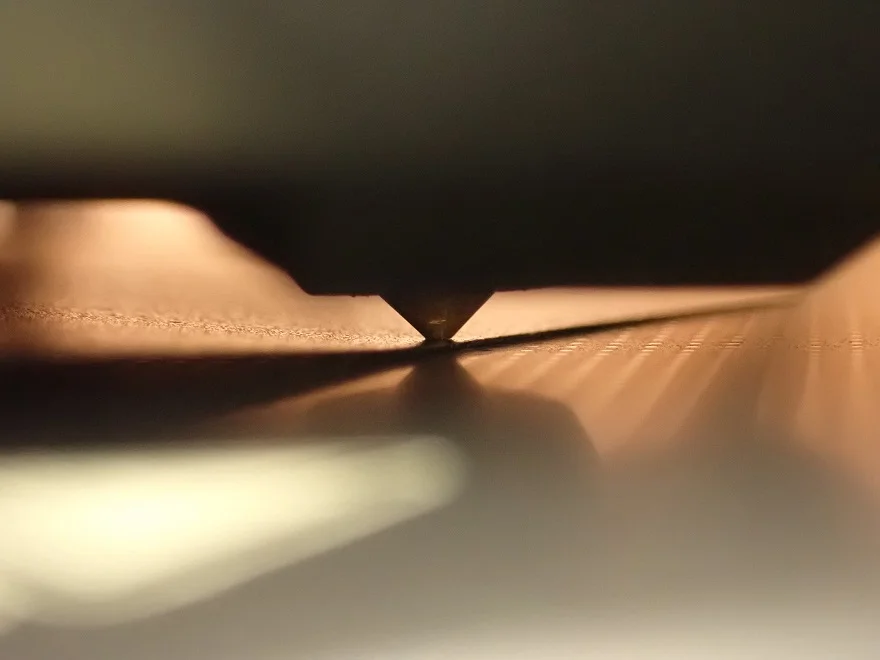
The Z0 position is usually set with the print bed leveling. However, with most printers, you can also manually adjust the Z0 position in 0.01 mm steps in the menu. If you use paper for print bed leveling, you should make sure that the paper has a thickness of 0.1 mm (standard paper is usually 0.1 mm thick, but you can also measure it with a caliper gauge).
Sometimes it is not easy to see if the distance between the nozzle and the print bed is too large. It only becomes obvious when the filament is virtually only placed on the print image and not squeezed at all in its Z-direction. If this is the case with you, you will never get a good print bed adhesion.
Reduce the Print Speed of the First Layers
No matter what filament and print bed surface you are working with, reducing the print speed of the first layers will always result in better print bed adhesion.
This measure is especially recommended if you notice that the filament does not adhere well to the print bed at corners or at other direction changes.
As a rule of thumb, you usually take half of the standard printing speed for the first layers. If this is already set for you, you should try to reduce the print speed for the first layers further. Try it in steps of 5 to 10 mm/s.
The slower the print speed, the longer the liquid filament has time to bond with the print bed before it solidifies. If the print speed is too high, the nozzle will move away from the extruded filament too quickly, causing the filament to solidify faster.
Set Fan Speed of the First Layers to 0%
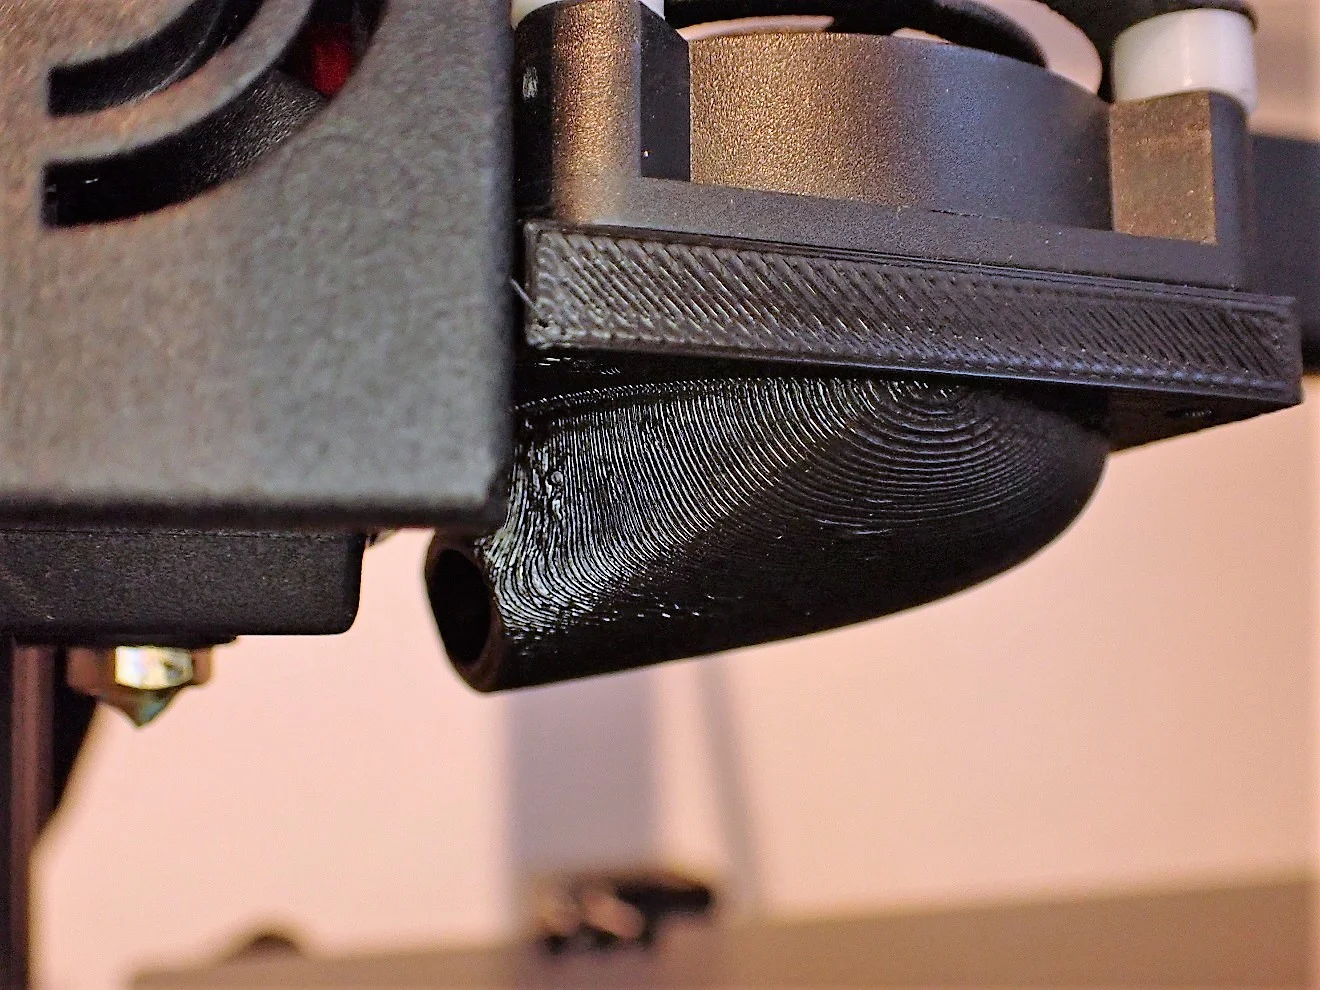
For good print bed adhesion, it is always important that part cooling is disabled during the first layers. Especially if you have ever had to deal with warping, you will already know this.
If cooling is activated during the first layers, the liquid filament will solidify too quickly and will not be able to bond with the print bed. The cooling will cause it to immediately warp and detach from the print bed. In many slicers, 0% cooling of the first layers is the standard. You should definitely check whether this is the case.
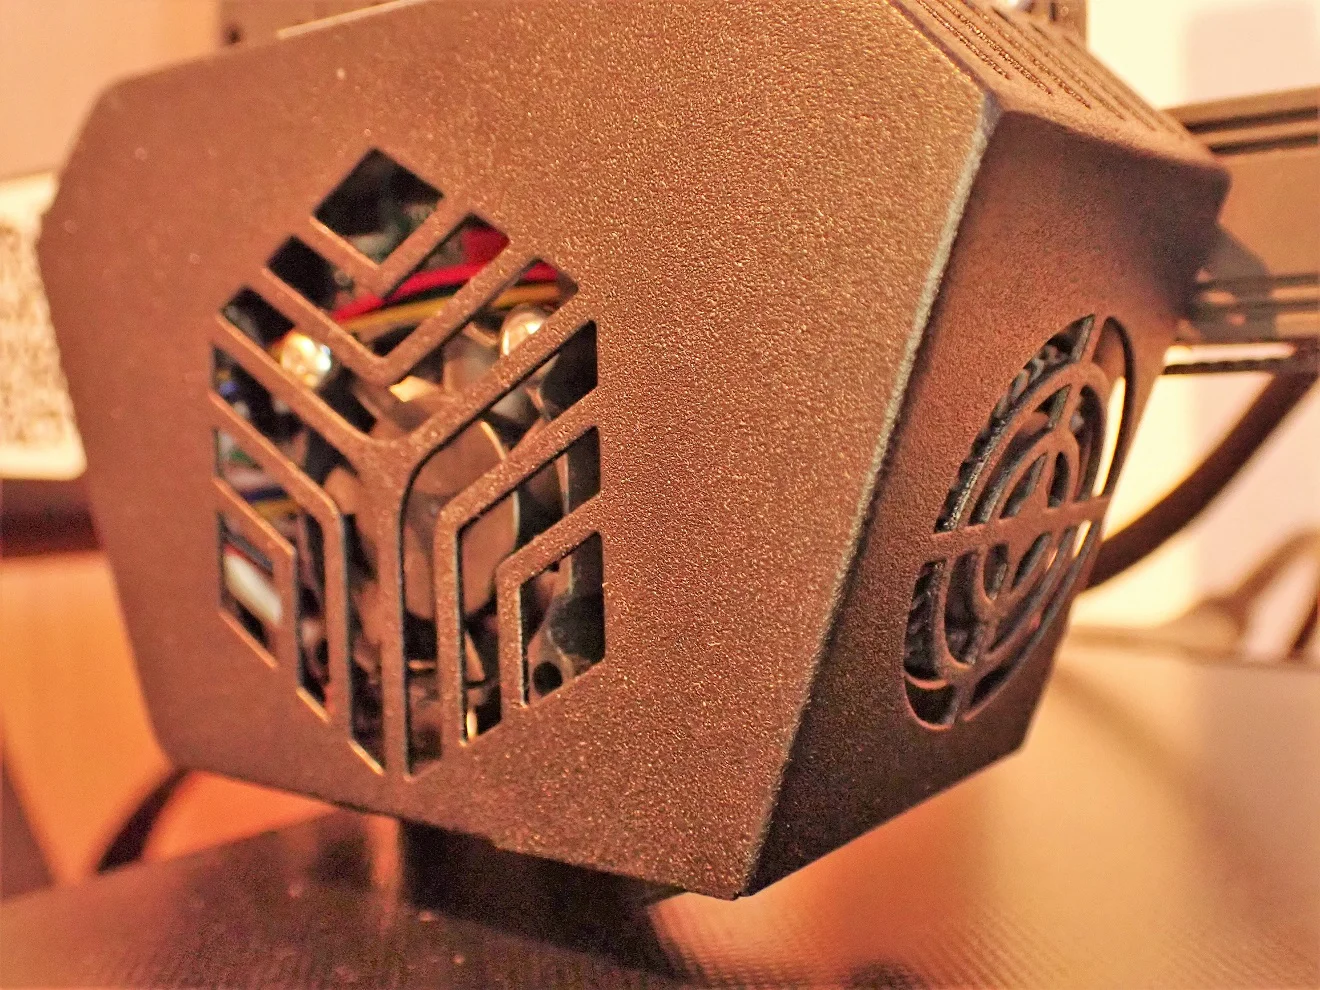
You can also accidentally get cooling on the first layers if you don’t protect your 3D printer from drafts. When cold air currents hit the 3D printer, they act as a fan and can lead to poor print bed adhesion and warping. You can prevent this by using closed doors and windows, 3D printer enclosures* or a draft shield.
Increase the Print Bed Temperature

Depending on how thick your PEI film is, slightly less temperature will get through to the 3D object than without. Therefore, you should increase the print bed temperature by a few degrees.
If the above approaches have not worked, you can further increase the print bed adhesion by increasing the print bed temperature. A higher print bed temperature causes the filament to flow more, which allows it to bond better to the print bed.
However, if you overdo it and set the temperature too high, the FIlament could melt too much and result in an elephant foot. An elephant foot is characterized by a too large diameter of the lower layers of the printed object. The high temperature keeps the filament softer and can be crushed by the object’s own weight.
Wait for the Print Bed Temperature
Many 3D printers start printing immediately when the set temperatures are reached. However, since the print bed temperature sensor is usually mounted under the print bed, it does not indicate the temperature on the print bed surface at that moment.
Depending on the thickness and material of the print bed, it can take several minutes until the temperature has migrated through the entire print bed. To be on the safe side, you should wait 10 to 15 minutes until the temperature of the print bed is homogeneous and has reached the surface.
Otherwise, you may accidentally set the print bed temperature much too high and produce misprints. In the beginning, the print bed temperature seems to be just right, but in the course of printing, the temperature becomes too high and can destroy the first layers.
Roughen the PEI with Sandpaper
As a last resort, you can roughen the surface of the PEI film with sandpaper. Depending on the chosen roughness of the sandpaper you will get a different surface roughness.
You should only take this measure if all other solutions have not worked. With the wrong sandpaper or irregular sanding, you can destroy the surface and make it unusable.
When sanding, make sure that you sand the entire surface evenly. Otherwise, the print bed could become uneven, which in turn will lead to poor print bed adhesion in individual areas.
After you have worked on the PEI film with sandpaper, you must clean it carefully. Dust or oil residues from your fingers will extremely reduce the print bed adhesion. The best way to clean the print bed is with 99% isopropyl alcohol.
Disclosure: This website is the property of Martin Lütkemeyer and is operated by Martin Lütkemeyer. Martin Lütkemeyer is a member of the Amazon Services LLC and other Affiliate Programs. These are affiliate advertising programs designed to enable websites to earn advertising revenue through advertising and linking to Amazon.com and others. Links marked with * are affiliate links.
