
- Wet Filament: Prevention, Symptoms & Drying - July 18, 2024
- Sovol SV08 – Best PrusaSlicer Settings & Profile - June 26, 2024
- Sovol SV08 – Best Orca Slicer Settings & Profile - June 26, 2024
Disclosure: Links marked with * are Affiliate Links. I earn from qualifying purchases if you decide to make a purchase through these links – at no additional cost for you!
Sensors for automatic print bed leveling significantly reduce the preparation time for FDM 3D printing. Many 3D printers can be upgraded with such sensors.
In addition to the extremely popular BL-Touch, there is now also the CR-Touch from Creality.
The CR-Touch is slightly more accurate than the BL-Touch. The metallic sensor pin of the CR-Touch cannot collide with the print bed because it is always automatically retracted. The CR-Touch has an optical sensor that is not as sensitive to external interference as the Hall sensor in the BL-Touch.
Even though both sensors look pretty similar at first glance, there are more differences that will be highlighted in this article. The CR-Touch is not a cheap copy of the BL-Touch!


Table of Contents:
Design
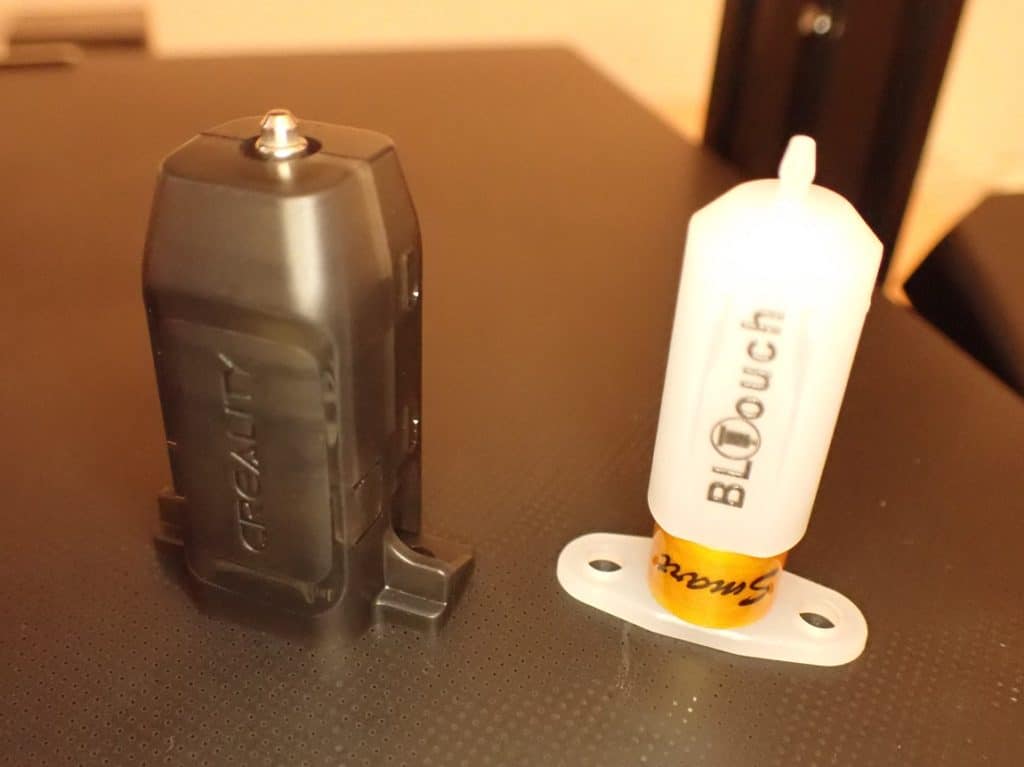
The shapes of the BL-Touch and the CR-Touch are very similar from the outside. At first glance, they only differ in the materials used, their colors and somewhat in size.
Nevertheless, they differ in part very much from each other. Especially the internal structure is based on two very different measuring methods.
BL-Touch
The BL-Touch is one of the most popular leveling sensors around. It is compatible with many 3D printers and is even used by some manufacturers as a standard in their products.
Check price at:
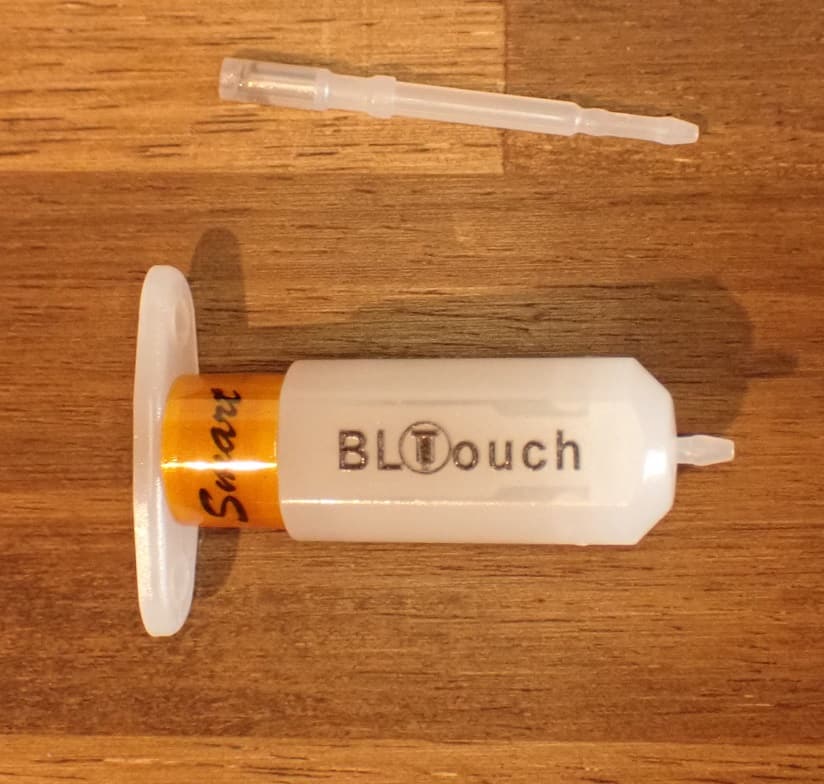
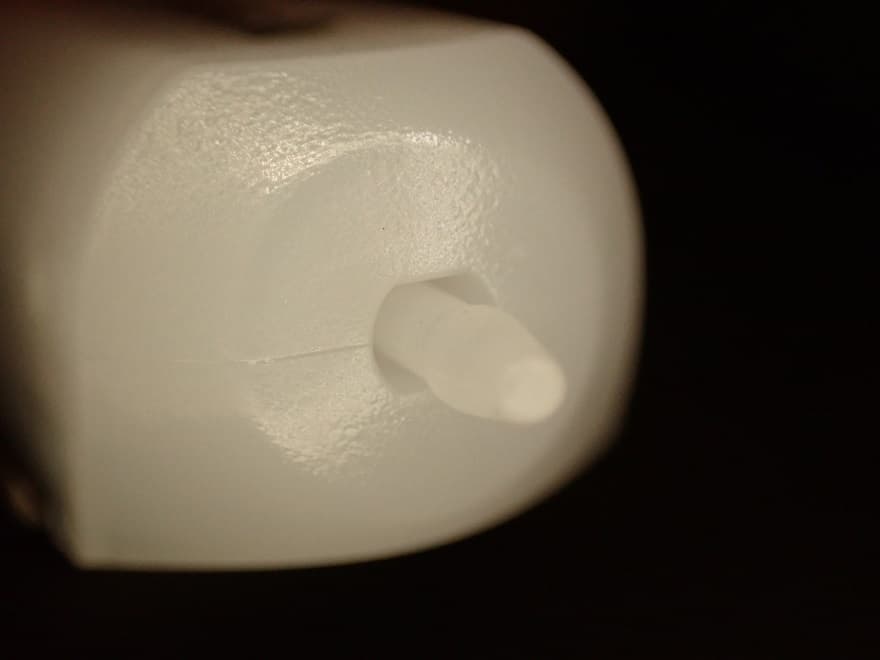
The BL-Touch has a white, almost transparent plastic casing. It does not make the highest quality impression but is absolutely sufficient for the purposes. However, the sensor pin does not make a stable impression.
In length, the BL-Touch is not really different from the CR-Touch. However, with the BL-Touch, the sensor pin can stay in place when you take it out. This can be a hazard as it can cause collisions with the print bed.
It has happened to me once so far that the pin was extended and the print head moved in XY direction. The pin got stuck on the print bed and almost broke off.
That would have been annoying, but no big deal, since you can replace the pin on the BL-Touch.
- Length: 40.13 mm
- Length (with sensor pin extended): 46.84 mm
- Width: 14.07 mm x 13.01 mm
- Weight: 7 g
The BL-Touch is slightly lighter than the CR-Touch. The light weight ensures that the sensor does not interfere with the movements of the print head. Too much weight could cause the print head to have more inertia and the accuracy of the 3D printer could suffer.
But even though the CR-Touch is about 60% heavier than the BL-Touch, this is not a disadvantage, because the weight is still so small that it is not noticeable.
CR-Touch
The CR-Touch is the leveling sensor developed by Creality. While you can clearly see that the BL-Touch was a strong inspiration for the design, the CR-Touch has a few advantages.
Check Price at:
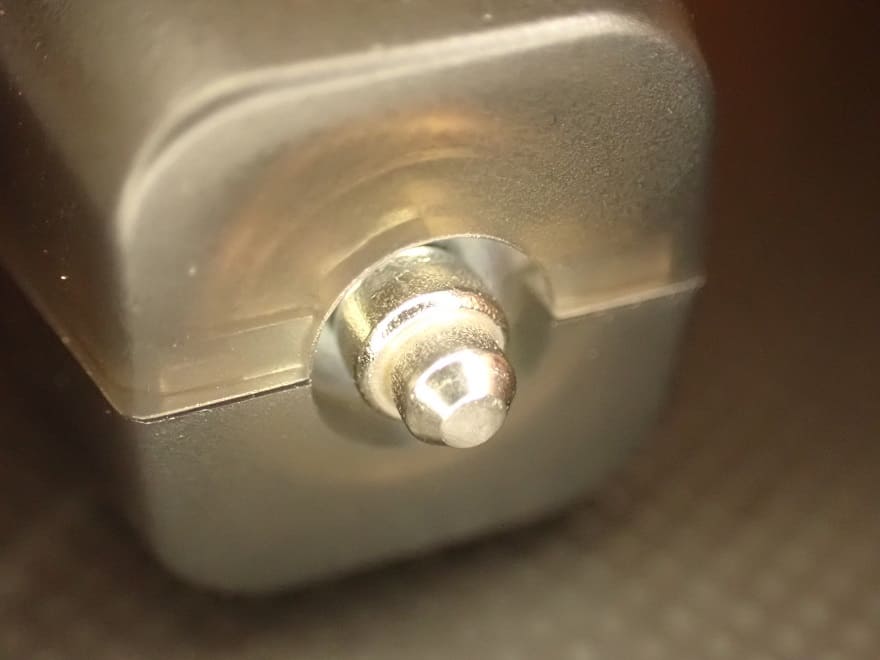
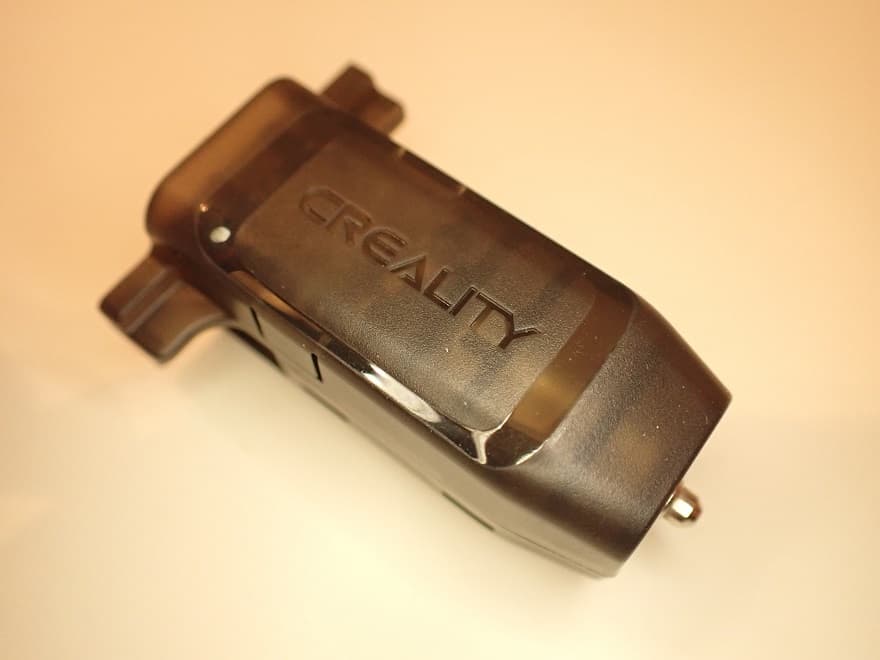
The case of the CR-Touch is kept in a very stylish black. At first glance, this makes the CR-Touch look much higher quality than the BL-Touch.
The sensor pin is also worth a look: it is made of metal and not plastic. Thus, it is very stable and cannot break off.
With the BL-Touch, the bendable pin is both a feature and an error potential. If it is accidentally extended, the sensor and the printer will not suffer much if it collides with the printing plate. The pin is then simply bent a little or breaks off.
If this would happen with the CR-Touch, much more would happen. The sensor would be destroyed and the printer could also be damaged.
But this can’t happen at all, because the pin always retracts automatically with the CR-Touch.
In this way, Creality has directly eliminated the weak point created by a more stable pin, thus creating a major advantage over the BL-Touch.
The two sensors differ only slightly in length and width. However, if you replace your BL-Touch with a CR-Touch, you must adjust the Z offset to avoid a collision. But you should do this anyway, even if you exchange the BL-Touch with another BL-Touch.
- Length: 39.46 mm
- Length (with sensor pin extended): 44.98 mm
- Width: 16.18 mm x 16.24 mm
- Weight: 11 g
The CR-Touch has exactly the same mounting options as the BL-Touch. The distances of the holes and also their size are exactly the same. This makes the exchange much easier and self-printed or purchased mounts fit both sensors.
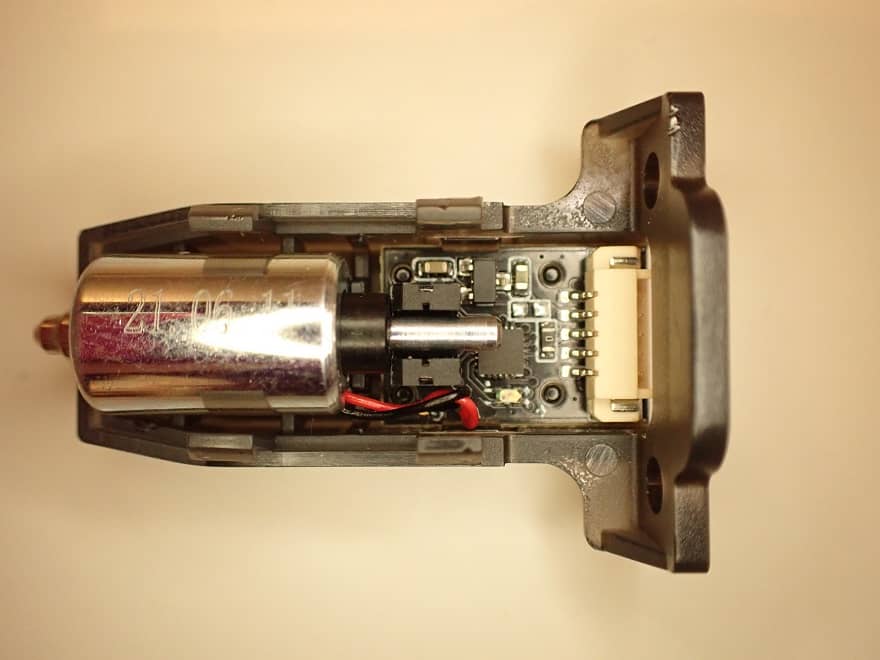
Sensor
The biggest difference between the BL-Touch and the CR-Touch lies in the sensor technology used.
The BL-Touch uses a Hall sensor to measure the approach of the pin into the sensor via electromagnetic fields. The CR-Touch uses an optical sensor to detect the position of the pin inside.
Since the Hall sensor of the BL-Touch measures electromagnetic fields, it can also be disturbed by such fields. If you have other devices running in addition to your 3D printer that is equipped with the BL-Touch, or if other sources create larger electromagnetic fields, the BL-Touch may not measure correctly.
The accuracy of the BL-Touch is therefore influenced by electromagnetic fields in the environment.
The optical sensor of the CR-Touch does not have this problem. The CR-Touch has a simple optical sensor that detects when the pin is back in its original position. This measuring technique of the CR-Touch is extremely fast and reliable. The optical sensor makes the CR-Touch slightly more accurate than the BL-Touch.
Accuracy
To test the accuracy, the first thing I did with both sensors was to run a repeatability test. You can use the Marlin M48 Probe Accuracy Test to create the G-Code for the test.
Using the appropriate G-Code, I measured the distance to the print bed at one point with each of the two sensors 10 times in a row, 5 times each.
So I repeated the test 5 times for the CR-Touch and 5 times for the BL-Touch. A run with 10 measuring points provides a standard deviation at the end, which corresponds to 5 values per sensor. From this, I calculated the mean value.
The mean value of the standard deviations thus corresponds to the repeatability. A lower value is better.
| Measurement | BL-Touch | CR-Touch |
|---|---|---|
| 1 | 0.001358 | 0.001128 |
| 2 | 0.001234 | 0.001035 |
| 3 | 0.001427 | 0.000989 |
| 4 | 0.001198 | 0.001137 |
| 5 | 0.001247 | 0.000998 |
| Average | 0.001293 | 0.001057 |
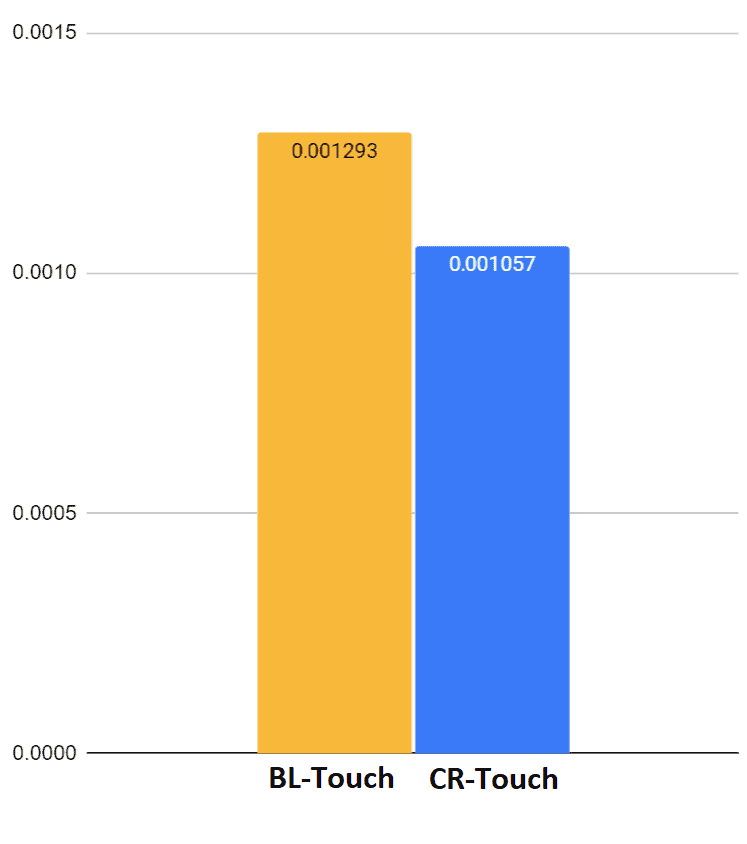
As you can see, the standard deviation and therefore the repeatability of the CR-Touch is much better than the BL-Touch.
However, both accuracies are very good and give your 3D printer a very accurate picture of how the print bed is tilted or warped.
To compare the three-dimensional accuracy across the print bed, I also used the 3D Printer Auto Bed Leveling Mesh Visualizer.
It does not really give comparable values, but I still wanted to test whether the two sensors measure something completely different or not. In principle, this test is unnecessary after the test of the repeatability, but looks nice and was quite interesting to perform.
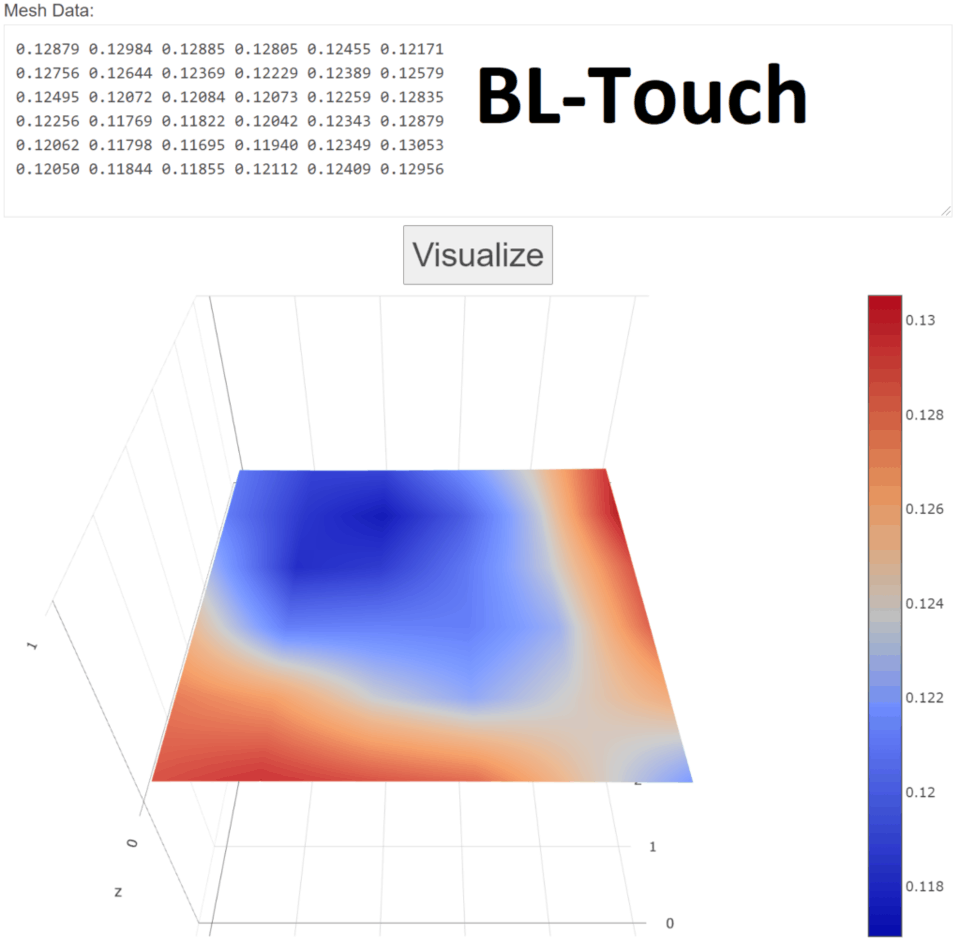
The curvature of the printing bed is very similar in both visualizations. Except for minor differences, there are no major deviations. However, after testing the repeatability, I would trust the CR Touch more.
Installation
The installation is very similar for both sensors. In principle, the installation consists of six steps:
- Mounting the sensor
- Connect the cable to the mainboard
- Update the firmware
- Set Z-Offset
- Manual leveling of the print bed
- Optional: Customize Cura
Mounting the Sensor
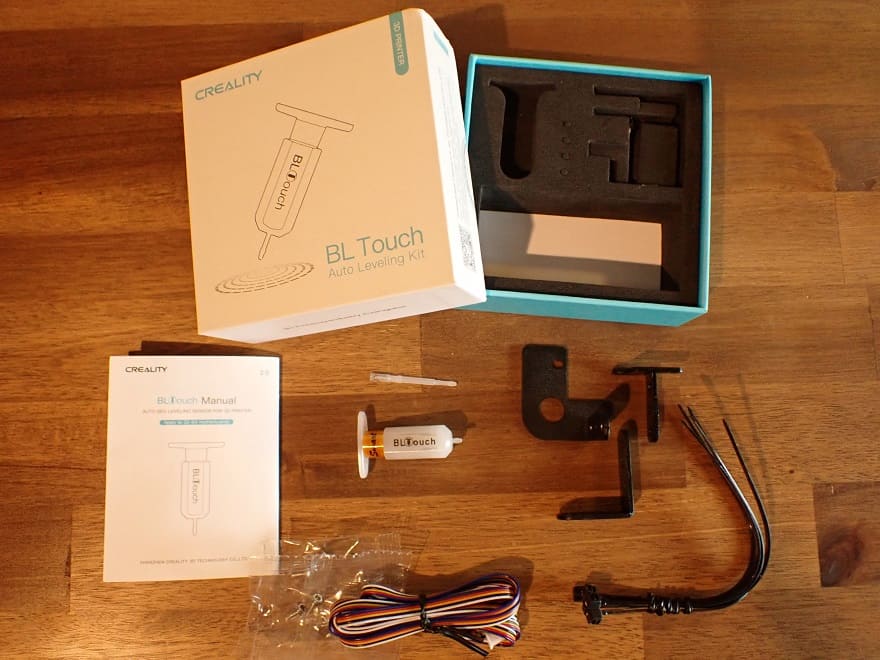
Depending on which kit you buy for the BL-Touch, prefabricated mounts for different 3D printers are already included.
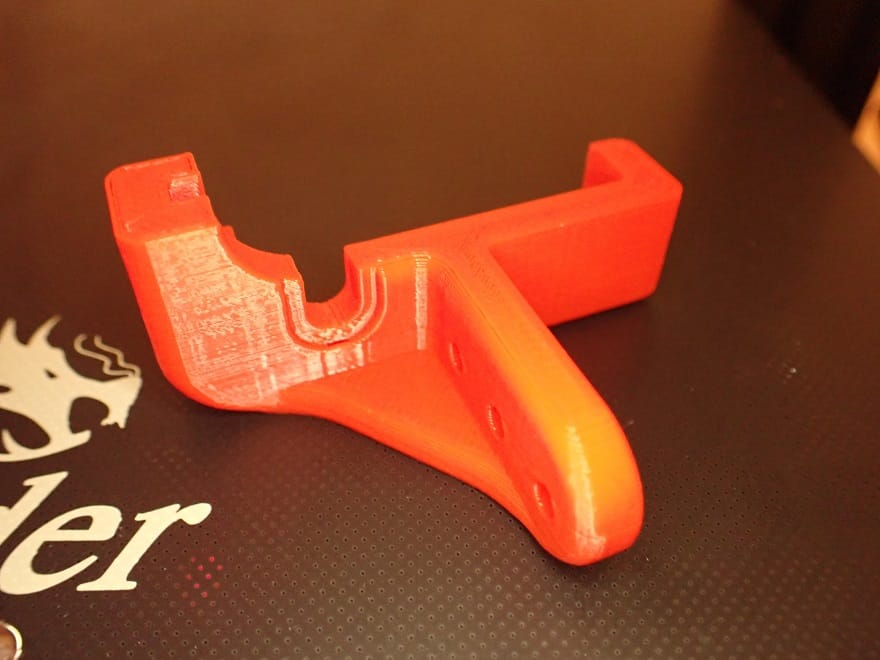
If you buy the sensor alone, you have to print a suitable mount yourself. For this, there are e.g. on Thingiverse suitable models to download.
- BLTouch Kit: Creality*, Amazon*
- Single BLTouch: Amazon* or 3DJake BLTouch* + 3DJake Extension Cable*
- Self-printed mount: Thingiverse
- M3 screws: Amazon*
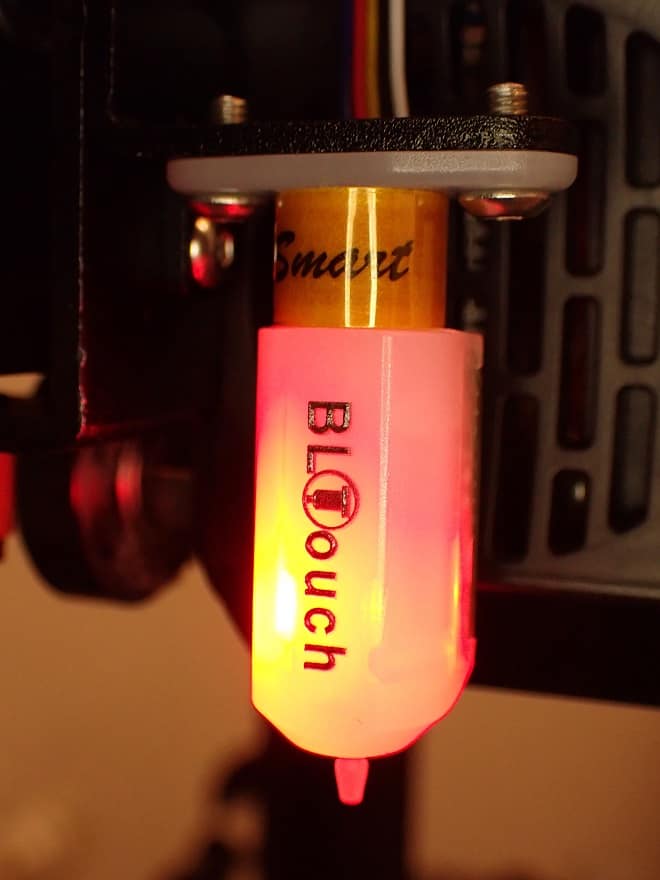
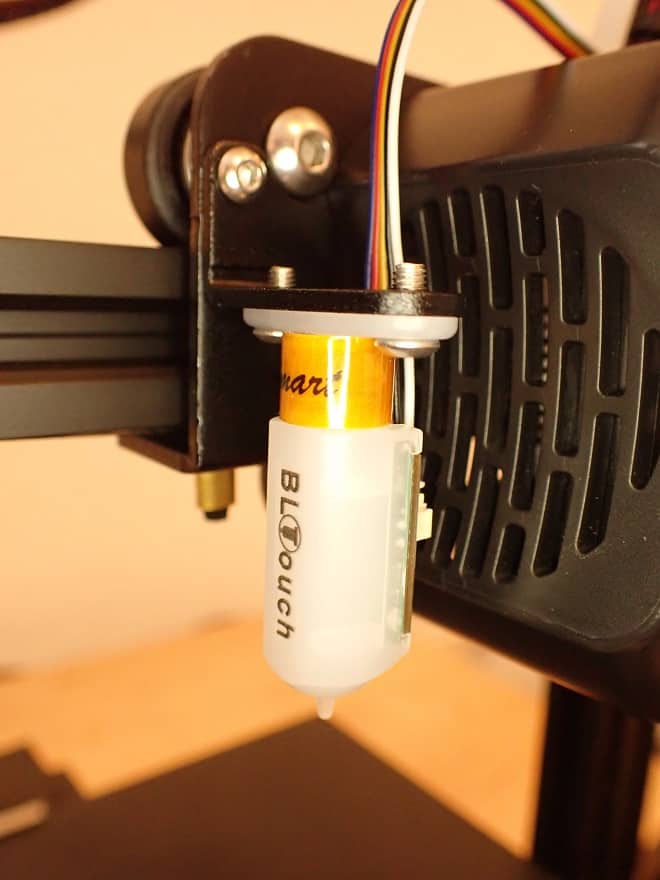
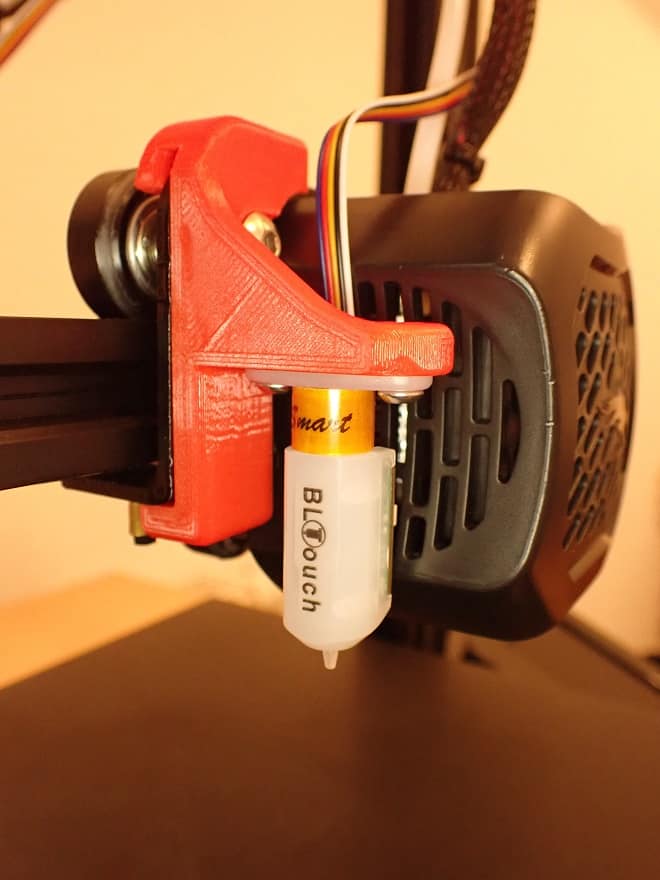
After you have all the materials and mounts you need, you can connect the BL-Touch to the cable and mount it to your 3D printer with the appropriate mount. For the Ender 3 V2 it looks like shown below.
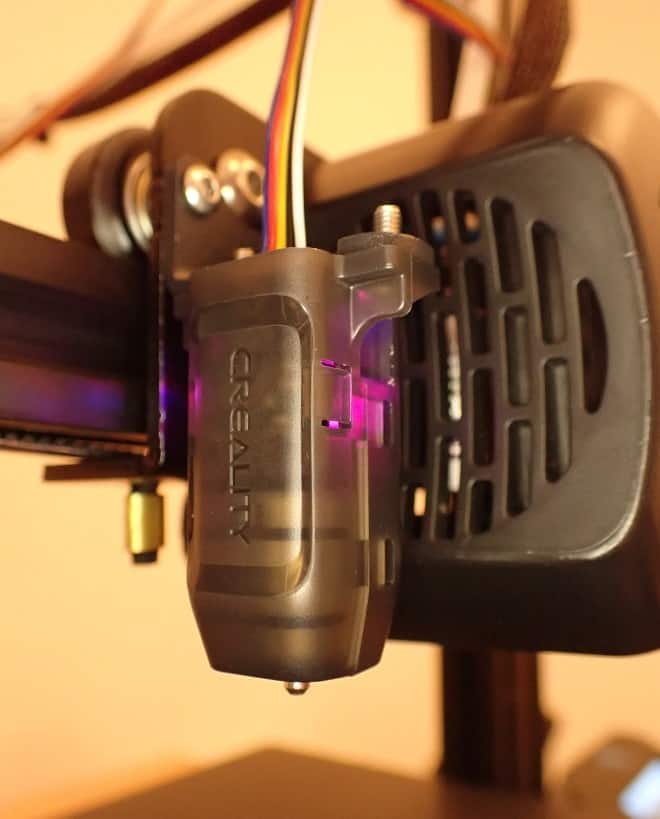
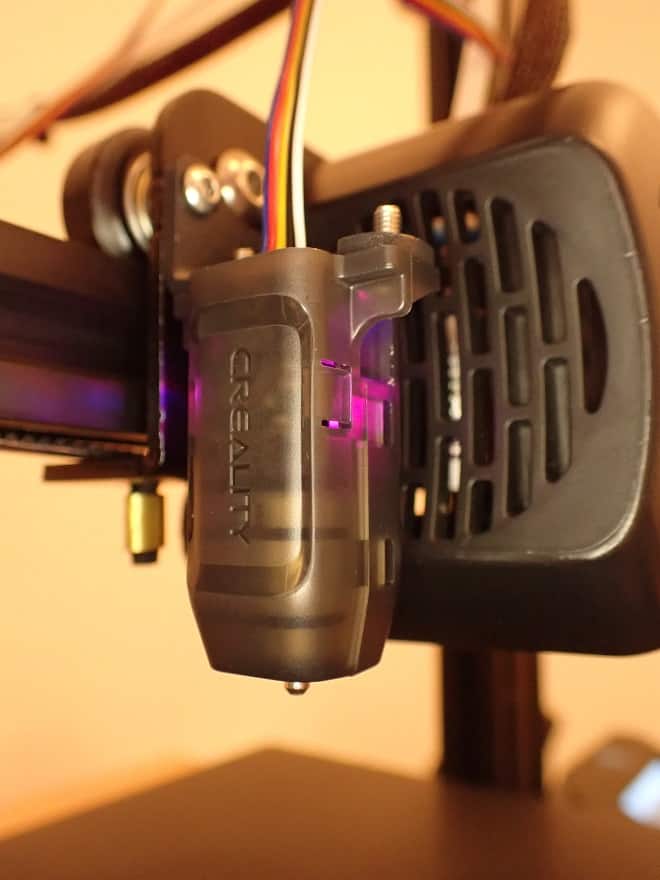
The CR-Touch is already delivered with all mounts for all compatible printers. Again, connect the CR-Touch to the cable and mount it with the appropriate mount. Below you can see it mounted on an Ender 3 V2.
Connect the Cable to the Mainboard
Depending on which version of the BL-Touch you own, the connection to your motherboard is different. The newer 3D printer models from Creality have a special slot on the motherboard for Z-probes.
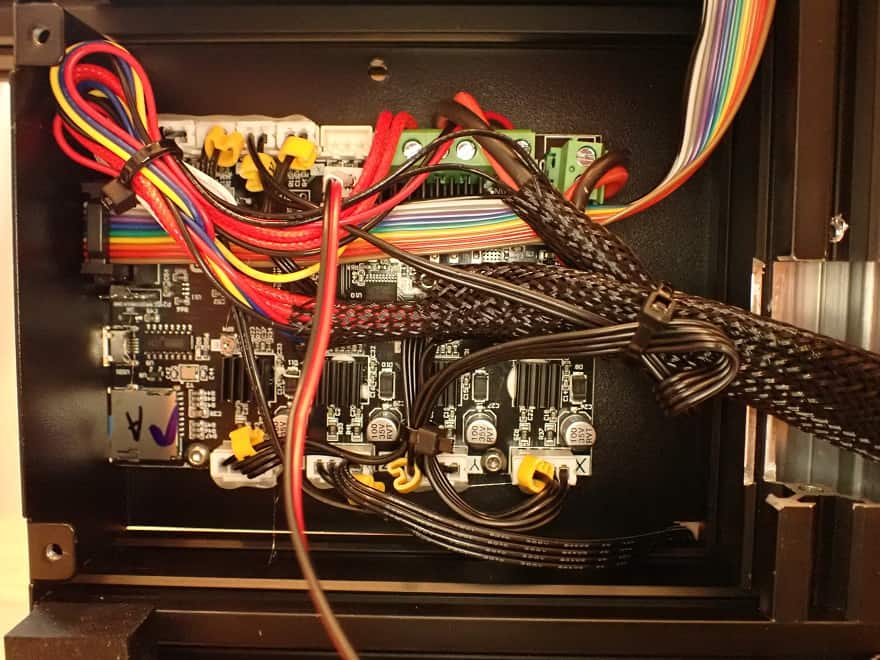
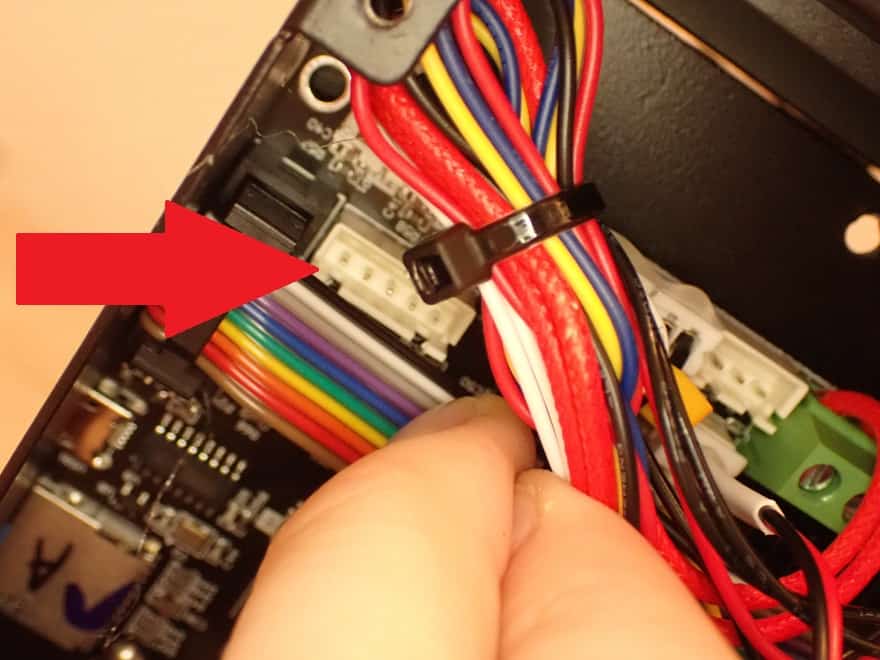
On some motherboards, like the Ender 3 V2 motherboard, there is relatively little space. To plug in the connector, you will almost certainly have to move other cables out of the way and possibly reroute them.
After you have connected the cable to the motherboard, you should attach it properly to the 3D printer. Make sure that the cable is long enough so that the print head can move to any position on the print bed.
Update the Firmware
If you are using a Creality 3D printer, there are firmware versions for all compatible 3D printers that are compatible with the BL-Touch or the CR-Touch (Link1, Link2).
You update the firmware of most 3D printers by saving the new version on the respective data medium, inserting it into the 3D printer and then switching it on.
During startup, the 3D printer detects that there is firmware on the disk and installs it.
Set Z-Offset
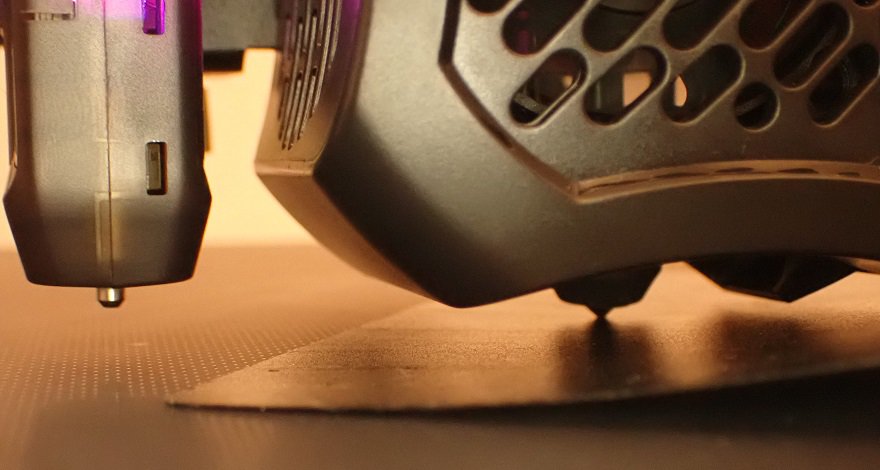
With a leveling sensor, the Z-Home position is no longer approached with the Z-Endstop, but with the sensor itself. For this, however, the Z-Offset must be set correctly. You can do this in the menu.
As with manual leveling, adjust the distance between the nozzle and the print bed so that a sheet of paper just fits between the nozzle and the print bed. When you move the paper, there should be some friction.
Manual Leveling of the Print Bed
Even if you have done it before the installation, you should now manually level the print bed again.
You’re probably wondering now why you can’t use the newly installed leveling sensor for this: both the BL-Touch and CR-Touch can’t handle heavily tilted print beds.
So you have to roughly align the print bed once so that the automatic print bed leveling can work.
Optional: Customize Cura
You can adjust the G-Code in Cura so that the 3D printer always levels itself automatically with the sensor before a print.
To do this, you need to enter the following G-Code in Cura:
G29 ; ‘Comment’
The command G29 causes the automatic print bed leveling. It is best if it comes directly after the G28 command for the home position.
Everything after the semicolon in the G-Code is a comment. I wrote down as a comment that the G29 command starts the automatic leveling before each print. So I know in the future why I put this line in the G-Code.

Price
The regular prices of the BL-Touch and CR-Touch are very comparable. Normally they cost pretty much the same.
But since the BL-Touch is sold by many different dealers, it is likely that you can find a good deal here.
Conclusion
The result of the comparison between BL-Touch and CR-Touch showed that both sensors perform their task of automatically leveling the print bed accurately and reliably.
However, the CR-Touch has performed better than the BL-Touch in this regard. The CR-Touch has both a higher repeatability, it also looks higher quality and has a longer life.
The processed materials and the sensor pin made of metal, will not wear out as quickly as the plastic of the BL-Touch.
You can’t go wrong with either sensor. However, if your 3D printer is compatible with the CR-Touch, I would recommend it rather than the BL-Touch.
Disclosure: This website is the property of Martin Lütkemeyer and is operated by Martin Lütkemeyer. Martin Lütkemeyer is a member of the Amazon Services LLC and other Affiliate Programs. These are affiliate advertising programs designed to enable websites to earn advertising revenue through advertising and linking to Amazon.com and others. Links marked with * are affiliate links.
