
- Wet Filament: Prevention, Symptoms & Drying - July 18, 2024
- Sovol SV08 – Best PrusaSlicer Settings & Profile - June 26, 2024
- Sovol SV08 – Best Orca Slicer Settings & Profile - June 26, 2024
Disclosure: Links marked with * are Affiliate Links. I earn from qualifying purchases if you decide to make a purchase through these links – at no additional cost for you!
TPU can theoretically also be printed on an unheated build plate. However, this is not advisable – you will achieve better results with a heated bed.
50 ± 10 °C and below is optimal, it should not get warmer. But why is that? What changes in the range between 50 °C and 60 °C?
TPU or thermoplastic polymer is flexible, but at the same time, the material is durable. This makes it perfect for some applications but also places higher demands on printing. If you already have some experience with PLA, you will have to follow other principles with TPU.
With TPU, too, it is important to optimize the print settings to prevent problems. The temperature of the print bed is just one of the various parameters. TPU is not a single material, however, but a whole group of mostly unidentified polymers.
These all have different properties. How exactly you set up your 3D printer and how the material reacts during printing and the cooling phase depends on the material mixture. So you can’t avoid a bit of trial and error. This is the only way to ultimately find out at which hotbed temperature the printing results turn out best.
TPU can be printed without a heated print bed – but adhesion will be very poor. The ideal print bed temperature for TPU is 50 ± 10 °C. Print bed adhesion can be further increased by using Blue Tape, PEI films or glue sticks.

Table of Contents:
Why TPU?
TPU is a material somewhere between rubber and plastic. It is flexible, but at the same time resistant. So you can use TPU to make elastic parts that can still withstand high stress.
TPU printed parts can be easily bent and compressed. That’s why the material is popular for smartphone protective covers, for example. But maybe you also want to equip other technical devices such as MP3 players, cameras or your child’s tablet PC with a flexible TPU cover?
The better TPE
Thermoplastic polyurethane (TPU) is an elastomer and is close in its properties to TPE, short for thermoplastic elastomer. TPE is more difficult to print than TPU.
That’s why, especially if you’re new to 3D printing and the different filaments, you should use TPU rather than TPE.
If we look at the development history of 3D printing, TPU is the newer material. It is a further development of TPE. And these are the properties that speak for the use of TPU:
- TPU is so elastic that it resembles rubber.
- The tear and abrasion resistance of the material is very high, so the material is durable.
- TPU is easy to color and can also be printed transparently.
- TPU has a high elongation at break. That means you can tug and stretch it, it won’t tear.
- TPU is thermally stable, so it does not decompose when exposed to heat. It is weather-resistant.
- Like other thermoplastic elastomers, TPU is UV-resistant.
- The material is chemically resistant: Oils, greases and many solvents cannot harm it.
- TPU is stronger than TPE and therefore easier to print.
TPU is short for “thermoplastic polyurethane elastomers”. This material is elastic at room temperature and behaves like a classic elastomer, i.e. rubber. If you heat the material, you can deform it plastically.
At the molecular level, TPUs are multiphase systems. They consist of a thermoplastic hard phase and an elastomeric soft phase, which alternate as molecular segments. However, there are different ways of combining the hard phases and soft phases. And the exact mixing ratio is important for the properties of the material.
This is because at service temperature the soft segments are above and the hard segments below the glass or melting temperature. Depending on this ratio, TPU can also be re-melted again and again and thus repeatedly processable. Transparency, flexibility, adhesion and knowledge of the material are determined with the mixing ratio.
Possible applications
Due to these properties, TPU is very suitable for soft midsoles or insoles in shoes. Orthopedic models are also created from TPU.
Seals, plugs and pipes in vehicles are often made of TPU because of its resistance to oils and greases. Have you just broken a sealing ring? Just print yourself a replacement!
Heated or Unheated Print Bed?
TPU has excellent adhesive properties right from the start. Firstly, the layers adhere very well to each other, and secondly, TPU also adheres very well to the print bed. Both have disadvantages:
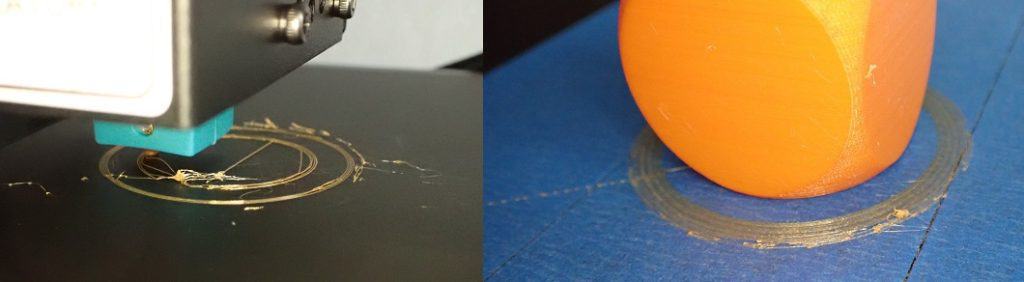
- If the settings are not correct, TPU is prone to stringing, warping and other printing errors.
- Print models sometimes come off the build plate very poorly.
- The individual layers remain visible after printing because TPU is abrasion-resistant and cannot be smoothed out easily. Nevertheless, they will not come off.
- Support structures are extremely difficult to remove.
TPU can be applied to an unheated print bed – the material usually adheres very well anyway. Those who print with TPU are more likely to have problems detaching the object from the plate after printing.
However, if you have problems, you can also heat the print bed. However, it must not be too warm, otherwise, the material will not set properly and will smear, which will lead to printing errors.
If you heat the print bed, 50 °C is a good starting point. As with all detailed questions in 3D printing: You have to experiment a bit. If the temperature is still too low, go up in small steps and keep trying. However, the temperature should definitely not be higher than 60 °C.
To ensure that the TPU behaves properly on the print bed and does not melt like ice cream in the sun, you should cool the build area. A part fan may run at medium and high settings.
Other Solutions for Bad Adhesion
Very good adhesive properties are great because then the famous first layer is built up correctly in any case. This is the most important prerequisite for a successful print. However, too good adhesion can lead to another problem: The print model can no longer be detached from the plate without being damaged.
This is also an important issue with TPU: The first layer must adhere well without smearing. But it still has to be possible to release the model after it has cooled down. How do you achieve that?
We have already mentioned one possibility: you print with a heated print bed. When the print model cools down, the TPU contracts. Because the print bed does not contract as much, the model jumps off the plate. If you still want to work with an unheated print bed or have had no success with the heated print bed, you should try the following options.
PEI
PEI is a coating that is usually applied to aluminum permanent plates and is supposed to guarantee fairly good adhesion. The advantage: the aluminum plate is thin and somewhat flexible.
For TPU, this PEI film* is very suitable.
If your TPU model does not want to come off, simply bend the plate a bit in one direction or the other. Then the component should jump down on its own.
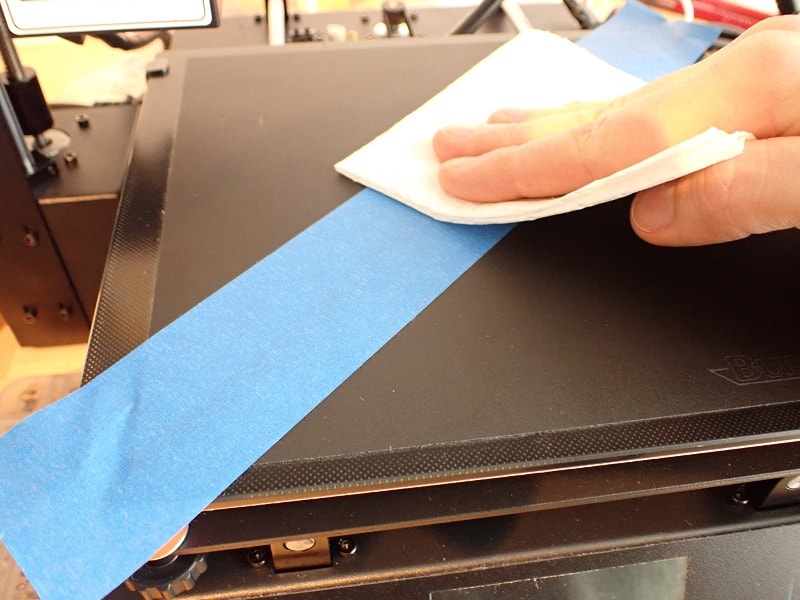
Alternatively, PEI is available as an adhesive film. You can stick this foil onto your own print bed if you prefer this method. However, this is not a solution that will last long or even very long. You can clean PEI plates with acetone* if they are dirty.
Blue Tape
Blue Tape is always mentioned as a tip when the first layer just doesn’t want to hold well. This refers to adhesive tapes with a somewhat rough surface.
By far the most popular is Scotch Blue Tape from 3M*.
On the rough surface, the famous first layer is usually applied quite cleanly, so that the risk of printing errors is minimized. But with TPU, the problem is that you can’t easily remove the cooled print model from the build plate.
Blue Tape can be used several times as a base. As soon as the adhesive effect wears off (after approx. 25 uses, if no damage has occurred), you simply pull it off after use. If the component does not want to come off, simply pull the tape off the printing plate. The model will also come off the tape due to the movement and the resulting slight stretching of the tape.
Glue Stick
If you run a glue stick* over your printing plate, the stick will leave behind a slightly smeary, sticky layer. On this layer, even filaments with a lower inherent adhesion than TPU hold quite well, so that the important first print layer certainly succeeds.
The slimy mass on the build plate makes your print model float. The TPU has no contact with the actual build plate, but only with the sticky mass. Accordingly, it can be easily removed after cooling, because the adhesive mass does not really hold reliably.
The disadvantage of this method is obvious: the glue stick must be removed after the model has been detached from the printing plate. The adhesive should also not remain on the print model.
So the whole thing can turn into quite a mess because glue sticks can’t just be wiped off with a paper towel (that would stick). And a damp cloth isn’t enough either. That’s why the glue stick should only ever be the very last, desperate attempt just before giving up.
Print Settings for TPU at a Glance
Partial fan on medium or high setting, maybe heat the print bed, experiment with the temperature: You get the idea, with TPU – “it depends.” Not all TPU is the same. Depending on the manufacturer, storage, print settings and other parameters, heating the print bed may or may not be effective.
Various parameters influence the settings
Generally, TPU is better printed with a direct drive extruder because the flexible material can accumulate in the Bowden extruder and cause clogging. However, if you set all speeds in the slicer to about 20 mm/s, you can also print TPU very well with a Bowden.
The extruder should output the TPU at 220 °C to a maximum of 250 °C.
However, the temperature again depends heavily on how exactly you want your model to look. The higher the temperature, the softer or smoother the TPU becomes. It must not be completely liquid, because this does not allow any reasonable layers to be built up. So you have to find the best temperature by trial and error.
Exactly how high the temperature is at the nozzle also differs between 3D printers. What you set in the slicer is rarely exactly what you get on the device. This explains the discrepancies in the recommendations quite well.
With TPU, the liquid material flows quickly out of the nozzle and drips. For this reason, you should ideally first try out 225 °C and feel your way up in steps of 5 °C until you have found the ideal temperature.
Another important point is the printing speed. TPU is only printed with high quality at low speeds. Settings of 15 millimeters per second to a maximum of 20 millimeters per second are common.
TPU filaments cannot extract during printing as they ideally should. This is why layers bond unfavorably, resulting in perimeters. If you increase the extrusion factor, you can prevent this.
You should deactivate retraction for TPU in any case, because the flexible material would only be stretched and compressed in the extruder. In the worst case, the result would be a complete blockage. And there’s nothing you can do about it if you adjust the temperatures: TPU is simply flexible.

Related Topic:
How to Prevent TPU Stringing – Try these Settings!
You should also not use a Raft. This leads to printing problems due to the usual higher printing speeds (simply specified in most slicers). A raft is also difficult to detach from the finished part due to the specific properties of TPU – and this also applies to all other support structures.
Conclusion
TPU does not require a heated build space. You also don’t need a closed build space. If you print TPU at low temperatures, warping is also less likely to occur due to the not quite high shrinkage of the material when it cools down.
You can increase the print quality by using a heated build plate. Temperatures of 50 ± 10 °C are usually recommended. The temperature of the heating plate should not exceed 60 °C, as this would have a negative effect on the print result.
However, not all TPU is the same. The manufacturers of the filaments do not usually specify exactly what the thermoplastic urethane elastomers are made of. Therefore, you should simply try out the temperature at which the result on the build plate is correct or turns out best.
Disclosure: This website is the property of Martin Lütkemeyer and is operated by Martin Lütkemeyer. Martin Lütkemeyer is a member of the Amazon Services LLC and other Affiliate Programs. These are affiliate advertising programs designed to enable websites to earn advertising revenue through advertising and linking to Amazon.com and others. Links marked with * are affiliate links.
