
- Wet Filament: Prevention, Symptoms & Drying - July 18, 2024
- Sovol SV08 – Best PrusaSlicer Settings & Profile - June 26, 2024
- Sovol SV08 – Best Orca Slicer Settings & Profile - June 26, 2024
Disclosure: Links marked with * are Affiliate Links. I earn from qualifying purchases if you decide to make a purchase through these links – at no additional cost for you!
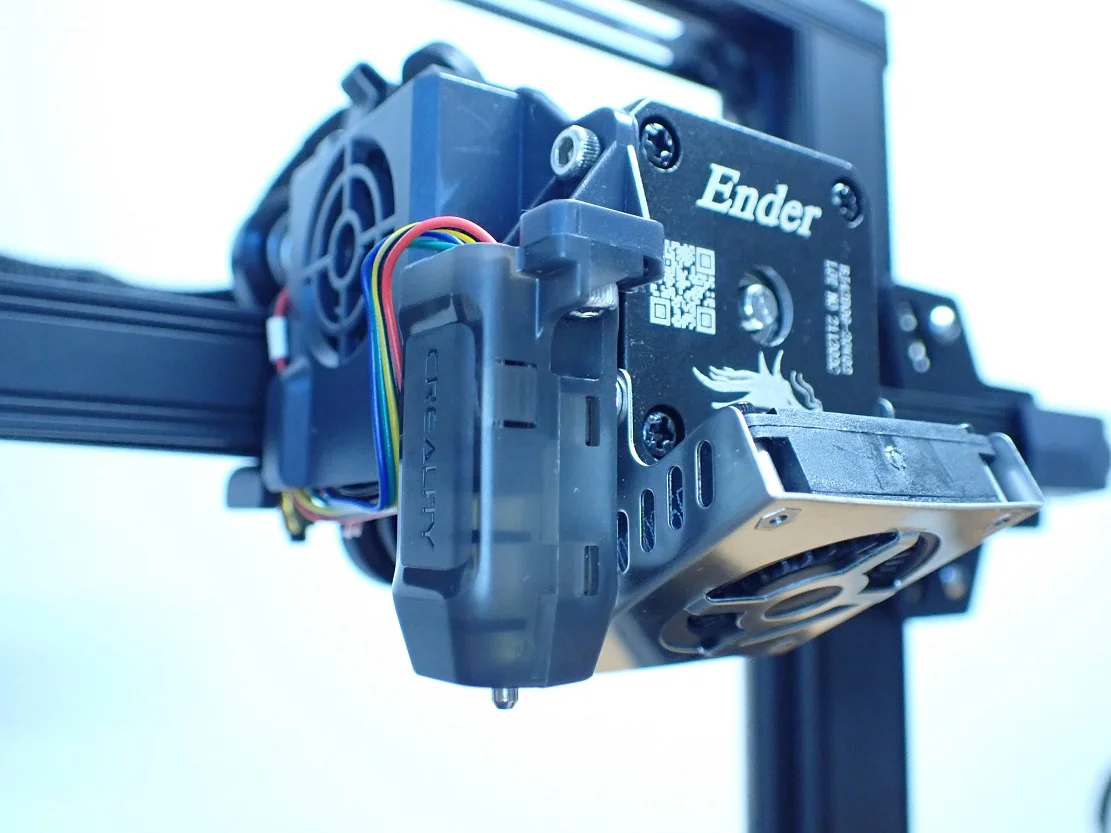
Automatic print bed leveling is extremely practical. Modern hobby 3D printers increasingly have this feature – even in the lower price ranges, such as the Elegoo Neptune 3. But how does this automatic print bed leveling work under the hood – how does the 3D printer know with which values it has to compensate the inclination of the print bed during the current job?
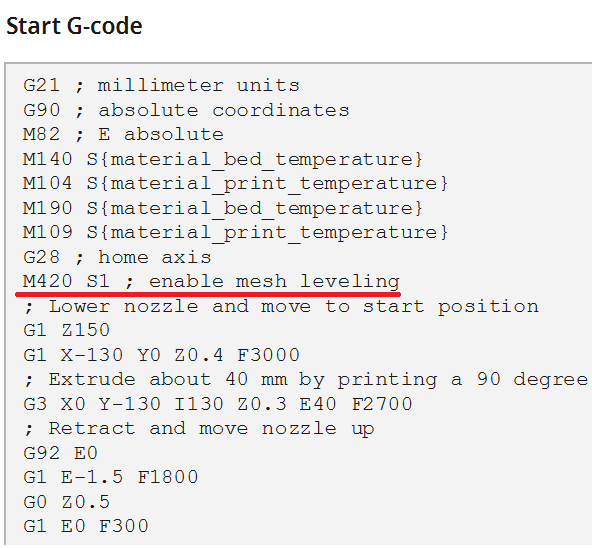
With the M420 S1 G-Code command, the 3D printer loads the data from the last print bed leveling and uses it for the current print. The G29 command executes the print bed leveling and automatically uses the resulting data in the current print.
So if you want to level the print bed for every print job, you only need to use G29 in the Start G-Code. If you only want to automatically level the print bed occasionally and use the data from this for each subsequent print, you have to write the M420 S1 command in the Start G-Code. Make sure, however, that the M420 S1 command always comes after the G28 command (move to home position), since this command deactivates the leveling status.
If this was all a bit too fast for you, we’ll go over the individual commands again in detail and I’ll show you how and where you can write the commands in the Start G-Code.
Table of Contents:
Key Takeaways
- M420 S1 = The data of the last print bed leveling are loaded and used for printing.
- G29 = Executes the print bed leveling. The data obtained from this is used for the current job without having to use M420 S1.
- G28 (move to home position) deactivates the status of the print bed leveling. With M420 S1, the data is then reloaded and made available to the 3D printer for the current job.
What Does the M420 S1 G-Code Do?
The M420 S1 command in the Start G-Code loads and applies the data from the last print bed leveling. Since the G28 command (move to home position) deactivates the status of the print bed leveling, the M420 S1 command is usually inserted directly after it.
The command is composed of the two G-Code components M420 and S1. M420 stands for “bed leveling state” and S1 for “enabled”. This means that only the data of the last print bed leveling is read out and used. This does not have the effect of starting the print bed leveling. You will not notice any movement of the printhead when this command is executed.
With most modern 3D printers, the print bed is so securely fixed that it rarely needs to be re-leveled. Therefore, the M420 S1 G-Code offers to use the data from the last print bed leveling again and again.
Only if you notice that the leveling is no longer good, you should carry it out again separately outside a print. The M420 S1 G-Code will then automatically use the data of the new leveling for the next prints.
The M420 G-Code can be used with many other parameters. The S1 stands here only for the fact that the status is activated. With S0 you could deactivate it. There are also the parameters C, L, T, V and Z. If you are interested in the M420 G-Code and want to learn more about it, you can learn everything about it in this article: M420 S1 G-Code | Guide with Easy Examples
What Does the G29 G-Code Do?
The G29 G-Code executes the print bed leveling. If the command is in the start G-Code of the 3D printer, the leveling is carried out at the beginning of each print job. The data from this leveling is used for the print job and does not need to be loaded/activated with M420 S1.
The G29 G-Code can start a total of 5 different methods of print bed leveling. Which method is used depends on which one you have defined in the configuration file of your 3D printer. If your 3D printer already comes with automatic or semi-automatic print bed leveling, this is already present in the file.
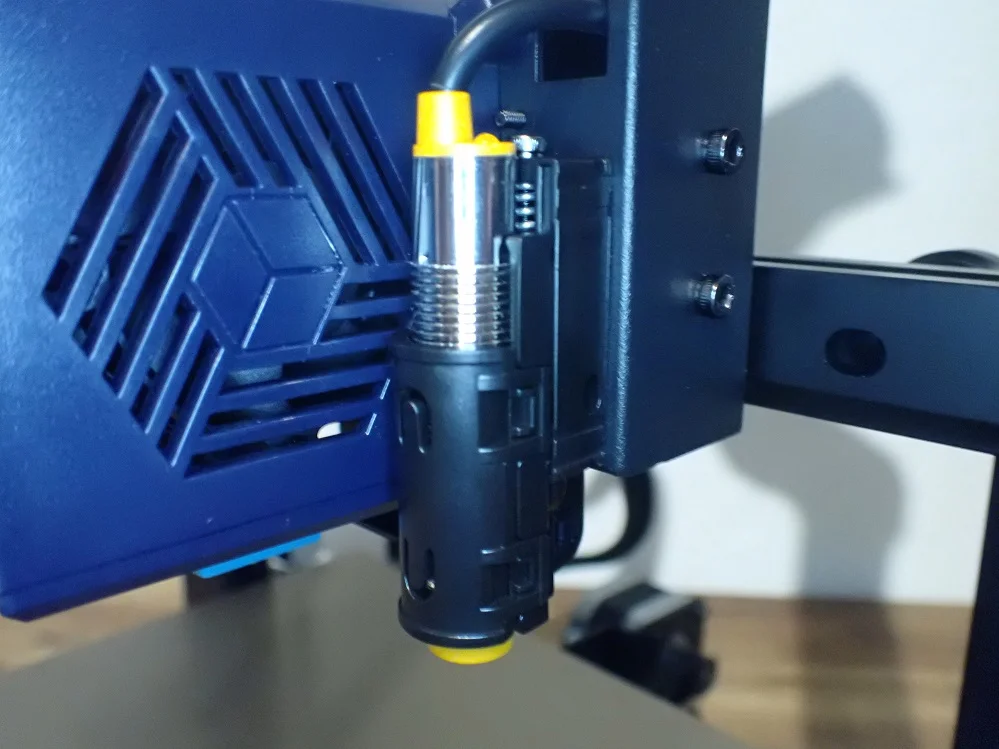
However, if you want to upgrade your 3D printer and install a level sensor like the BL Touch or CR Touch, you will need to familiarize yourself with the different leveling methods. Here is a brief list of them, you can learn more on the Marlin website:
- Mesh-based Leveling:
- Mesh Bed Leveling: #define MESH_BED_LEVELING
Interactive print bed leveling without a sensor. - Auto Bed Leveling (Bilinear):#define AUTO_BED_LEVELING_UBL
Bilinear print bed leveling with/without sensor. - Unified Bed Leveling: #define AUTO_BED_LEVELING_BILINEAR
Bilinear print bed leveling with a sensor.
- Mesh Bed Leveling: #define MESH_BED_LEVELING
- Matrix-based Leveling:
- Auto Bed Leveling (Linear):#define AUTO_BED_LEVELING_LINEAR
Linear leveling with/without a sensor. - Auto Bed Leveling (3-Point):#define AUTO_BED_LEVELING_3POINT
Three-point leveling with/without a sensor.
- Auto Bed Leveling (Linear):#define AUTO_BED_LEVELING_LINEAR
M420 S1 vs. G29
M420 S1 activates the status of the print bed leveling and thus makes the data of the last leveling available. However, M420 S1 does not execute the bed leveling. G29 executes the leveling directly and saves/activates the values.
So if you want to level your print bed for each of your print jobs, G29 is exactly the right command for this when you insert it into the Start G-Code. After this G-Code, you don’t need the M420 S1 command anymore, because the data of the leveling are already loaded automatically by G29 and are used for the print.
However, if you only want to level the print bed sporadically as needed (which I prefer), the M420 S1 G-Code command is better. This way you don’t lose valuable time at the start of the 3D print with a probably unnecessary print bed leveling.
By the way, if your 3D printer does not have automatic or semi-automatic print bed leveling, nothing will happen with either command.
How and Where Do I Insert M420 S1 or G29?
The G-Code for the print bed leveling is inserted in the start G-Code of the 3D printer in the machine settings. M420 S1 always follows G28 (move to home position) and after G29 the M420 S1 command is no longer needed.
It would be unusual to use both commands as they have different purposes. You can also execute the M420 S1 command after the G29 command, but this does nothing.
If you are using Cura as a slicer, you will find the Start G-Code in which you can insert these commands under the machine settings. You can access it from the menu bar via “Settings” > “Printer” > “Manage Printers…“. If you are building your own DIY 3D printer, you will have to deal with the machine settings anyway. If you are using a 3D printer with a built-in print bed leveling, you will probably see that one or two of the commands described here are already present in the Start G-Code.
Do I Need M420 S1 After G29?
M420 S1 is not required after the G29 command to perform print bed leveling. The G29 command keeps the leveling data active and uses it for the current print job.
However, the M420 S1 command is necessary after moving to the home position (G28), since the print bed leveling is deactivated here. Examples for the different applications could therefore look as follows:
- No print bed leveling at each print, but applications of the data from the last print bed leveling:
G28 ; home axis
M420 S1 ; enable mesh leveling - Print bed leveling for each print job:
G28 ; home axis
G29 ; execute bed leveling
Summary
Now you should know when to use the M420 S1 G-Code command and when to use the G29 command in the Start G-Code of your 3D printer. Both have their justification and are very useful depending on the requirements.
Disclosure: This website is the property of Martin Lütkemeyer and is operated by Martin Lütkemeyer. Martin Lütkemeyer is a member of the Amazon Services LLC and other Affiliate Programs. These are affiliate advertising programs designed to enable websites to earn advertising revenue through advertising and linking to Amazon.com and others. Links marked with * are affiliate links.
