Skip to content
The 3D Printer Bee
Menu
Shop
3D Printing Course
Slicer Profiles
3D Printer Guides & Reviews
Filament & Resin Guides
Slicer Tutorials
Printing Issues & Solutions
Calibration & Maintenance
English
English
Deutsch
Slicer Tutorials
Cura Wall Thickness & Line Count | How to Get Perfect Walls
Cura Initial Layer | Width, Height, Flow & Hor. Expansion
Cura Flow Rate Compensation | How it Works & When to Use
Cura Wipe Nozzle Between Layers | Illustrated Guide
Cura Adaptive Layers | Better Quality & Print Times
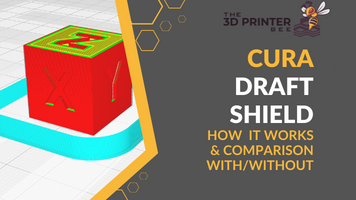
Cura Draft Shield | How it Works & Practical Test
Cura Bridge Settings | Detailed Guide + Examples
Cura Optimize Wall Printing Order | How Does It Work?
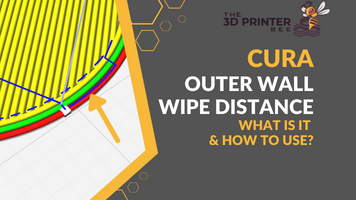
Cura Outer Wall Wipe Distance | Good for Z-Seams?
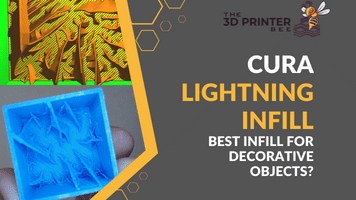
Cura Lightning Infill | Best Infill for Decorative Objects?
Older posts
Newer posts
←
Previous
Page
1
…
Page
3
Page
4
Page
5
Page
6
Next
→
Next Page »
Search for: