- Wet Filament: Prevention, Symptoms & Drying - July 18, 2024
- Sovol SV08 – Best PrusaSlicer Settings & Profile - June 26, 2024
- Sovol SV08 – Best Orca Slicer Settings & Profile - June 26, 2024
Disclosure: Links marked with * are Affiliate Links. I earn from qualifying purchases if you decide to make a purchase through these links – at no additional cost for you!
Cura is one of the most popular slicers for FDM 3D printers. This is mainly due to the fact that Cura has a lot of settings to customize and optimize 3D printing.
One of the most important settings in Cura is the wall thickness. The wall thickness is the product of the wall line count and the wall line width. The wall thickness setting is located in Cura under the settings for the walls.
Usually, a wall thickness corresponding to 2-4 times the line width is optimal. 2 for decorative objects, 4 for more stable objects. If the infill pattern shows through, the wall line count should also be increased.
In this article, you will learn what the individual settings do in detail and which other parameters play a role.
Table of Contents:
Key Takeaways
- Wall Thickness = (Wall Line Count) x (Wall Line Width)
- Recommendation:
- Wall thickness is a multiple of the nozzle width (e.g. 0.8 mm or 1.2 mm for a 0.4 mm nozzle)
- Wall Line Width = Line Width
- Decorative objects: Wall thickness from 0.4 to 1.6 mm
- Sturdy objects: Wall thickness from 2 to 4 mm
Walls in Cura
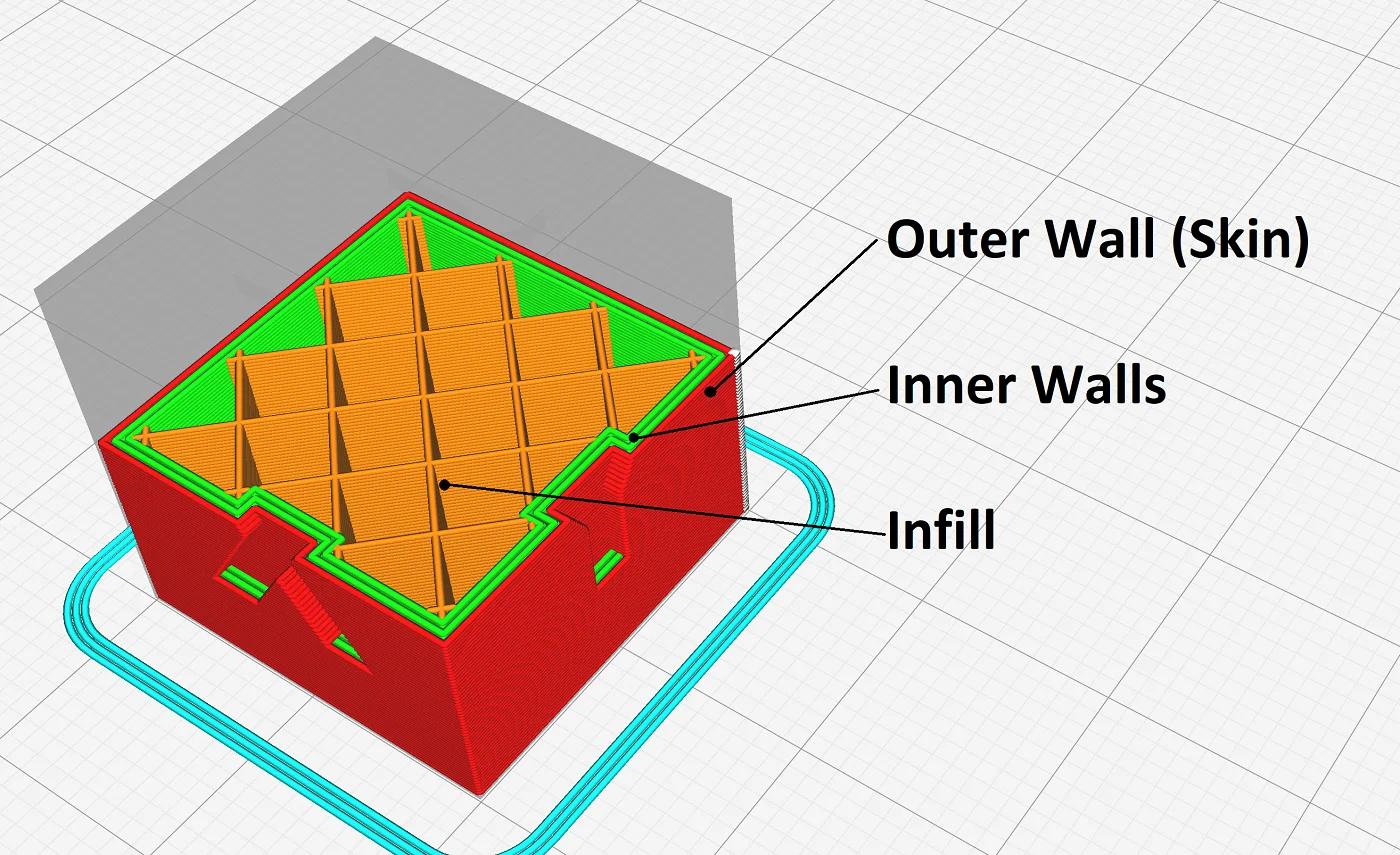
The settings for the walls are very important for the visual appearance of the 3D print and the mechanical stability. Therefore, the settings for the walls are one of the most important in Cura.
In Cura, the wall thickness is the product of the wall line count and the wall line width. A wall thickness of 1.2 mm can therefore be composed of 3 wall lines, each 0.4 mm wide.
So in Cura, there are mainly these 3 settings for the walls, which will be discussed in more detail later:
- Wall Thickness
- Wall Line Count
- Wall Line Width
You can find these 3 settings in the custom print settings. If you don’t see them there, you can search for them or make them visible in the settings.
Before we get into the details, however, here are a few considerations that will help in deciding how thick to make the walls.
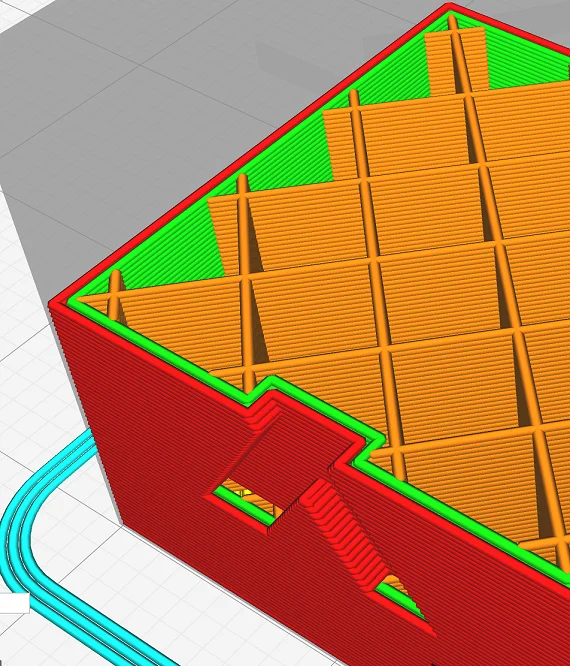
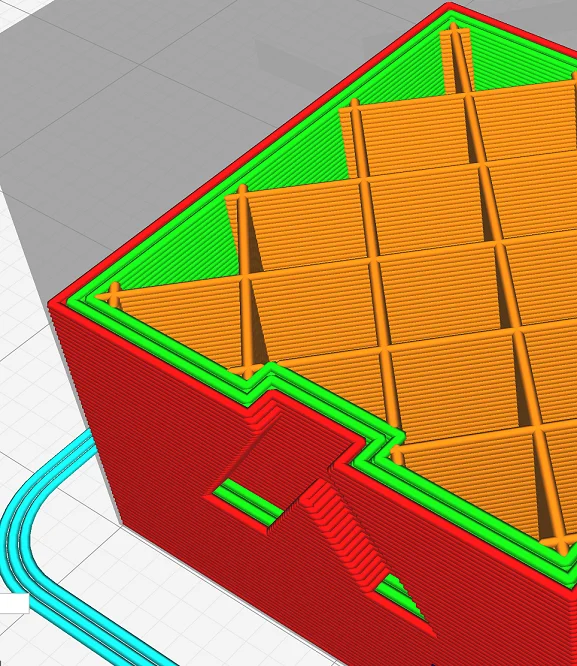
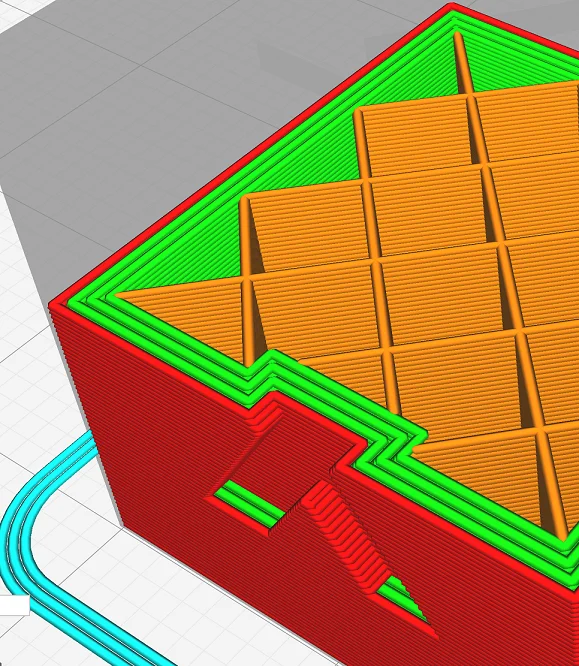
Mechanical stability: The more sturdy the printed object should be, the thicker the walls should be. This is absolutely logical and intuitively understandable. This is parallel to the infill density. The more infill, the more stable the object will be.
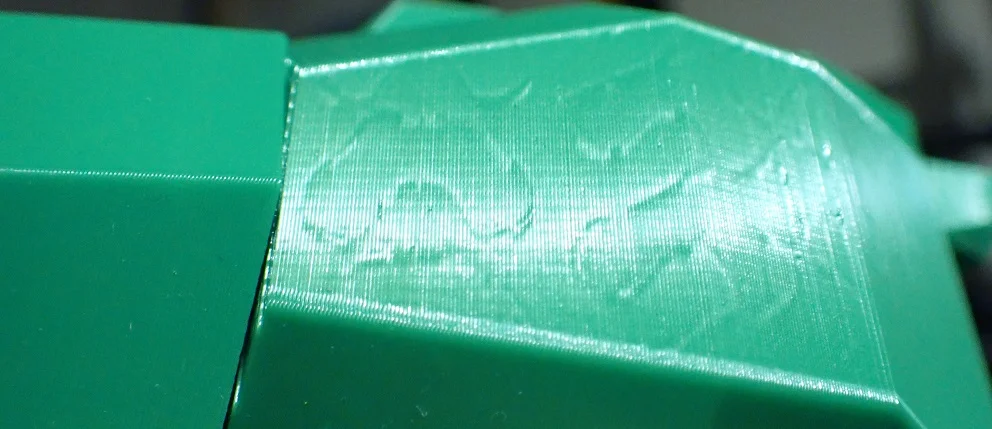
Infill imprint on outer wall: With some infill patterns, the pattern may show on the outer wall. You will then see uneven surfaces that look as if the inner pattern is showing through. The thicker the wall, the less likely this is to happen. I therefore always print with 3 wall lines.
| Walls | Print Time [min] |
|---|---|
| 1 | 24 |
| 2 | 25 |
| 3 | 27 |
| 4 | 29 |
| 5 | 31 |
| 6 | 33 |
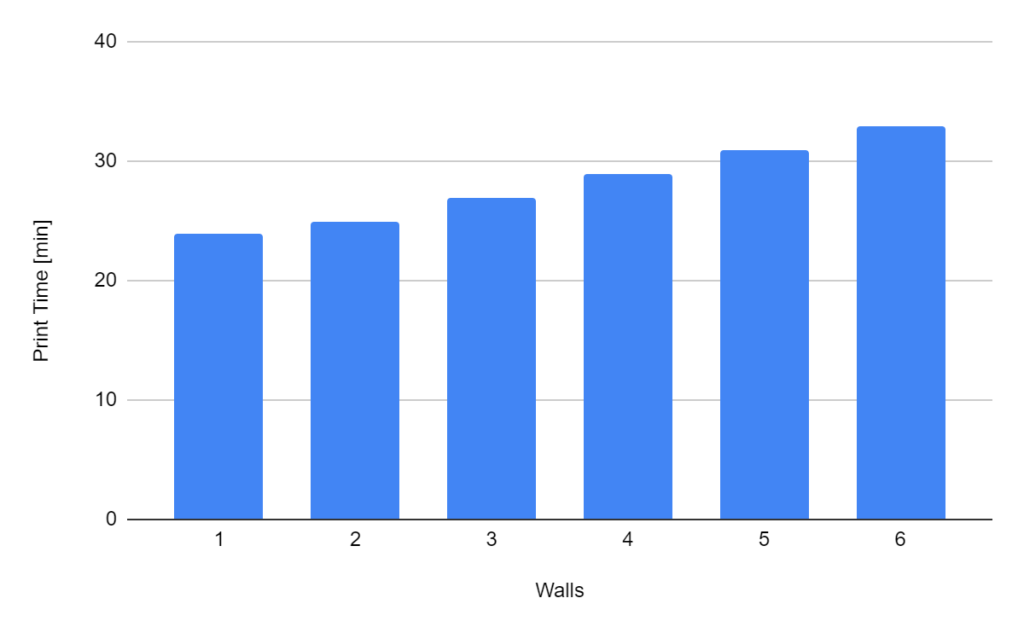
Printing time: However, there are also disadvantages to increasing the wall thickness. The printing time increases with each wall line. So the thicker the wall, the longer you have to wait for 3D printing. Example: A calibration cube with 6 wall lines needs 20% longer than a calibration cube with 4 wall lines.
| Walls | Used Filament [m] |
|---|---|
| 1 | 1,02 |
| 2 | 1,19 |
| 3 | 1,36 |
| 4 | 1,51 |
| 5 | 1,68 |
| 6 | 1,83 |
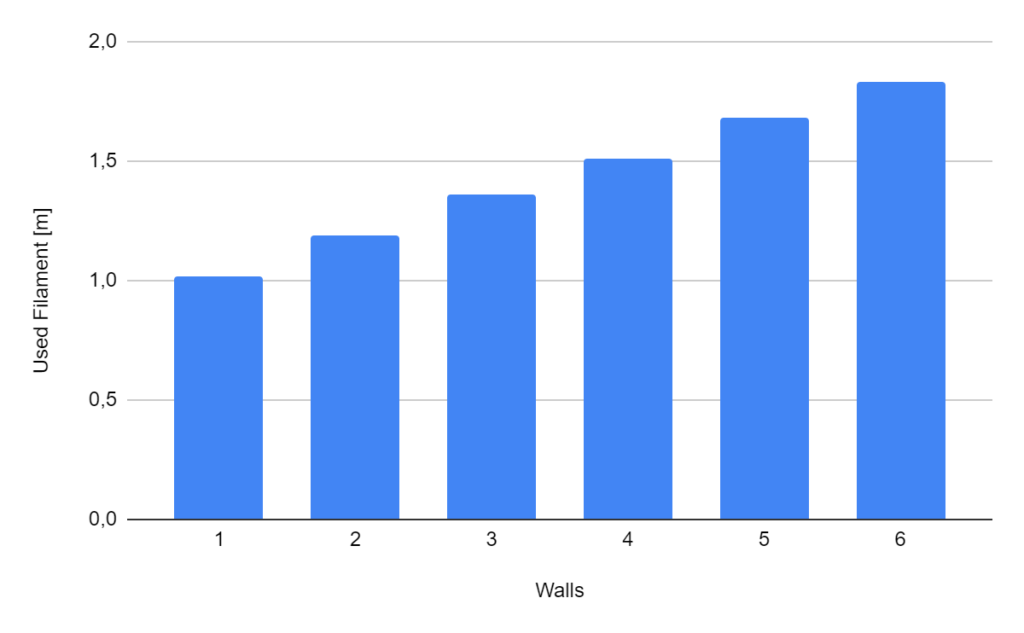
Material consumption: In addition to the longer printing time, the filament consumption is also higher. To stay with the example of the calibration cube, a cube with 6 wall lines requires 21% more filament than a calibration cube with only 4 wall lines.
Cura Wall Thickness

The wall thickness defines and Cura the thickness of all wall lines including the outermost wall. The wall line count is calculated from the wall thickness and the wall line width (round up or down to whole number). The wall thickness is located in Cura under the settings for the walls.
Each print has a specific function. Many objects are mainly for decoration, but some are also intended to perform a mechanical function. The wall thickness is a major factor influencing the mechanical stability of the object. And the thicker the walls are, the more stable the object becomes.
For decorative objects, a wall thickness of 0.4 to 1.6 mm is sufficient; for stable objects, wall thicknesses of 2 to 4 mm are useful.
There are also objects that you can print with only one wall. For this purpose, Cura offers the vase mode, which prints a continuous outer wall without infill. Here the wall thickness is equal to the line width of the wall. Even though the mode is called vase mode, you can also print other objects in this mode. But they have a very low mechanical stability and can even be a bit transparent because of their thin wall, depending on which filament and line width you use.
For objects that need to be very stable, you can increase the wall thickness as much as necessary. Besides the infill, you can best influence the stability of the object with the wall thickness. The influence of the wall thickness is greater than that of the infill. A solid object with 100% infill and thin walls is less stable than a solid object with only walls and no infill.
Recommendation – Cura Wall Thickness:
- Wall thickness of decorative objects: 0.4 to 1.6 mm
- Wall thickness of sturdy objects: 2 to 4 mm
Cura Wall Line Count
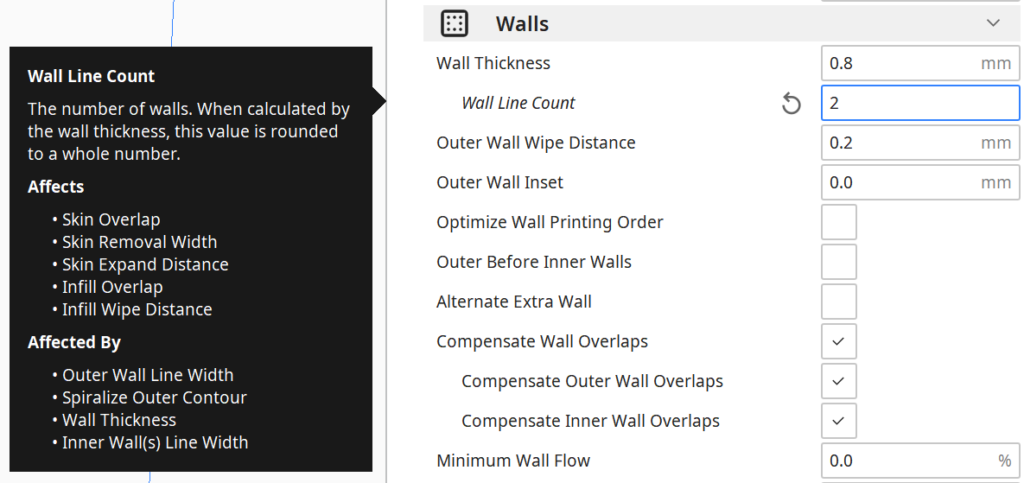
The wall line count in Cura defines how many lines are printed as the skin of the 3D print. The wall line count is calculated from the wall thickness and the wall line width. The setting is located in Cura under the wall thickness in the settings for the walls.
Since there can be no half wall lines, the number is rounded up or down when calculated from the wall thickness and the wall line width. If you enter the wall line count manually, this overwrites the wall thickness.
The wall thickness is then automatically calculated from the product of the wall line count and the wall line width but is not displayed (the wall thickness field is then grayed out).
The wall line count is optimally between 2 and 4. I myself usually print with 3 wall lines, as this is a good compromise between stability, the avoidance of infill imprints and time and material consumption.
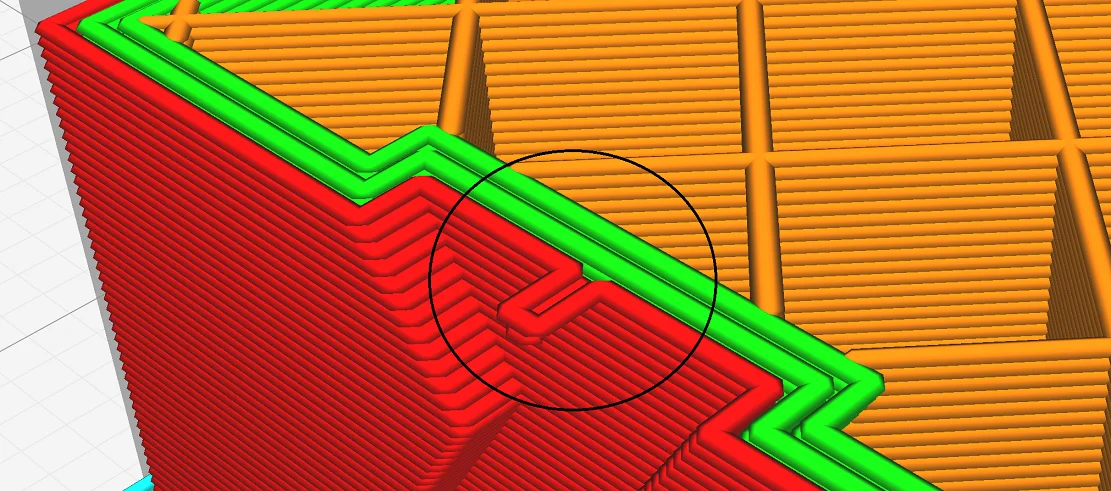
In some models, there are geometries on the outer skin that mean that not all of the wall lines follow the geometry of the outer skin. Mostly these are filigree bulges in which not the entire wall thickness can be implemented. However, this is not a big deal and cannot be implemented in any other way anyway, as otherwise important details of the model would be swallowed up.
Recommendation:
- Wall line count of decorative objects: 1-3
- Wall line count of sturdy objects: ≥ 4
Cura Wall Line Width
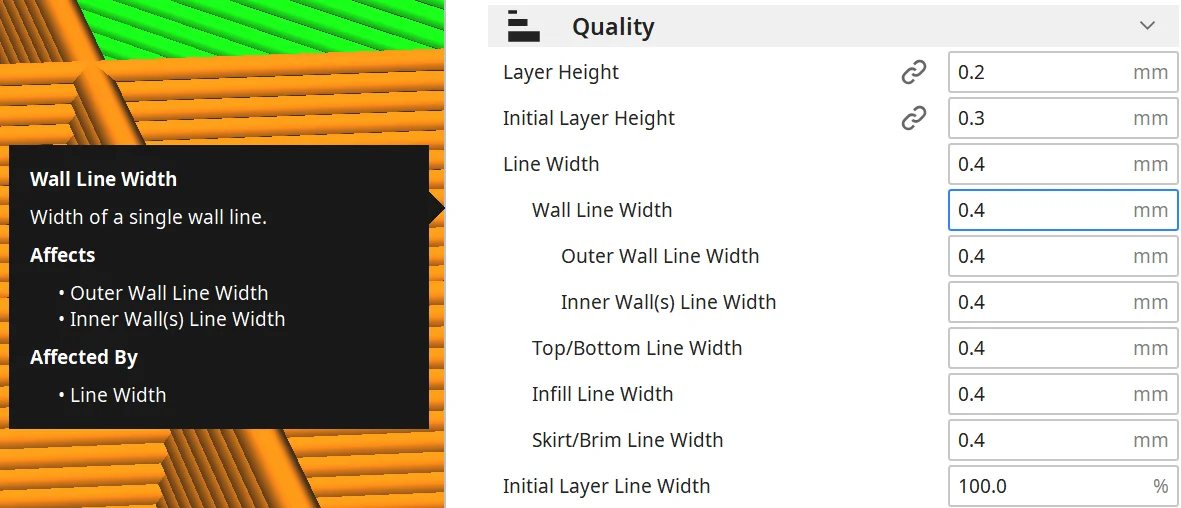
The wall line width in Cura determines the line width of the individual wall lines. The wall thickness is the sum of the widths of all wall lines. Different values can be defined for the outer wall and the inner walls.
The normal line width is between 100 and 120% of the nozzle diameter, but can take values between 60 and 200%. The wall line width is usually based on the normal line width. Only in rare cases a thicker or thinner wall line width is selected.
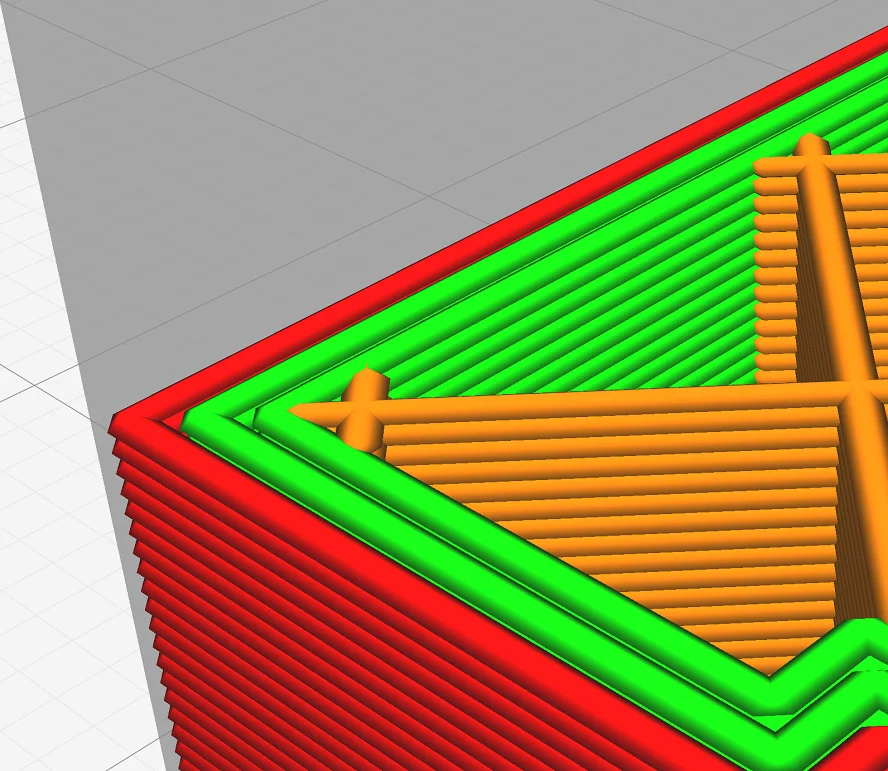
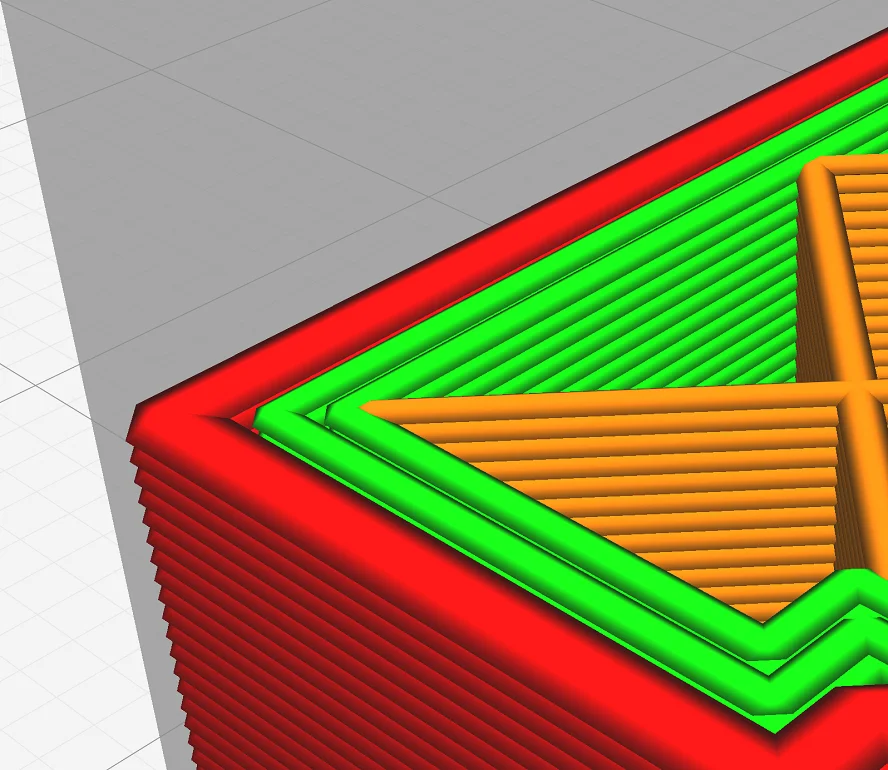
There are 3 settings for the wall line width in Cura. The parent setting defines the width of all wall lines. Below that there are two settings for the outer wall line and the inner wall lines. So you can print the outer wall line thicker or thinner than the inner wall lines.
Recommendation:
- Wall line width = line width = 100 to 120% of the nozzle diameter
Cura Wall Thickness Greyed Out

In Cura, the wall thickness setting is grayed out when the wall line count is set manually. Normally, the wall line count is calculated from the wall line width and the wall thickness. So that there is no “circular reference”, the wall thickness is grayed out and disabled.
However, the fact that the wall thickness is grayed out does not mean that the wall thickness is not calculated correctly – it is just no longer displayed correctly. The number in the grayed-out area then shows the last calculation and can be far away from the true value.
To have the wall thickness calculated automatically again from the wall line count and the wall line width, you just have to click on the “fx” symbol next to the setting for the wall line count.
Cura Wall Thickness Spiralize Outer Contour (Vase Mode)
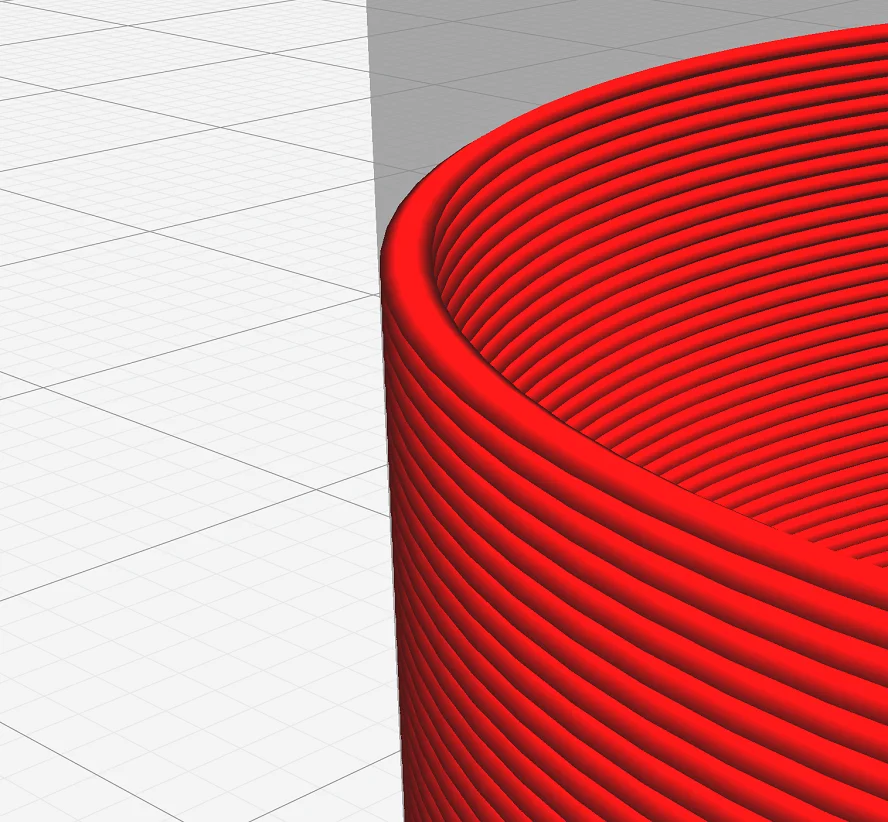
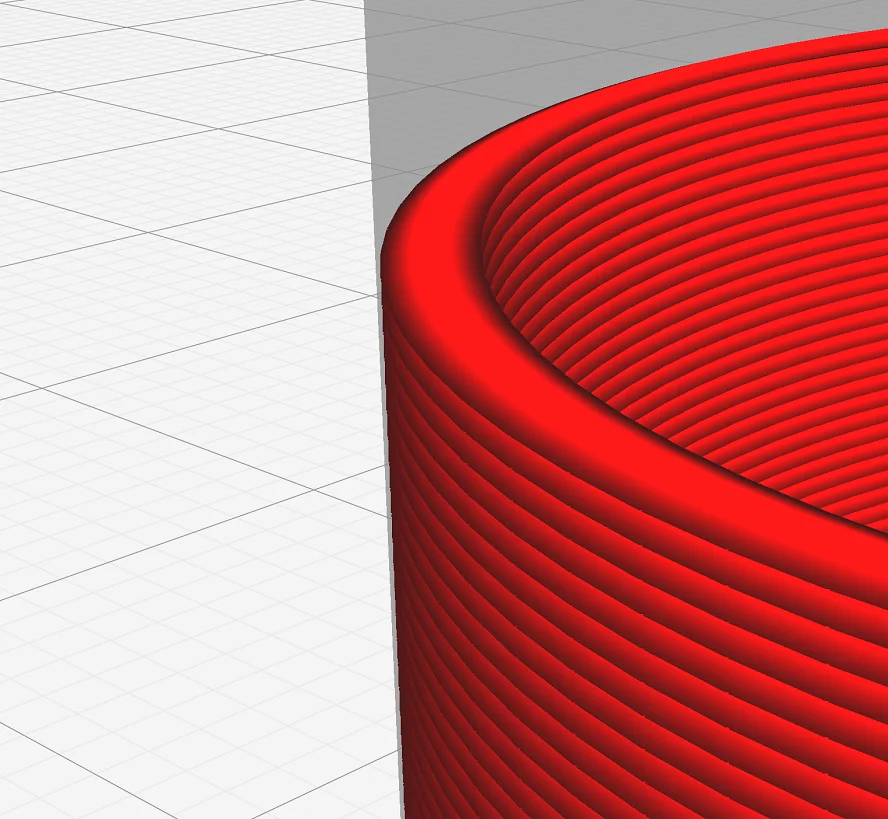
The wall thickness is defined by the wall line width in Cura in vase mode (spiraling the outer contours). In vase mode, there is only one (outer) wall line.
Adjusting the wall line width in vase mode in Cura is the best way to influence the stability of the model in this mode. The thicker the walls are, the more stable the object will be.
Keep in mind, however, that the width of the wall line is usually between 100 and 120% of the nozzle diameter. However, values between 60 and 200% are also possible. This gives you a wide range to adjust the stability of the object.
There are also transparent filaments* where the wall thickness influences the transparency. The thinner the walls, the more transparent they become.
If you want to print closed objects with as little filament consumption as possible, vase mode is often not a good fit because the top layers of the model are not supported. For this, the lightning infill pattern is perfect. Here, infill is printed only in the upper part of the object so that the top is ideally supported without consuming much material.
Cura Outer Wall Wipe Distance
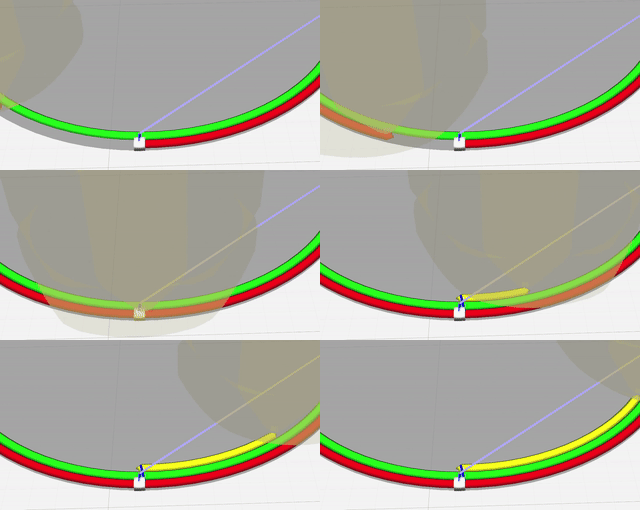
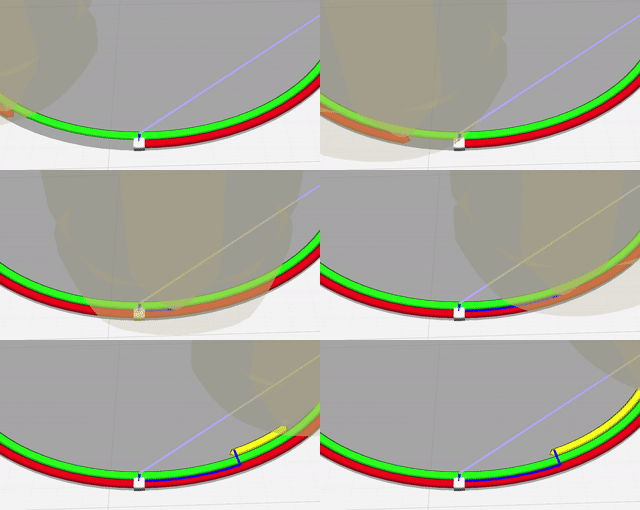
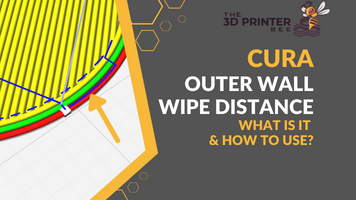
The Z-seam can be reduced by setting the outer wall wipe distance in Cura. The setting causes the nozzle to move over the already printed wall by the defined length after the end of the outer wall without extrusion, in order to wipe off excess material.
A highly visible Z-seam always occurs when too much material remains in the nozzle at the end of the outer wall. This is a form of over-extrusion.
A Z-seam can also be reduced by coasting. Here, however, extrusion is stopped a short distance before the end of the line. The rest of the line is filled with the excess material in the nozzle. Since this is not very accurate, it is recommended to calibrate the extrusion well and to do without coasting.
Complete Guide:
Cura Outer Wall Wipe Distance | Good for Z-Seams?
Conclusion
Through the various settings in Cura for the exterior walls, the stability of an object can be adjusted individually. The internal calculation of the individual values ensures meaningful adjustments even if only one value is changed.
It is important to remember that the wall thickness is the product of the wall line count multiplied by the wall line width and that the wall thickness is grayed out when the wall line count is set manually.
Compared to other settings in Cura such as Flow Compensation, Adaptive Layers and others, the wall thickness and related settings are quite easy to understand and apply.
I hope this guide has helped you to understand the wall thickness in Cura so that all your prints are flawless!
Disclosure: This website is the property of Martin Lütkemeyer and is operated by Martin Lütkemeyer. Martin Lütkemeyer is a member of the Amazon Services LLC and other Affiliate Programs. These are affiliate advertising programs designed to enable websites to earn advertising revenue through advertising and linking to Amazon.com and others. Links marked with * are affiliate links.

