
- Wet Filament: Prevention, Symptoms & Drying - July 18, 2024
- Sovol SV08 – Best PrusaSlicer Settings & Profile - June 26, 2024
- Sovol SV08 – Best Orca Slicer Settings & Profile - June 26, 2024
Disclosure: Links marked with * are Affiliate Links. I earn from qualifying purchases if you decide to make a purchase through these links – at no additional cost for you!
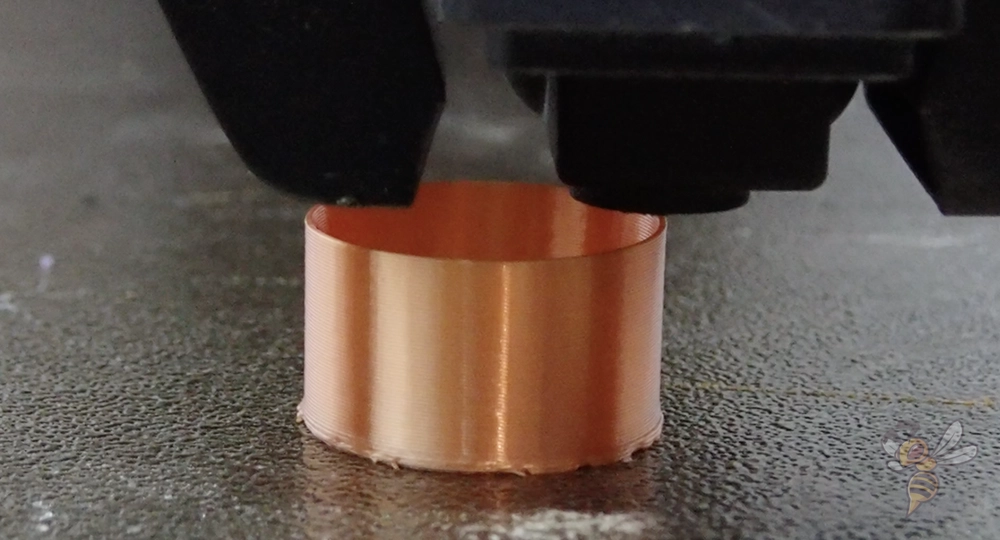
The vase mode in Cura prints objects with only one outer wall. Not only does this save a lot of time and filament, but it is also ideal for printing certain projects.
Vase mode in Cura is officially called “Spiralize Outer Contour“. What this means in detail, which settings are important in the vase mode and for which projects this mode is suitable besides vases, you will learn in this article.
Table of Contents:
What is the Vase Mode in Cura?
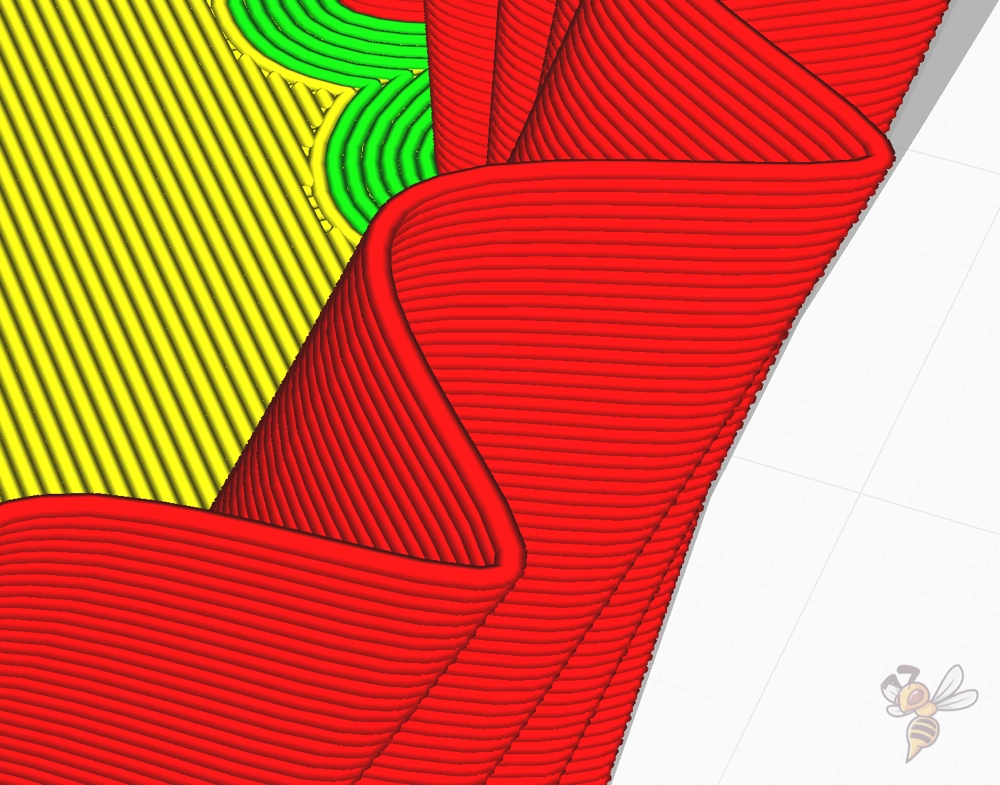
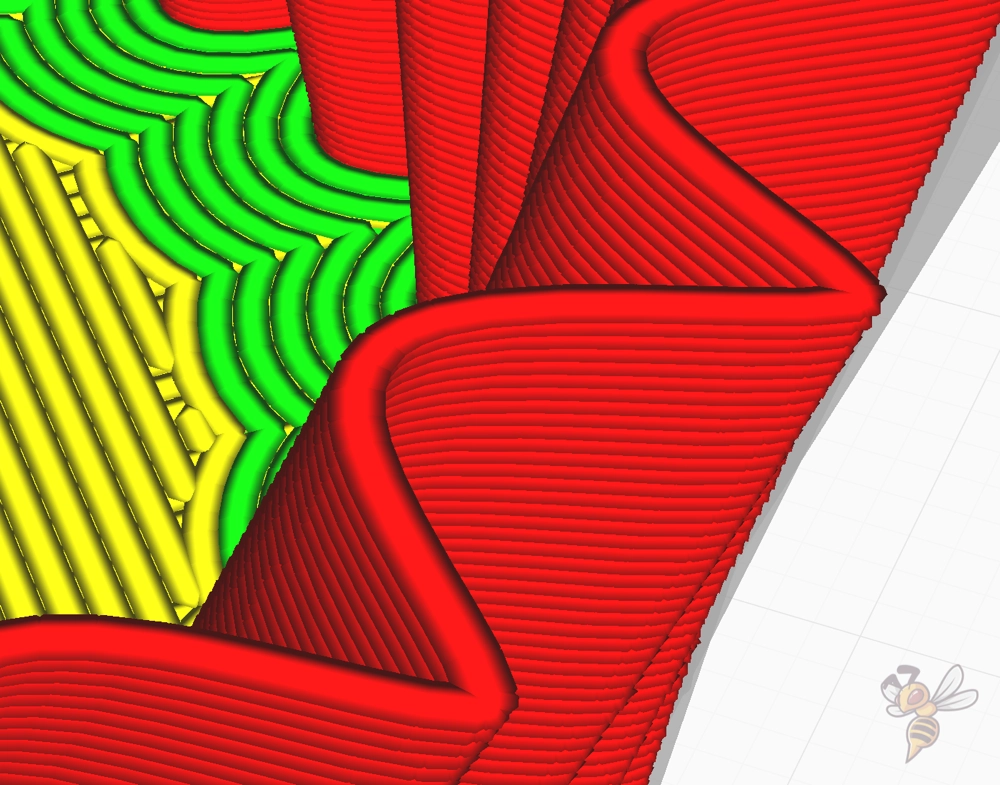
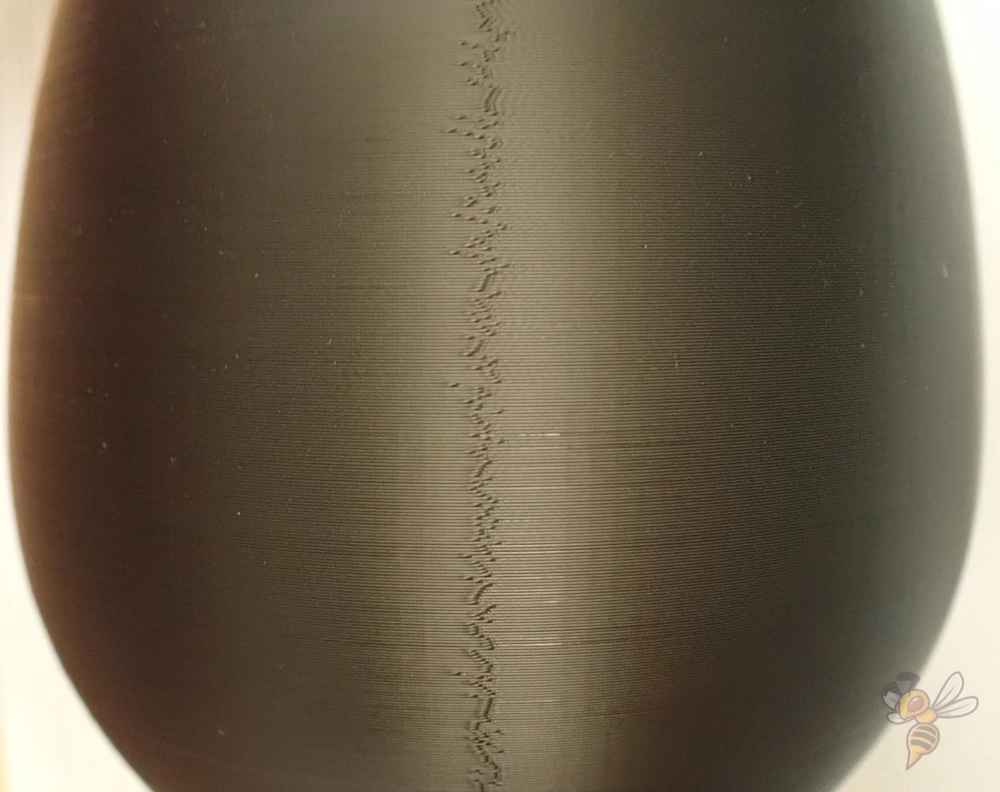
In Cura vase mode, the object is printed in a spiral motion with only one wall line. This means that there are no real layers. Instead, the model is slowly built up by smooth, even movements of the z-axis. No z-seam is created and no infill is possible.
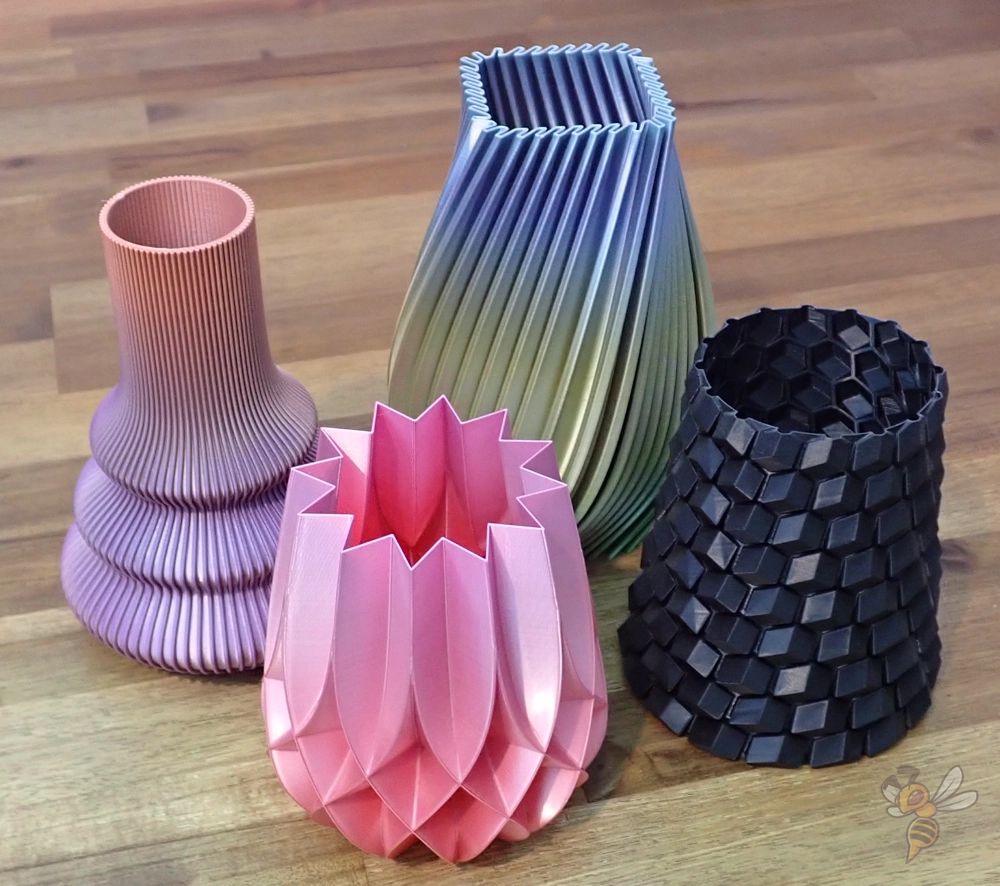
During this process, the movement of the individual printer components provides a very visually appealing experience. It is therefore often used to demonstrate the capabilities of 3D printing.
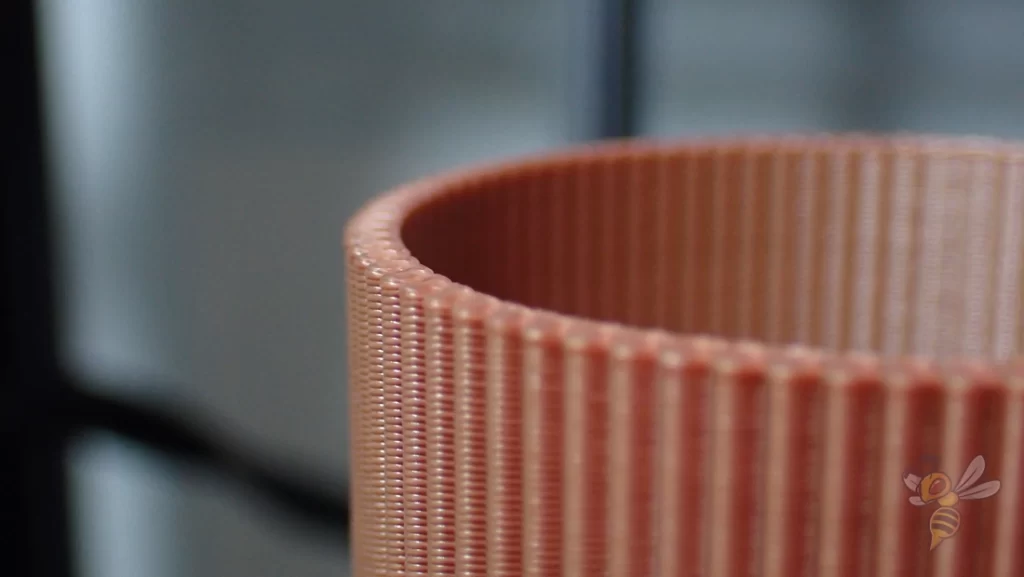
In this mode, you can print objects relatively quickly and use less material. You can print almost any shape with the thickness of a single wall. This saves both time and money.
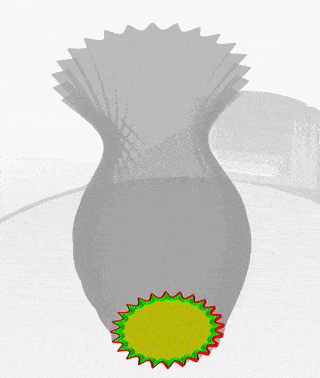
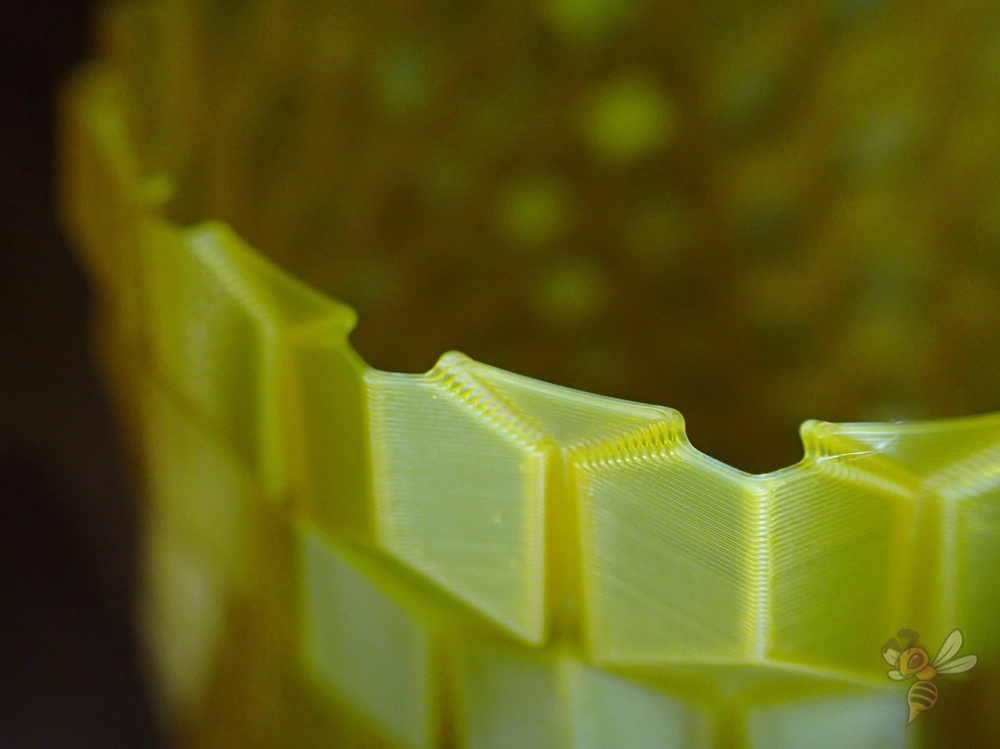
This mode is so named because it is suitable for models with a continuous cross-section without holes or gaps in the geometry. Vases are therefore ideally suited for this mode.
Because the nozzle follows a single continuous path during this process, you can only print one object at a time in vase mode.
Another feature of vase mode is that there is no retraction. Since the nozzle is continuously extruding filament, at no point is the filament pulled back into the nozzle. If you have problems with stringing, you don’t have to worry about it in vase mode.
How to Activate Vase Mode in Cura?
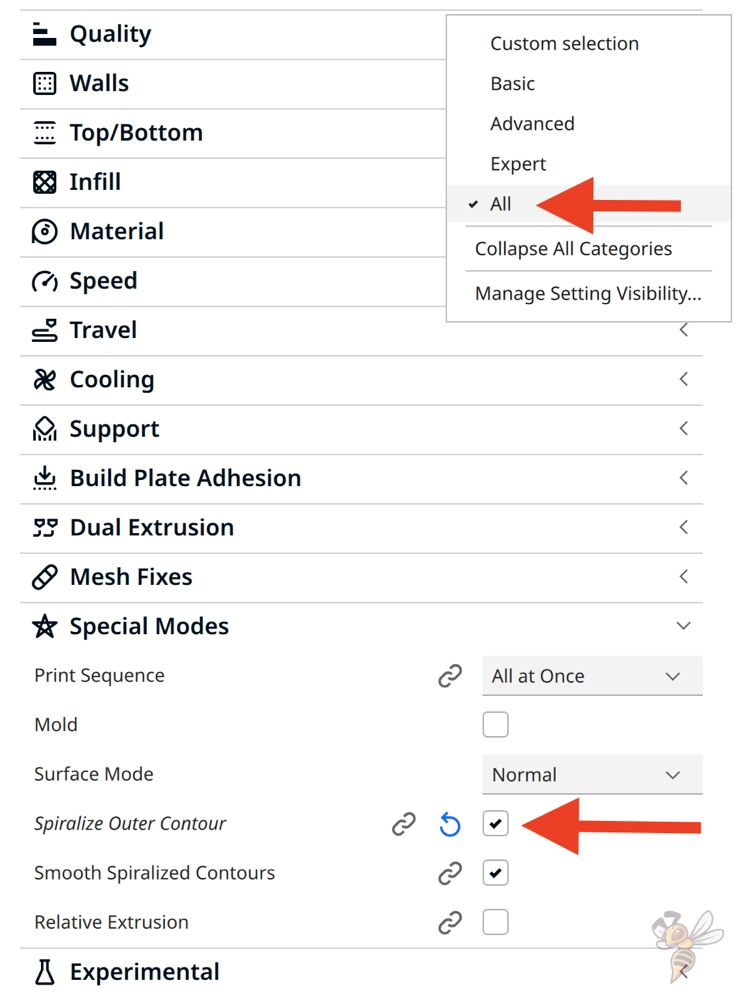
If you are new to Cura and don’t know where to find the vase mode at all, you will have to search for it under this term for a very long time. You won’t find the setting under this name on Cura. If you are looking for the single wall print mode, you should use the search term “Spiralize Outer Contour”.
You will find this setting quite far down in the menu below the “Special Modes”. If it doesn’t show up for you here, please look in the settings and enable the visibility of this setting in the menu.
To activate the vase mode, you just have to check the box in the menu. In the vase mode itself, you don’t have to make any specific settings. However, there are a few other print settings that can affect and improve the result in vase mode.
Cura Vase Mode Settings
Now you have learned how exactly the vase mode works and where to find it. Of course, you should now understand how each setting works to get the best results from it.
You can influence the stability and appearance of the object in Cura’s vase mode with various settings. These include mainly the line width, the print temperature and the print speed.
Line Width
A larger line width produces more stable walls in vase mode. The extrusion width is between 60 and 200% of the nozzle diameter. So with a normal 0.4 mm nozzle, you can print line widths up to 0.8 mm.
No matter what application you have, I would always advise you to use a larger line width in vase mode than you use for your normal objects.
With a wider line width, you can also print steeper overhangs in vase mode. The wider walls provide more support for the line above. This allows it to be further out and still be well-supported from below.
Print Temperature
For normal objects, the print temperature determines the behavior of certain print defects such as stringing and the stability of the object. The higher the printing temperature, the stronger the layer adhesion. But also, printing errors like stringing occur more because the filament is more fluid.
In vase mode, however, you don’t have to worry about stringing, so a higher print temperature only brings the advantage of creating greater layer adhesion without the disadvantages that come with normal objects.
So, you can set the print temperature in vase mode 5 to 10 °C above the normal print temperature to get a more stable object.
However, the disadvantage of a larger line width and a higher print temperature is that the filament stays liquid longer and you have to reduce the print speed.
Print Speed
The larger the cross-section of a printed line and the higher the print temperature, the longer the filament will take to cool and cure. If the nozzle prints new filament on top of filament that has not yet cured, printing errors may occur.
So, in vase mode in Cura, it makes sense to reduce the print speed a bit. Of course, this is also a function of the size of the object. The larger the diameter, the longer the nozzle needs for one revolution. In principle, this means that the printing speed may also be faster for larger objects.
If you want to be on the safe side, half the normal print speed in vase mode. For a first test, you can also keep your normal print speed and pay attention to the print quality. Since you don’t use much filament in vase mode and have a short print time, this test is not too expensive.
Can I Print Two Walls in Cura Vase Mode?
The special feature of the vase mode is the spiral movement of the nozzle from bottom to top. This means that no retraction movements have to be performed and no Z-seam is created.
It is therefore not possible to print two walls in vase mode.
If you want to print an object like a vase, but with two walls for more stability, you will inevitably get a Z-seam.
To still print more stable walls in vase mode, you could get a wider nozzle. With a 0.8 mm nozzle, for example, wall thicknesses of 1.6 mm would be possible!
Cura Vase Mode or Lightning Infill?
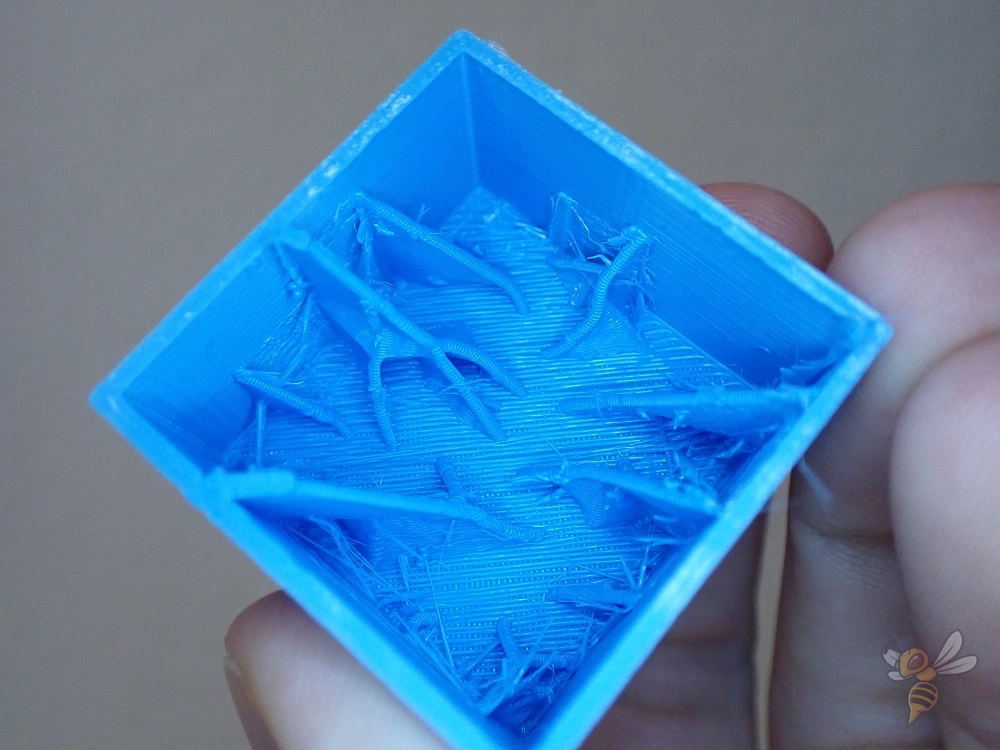
Since some time, there is the so-called lightning infill in Cura. Contrary to what you might think, you can also print top-closed objects in Cura’s vase mode. However, this only works up to a certain limit. If the overhang is too large, the filament will sag.
And yet, to save filament and print time, you can use lightning infill to print hollow objects that have a minimal amount of infill to support the top layers. This infill pattern is therefore ideal for decorative objects.
The disadvantage to the vase mode, of course, is again that you get a z-seam at the transition of the layers. The advantage is that you can print multiple wall lines.
Disclosure: This website is the property of Martin Lütkemeyer and is operated by Martin Lütkemeyer. Martin Lütkemeyer is a member of the Amazon Services LLC and other Affiliate Programs. These are affiliate advertising programs designed to enable websites to earn advertising revenue through advertising and linking to Amazon.com and others. Links marked with * are affiliate links.
