
- Wet Filament: Prevention, Symptoms & Drying - July 18, 2024
- Sovol SV08 – Best PrusaSlicer Settings & Profile - June 26, 2024
- Sovol SV08 – Best Orca Slicer Settings & Profile - June 26, 2024
Disclosure: Links marked with * are Affiliate Links. I earn from qualifying purchases if you decide to make a purchase through these links – at no additional cost for you!
Horizontal Expansion in Cura allows you to change the dimensions of an object in the XY plane. This can improve the dimensional accuracy of printed objects.
In this article, you will learn how to use this setting in Cura to get the best results for your prints and when to use it.
Table of Contents:
- 1 What is the Horizontal Expansion in Cura?
- 2 Effects of the Horizontal Expansion on the Object
- 3 How is the Horizontal Expansion Activated in Cura?
- 4 What is the Horizontal Expansion used for in Cura?
- 5 Disadvantages of the Horizontal Expansion in Cura
- 6 Horizontal Expansion vs. Shrinkage Compensation
- 7 Horizontal Expansion vs. Flow Rate
- 8 Conclusion: Can the Horizontal Expansion Be Useful?
What is the Horizontal Expansion in Cura?

The horizontal expansion is specified in millimeters and changes the model in the XY plane. Positive values make the object wider, negative values make the object narrower. It can be set for the whole object, only the first layer or for holes.
However, horizontal expansion is not a simple scaling factor in the XY plane – that’s what horizontal shrinkage compensation is for (more on that below). With horizontal expansion, each point on the object behaves more like a yeast dough, but without neighboring points shifting. All points on the XY plane grow (or shrink) from their original location and do not move. The line width remains the same.
Initial Layer Horizontal Expansion in Cura

The horizontal expansion of the first layer works the same way as the normal horizontal expansion, but it only changes the first layer. It expands or contracts the first layer.
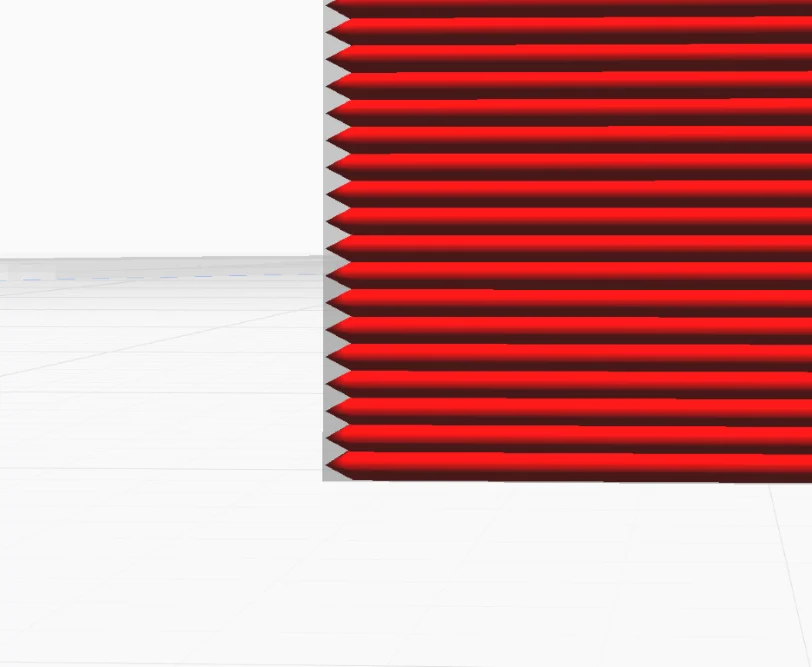
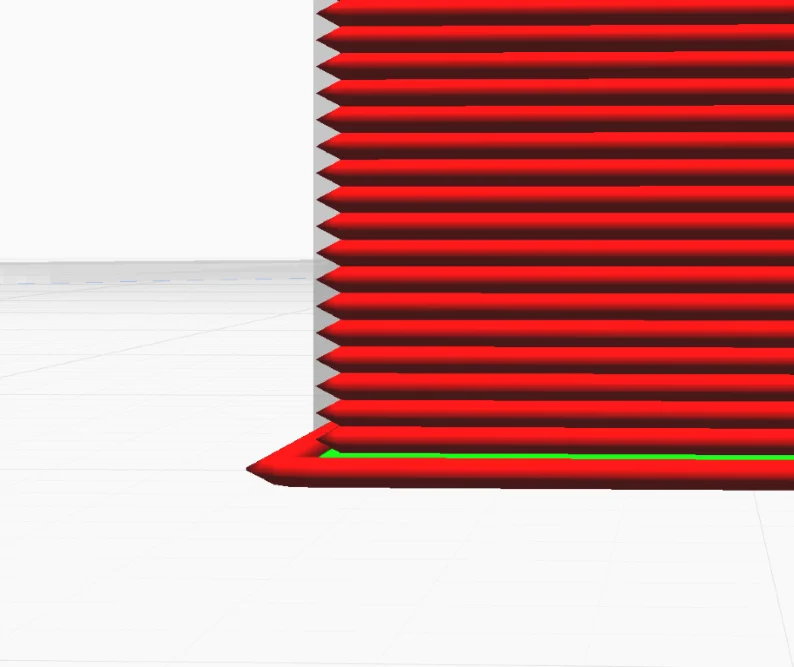
Most filaments are printed on a heated print bed. Depending on how high the temperature is, a so-called elephant foot can occur. This is a too wide first layer which is caused by the temperature of the print bed surface. Most of the time this effect is relatively small and can best be compensated with a negative horizontal expansion.
However, if the elephant’s foot is too developed and extends beyond the first layer, the horizontal expansion will not help you to fix the defect.
Hole Horizontal Expansion in Cura
Hole horizontal expansion in Cura behaves the same as normal horizontal expansion, but only on vertical holes in the model. Positive values make the holes larger, negative values make the holes smaller. All other dimensions of the object remain untouched.
If you are otherwise satisfied with the dimensional accuracy of your object, but the holes are either too large or too small, the horizontal hole expansion in Cura is exactly the right setting to optimize your result. Again, the analogy to a yeast dough applies. The holes grow or shrink, but the centers of the holes do not change their position by the setting.
While printing holes, the nozzle moves in a circle and can pull the already printed filament behind it. The circular motion pulls the filament slightly towards the center of the hole, making the diameter of the hole slightly smaller. Depending on the material, printing speed and other settings, this effect can be stronger or weaker.
This can cause the dimensional accuracy of the object to be perfect, but the holes to be a little too small. If you have designed your object precisely and the holes are important for the function (e.g. for screws or axes) you can eliminate the problem with the horizontal hole extension.
Note that Cura is quite meticulous about the definition of holes. A hole is defined here as a continuous open volume from top to bottom in the object. As soon as it has an opening to the side, it is no longer considered a hole but an outer skin.
Also, when combining the horizontal hole expansion with the normal horizontal expansion, it is important that the holes are treated first and only then the normal horizontal expansion is applied. This could cause parts of the object to be swallowed up. So when using these two functions, always be careful what happens to small details.
Effects of the Horizontal Expansion on the Object
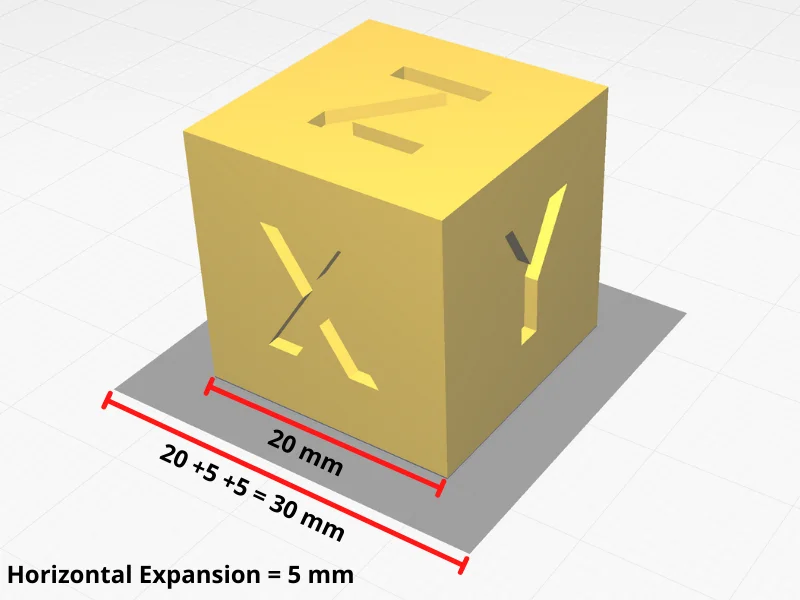
The horizontal expansion and cura increase the object in the XY plane on both sides by the specified value. The total width is therefore extended by twice the value.
If you set a horizontal expansion of 5 mm, a cube with an original edge length of 20 mm will then have a width of 30 mm in the X and Y directions. The 5 mm are added to both directions. If you don’t know this, it can be a bit confusing at first when you try to calibrate the dimensional accuracy with this and wonder why the dimension suddenly differs by twice the setting.
How is the Horizontal Expansion Activated in Cura?
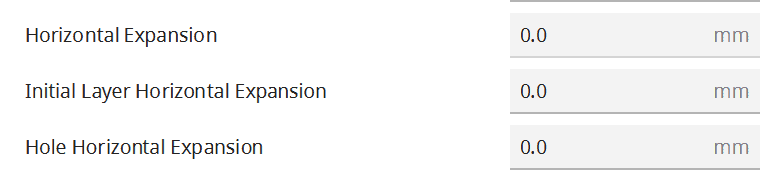
The horizontal expansion is located in Cura under the settings for the walls. If this setting is not found there, its visibility can be activated in the options.
The three settings for the horizontal expansion are each specified in millimeters. The specification refers to the X and the Y axis. As already described above, however, you must note that the specification is applied in both directions of the respective axes. For example, if the horizontal expansion is 0.2 mm, the object will be 0.4 mm wider.
To estimate the effect of the horizontal expansion before slicing, Cura creates a shadow around the object with the final dimensions. If you want to print several objects at once, you can make sure that they do not get in each other’s way.
What is the Horizontal Expansion used for in Cura?

The horizontal expansion in Cura can be used to compensate for dimensional inaccuracies in the printing process, such as the shrinking of filaments during cooling or the trailing of the filament in holes. This setting makes sense especially for objects with a mechanical function.
Typical applications where the horizontal expansion can help are for example gears or axles and their bearings/holes. But even if you only want to print decorative objects, you can perfect the dimensional accuracy to further improve the quality of small details.
This way of calibrating the dimensional accuracy is much more elegant than adjusting the dimensions manually in the slicer or in the CAD program.
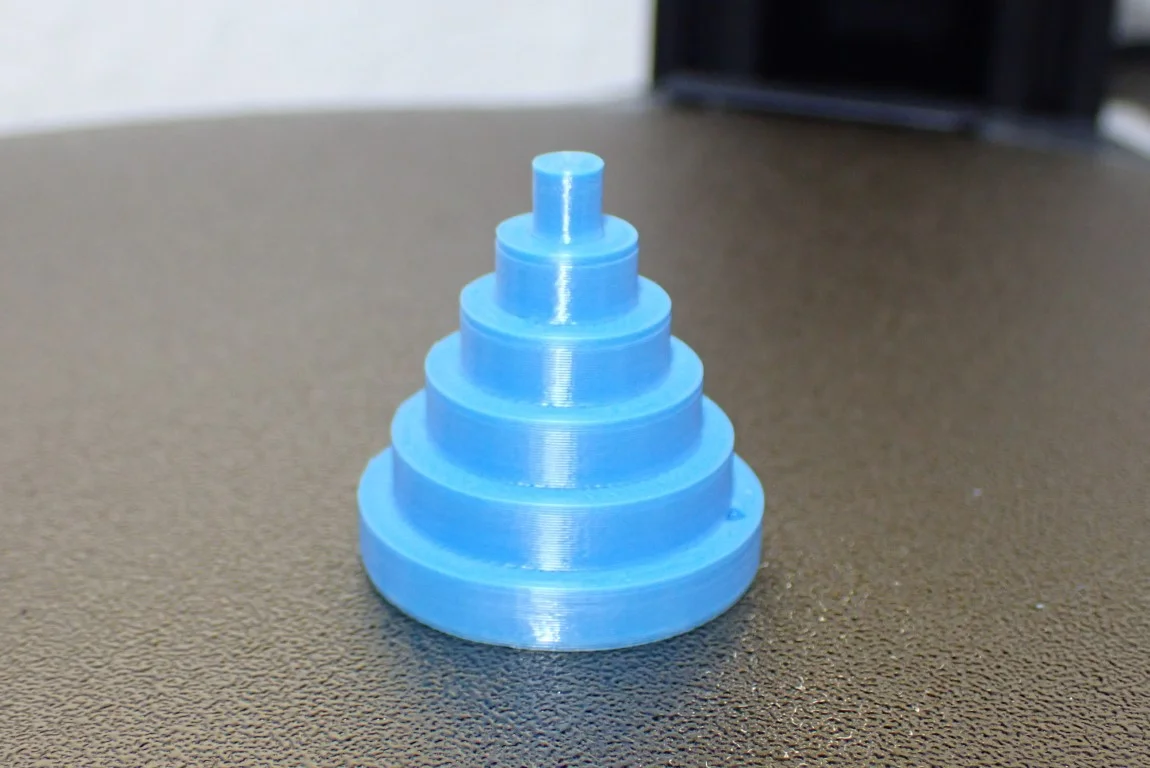
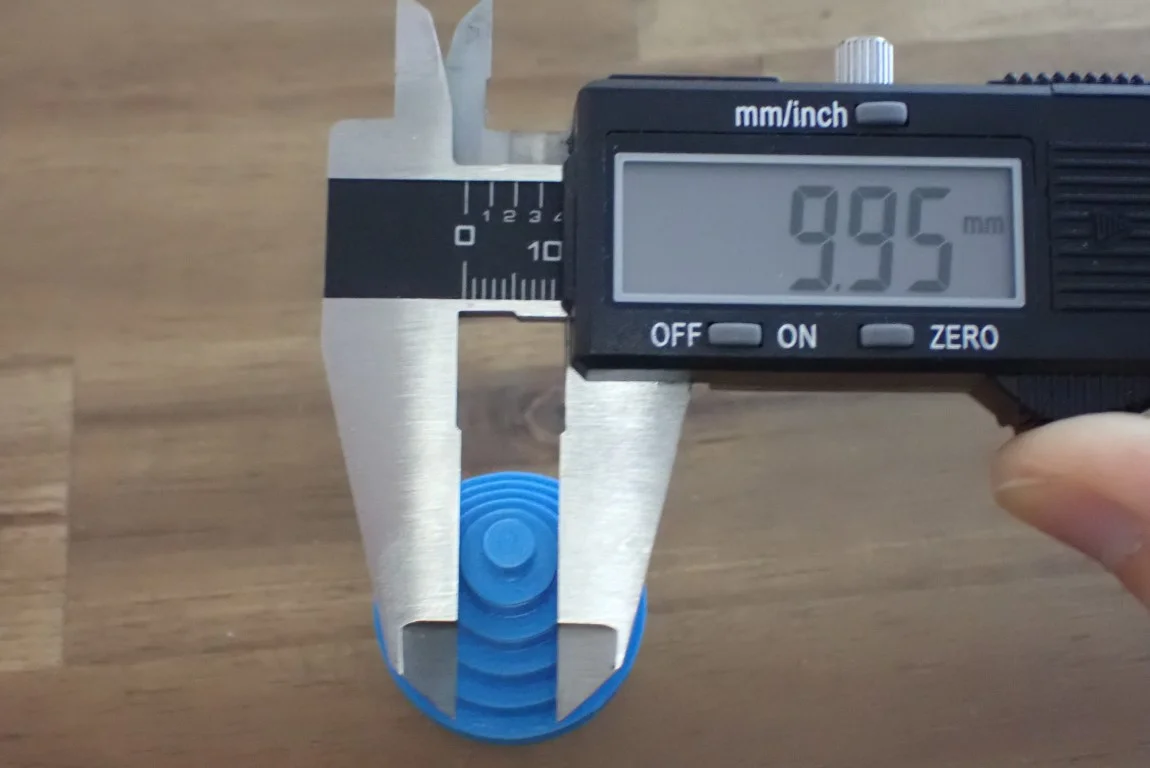
I did this kind of calibration on my FLSUN Super Racer. I had already calibrated the flow rate before, but the dimensional accuracy differed from the values of the digital object by a few hundredths of a millimeter. Using the Accuracy Test Model from the “Calibration Shapes” plugin, I was able to improve the dimensional accuracy with the horizontal expansion.
Disadvantages of the Horizontal Expansion in Cura

The negative effect of horizontal expansion is that details and holes are either enhanced or swallowed.
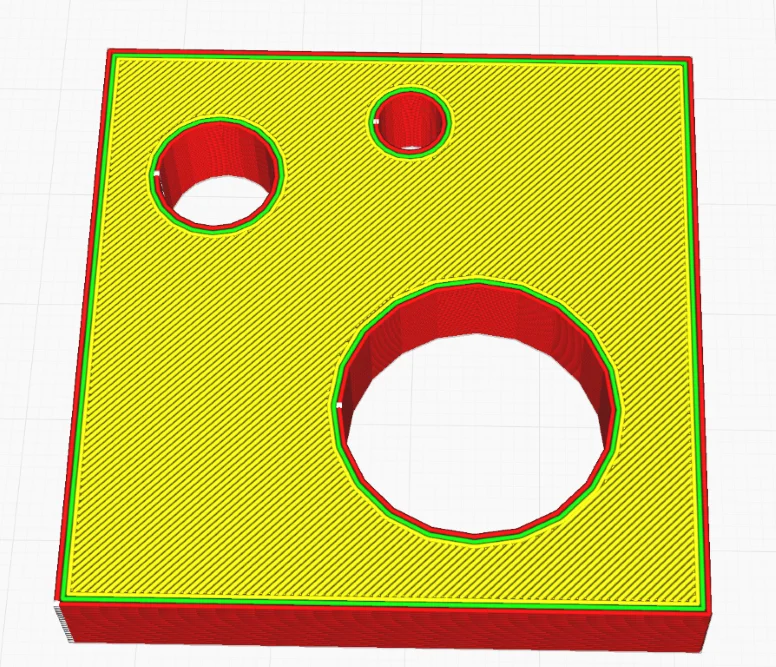
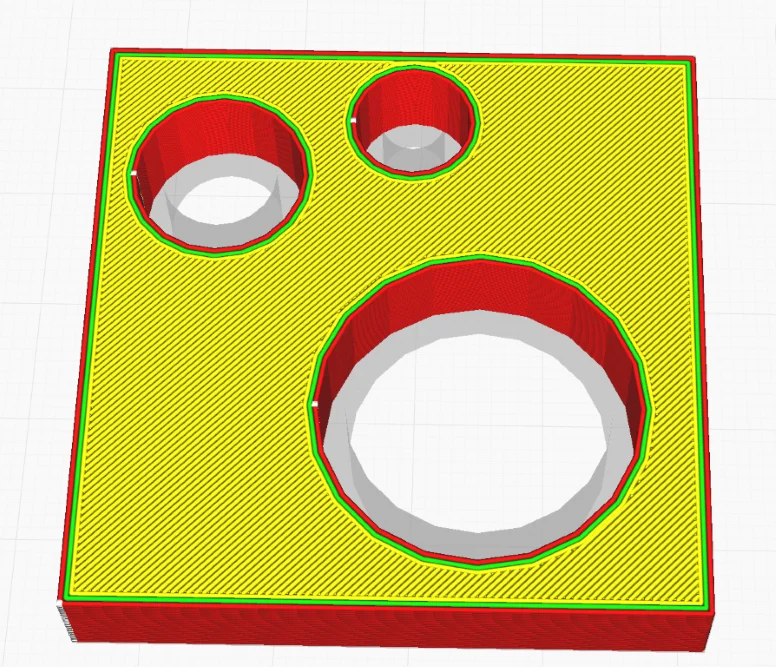
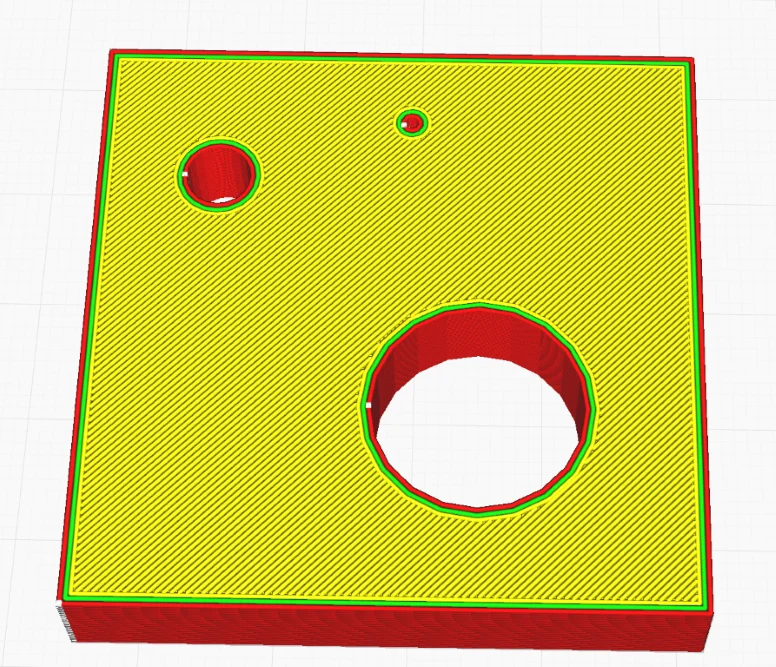
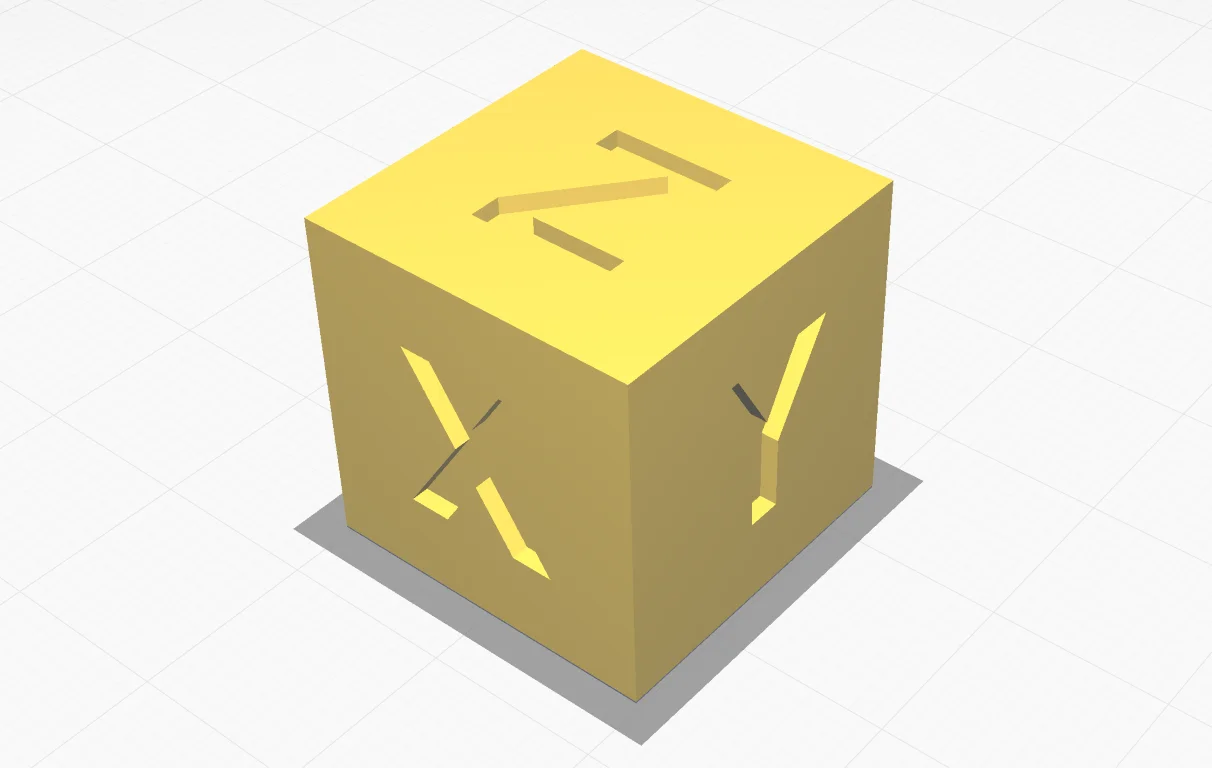
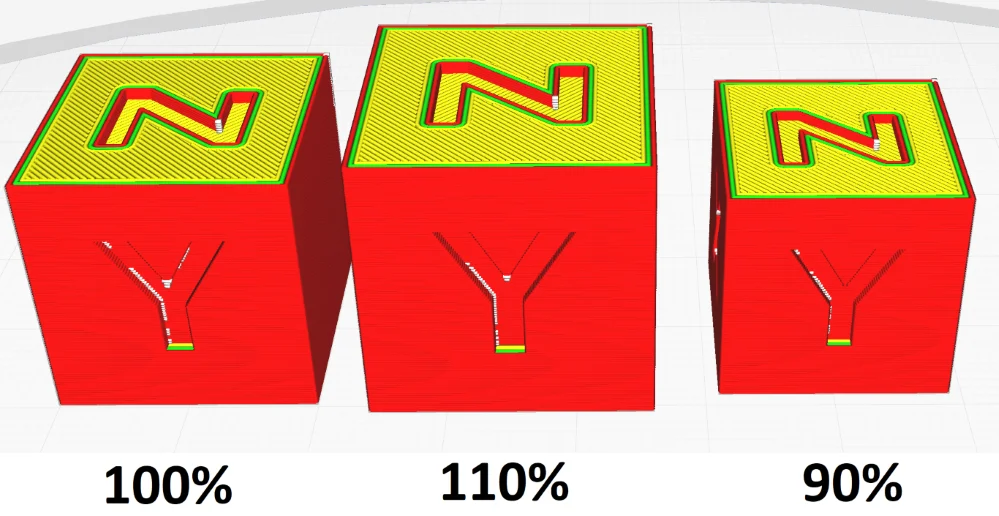
For illustration I have sliced a calibration cube with a horizontal expansion of 0 mm, 1 mm and -1 mm. With a horizontal expansion of 1 mm, the “Z” on the top is no longer visible, only two small holes were formed. Also, the letters “X” and “Y” are less visible. With a value of -1 mm, all letters are bigger than before.
However, this example is chosen relatively extreme for better illustration. Normally, the values of the horizontal expansion are in fractions of millimeters. If this is not the case, you should first take care of the calibration of the flow rate before you turn to the horizontal expansion or look at the shrinkage compensation for materials that shrink a lot (more on this below).
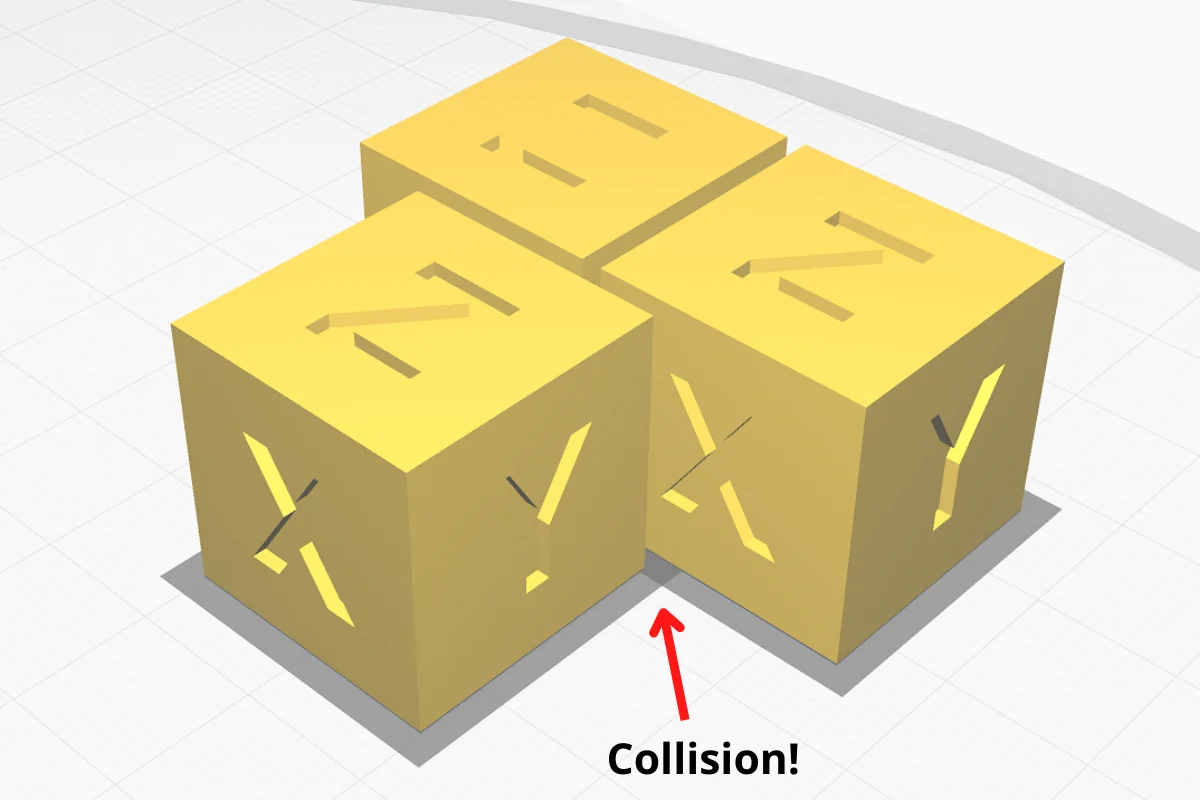
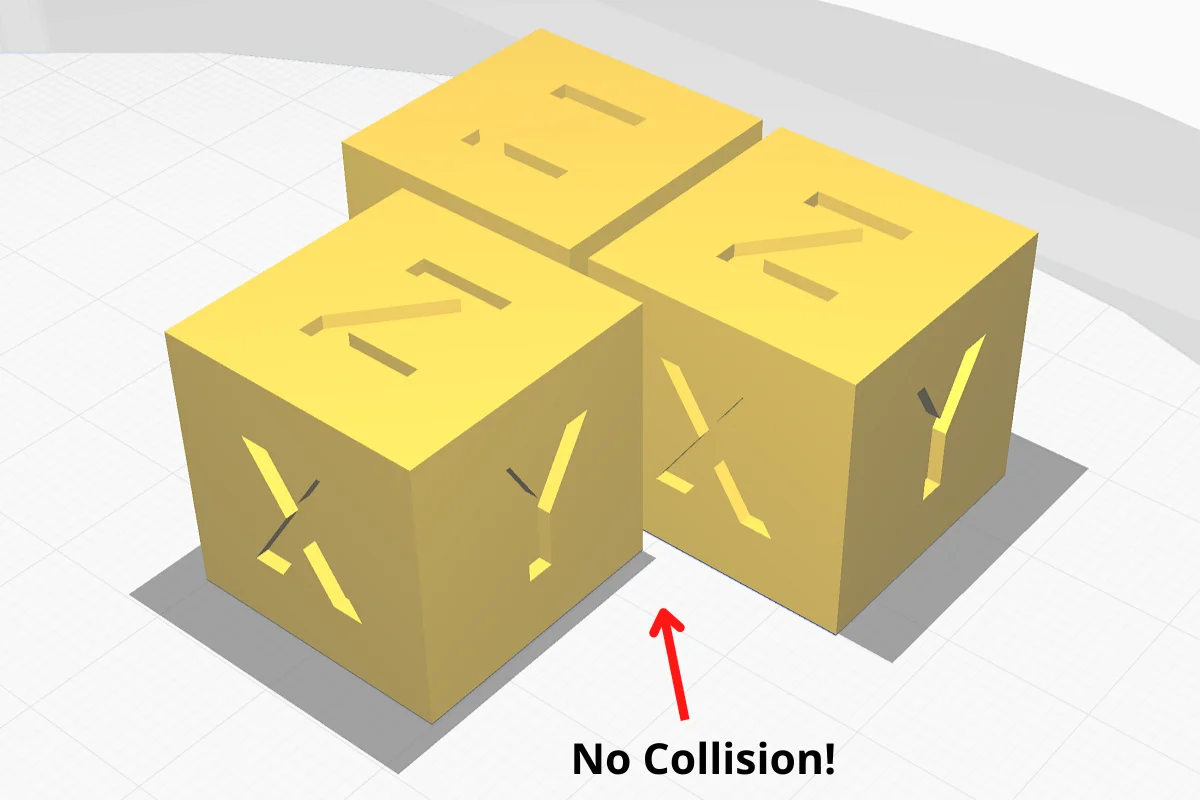
Another disadvantage is that you have to be careful if you want to print multiple objects at the same time. If you have positioned the objects very close together to save printing time, they may overlap due to the horizontal expansion. However, before you slice the object, you can see the final position of the larger objects by the collision shadows on the floor. This way you can prevent them from overlapping and causing catastrophic printing errors.
Horizontal Expansion vs. Shrinkage Compensation
Horizontal expansion in Cura expands each point of the object by a value in mm. Shrinkage compensation scales the object by a percentage value. The end result is therefore fundamentally different and suitable for different applications.
Shrinkage compensation, as the name suggests, is used for materials that shrink during cooling. You can also enter negative values here, which will make the object smaller, but this makes little sense in most cases. To compensate for shrinkage, enter a percentage value that is greater than 100% so that the object has the correct dimensions after cooling and shrinking.
The shrinkage compensation is divided into three values. Either you can specify the compensation in all directions, only in horizontal direction or only in vertical direction. Due to the way FDM 3D printers work, most of the time only the horizontal shrinkage compensation is used. Sometimes a combination of different values for the horizontal and vertical direction is used.
Since the filament is applied in horizontal lines, the material will mostly shrink in the horizontal direction. The longer and straighter the lines are in the respective direction, the more it will shrink in this dimension. The internal mechanical forces caused by cooling are much greater in the horizontal plane than in the vertical plane.
Therefore, you cannot rely on the general shrinkage behavior of materials, as it behaves somewhat differently in 3D printing. A data sheet with the respective information on the shrinkage behavior is therefore perhaps only a rough direction in which you can adjust the value, but no guarantee that the final result is correct.
Unlike horizontal expansion, Cura moves objects when they are scaled by shrinkage compensation. Here you don’t have to worry about the objects overlapping. You can also see the final expansion of the objects before slicing by the collision shadows on the ground.
Horizontal Expansion vs. Flow Rate

The difference between the flow rate and the horizontal expansion is that the dimensions of the object do not change when the flow rate is changed in the slicer. Changing the flow rate does not compensate well for inaccuracies.
A higher flow rate will also extrude more filament per time – and vice versa. Theoretically, you could correct dimensional deviations with this. However, if the flow rate is not calibrated correctly and deviates too much, it can quickly lead to extrusion errors such as holes or stringing.
So it is important that you calibrate the flow rate correctly and only then solve other dimensional deviations via other ways like horizontal expansion or shrinkage compensation. When calibrating the flow rate, the goal is to have the wall thickness of a test object exactly match the theoretical value in the slicer.
According to this, effects such as shrinkage of certain materials can be compensated with horizontal expansion or shrinkage compensation and not with flow rate.
Conclusion: Can the Horizontal Expansion Be Useful?
Horizontal expansion can in some cases be just the right tool to achieve perfect dimensional accuracy in the printed object. Even if you have calibrated your Cura profile for your 3D printer very well, there may still be certain effects that you cannot fix beforehand.
For example, holes are usually a bit narrower in reality than they appear in the slicer or CAD program. The nozzle pulls the hot filament a little during the circular movement and thus pulls it a bit to the center of the circle. This is what the horizontal hole extension in Cura is for.
But even if the entire object is uniformly warped in the XY plane, this problem can often be solved with horizontal expansion and the dimensional accuracy can be perfectly calibrated.
Disclosure: This website is the property of Martin Lütkemeyer and is operated by Martin Lütkemeyer. Martin Lütkemeyer is a member of the Amazon Services LLC and other Affiliate Programs. These are affiliate advertising programs designed to enable websites to earn advertising revenue through advertising and linking to Amazon.com and others. Links marked with * are affiliate links.
