
- Wet Filament: Prevention, Symptoms & Drying - July 18, 2024
- Sovol SV08 – Best PrusaSlicer Settings & Profile - June 26, 2024
- Sovol SV08 – Best Orca Slicer Settings & Profile - June 26, 2024
Disclosure: Links marked with * are Affiliate Links. I earn from qualifying purchases if you decide to make a purchase through these links – at no additional cost for you!
Gradual infill in Cura allows an object to be printed more densely at the top than at the bottom of the object. In the settings, you can define in how many steps the infill should be reduced towards the bottom and how long these steps should be.
At first glance, this feature appears to be useful only for certain applications, but it is also particularly worthwhile for decorative parts to save filament and printing time.
In this article, I will show you step by step how to use gradual infill in Cura, the advantages and disadvantages and what alternatives there are.
Table of Contents:
What is Gradual Infill in Cura?
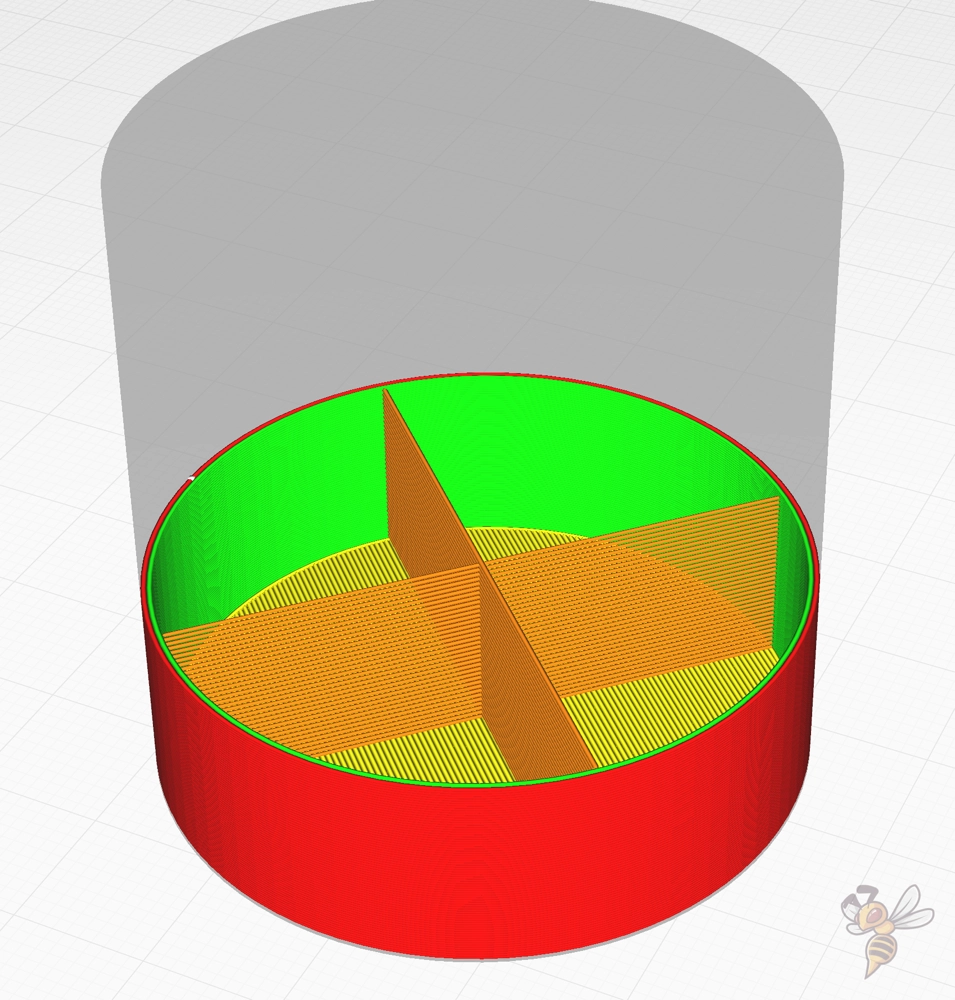
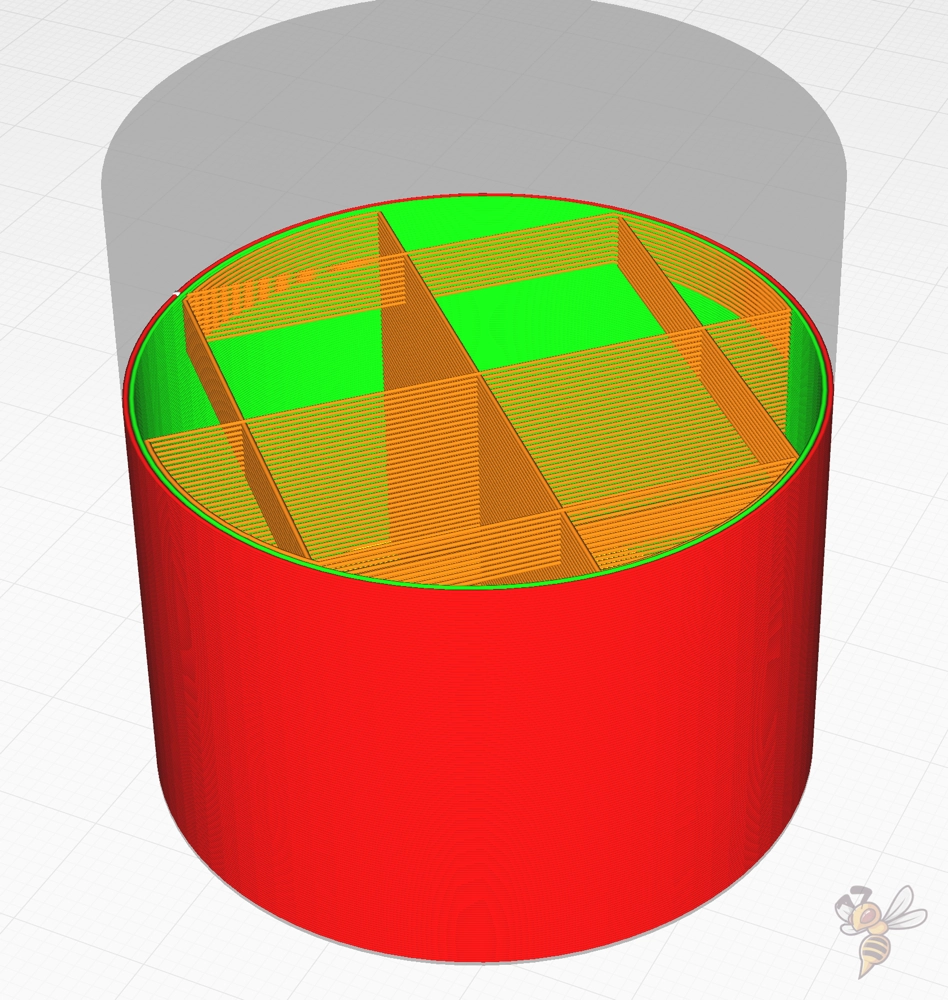
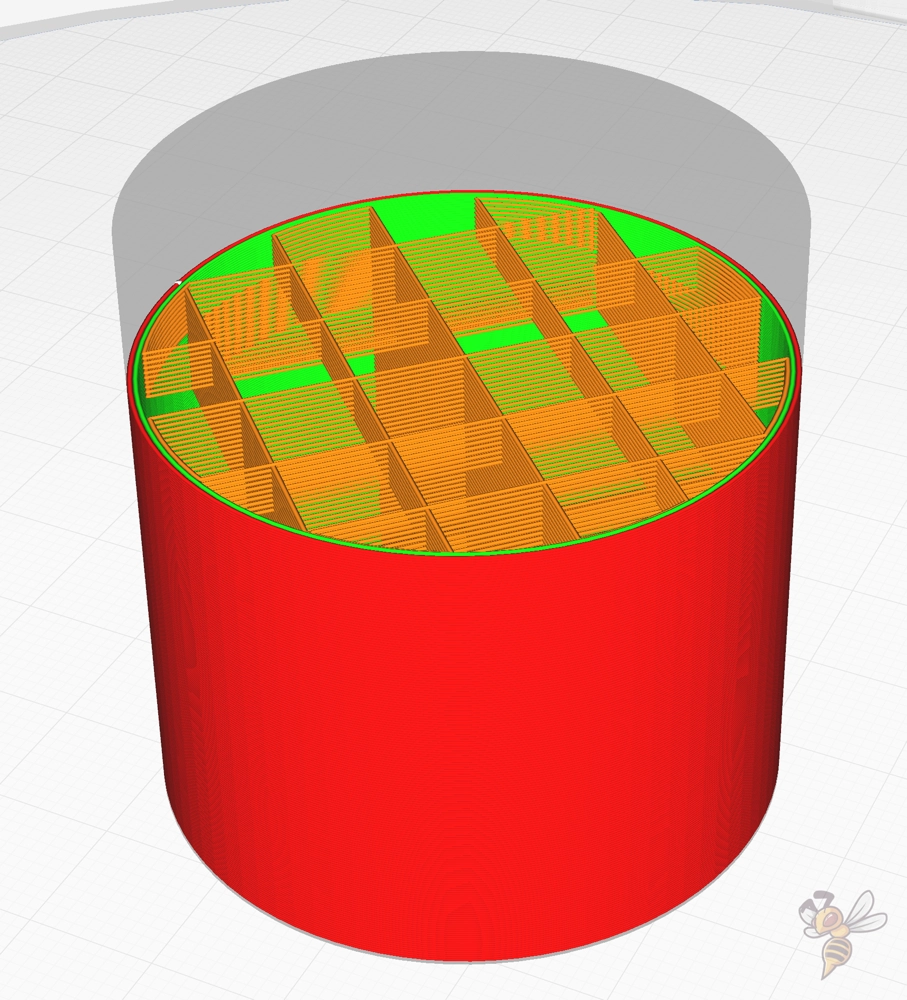
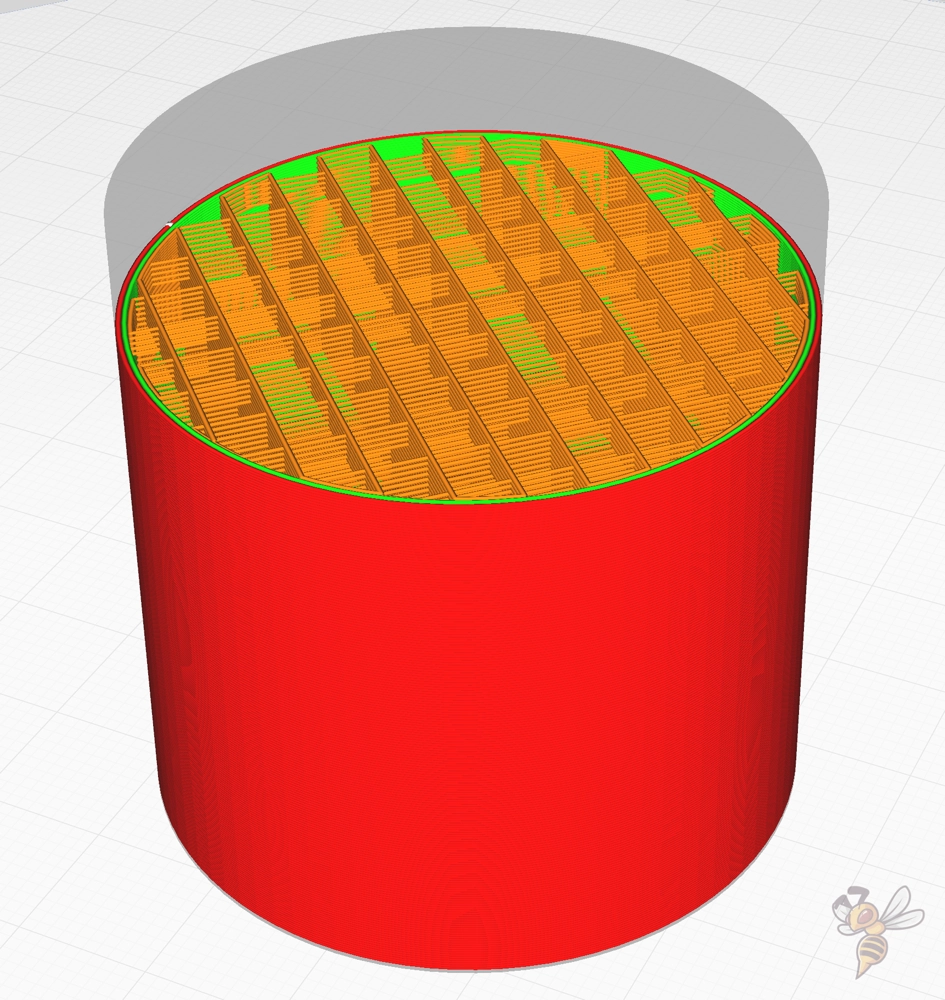
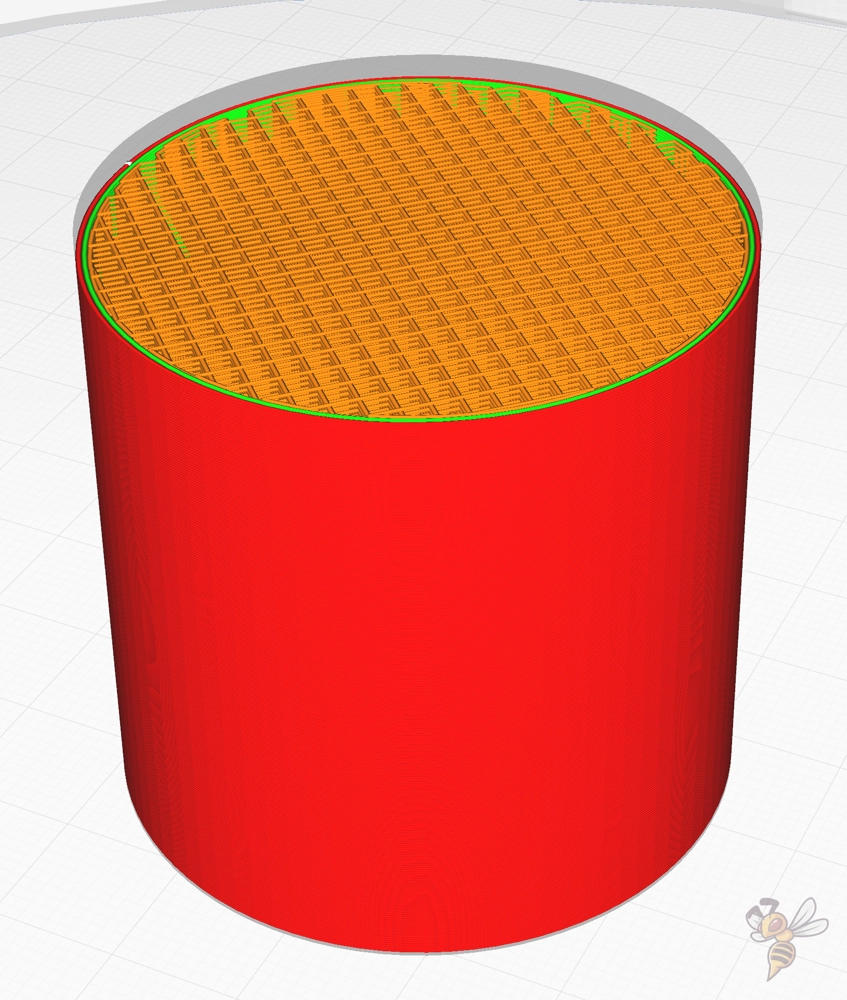
When gradual infill is activated in Cura, the full infill density is only printed at the top of the object. Per step down, the density is halved.
In the example above, I created a cylinder with a height of 50 mm with 5 gradual infill steps of 10 mm each. The result would be as follows:
| Height | Infill Density |
|---|---|
| 40-50 mm | 20% |
| 30-40 mm | 10% |
| 20-30 mm | 5% |
| 10-20 mm | 2.5% |
| 0-10mm | 1.25% |
One important thing to note about gradual infill in Cura is that by halving the previous density, the next density can never drop to zero.
Since the value is thus always slightly above zero (even if it goes down to the tiny values) some infill is always printed. This gives the infill layers above it some support and prevents them from sagging or being printed completely in the air.
How is Gradual Infill activated in Cura?

The Gradual Infill setting is located under the infill settings in Cura. If you don’t see this setting, its visibility is disabled in the menu. You can either make them visible individually in the menu, or enable the visibility of all settings at once.

After you have entered a number of steps greater than 0, a new line appears below. Here you can define the height of each step.
What is Gradual Infill Used for?

Gradual infill in Cura is mainly used to save filament and print time. This feature is therefore suitable for objects whose top layers cannot be printed without infill, but the object itself does not need to be very stable.
Most decorative objects do not require very high stability and can be printed with less infill. Most of these objects could even be printed without infill at all if they had no top layers. That’s what the Cura vase mode is for.
However, if the object has top layers that would otherwise sag, gradual infill can be used to provide enough stability for the top layers while saving filament and printing time.
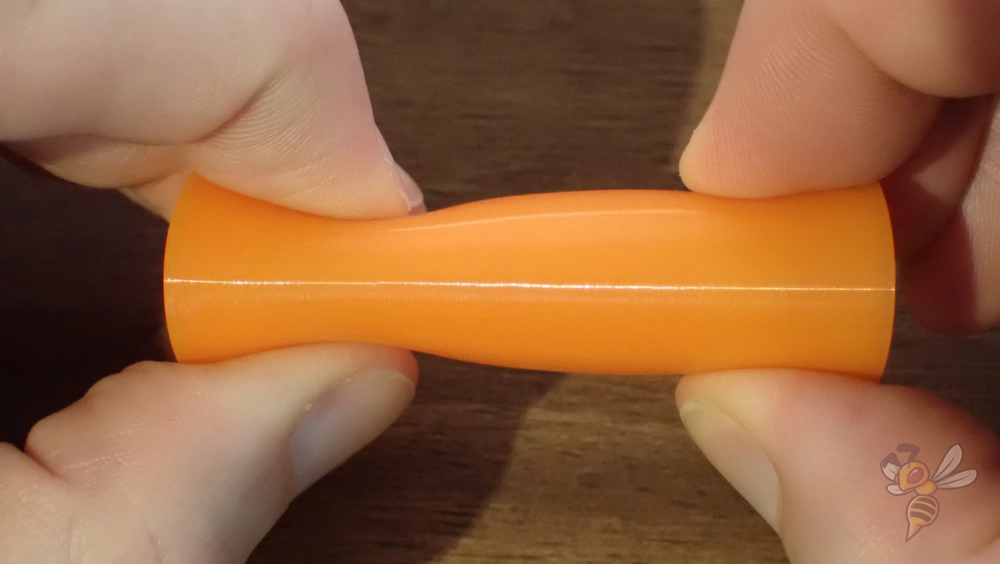
But there is another, somewhat more specialized application. For objects printed from flexible filament, the infill density determines how flexible the object really ends up being. If you use gradual infill for such flexible objects, the object will be more flexible at one end than the other.
Disadvantages of Gradual Infill
The biggest disadvantage of Gradual Infill in Cura is that it cannot be applied selectively.
Once you activate Gradual Infill, it is applied to the entire object. So you can’t print certain parts of the object with more infill than others. It is only possible to graduate the infill density in the z-direction.
Gradual Infill vs. Lightning Infill

In the lightning infill pattern, a lightning pattern is printed inside the object to use as little filament as necessary to support the top layers of the object.
Unless you have a specific technical application in mind where gradual infill makes sense, the lightning infill pattern is better in most cases. In this pattern, the infill is supported by the side walls of the object. The lightning pattern in turn supports the top layers of the object.
Especially for decorative objects, I think the lightning infill pattern is always better because it saves more filament and prints even faster.
Gradual Infill vs. Support Blocker
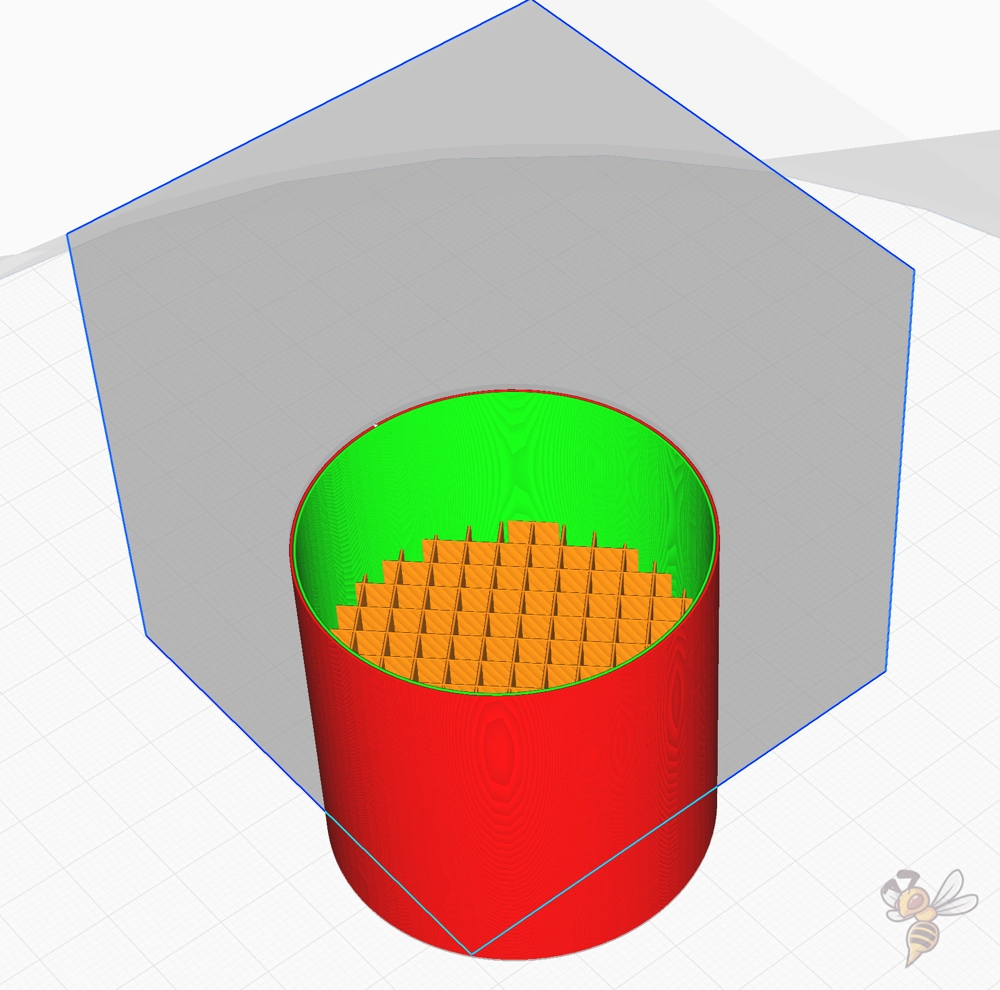
Support blockers can be used for spot adjustment of infill densities and patterns.
The real purpose of support blockers is, as the name suggests, to prevent the generation of supports at certain areas of the object. But in the menu, you can also define other settings for the overlapping areas.
In the example above I have set the infill density for the overlapping area to 0%. With support blockers you have the possibility to change the infill of your object selectively. This is especially valuable for objects that are used for mechanical purposes. You can print more heavily stressed areas more densely.
Conclusion: Can Gradual Infill be Useful?
Gradual infill decreases the infill density of the object gradually in the negative z-direction.
For certain purposes, gradual infill in Cura is certainly useful. However, for most use cases, the lightning infill is better suited because it works automatically and does not need to be adjusted in detail.
If you want to adjust the infill individually at different points of your object, support blockers are useful.
Disclosure: This website is the property of Martin Lütkemeyer and is operated by Martin Lütkemeyer. Martin Lütkemeyer is a member of the Amazon Services LLC and other Affiliate Programs. These are affiliate advertising programs designed to enable websites to earn advertising revenue through advertising and linking to Amazon.com and others. Links marked with * are affiliate links.
