- Wet Filament: Prevention, Symptoms & Drying - July 18, 2024
- Sovol SV08 – Best PrusaSlicer Settings & Profile - June 26, 2024
- Sovol SV08 – Best Orca Slicer Settings & Profile - June 26, 2024
Disclosure: Links marked with * are Affiliate Links. I earn from qualifying purchases if you decide to make a purchase through these links – at no additional cost for you!
There is no doubt that the Ender 3 from Creality is a popular printer. It is not only easy to use but also affordable. It also offers users many editing options. With its awesome price-performance-ratio, it can compete against more expensive models.
However, users who want to take full advantage of the 3D printer need to look at the available Ender 3 settings and profiles in Cura. In this article, you’ll learn how to get the most out of your device.
To find the best Cura setting for your Ender 3, start with the default profile and test each setting until it is perfect.
The perfect Ender 3 profile is characterized by the following features:
- Printing speed: 50 mm/s
- Layer height: 0.12 mm
- Print temperature: 200 °C
- Printing bed temperature: 50 °C
- Retraction: 6 mm at 25 mm/s
- Infill: 20 %
- Initial fan speed: 0
- Speed of the first layer: 20 mm/s
However, some of these settings depend on the filament used. The above-mentioned temperatures apply to PLA*. For other common filaments such as ABS* or PETG*, we explain the best parameters below.
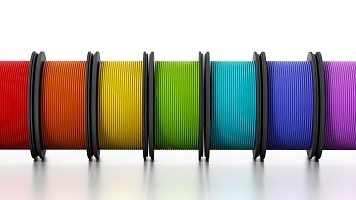
For other filaments, you can find the best temperatures in our Filament Guide:
3D Printer Filaments – 40 Filament Types Introduced
Table of Contents:
Which Cura Setting is Best for the Ender 3?
The choice of the Cura setting depends on the desired result and the material used. It’s best to use the default Ender 3 3D printer profile as a starting point for customizing your options. This allows you to create a custom profile that fully meets your needs.
If you would like to know how to proceed in detail in this process, the following article will help you. Here’s a detailed tutorial of the best Cura settings for the Ender 3 3D printer, making sure that even a beginner can get up to speed quickly.
The Standard Profile as a Basis
First of all, it should be noted that users with the standard profile of the model are well-advised to start with. For all further modifications, you can use this as a basis. You can activate this as follows:
- First, you click on “Settings” and then on “Printers” and “Manage Printers”.
- In the settings box, click on “Add”, then select “Add a non-networked printer”.
- Now scroll to “Creality 3D”, expand the sector and select “Ender 3”.

Now the default settings should be enabled so that you are able to create your own profile. However, you need to make sure that the resolution and filaments are adjusted accordingly.
You can find more information on how to create a 3D printer profile in Cura and what you need to pay attention to in this article: How to Create a Custom 3D Printer Profile in Cura
In the following, we will go into the individual settings and how you can optimize them.

To get perfect results you should print test objects. There are general objects, like calibration cubes or objects to test special settings like a temperature tower, stringing columns, etc.
The Temperature is What Counts
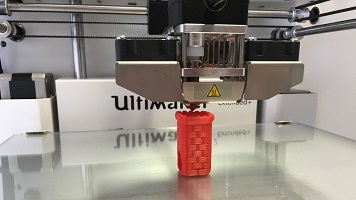
There is no doubt that temperature is a key factor in 3D printing. If not properly adjusted, it can lead to over- or under-extrusion, blobs and zits.
Related Post:
3D Printer Guide 👉 How to Avoid Blobs & Zits
For a smooth extrusion of the filaments, at least 180°C are required. An overextrusion is generally only likely from 220°C. It is therefore not worth setting the temperature too low.
The choice of temperature for Ender 3 also depends on the material. For ABS*, a temperature range between 220 and 250°C and for PETG*, values between 220 and 245°C are ideal.
Similarly, attention must be paid to the brand of the filament. If you are not sure about the temperature, you should make a test print. A small temperature tower will give you an idea of the compatibility of your settings. In general, 200°C is a solid average temperature for PLA*.
If you calibrate your device, you may only make one setting at a time.

Why the Printing Bed Temperature is Important
Attention must also be paid to the material with regard to the printing bed temperature. No heating is needed with PLA. However, the material can still benefit from a little heat – as a guideline you should remember 50°C.
You can do without heating the printing bed even if you already use an additive for adhesion such as glue, painter’s tape or hairspray. As a guideline, you should remember that the temperature of the printing bed should always be higher than room temperature.
The situation is different if you use ABS. In this case, it is recommended to set the printing bed temperature at 110°C. You should also consider building an enclosure. On the one hand, this will counteract excessive cooling and prevent layer splitting and warping.
A slightly higher temperature should be selected for PETG than for PLA. However, it should be below that of ABS. An average temperature of 70°C has proven to be best.
How to Set the Speed
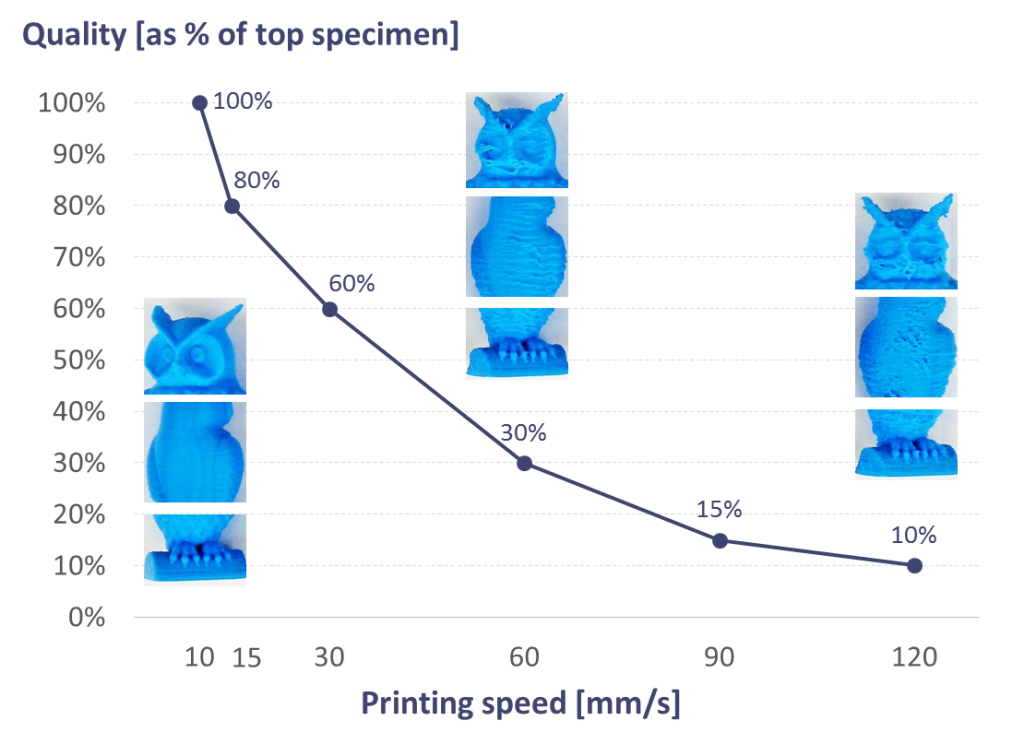
Without a doubt, speed is an important factor for a respectable result. The challenge in this case is to balance print quality with the processing time per job.
Keep in mind that with increasing speed you will have to expect losses in terms of quality. If the hot end moves slower, it will be able to work with more detail. However, it is important to keep an eye on the right dimensions. After all, very few users want to wait several weeks for a print.
The average speed of Ender 3 has proven to be between 45 and 65 mm/s. The print speed can be increased with OctoPrint together with alternative firmware such as Marlin and Klipper. A suitable starting speed is 60 mm/s. However, if your printout requires high accuracy, you should reduce this value.

Related Post:
PLA Printing Speed: How to Find the Optimal Settings
A slow speed should be chosen for flexible materials. You should use speeds between 20 and 40 mm/s. This will ensure that the result is what you want and that there are no mistakes.
It is generally recommended to make test prints in advance. This will show you whether the setting is appropriate for the material in question.
PETG is one of the viscous substances. So to counteract an unclean result, you should reduce the speed by 20 mm/s. If you want to be on the safe side, a value between 30 and 55 mm/s is recommended. But it is best to start at the bottom end of the scale and work your way up slowly.

With ABS, the print speed should be selected similarly to PLA. In this case, a value between 45 and 65 mm/s is just right. However, if it is a large print with less detail, you can even increase the speed up to 120 mm/s. The maximum speed for the Ender 3 is 150 mm/s. The printer should have no problems with this.
Layer Height and its Influence on Resolution
If you halve the layer height, the print resolution is doubled. In concrete terms, this means that you get twice as many layers in one print. However, this also has negative effects on the printing speed. The challenge here is to produce the highest possible quality prints in a relatively short time.
With the Ender 3 there are values, which give the best results. Keep the following numbers in mind:
- 0,08 mm
- 0.12 mm
- 0,16 mm
- 0,20 mm
- 0,24 mm
These values are multiples of 0.04 mm. With the Ender 3, this is simply because the system raises the hotend with the Z-axis stepper motor by 0.04 mm per step. For fine details that require rather slow printing, the 0.12 mm setting proves to be ideal. For faster printing with slightly less detail, 0.20 mm should be selected.
The Best Retraction and its Benefits
If you want to counteract oozing and stringing during printing, you should make use of retraction. There are two main settings to choose from:
- Retraction Retract Speed
- Retraction Minimum Travel
With this, you reverse the extruder motor. This relieves the pressure on the nozzle during transport. There is no extrusion of excess material, which ultimately contributes to a better result.
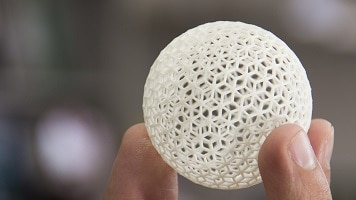
With the Ender 3, it is not easy to find the best setting for retraction at the beginning. After all, the 3D printer is known for strong stringing. Thanks to online users, this problem is now a thing of the past. At least for PLA, they have been able to find an optimal retraction setting. At a speed of 25 mm/s, a 6 mm travel should be selected.
Related Post:
PLA Stringing Guide: 12 Solutions to Avoid Hairs
For PETG you should choose a shorter retraction of 4 mm, while for ABS you should choose 6, mm with a faster retraction speed of 40 mm/s. However, it may take a few tries before you find the best setting for you and your print. Again, it is recommended to make test prints.
Infill for More Stability
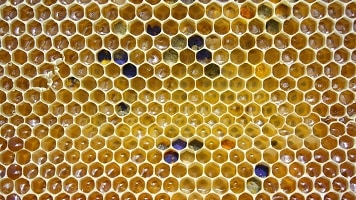
If you want to optimize the strength and weight of your print, you should consider infill. It should be mentioned right at the beginning that there is no such thing as the perfect setting. It always depends on the purpose of the print and the object, how much infill you should use.
Related Post:
3D Printing Infill Guide 👉 Basics, Patterns and Stability.
If it is a light, decorative figure, an infill between 5 and 10 percent is sufficient. The result is then much lighter, and you will also reduce the printing time.
For an item with a functional character, however, an infill between 20 and 60 percent proves to be a better choice. It is sometimes necessary to experiment with this. Prints that require particularly high stability sometimes even need to be filled up to 100 percent.
The Importance of the First Layer
The first layer is very important for printing. To ensure a good quality result, it has to adhere well to the printing bed. If this is not the case, the print may fail.
It is therefore absolutely necessary to adjust the settings for the first layer. This will ensure that the result does not become loose during the printing process. This is not only frustrating but also wastes a lot of time and filament.
You should make the following settings to avoid bad adhesion:
- If the thickness of the first layer is concerned, a value between 0.20 and 0.24 mm should be selected. This is because a slightly thicker first layer results in improved adhesion.
- The speed needs to be adjusted accordingly for the first layer. This should be slightly slower than the rest of the print. This gives the material more time to bond with the printing bed.
The positive thing is that reducing the printing speed of the first layer does not affect the total printing time too much. Ideally, you should choose 30 mm/s for this. If this value still causes problems with print adhesion, you can reduce the speed further.
- In advance you should determine how many layers you want to print slower. Usually five is quite sufficient. The same speed is used as for the first layer. If there are still problems with adhesion, add another layer of material.
- You should set the fan speed to 0 percent at the beginning. If the first layers cool down too much or too fast, this can cause the print to shrink in the lower area.
You may then have to deal with a warped result. The model will also jump off the printing bed as a result. For this reason, you should deactivate the fan at the beginning of the printing process.
Further Information
The Ender 3 is Also a Good Choice for Beginners
In general, the Ender 3 is a device that is easy to handle. With it, you can easily make all settings. The user interface is clearly arranged so that you can usually find your way around quickly. That’s why the 3D printer is a good choice for beginners.
But before you dive into printing, you should familiarize yourself with all functions and profiles. Be sure to take a look at the basic settings and activate the default profile beforehand. Because with it you have a good basis for all further measures.
Also, keep an eye on your model and its field of application. Because which option you choose always depends on the purpose the result has to serve. If you follow the advice given above, you should be on the safe side.
If you are unsure, you can contact experienced users. They will help you to handle Ender 3 correctly.
The Properties of the Materials at a Glance
As you can see in the article, 3D printing with the Ender 3 is primarily PLA*, PETG* and ABS*. Which material you choose depends on your model and its application.
PLA has the advantage that it is easy to process. It also forgives minor mistakes. Furthermore, the material is characterized by a more stable surface. However, PETG has a longer durability. In addition, it is more stable and can withstand higher loads. It is therefore particularly suitable for functional models that are frequently in use.
However, PETG is more expensive and requires detailed printing. You should not make mistakes during this process. If, on the other hand, you want a softer material, ABS is the right choice. It can be plastically deformed more easily, which means that you can also correct mistakes later on.
Drilling and milling should therefore be possible without problems. You can also use models made of ABS outdoors without any problems – the material has a comparatively high resistance to weathering. However, you should not leave it out in the sun for too long.

Complete Filament Guide:
3D Printer Filaments – 40 Filament Types Introduced
Related Questions
When Should I do Test Prints?
In general, it is recommended to perform a test print after making a new setting. In this case, you simply make a small tower of several layers. This way you can see whether the new option will convince you in terms of speed and quality.
Test prints also prove to be practical when it comes to adhesion to the printing bed. You can use them to counteract later breakdowns and distortion of models. In the long run, you save time and money.
Is High Speed Always at the Expense of Quality?
If you set the printing speed very high – over 100 mm/s – the printer cannot process the details of your model too accurately. But if the print is rather straight, you don’t have to worry about that.
This is all the more true if your primary goal is stability. But regardless of the model, it is recommended to reduce the speed during the first few layers. This will not have too much effect on the overall duration of the print and ensures a solid construction.
Are Upgrades Available for the Ender 3?
If you want to expand the capabilities of the 3D printer, you should look for upgrades. You now have a wide range of mods to choose from. This gives you the ability to personalize your models with even more detail and customization.
Conclusion – the Best Settings Depend on the Printer
With these settings, you should have no problems when 3D printing with your Ender 3. However, you may need to do some experimentation before you find the option that’s right for you.
Make use of test prints. Also, keep in mind that the appropriate setting can vary from model to model. After all, a decorative item has to meet other requirements than a functional product.
If in doubt, check with other users for the best printing options to get the best results. Never be impatient when making prints. Make sure that speed is not at the expense of quality.
If in doubt, select a slow printing speed. It is also not always easy for beginners to find the right balance between stability and material consumption. Here, too, you may need to try a few things until you find the right value for you.
Disclosure: This website is the property of Martin Lütkemeyer and is operated by Martin Lütkemeyer. Martin Lütkemeyer is a member of the Amazon Services LLC and other Affiliate Programs. These are affiliate advertising programs designed to enable websites to earn advertising revenue through advertising and linking to Amazon.com and others. Links marked with * are affiliate links.

