
- Wet Filament: Prevention, Symptoms & Drying - July 18, 2024
- Sovol SV08 – Best PrusaSlicer Settings & Profile - June 26, 2024
- Sovol SV08 – Best Orca Slicer Settings & Profile - June 26, 2024
Disclosure: Links marked with * are Affiliate Links. I earn from qualifying purchases if you decide to make a purchase through these links – at no additional cost for you!
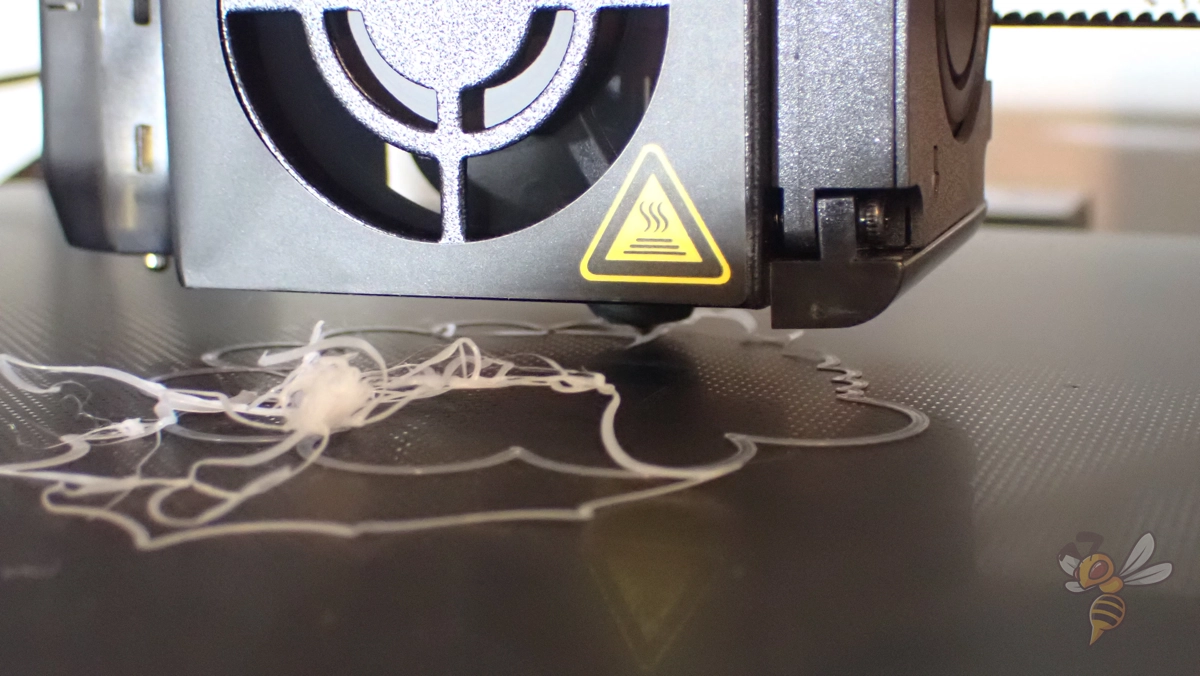
Poor bed adhesion is one of the most common printing errors in 3D printing. But there are a few easy solutions to get a perfect adhesion every time.
If a 3D print is not sticking to the print bed, the first thing to do is to clean and level the print bed and calibrate the Z-offset of the nozzle. After that, measures that cause the filament of the first layer to cool down more slowly can increase the adhesion.
Step 1: Clean the Print Bed
A clean print bed is important to ensure good print bed adhesion. If the print bed is not clean, the filament may adhere to filament residue on the surface and not to the print bed. This can cause all or part of the print to peel off.
This is the first step in achieving good print bed adhesion. Cleaning should be done before each print.
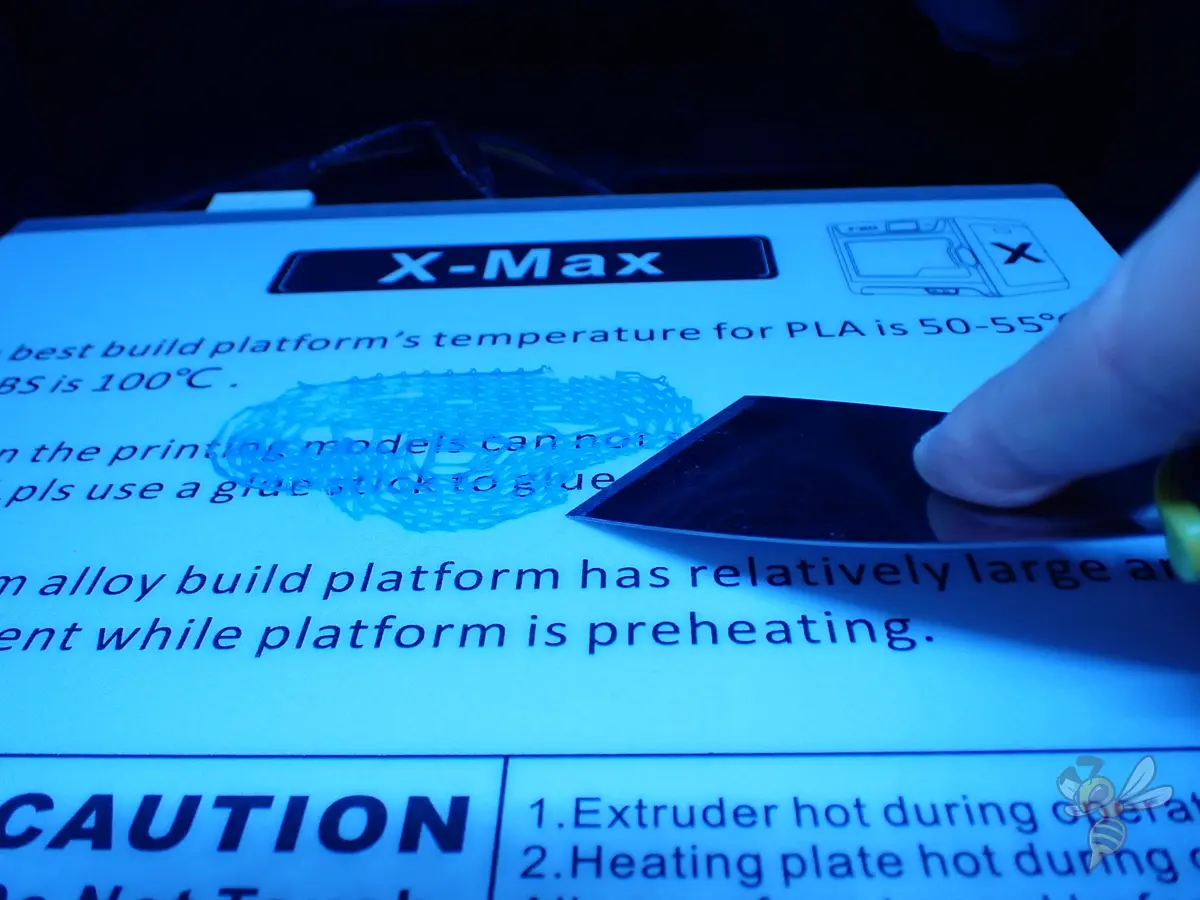
- Remove sticking filament carefully with a spatula.
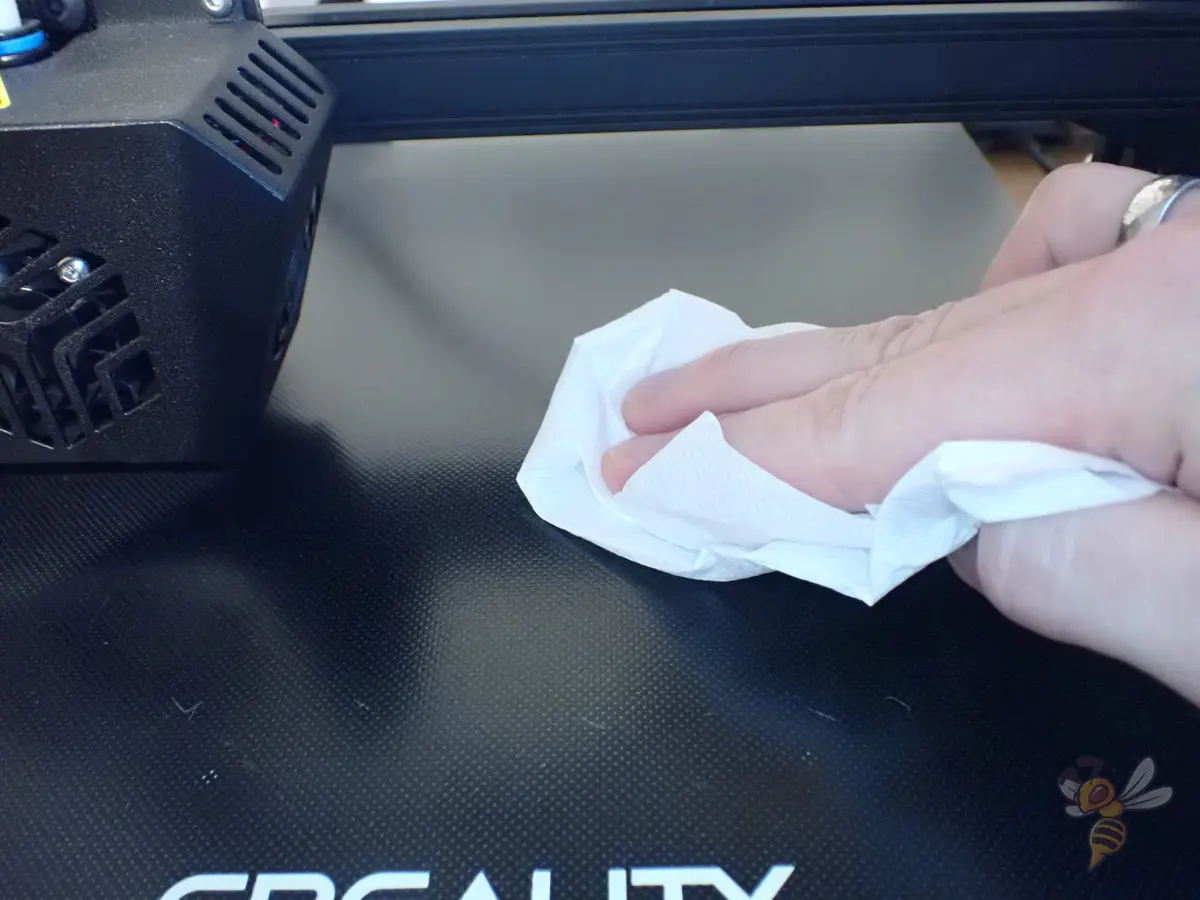
- Wipe away dust and loose bits with a lint-free cloth.
- Clean off fingerprints and grease using water mixed with a bit of dish soap.
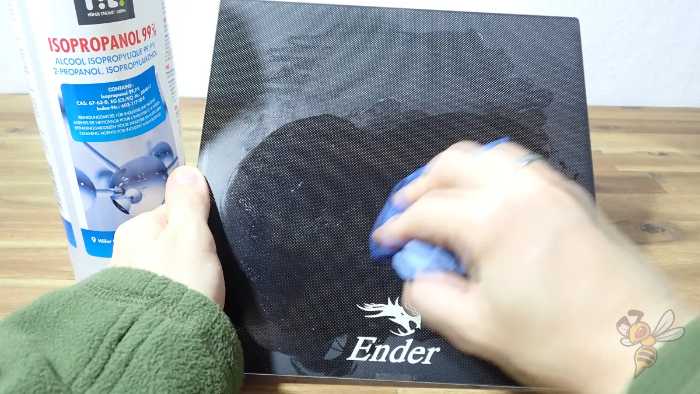
- For tough grease or some adhesives, use isopropyl alcohol (IPA).
- Acetone works well for cleaning ABS slurry residue.
Step 2: Re-Level the Print Bed
If the print bed is not leveled, the filament will adhere to one side of the print bed more than the other. This can cause the first layer of the 3D print to detach from the print bed on one side or completely detach during the print.
Most 3D printers adjust the bed tilt with screws. The aim is to make the bed level with the nozzle’s path, keeping the nozzle distance even across the bed.
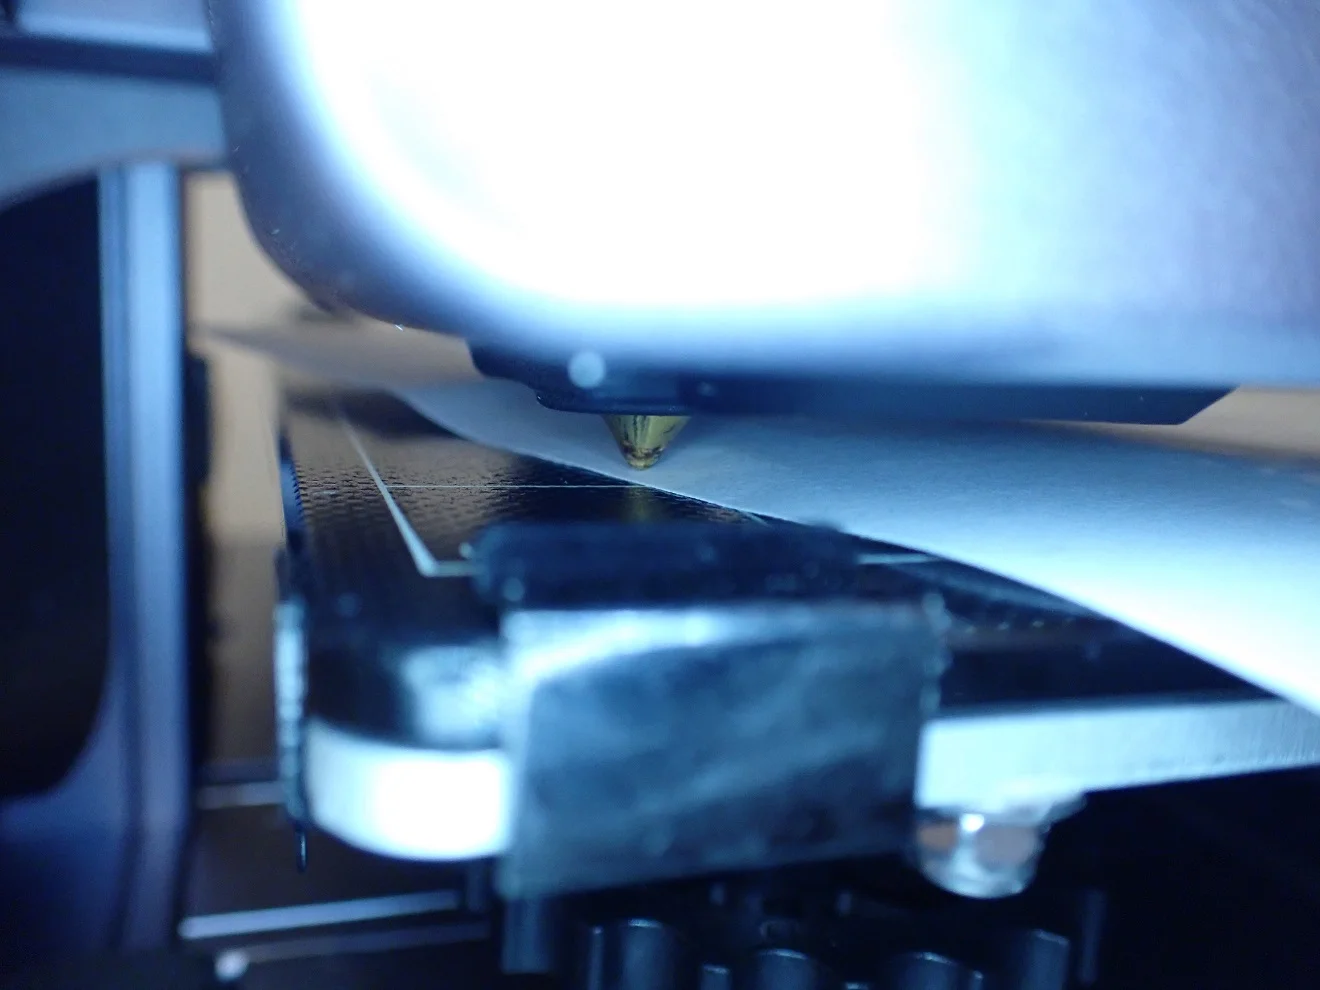
Typically, the paper method is used for leveling. Place a standard sheet of paper (0.1 mm thick) between the bed and the nozzle. Adjust until the paper slides with slight resistance.
Step 3: Reduce the Distance Between the Nozzle and the Print Bed
If the nozzle is too far away from the printer bed, the filament won’t stick well to it. It needs to be close enough to press the filament down properly.
With most 3D printers, you can adjust the Z-Offset while printing the first layer to see if the filament is too loose or pressed just right. But, avoid setting the Z-Offset too low to prevent the first layer from spreading too much, creating an elephant foot.
Step 4: Reduce the First Layer Speed
Reducing the print speed for the first layer to 5-10 mm/s improves how well prints stick to the bed. This slower speed keeps the filament hotter for longer, helping it flow smoothly onto the bed and reducing the risk of it being pulled away by the nozzle’s movement.
Most slicer programs already slow down the first layer to about 50%. While these settings work well when everything else is perfectly matched and calibrated, you might need to manually lower the speed for the best adhesion.
Reducing the speed for the first few layers is the most potent solution for a good first layer adhesion!
Step 5: Deactivate the Cooling of the First Layer
Turn off cooling for the initial layers to help your print stick better to the bed. Quick cooling can prevent the filament from bonding well with the bed, especially in the tiny gaps.
Most slicing software lets you adjust when cooling starts, like enabling cooling from a specific layer or height. This helps balance between strong first layer bed adhesion at the start and print quality later on.
Step 6: Increase the Print Bed Temperature

Raising the heated bed temperature by 5-10 °C can significantly improve how well the filament sticks. This warmth helps the filament spread and bond better with the bed.
But, don’t go too high with the temperature to avoid the elephant foot, where the base of your print spreads too wide. Stick to the top end of the recommended temperature range for your filament, and test out higher settings on small prints to save material.
Many slicing programs let you adjust the bed temperature for just the first layer. This technique allows you to enhance adhesion without the risk of an elephant foot by lowering the temperature for the rest of the print.
Step 7: Thicker First Layer
Using thicker lines helps prints stick better because they cool slower and touch more of the bed. Keep layer height at or below the nozzle’s diameter, and don’t make lines wider than twice the nozzle’s size.
You can tweak the first layer’s thickness and width without changing the whole print. Even doubling the first layer’s size usually won’t affect the look of your final object.
Step 8: Apply Adhesive
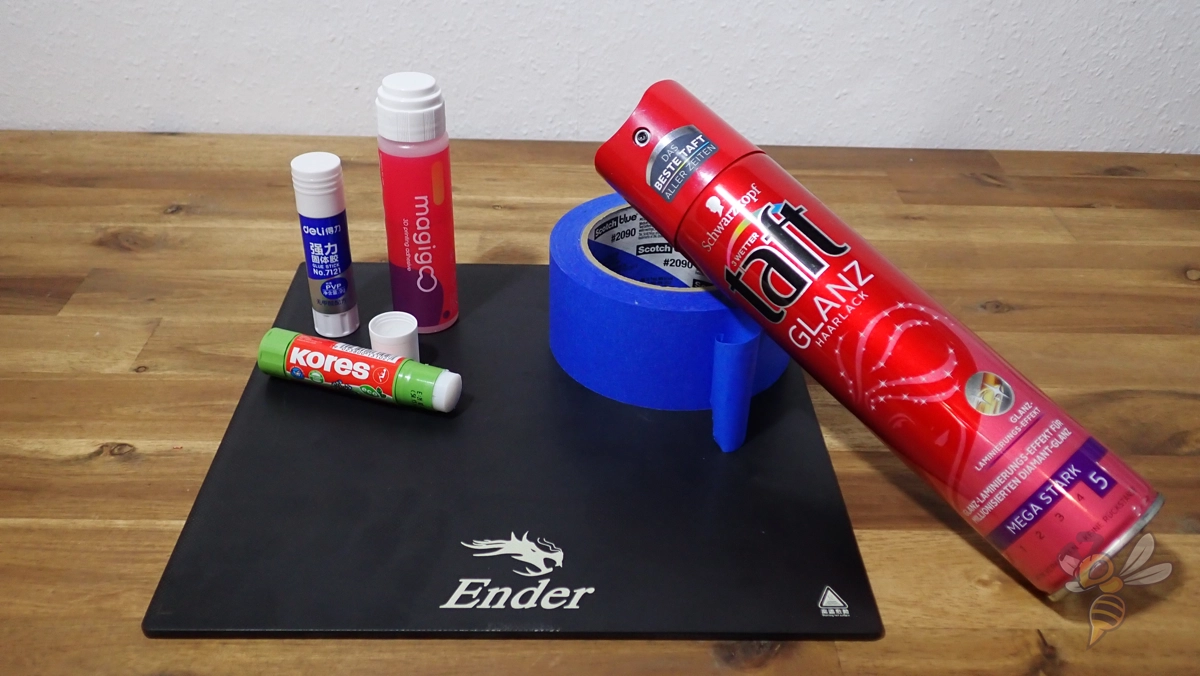
Various adhesives can boost your print’s grip on the bed, ranging from everyday household items to 3D printing-specific products.
- Glue Sticks: Apply a thin layer on the bed. For a cleaner application, dilute with isopropyl alcohol for a thin, even coat that won’t mess up your print.
- Hairspray: Quick fix, but spray carefully to avoid the rest of your printer.
- Blue Tape: Offers a clean, textured surface for the filament to cling to, making it a favorite for easy adhesion improvement.
- Specialized Adhesives: Products like Magigoo outperform other adhesives, lasting multiple prints per application, making them cost-effective for frequent printing.
Step 9: Use a Brim, a Raft or Mouse Ears
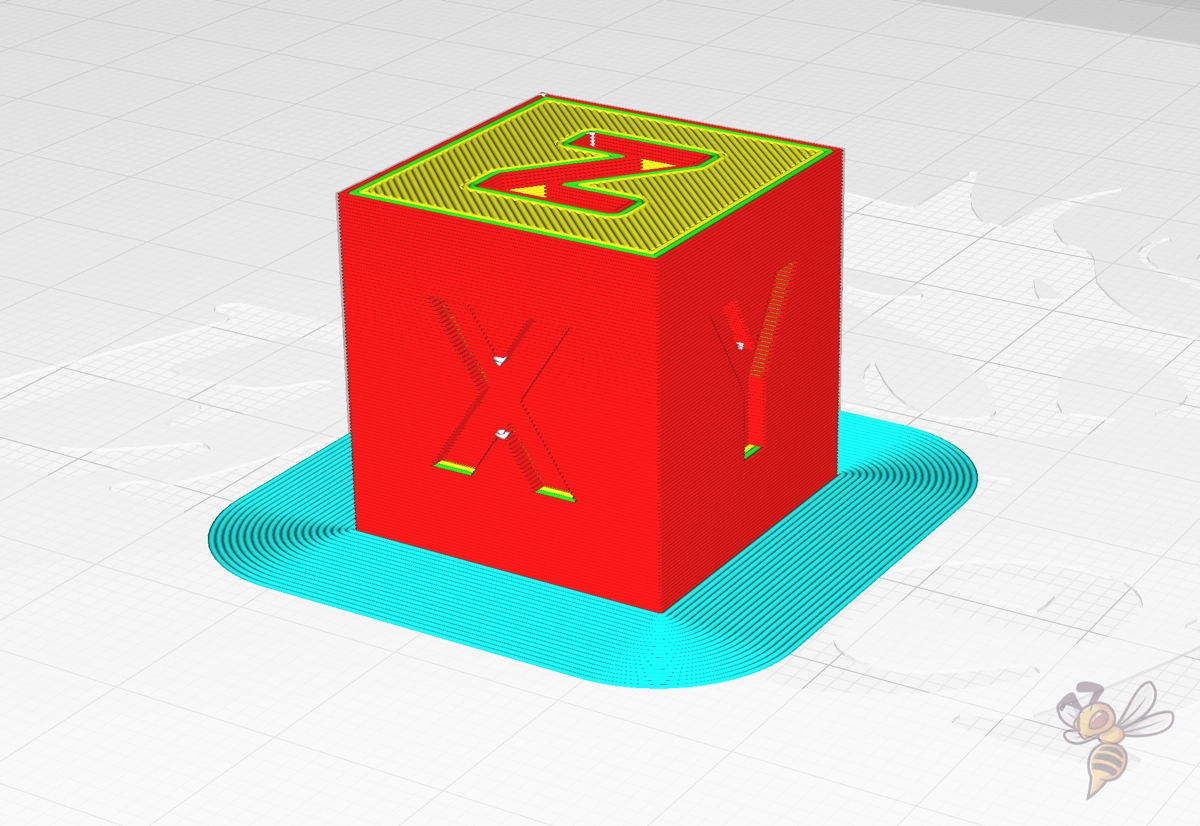
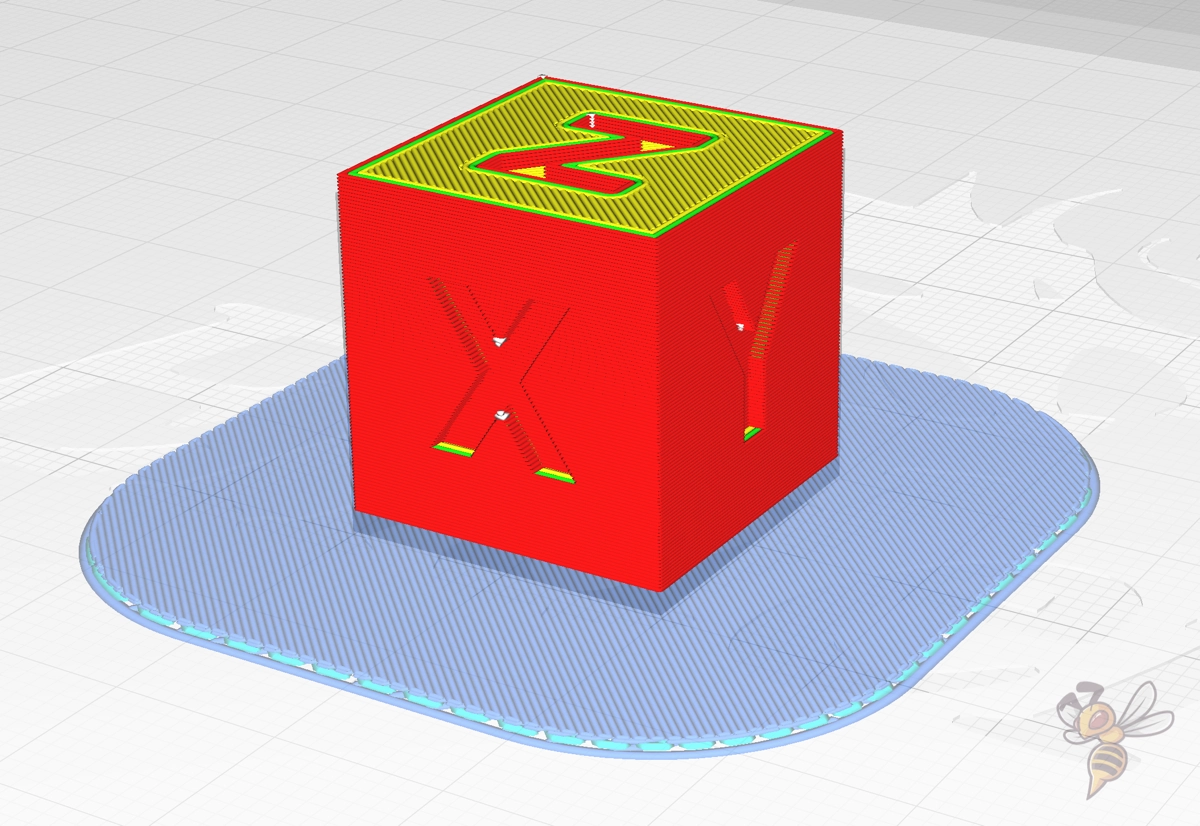
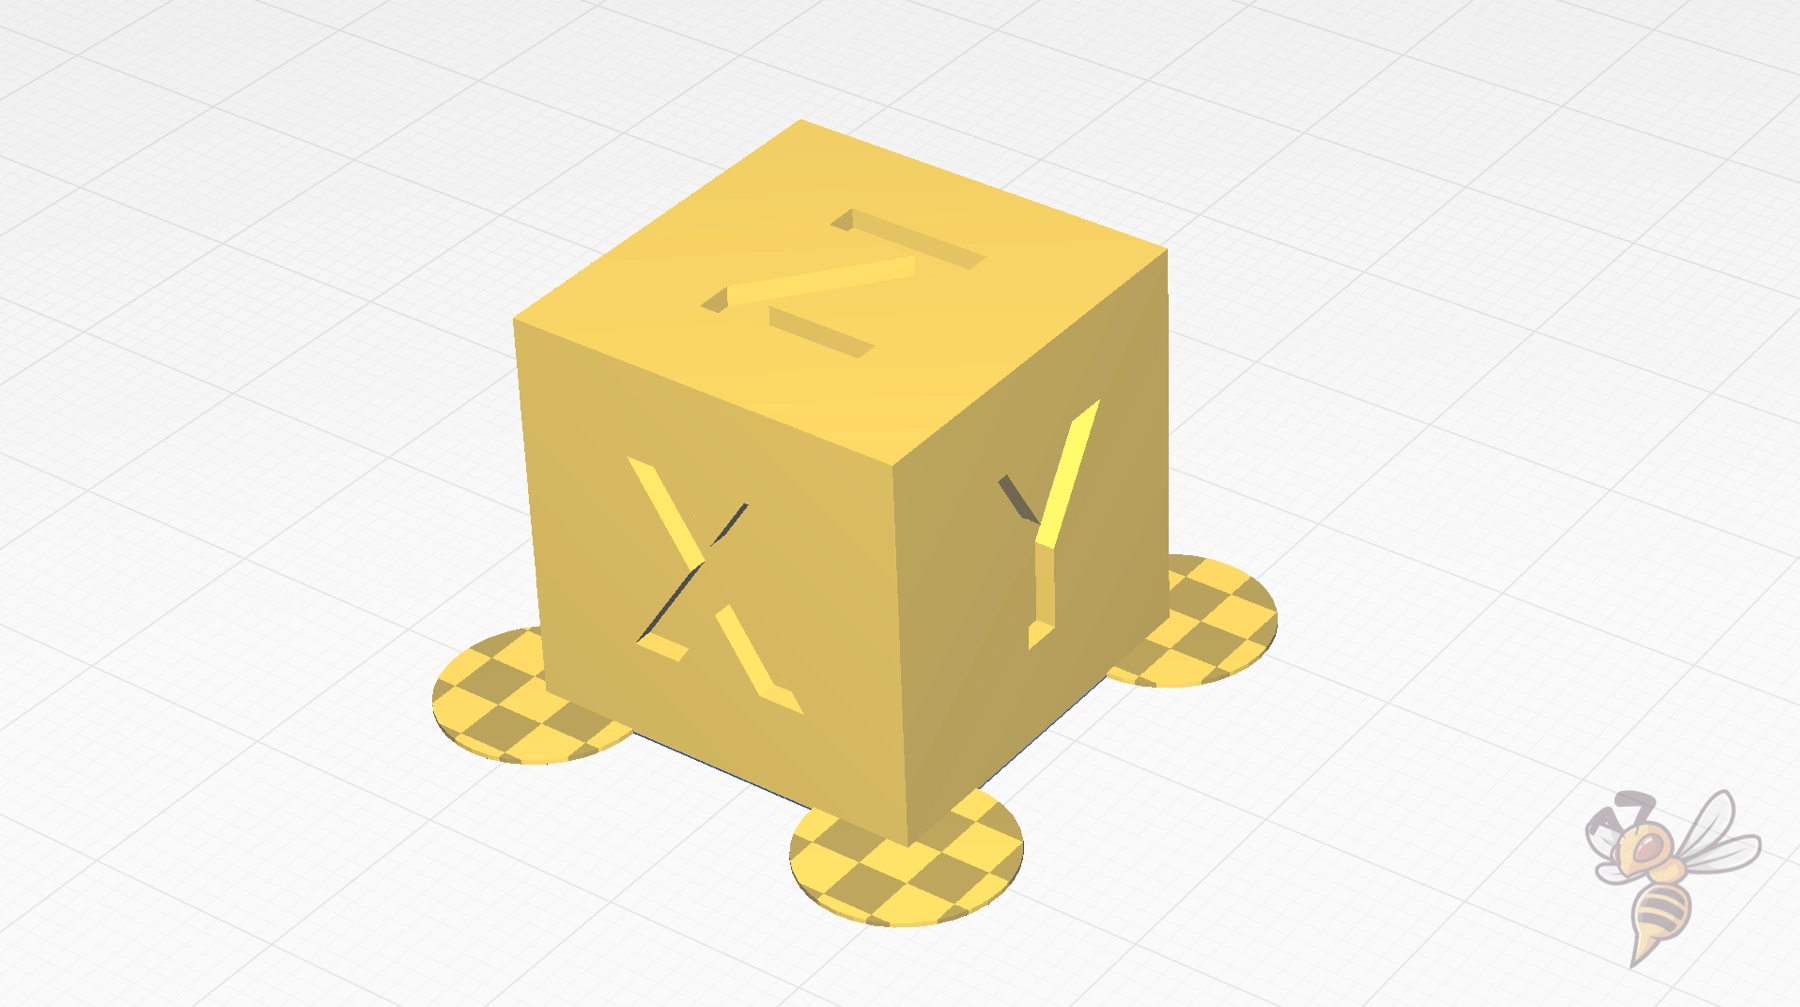
To secure your 3D prints to the bed and prevent warping, there are three effective techniques: brims, mouse ears, and rafts. Each method increases the contact area between your print and the bed, improving adhesion and stability during printing. Here’s a brief overview:
- Brim: Adds a thin, flat extension around your object, increasing its footprint on the bed. Great for delicate parts, but can be tricky to remove cleanly. Be sure to use the Smart Brim feature if you are using Cura!
- Mouse Ears: Small circular discs placed at the corners of your print to prevent lifting. Effective for objects with small footprints and easier to remove than the other two options. Also perfect to prevent warping with ABS.
- Raft: A separate layer beneath your entire print, acting as a stable base. It can be easier to separate from your print than a brim, but adjusting the gap in your print settings is crucial for ease of removal.
Step 10: Replace the Print Bed
Switching your print bed to a PEI surface can drastically improve adhesion, especially for filaments like PLA and PETG.
While glass beds were once popular for their smooth finishes, PEI-coated flexible plates are now favored for their better grip. PLA prints stick well to PEI without the difficulties of removal seen with PETG on glass, where it can stick too tightly and risk damage during removal.
Disclosure: This website is the property of Martin Lütkemeyer and is operated by Martin Lütkemeyer. Martin Lütkemeyer is a member of the Amazon Services LLC and other Affiliate Programs. These are affiliate advertising programs designed to enable websites to earn advertising revenue through advertising and linking to Amazon.com and others. Links marked with * are affiliate links.

My brother suggested I might like this blog.
He was entirely right. This post actually made my day.
You cann’t imagine simply how much time I had spent for this info!
Thanks!