
- Wet Filament: Prevention, Symptoms & Drying - July 18, 2024
- Sovol SV08 – Best PrusaSlicer Settings & Profile - June 26, 2024
- Sovol SV08 – Best Orca Slicer Settings & Profile - June 26, 2024
Disclosure: Links marked with * are Affiliate Links. I earn from qualifying purchases if you decide to make a purchase through these links – at no additional cost for you!
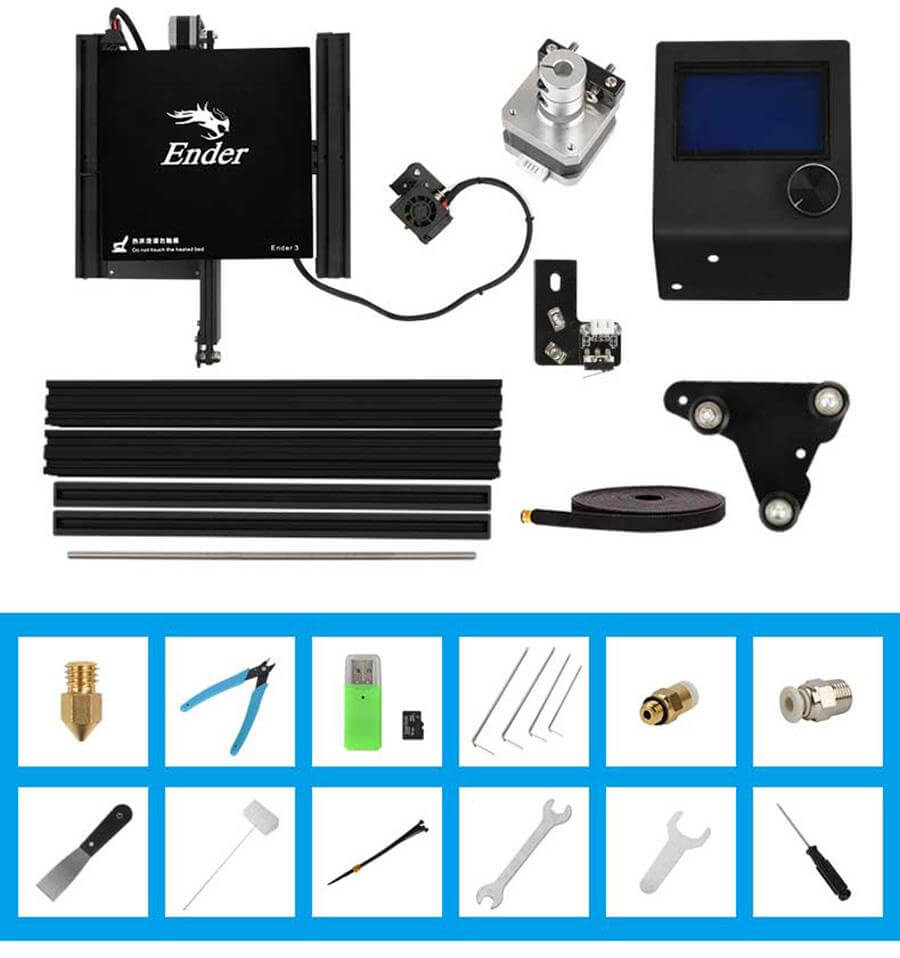
The Creality Ender 3* is extremely popular – it is one of the best-selling 3D printers in the world. This is mainly due to its outstanding price/performance ratio, ease of use and the manufacturer’s open source strategy, which makes DIY upgrades possible.
The Ender 3 is also impressive when it comes to the selection of filaments. In this article, we will discuss all the filaments that the Ender 3 can handle and give you tips on temperatures, printing speeds and other settings.
Here is a table of the 4 most common Ender 3 filaments to see all settings at a glance:
| PLA | ABS | PETG | TPU | |
|---|---|---|---|---|
| Extruder Temperature | 180 – 230 °C | 220 – 240 °C | 230 – 250 °C | 220 – 240 °C |
| Printing Bed Temperature | 40 – 60 °C | 80 – 100 °C | 70 – 90 °C | 40 – 60 °C |
| Print Speed | max. 60 mm/s | max. 60 mm/s | max. 60 mm/s | max. 30 mm/s |
| Retraction Distance | 5 mm | 5 mm | 5 – 7 mm | as small as possible |
| Retraction Speed | 45 mm/s | 45 mm/s | min. 40 mm/s | max. 30 mm/s |
| Cooling | Yes | No | Yes | Yes |
Table of Contents:
The Ender 3 Nozzle – An Upgrade is Worth it!
The Ender 3 is undemanding and invites you to experiment with different filaments. In addition to the different plastic filaments, good results can also be achieved on the printer with unusual materials, for example wax filaments*. However, the brass nozzle used as standard sets a limit to the print materials.
Brass is not hard enough for abrasive filaments like wood* or metal*. The filament would work its way into the nozzle after a few hours, rendering it unusable. To be able to process these materials, at least an upgrade of the hotend is therefore necessary.
Fortunately, there is already a solution for this: The Micro Swiss – TwinClad XT* is a special carbide nozzle that can be used to process abrasive filaments such as wood, carbon or metal.
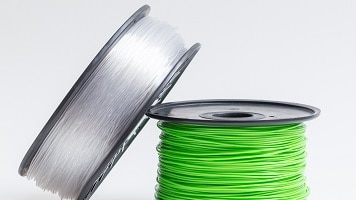
Ender 3 Filaments
PLA
PLA*, the “polylactic acid”, is the most widely used printing filament of all. That is why it’s processing on the Ender 3 is particularly problem-free. In fact, the 3D printer is optimized to use PLA.
The print data for PLA are as follows:
- Extruder temperature: 190 – 220 °C
- Print speed: 60 mm/s (recommended value)
- Retraction distance: 5 mm
- Retraction Speed: 45 mm/s
- Cooling: required
These basic technical characteristics are fulfilled by the Ender 3. Its temperature at the tip of the nozzle is exactly in the range required for the production of extruded PLA.
PLA has the pleasant property of not necessarily requiring a heated printing bed. This is available in an Ender 3. But the printer is equipped with a flexible printing plate as standard. By bending it slightly, practically any product can be easily removed.
A disadvantage of the printing plate is that it produces a rough underside. When printing with PLA, a glass plate* is therefore recommended as a base. This is not only always absolutely flat. It also ensures that the underside of the print is mirror-smooth. In order to create a sufficiently stable adhesive base, it is sufficient to spray the glass plate with a little hairspray.
Of course, it is always advisable to find out exactly which PLA filament you want to order. This applies especially to the temperature range. It is quite possible that one or the other manufacturer will state a deviation here that is outside the maximum temperature of Ender 3.
Cooling is essential when processing PLA. The print should always be under an even, cooling airflow. This ensures fast curing and first-class printing results. Please refer to the community and the available upgrades. There are some interesting files available for download on the subject of component ventilation and filament cooling.

When printing PLA it is important that the printer is not enclosed. Even if you like it “neat” and have built a nice housing for your printer, this can cause problems when printing PLA.
The low melting temperature of the filament reacts sensitively to trapped heat. Especially the gears in the feed can heat up so much in a closed housing that they reach the extrusion temperature of the material. Then your filament thread wraps around these gear wheels and does not reach the hot end tip anymore. This not only ruins the print but always results in costly repair and cleaning work.
PLA is very difficult to recycle. This is not possible with household resources or small investments. But what works surprisingly well is composting. PLA is one of the most biodegradable plastics and is even called “bioplastics”.
This composting does not work in your own bio-waste garbage, but it is already successfully implemented in special industrial plants.
ABS
ABS*, the acrylonitrile-butadiene-styrene copolymer, is something of the “primary rock” of 3D printing. It was virtually the first filament available for consumer printers.
What initially excited the printer scene at first quickly caused numerous headaches. ABS is a demanding material that strictly requires compliance with all necessary parameters. Otherwise, crooked or incorrectly printed products are inevitable.
The Ender 3 is basically also suitable for processing ABS. However, many fine adjustments are necessary.
However, one enormous advantage of ABS should be mentioned: As a thermoplastic, the polymer is 100% recyclable. In fact, the industry already offers mini-extrusion machines* with which you can produce new filaments from your misprints and waste materials. This is not quite cheap, but depending on the amount of print, this investment can be worthwhile.
ABS has the following print parameters:
- Extruder Temperature: at least 230 °C in the extruder
- Bed Temperature: between 80 and 100 °C
- Adhesion support on plate: absolutely necessary
- Print speed: maximum 60 mm/s
- Retraction distance: 5 mm
- Retraction speed: 45 mm/s
- Cooling air: not recommended
ABS is known to be hot printed. 230 °C is a good average value. But you should work as close as possible to the optimum to get the best possible results. This may also mean heating the tip to 250 °C.
The “warping effect” is particularly dreaded with solidifying ABS. The hard and brittle material contracts when it cools. Especially with monolithic components, it can happen that the corners bend open due to the uneven internal stresses.
With a heated printing plate, you can prevent this effect. But be careful: 100 °C means “boiling hot”. The use of heat-resistant gloves is absolutely essential when working with ABS!
You must take measures to ensure that your component adheres properly to the printing plate. This prevents slipping during the printing process and also helps to avoid the “warping” effect. In this case, even an adhesive surface can provide a sufficient bonding surface.
Printing ABS needs some time. Therefore do not exceed the recommended printing speed. From 60 mm/s you have to expect increasing quality losses.
Gradual cooling of the print prevents internal tensions. The heated printing bed cools your printed product so evenly that it does not become crooked. A component cooling would only counteract this. Therefore leave your cooling fan switched off when printing with ABS.
PETG
PETG* is a variant of polyethylene terephthalate. Basically it is normal PET, as it is used for beverage bottles, with an addition of glycol.
It combines the advantages of PLA and ABS. Printing is easy and the results are detailed and precise.
PETG filament requires the following settings:
- Print temperature: 230 – 250 °C
- Bed temperature: For the first layers 110 °C, from 5 mm height it can be reduced to 70 °C.
- Plate adhesion: required, but in combination with a release agent
- Printing speed: 60 mm/s max.
- Retraction height: 5 – 7 mm
- Retraction speed: 40 mm/s minimum
- Cooling: required
- First layer height on the base plate: 0.3 mm
PETG requires a very hot print. The printing temperature can be around 250 °C. However, most filament manufacturers have now set a processing temperature of 240 °C for this type. This is just within the temperature range with which the Ender 3 can work optimally.
PETG also has a tendency to warp. However, this is not as pronounced as with ABS filament. It is therefore sufficient to let the first layers adhere securely and straight through a hot adjusted printing plate. Afterward, the temperature can be reduced without any problems. This not only saves expensive electricity but also makes handling safer.
The ideal combination for the adhesive/release layer is blue painter’s tape and hair spray. During printing, the solid then adheres sufficiently firmly. However, it can be easily removed after completion.
PETG can be printed at up to 60 mm/s. However, you should only select this printing speed if you do not want to place high demands on the outer contour and strength. With a 50% reduction in speed, you will get much better results. This doubles the time needed for printing but is better than wasting filament on an unsatisfactory result.
PETG is a little bit tricky when it comes to the topic “retraction”. Due to its high processing temperature, it tends to drip and pull threads. At the same time it cools down quickly. Too high a pullback quickly forms a drop on the hot end, which blocks the print. It is recommended that you determine the retraction individually for each project.
It is always between 5 and 7 mm. Proceed in the same way step by step when selecting the retraction speed. Starting at 40 mm/s you can work your way to the optimum setting in 5 mm/s increments.
The quality of your prints is significantly influenced by a powerful cooling system. With the fan turned on, the details can be seen more precisely. On the other hand, a switched-off fan ensures that the individual layers bond more firmly together. So if you want to produce a detailed, aesthetic component, a switched-on fan is recommended.
But if you want to make a robust component for static applications, leave the fan off. The difference can be big.
Always work with a base layer when printing with PETG. This should be applied as loosely as possible. So let your extruded thread glide from a height of about 0.3 mm onto the prepared heating plate without pressing it down. Only after you have applied a base layer, you can reduce the printing distance again.
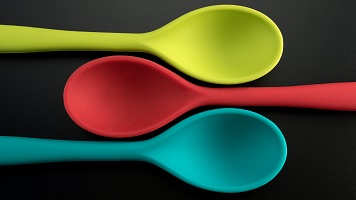
TPU
It doesn’t always have to be a brittle solid what comes out of the 3D printer. Many users have developed a taste for rubber and want to produce flexible and elastic components.
Applications range from squeaking ducks for the bathtub to gaskets for car repair. However, TPU* means “thermoplastic polyurethane”. Therefore, when using them later, you have to keep the permitted operating temperatures. Otherwise, your component will deform under too high a temperature.
After all, “thermoplastic” means nothing other than “malleable under heat”. The heat resistance of TPU is about 115 °C.
There is something problematic about this filament that it cannot be reworked. Grinding, machining and smoothing are hardly possible on the finished product. It is therefore necessary that you adjust your Ender 3 precisely.
But then you can produce extremely interesting products for demanding tasks, for example timing belts for precisely timed transmissions. You don’t have to worry about having to tear them down later. Most TPU filaments allow an elongation of 550 – 750 %.
TPU is also waterproof in the finished state and resistant to oils, greases and alkalis. It may dissolve in contact with alcohol or acids. Before processing, you must keep the TPU filament as dry as possible.
It is “hygroscopic”. That means it attracts water. Soaked TPU can severely affect the printing result, as the moisture in the extruder evaporates and forms bubbles. This considerably reduces the quality of the product.
Store your TPU filament in an airtight box and add a cotton bag with salt or silica gel. This will keep your elastic material permanently protected from moisture.
TPU is offered by most manufacturers in three versions:
- Soft/Semisoft
- Medium
- Hard
The “Soft” level is suitable for rubber products without subsequent installation or only with a low load. It is very elastic and has the lowest breaking elongation of 550 %.
The “Medium” level is the most common and offers very good all-round properties.
All in all, TPU filament can be used to produce extremely interesting products that can be used to complement your 3D printed objects. Typical applications for TPU products are as follows:
- Impact protection
- Slip resistance
- Power transmission
- Handles
- Cushion
- Seals
- Abrasion protection
To process TPU your Ender 3 printer needs the following settings:
- Printing temperature: 220 – 240 °C
- Printing plate temperature: 40 – 60 °C
- Plate adhesion: required
- Printing speed: maximum 30 mm/s
- Retraction: as little as possible
- Retraction speed: maximum 30 mm/s
- Cooling: required
TPU has a high melting temperature. Ender 3 must therefore maintain a temperature of 220-240 °C throughout the entire printing process.
You do not have to heat up the printing plate. As an elastic filament, there is no warping when printing with TPU. If you still want to work with a warm printing plate, limit the temperature to 60 °C.
For component adhesion, the proven combination of blue painter’s tape and hair spray is also ideal for printing with TPU.
As flexible and durable as TPU-printed products are later, they are just as demanding in terms of printing speed. A speed of 30 mm/s is really the maximum you can run with this filament. Better play it safe and choose a printing speed of 20 – 25 mm/s. That way you won’t jeopardize your component quality.
With TPU, the consequence of high retraction is that the elastic filament winds up on the extruder. Avoid this by keeping the retraction as small as possible. Maintaining the printing speed during retraction successfully avoids retraction problems.
TPU must be cooled during printing. Use the integrated fan. Better yet, use a fan optimization feature like the one the community offers for your device for self-printing.
Related Post:
3D Printing with TPU: Features, tips & best settings
HIPS
HIPS means “High Impact Polystyrene”. It is a type of foamed rubber. Its use in 3D printing is quite special. Since it dissolves under limonic acid, it is mainly used for the production of washable support structures.
In this function, however, the Ender 3 cannot be used by default because this printer has only one print head. A dual-extruder printer is required for simultaneous printing of a product and the support structure from a different filament.
But you can also upgrade your Ender 3 to a Dual Extruder! See our guide for all the details:
Nevertheless, HIPS can also be used as normal print material. It is extremely inexpensive. This makes it suitable for test prints or simple functional models.
A problem with HIPS filaments is their low resolution. Due to its material properties, it is not possible to print fine contours and filigree details. However, the filament is stiffer and more abrasion resistant than ABS. It also does not have the strong warping effect of the brittle standard material for 3D printing. With a density of almost 1.1, it is very light.
The most common application for HIPS filament are simple, robust components. Protective covers, housings, lids made of HIPS offer good mechanical properties at low weights.
The processing of the filament is demanding because it requires high temperatures.
The print parameters for HIPS material are as follows:
- Print temperature: At least 230 °C
- Printing plate temperature: At least 100 °C
- Adhesion support: recommended
- Print speed: Maximum 60 mm/s better less
- Retraction distance: 5 mm
- Retraction speed: 45 mm/s
- Cooling: not recommended
HIPS is a high-temperature filament which requires between 230 and 245 °C for optimum results at the hot end. Even in the standard version, the Ender 3 still manages this quite well. In accordance with its hot end processing, HIPS also requires a heated printing plate.
(source: simplify3d)
The heating bed should maintain a temperature between 100 and 115 °C throughout the entire printing process. This prevents warping. Even better results can be achieved by heating up the entire installation space. However, this is not easy and requires a lot of effort. Otherwise, the auxiliary heating may damage your printer.
HIPS is quite undemanding with regard to the surface of the printing plate. Only bare metal is unsuitable because the print sticks firmly to it. Glass is ideal for smooth surfaces on the underside. Otherwise, the usual tricks such as painter’s tape (make sure it is temperature-resistant!) can be used when printing with HIPS.
You should print without cooling. Let the printer finish the product and then let it cool down slowly. This is the best way to avoid the warping effect.
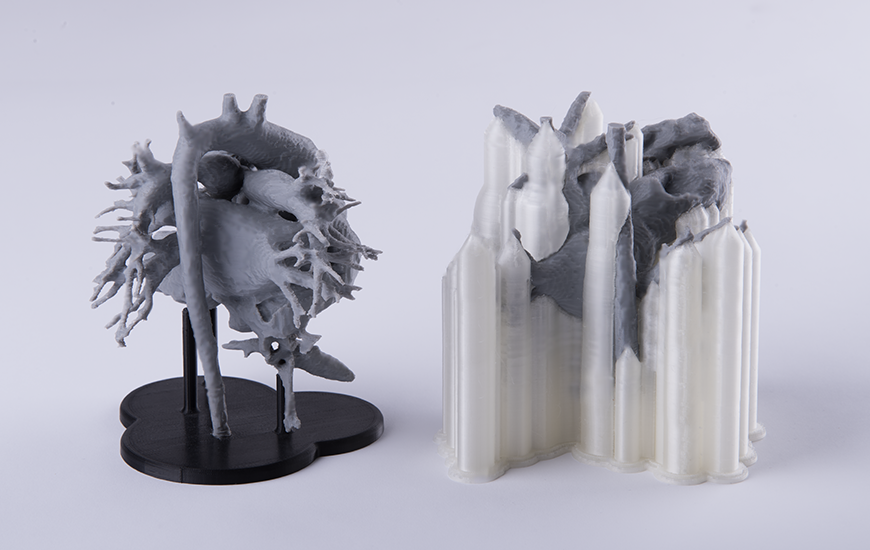
PVA
PVA* means “polyvinyl alcohol”. Although it is also abbreviated as PVAL or PVOH in general chemistry, the term “PVA filament” has become widely accepted in 3D printing. This material is highly specialized and only recommended for experienced users.
(source: zortrax)
Its main use is the production of supporting structures. It is very popular in this function because it is water-soluble. However, this property also greatly limits the use of PVA, as it can be used for practically nothing else.
For Ender 3 this is usually a problem. As a single-extruder printer, PVA can hardly be used sensibly. At most the production of casting cores would be an option. However, even this use becomes problematic at the latest when the casting core is plastered in because the residual moisture in the plaster will attack it.
If you don’t want to upgrade your Ender 3 to a dual extruder, PVA is hardly a good idea for you. If you want to make casting cores, the proven Moldlay wax filament* would be much more useful. It is similarly expensive but easier to handle.
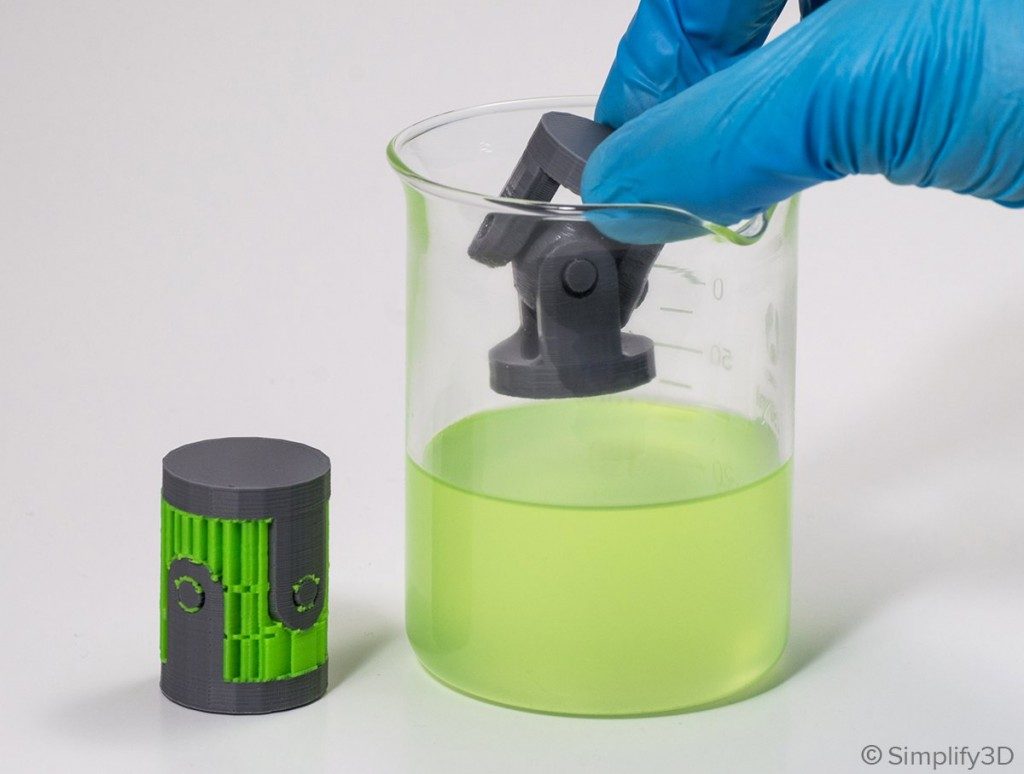
Moldlay Wax Filament
Moldlay is the most popular wax filament for 3D printers. Although it is somewhat expensive, its low density makes it very economical.
However, printing with wax is a challenge. The manufactured products are practically only usable as a casting core for the lost wax process. If you would like to try this out, we recommend tin as casting material.
This requires only low temperatures and is easy to handle. You can also make a silicone mold for tin casting. This allows you to make several casts, unlike a plaster mold.
It is important that you completely melt out the casting core before casting the metal and then clean the (cooled down) hollow mold. Isopropyl alcohol is suitable for this purpose.
The advantage of Moldlay wax filament is that you do not need a UV chamber for curing.
From the tin you can then work your way up to aluminum. With its casting temperature of approx. 600 °C, this can be handled fairly safely. However, you already need some additional equipment and a comprehensive protective gear. The same applies if you want to cast copper.
Keep your printed wax objects in the refrigerator until you use them again. That way they don’t melt or warp.
The printing parameters for Moldlay wax filament are as follows:
- Printing temperature: 170 – 180 °C
- printing plate: DO NOT HEAT
- Printing speed 35 – 100 m/s
Thanks to the flexible printing plate and the high adhesive strength of the wax filament, no measures are required for adhesion. Bend the printing plate slightly after the printing is finished, then the model will jump off.
Metal Filaments
Although some guides advise against the use of metal filaments* with the Ender 3, we have a different opinion. Processing these special printing materials on the Ender 3 is possible under certain conditions.
The previous criticism referred mainly to the Hot End nozzle. The Ender 3 is made of brass when delivered. This robust material reaches its limits when processing the highly abrasive metal filament.
The nozzle quickly tears out and produces an unclean print result. However, the industry offers hard chrome-plated nozzles for exactly this purpose. These can withstand the hard metal particles in the filament well.
In addition, the market offers special feeders for metal filaments to optimize printing.
The market for metal filaments is very dynamic. Practically every month a new product appears, which can impress with innovative properties.
(source: reddit)
Unfortunately, the low price per kilo is very deceptive. On a roll of 1 kg, there are only about 130 meters of filament wound up. But the higher the copper content in the filament, the shorter the usable length. If, on the other hand, you take the half kilometer that a kilogram of ABS filament offers as a comparison, metallic printing material becomes very expensive.
The metal filaments have similar printing parameters due to their high proportion of plastic (usually PLA or ABS). After all, only the plastic is melted during extrusion and not the metal. Nevertheless, the products have quite amazing properties. For example, they are extremely robust and can be sanded without any problems. Even a high-gloss polish is possible.
The usual printing parameters for metal printing are as follows:
- Printing temperature: 210 °C
- Printing speed: 30 – 60 mm/s
- Heating bed: 60 °C
Wood Filaments
The same problem arises with the wood filaments* as with the metal filaments when you want to process them on your Ender 3.
The particles are simply too hard for the brass nozzle. Before you ruin it with the wood filament, please adjust your printer to it. Printing with this material can give very interesting results. The products get a warm, natural color. They are very easy to sand and also feel like wood products.
If you have converted your Ender 3 to wood printing, we recommend the Formfutura easyWood filaments with a 1.75 mm diameter*. The manufacturer offers it in four different colors. Since all four are natural, they can be combined very well.
Wood filament offers you several advantages. First of all it is very cheap. Because it has such a low density, it is also very economical. On one roll you have over 500 meters of material. So you can print quite well. Hatchbox recommends the following parameters for its wooden filaments:
- Printing temperature: 180 – 220 °C
- Printing plate: No heating required
For all other parameters, you can use the settings of PLA.
The Ender 3
If you are looking for an inexpensive but amazingly powerful filament 3D printer, there is no way around the Ender 3 from Creality*.
This very affordable printer offers much greater performance than the Ender 2. With a construction volume of 220 x 220 x 250 mm³ and a layer height of 1/10 millimeter, the Ender 3 can produce large and detailed prints.
In addition, it has a sufficiently high-quality construction, is easy to assemble and easy to operate, even for beginners. It is therefore not surprising that the device has almost become something like a standard printer for newcomers and enthusiasts alike.
(source: creality3dofficial)
Its enormous reach has an extremely practical side effect. The Ender 3 community is huge. There are forums and groups as well as freely downloadable models.
Interestingly, a large portion of these free blueprints are extremely practical tools and enhancements that can significantly enhance the performance and convenience of your Ender 3. From innovative filament guides, optimized housings or auxiliary constructions for improved ventilation – these upgrades can take the Ender 3 to an amazingly powerful level.
The operation is user-friendly. Not only is a detailed assembly instruction on paper available for the assembly. In addition, an animated assembly instruction is integrated on the SD card supplied, which shows every step in detail. The handling for the first test prints is just as easy. To create your own 3D models, an uncomplicated but very powerful software is included in the delivery. With it, you can create your own models, process imported files or even work with scans.
For the Ender 3, there are plenty of informative videos on the relevant channels. In comparative tests the device performs very well.
If it is criticized, then only small things are the cause. For example, some users complain somewhat about the sometimes unclean workmanship and poor quality of detail. The tool provided is not convincing, and various screws can also fail after a few test runs.
But please – you can’t expect a gold standard with a printer for the price. A decent set of your own tools belongs to a Hobby Creator. The screws are standard-compliant, so that you can find a replacement for everything at the next hardware store.
Low price, simple operation, large community and favorable development and repair possibilities make the Ender 3 one of the best 3D printers.
Conclusion: Perfect Introduction to Experimentation
The Ender 3 is not only a very inexpensive printer. It also supports virtually any available filament without much effort.
The conversion to abrasive materials such as wood or metal is very inexpensive and can be done quickly. All in all, this printer is a device that invites you to experiment and try out.
We hope you enjoy exploring the possibilities of your Ender 3.
If you are still researching which Ender 3D printer you would like to buy, our recommendation is to go for the slightly more expensive Ender 5*. It offers practically the same features as the Ender 3, but has a much larger installation space.
Disclosure: This website is the property of Martin Lütkemeyer and is operated by Martin Lütkemeyer. Martin Lütkemeyer is a member of the Amazon Services LLC and other Affiliate Programs. These are affiliate advertising programs designed to enable websites to earn advertising revenue through advertising and linking to Amazon.com and others. Links marked with * are affiliate links.
