
- Wet Filament: Prevention, Symptoms & Drying - July 18, 2024
- Sovol SV08 – Best PrusaSlicer Settings & Profile - June 26, 2024
- Sovol SV08 – Best Orca Slicer Settings & Profile - June 26, 2024
Disclosure: Links marked with * are Affiliate Links. I earn from qualifying purchases if you decide to make a purchase through these links – at no additional cost for you!
A Cura brim can be the perfect remedy for poor print bed adhesion. But understanding how to manipulate its settings to the sweet spot – where it’s strong enough to hold your print in place yet not so tenacious that it becomes a chore to remove – is a skill that can elevate your 3D printing game to new heights.
In this comprehensive guide, we’ll delve into the nuances of Cura brim settings, offering practical advice and advanced techniques to help you achieve flawless prints every time.
Table of Contents:
Key Takeaways
- Cura brim settings are customizable to balance adhesion and ease of removal for 3D prints.
- Brims are particularly useful for models with small bases or those prone to warping.
- Print quality and post-processing can be improved by adjusting the brim gap or brim distance and using Cura’s Smart Brim feature, which facilitates easier removal of the brim and reduces the chance of leftover material on the final print.
- Brim settings should be tailored to the specific material being used, with common materials such as PLA, ABS, and PETG requiring unique temperature, width, and gap settings to optimize build plate adhesion, prevent warping and make removal easy.
Understanding Cura Brim Settings
In the world of 3D printing, a brim is a vital tool that contributes significantly to the success of your print. Acting as a support structure, the brim helps keep your print securely in place during the printing process, extending the surface area in contact with the print bed. This extra adhesion is especially crucial for prints with a small base or those prone to warping.
The beauty of brim settings in Cura lies in their customizability, which makes them able to get a perfect balance of material use and adhesion, offering a streamlined option that adheres closely to your print’s edges without encroaching on its actual base.
Brim Width & Minimum Length
The brim width is instrumental in improving adhesion by increasing the surface area in contact with the build plate. In Cura, the brim width is a millimeter measurement that defines how wide the brim will be printed.
Another crucial aspect is the Brim Minimum Length setting. This setting ensures that the nozzle is adequately primed before starting a print (like with the skirt minimum length). If the minimum length isn’t reached by the total circumference of all the brim lines added together, more contours will be added. This adjustment ensures that the material is sufficiently primed before starting the print, and it is particularly beneficial when printing smaller parts.
Brim Line Count
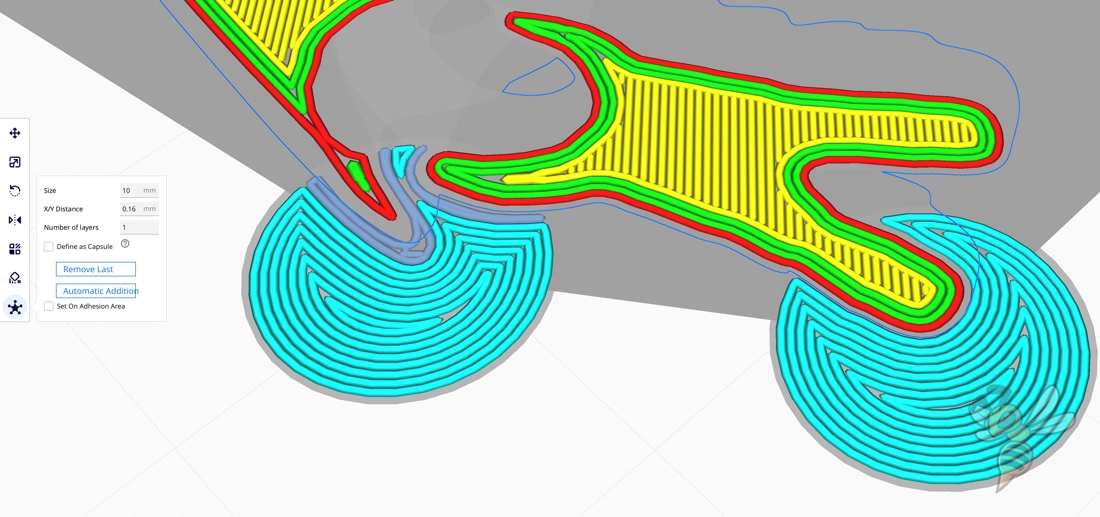
The brim line count indicates the number of concentric lines to be added around your print (just like the skirt line count). The number of lines you choose can vary depending on the size of your print. Smaller prints may require fewer lines, while larger prints with more surface area could benefit from a higher brim line count.
This setting overrides the brim width setting! Basically, you have the choice to either control the size of the brim by its width in mm or by the line count.
Keep in mind, though a higher brim line count typically strengthens the build plate adhesion of the print to the print bed, excessive counts can lead to material wastage and unnecessarily prolonged print times.
The idea is to strike a balance between:
- sufficient print bed adhesion
- material conservation
- stability during printing
- avoiding wastage.
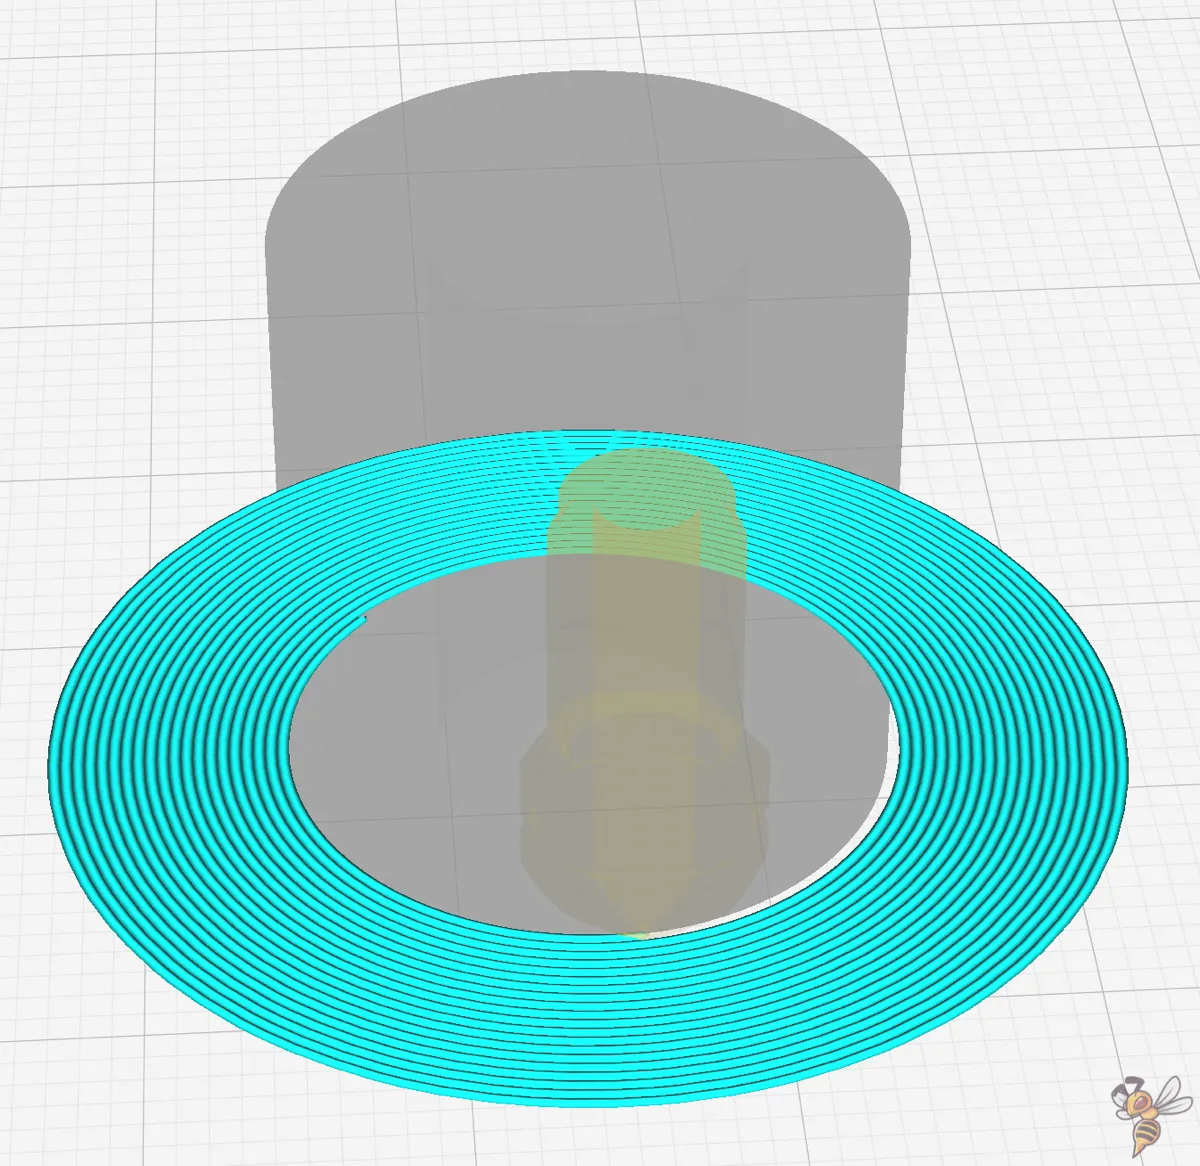
Brim Distance
The brim distance, also known as ‘brim gap’ in Cura, is pivotal in ease of removal. By fine-tuning the brim distance, you can achieve the perfect compromise between a brim that’s strong enough to prevent warping and one that can be easily removed without leaving any unwanted marks on your print.
By adjusting the brim gap, you can:
- Create a thin space between the model and the brim
- Make the brim easier to remove
- Weaken the connection between the brim and the model
- Reduce the scar left by the brim after removal
However, it’s a delicate balance.
While a bigger gap makes removal easier, it also reduces the brim’s effectiveness at keeping the model stuck to the build plate, potentially increasing the risk of warping.
In my experience, 0.1 mm is a good start for further improvements.
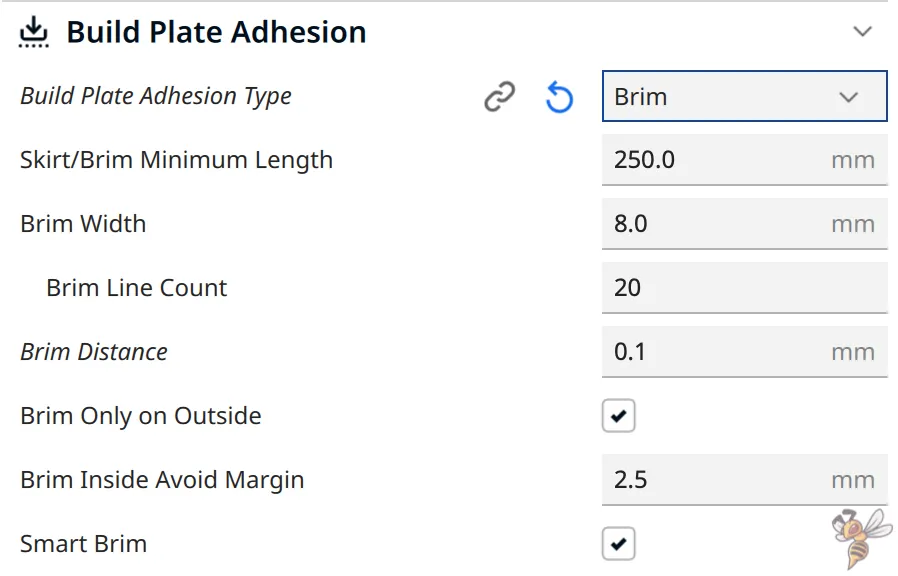
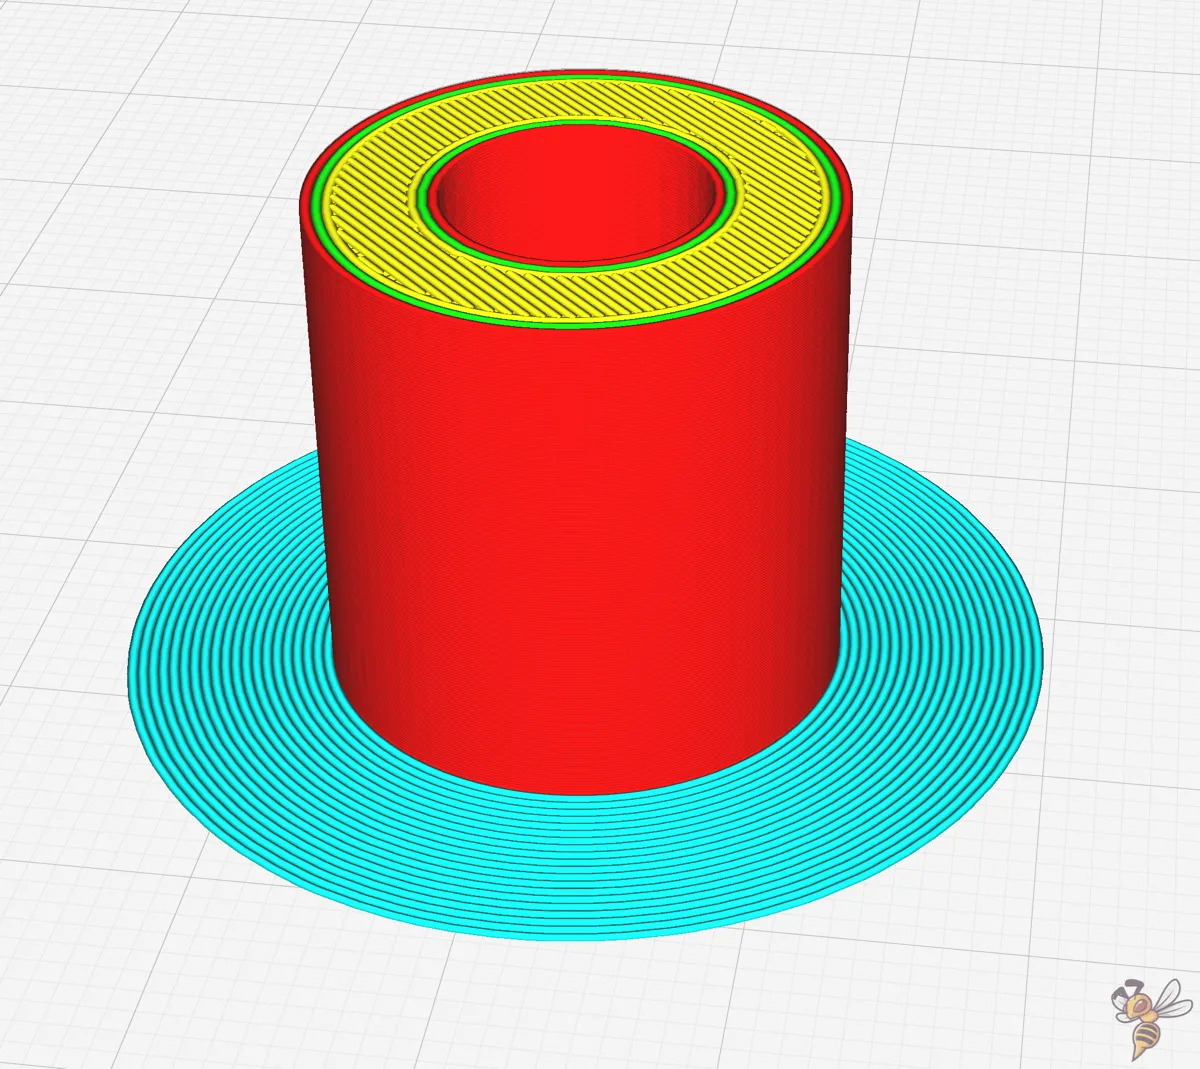
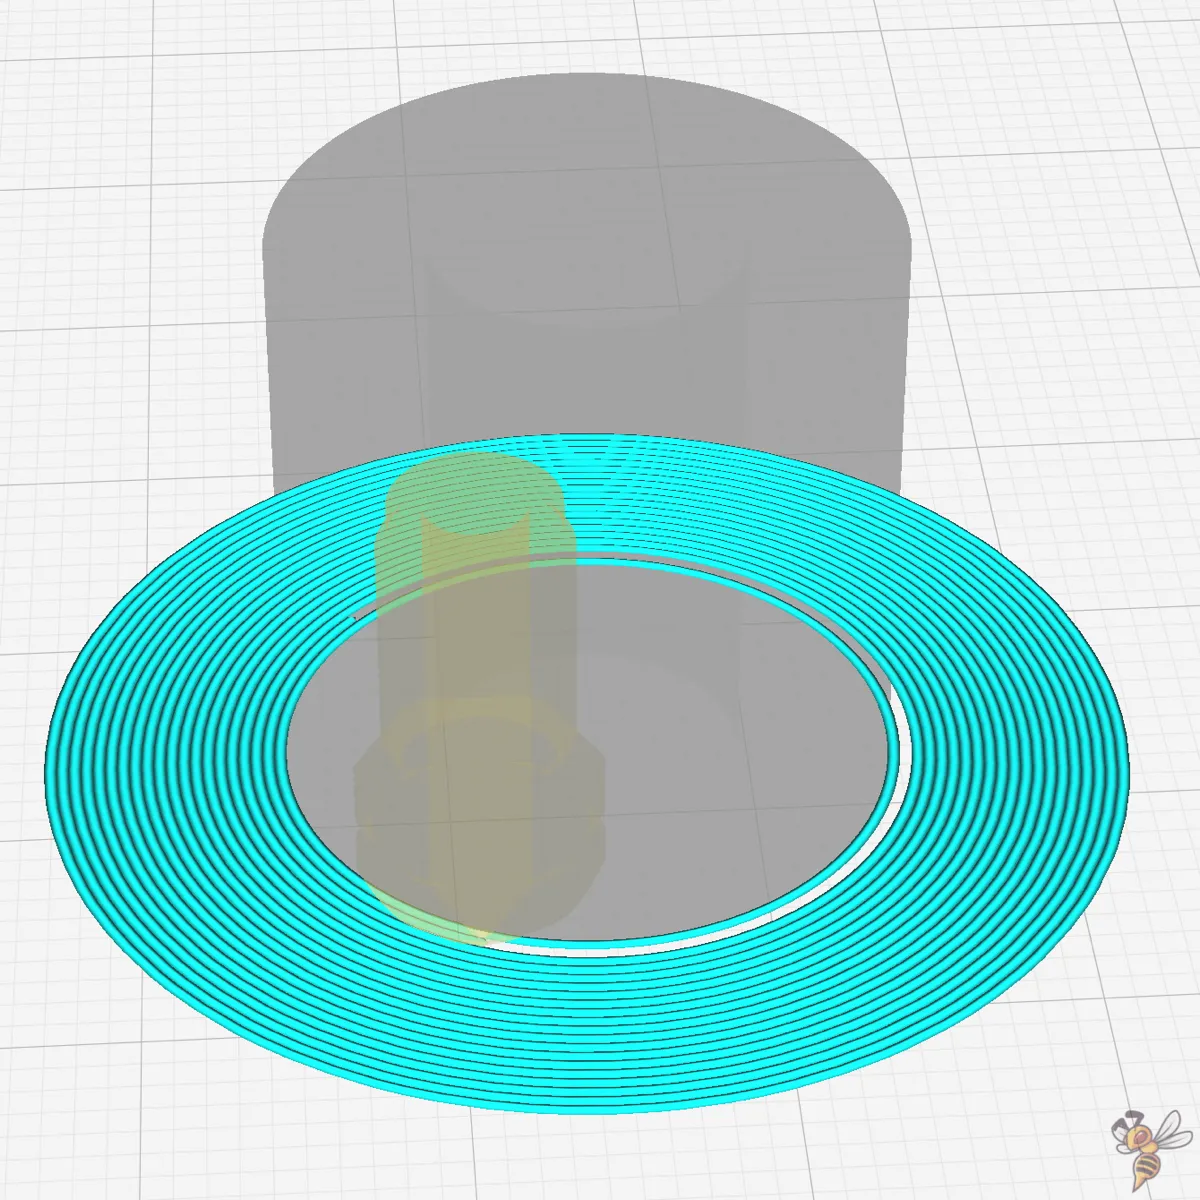
Brim Only on Outside
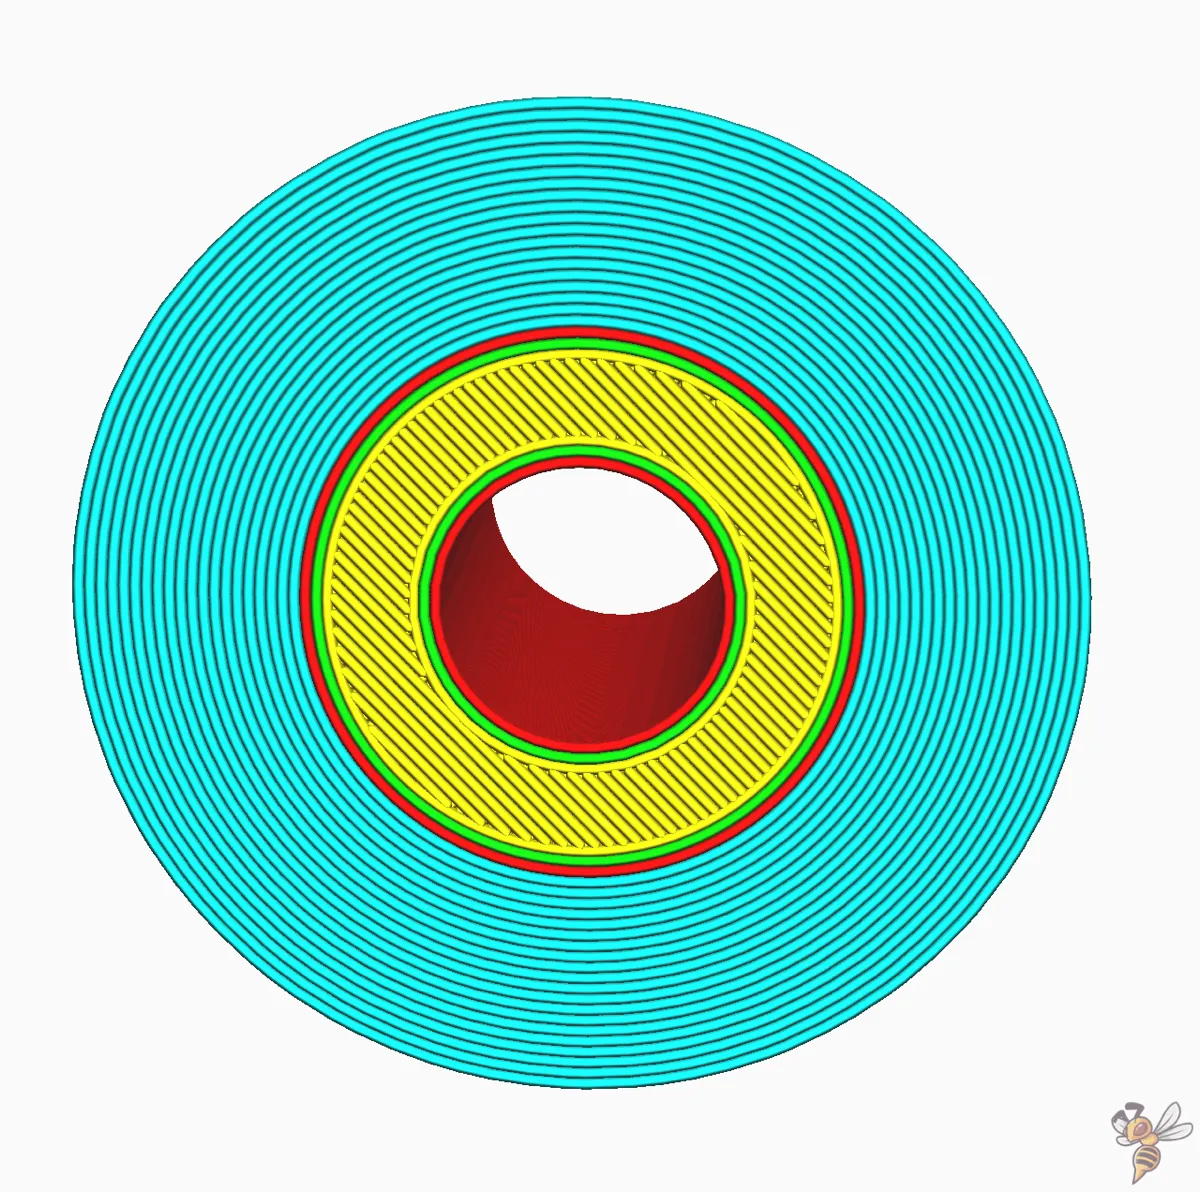
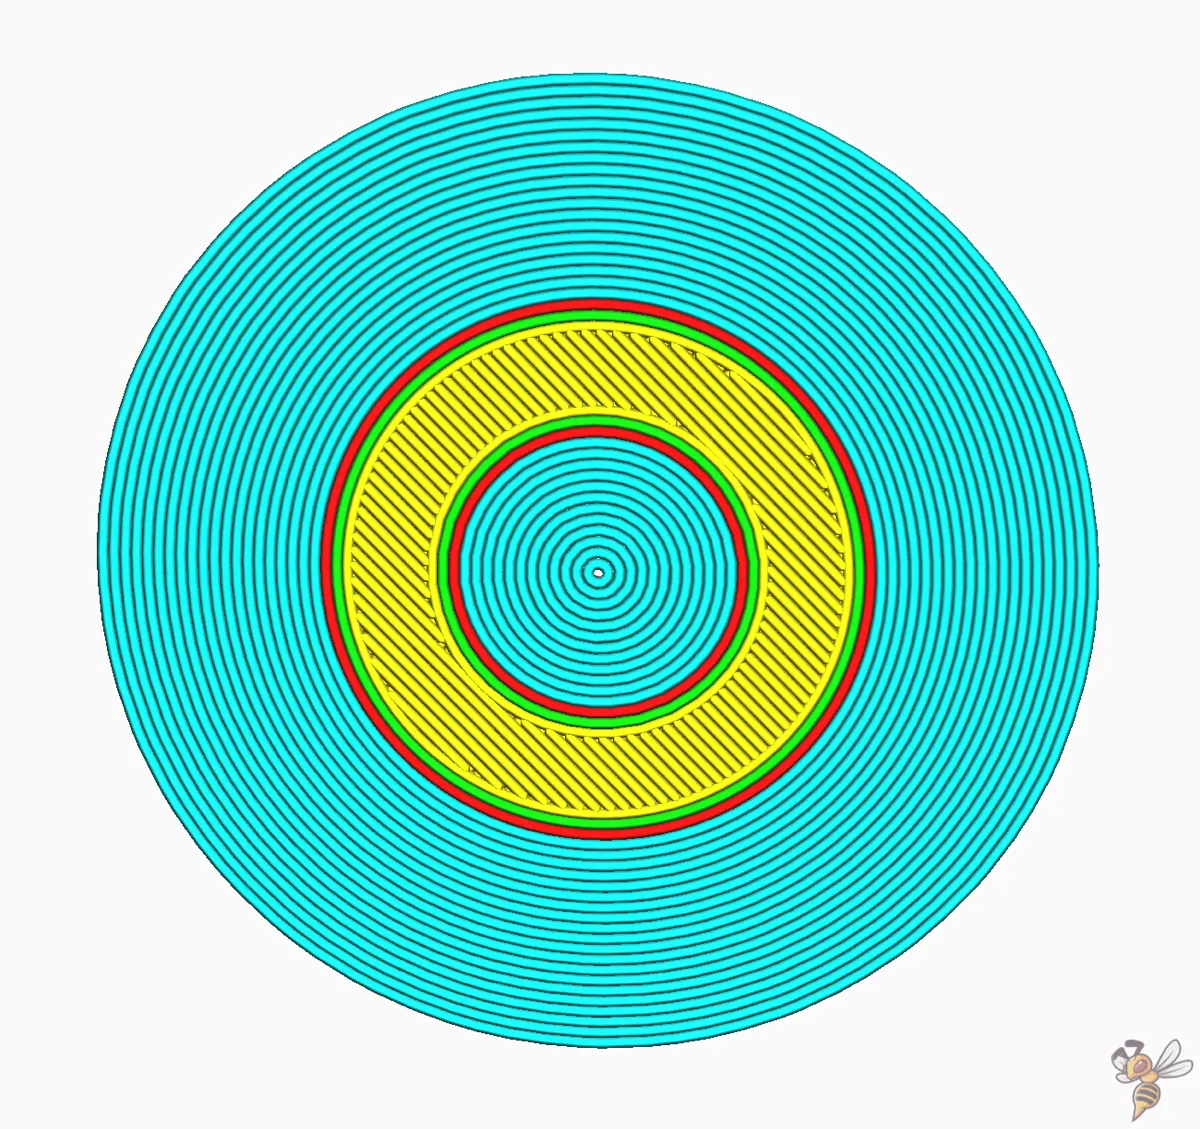
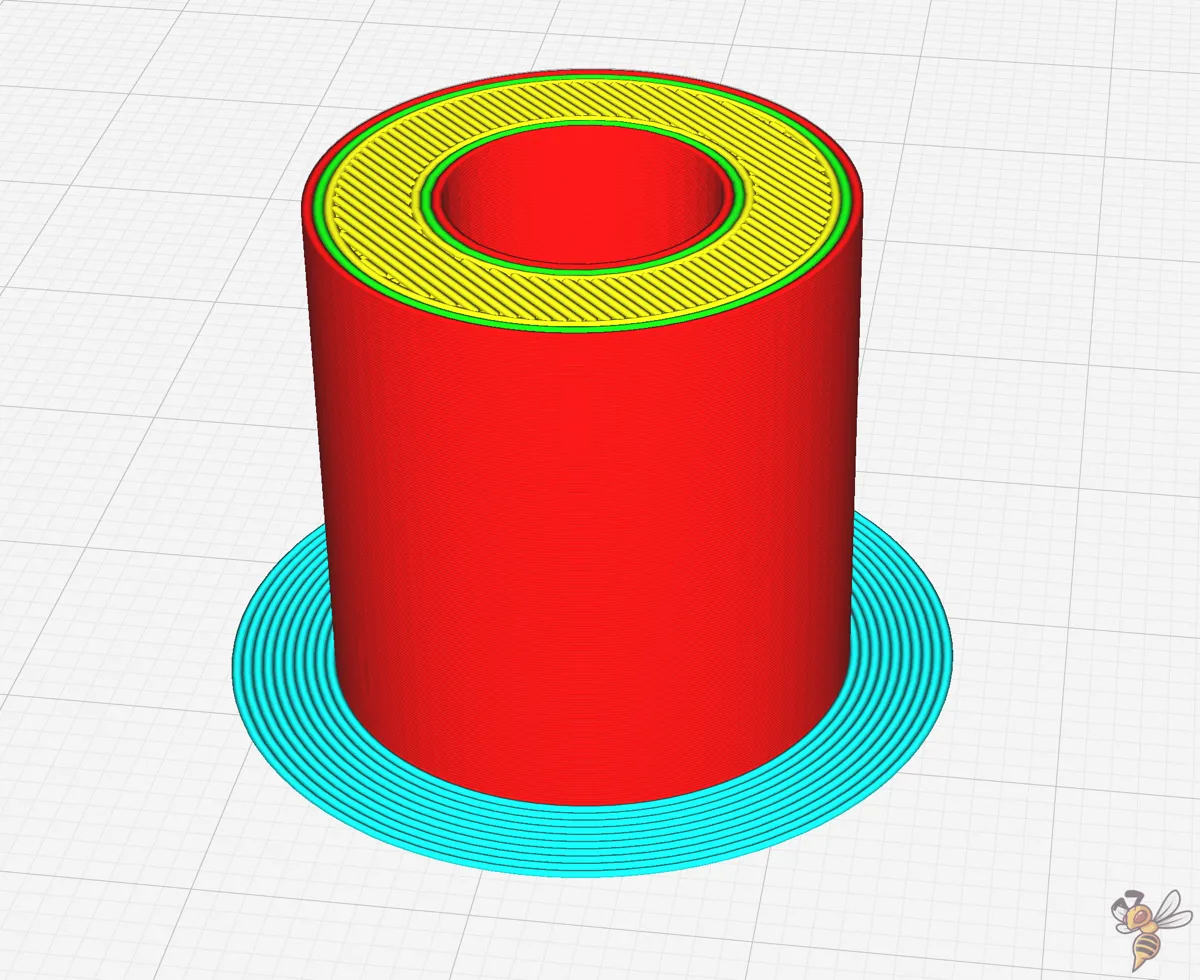
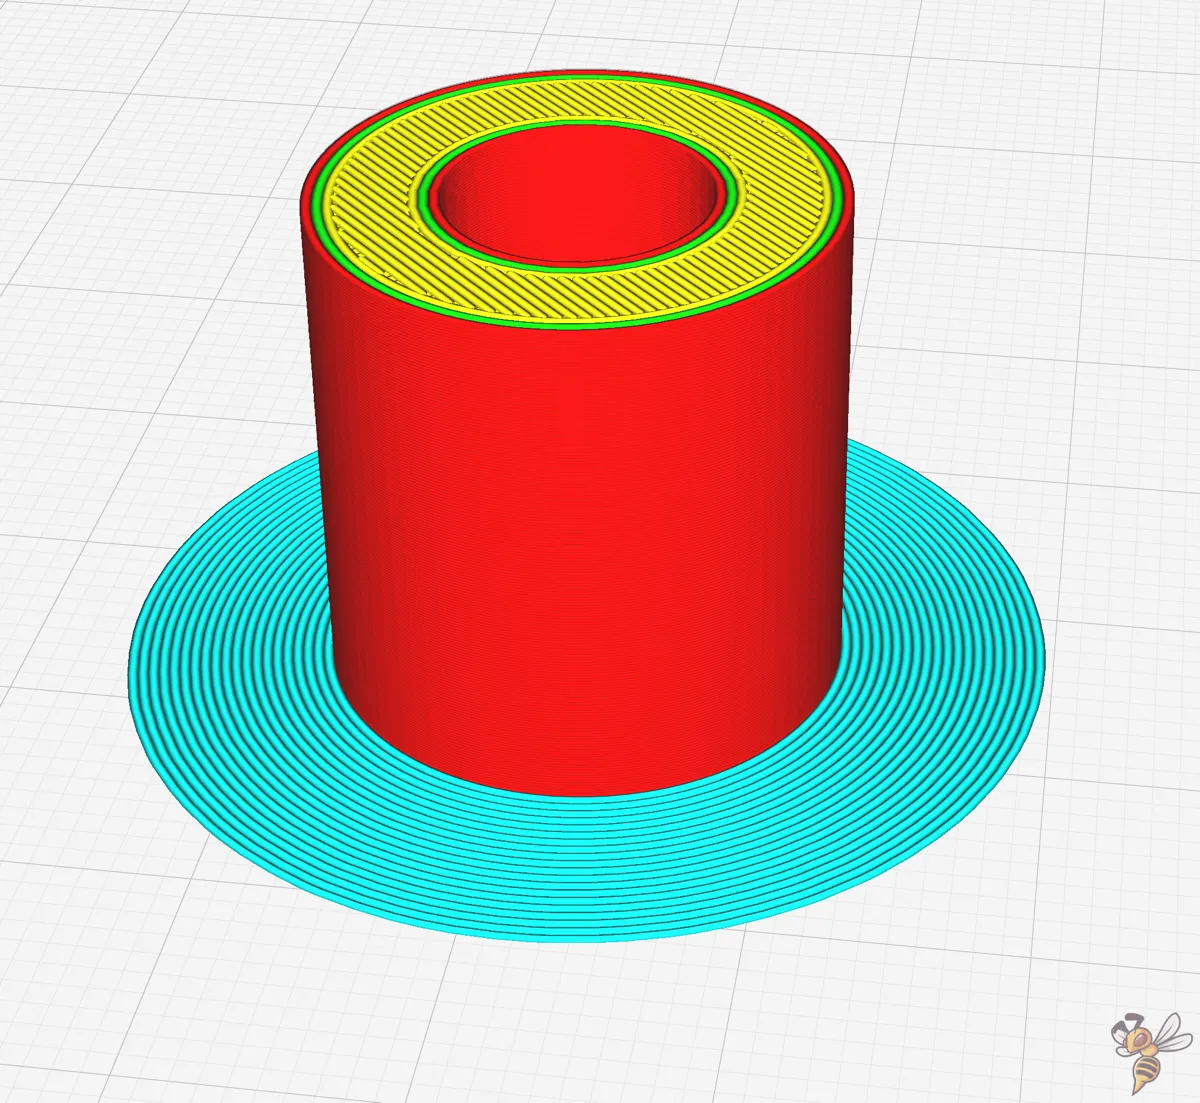
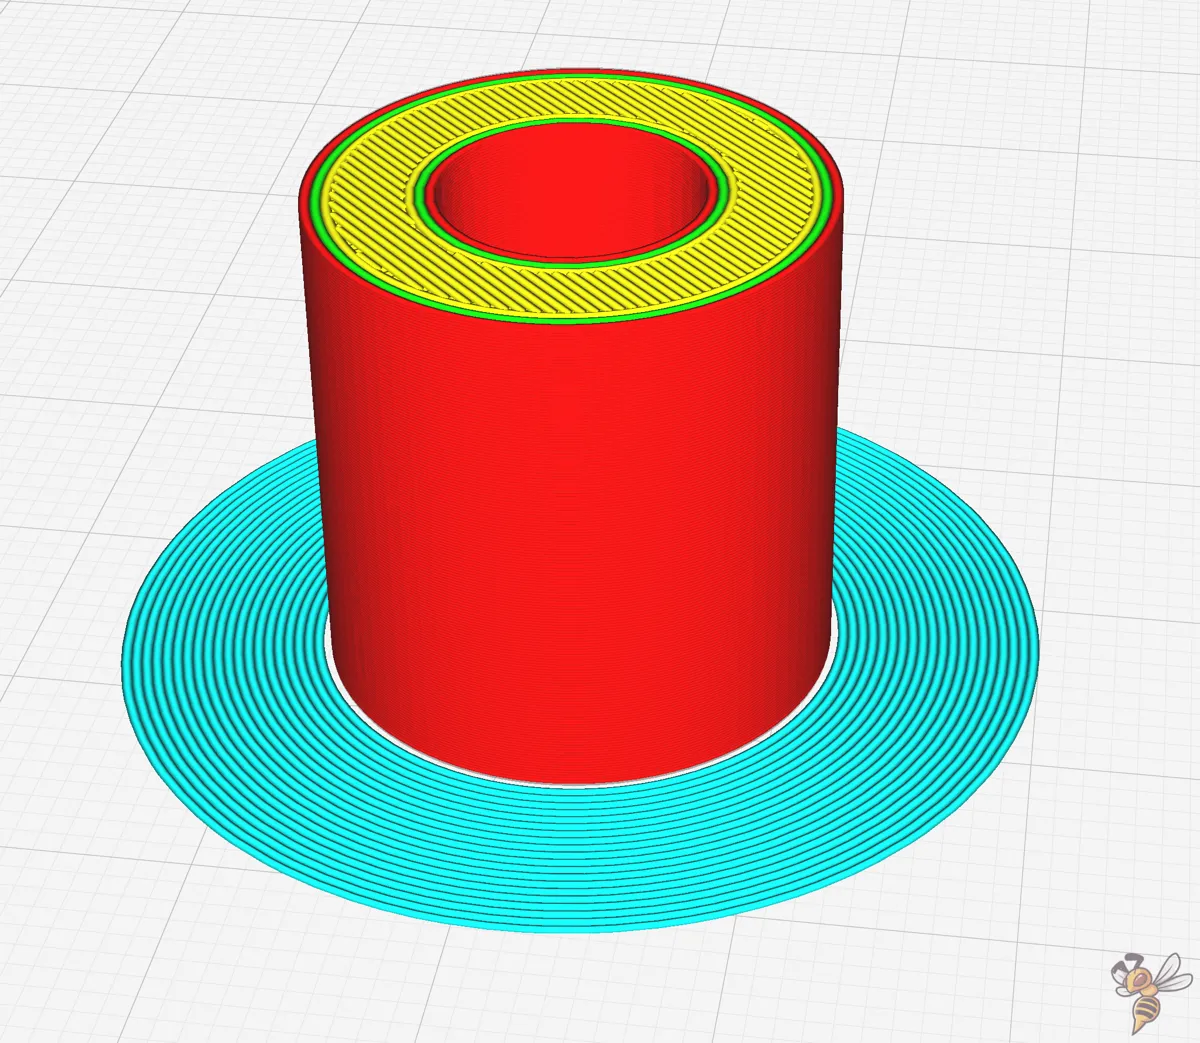
Consider a scenario where your model has holes in the initial layer on the build plate. The ‘Brim Only on the Outside’ setting in Cura comes to the rescue. This setting prevents a brim from being printed along the inside of the hole.
The brim on the inside typically adds very little extra build plate adhesion strength between the print and the build plate and has no effect on preventing shrinking or warping.
Deactivating the brim on the inside may save you some time after the print is completed, as you won’t need to remove the brim from the inside holes. Also, inside brims are significantly harder to remove!
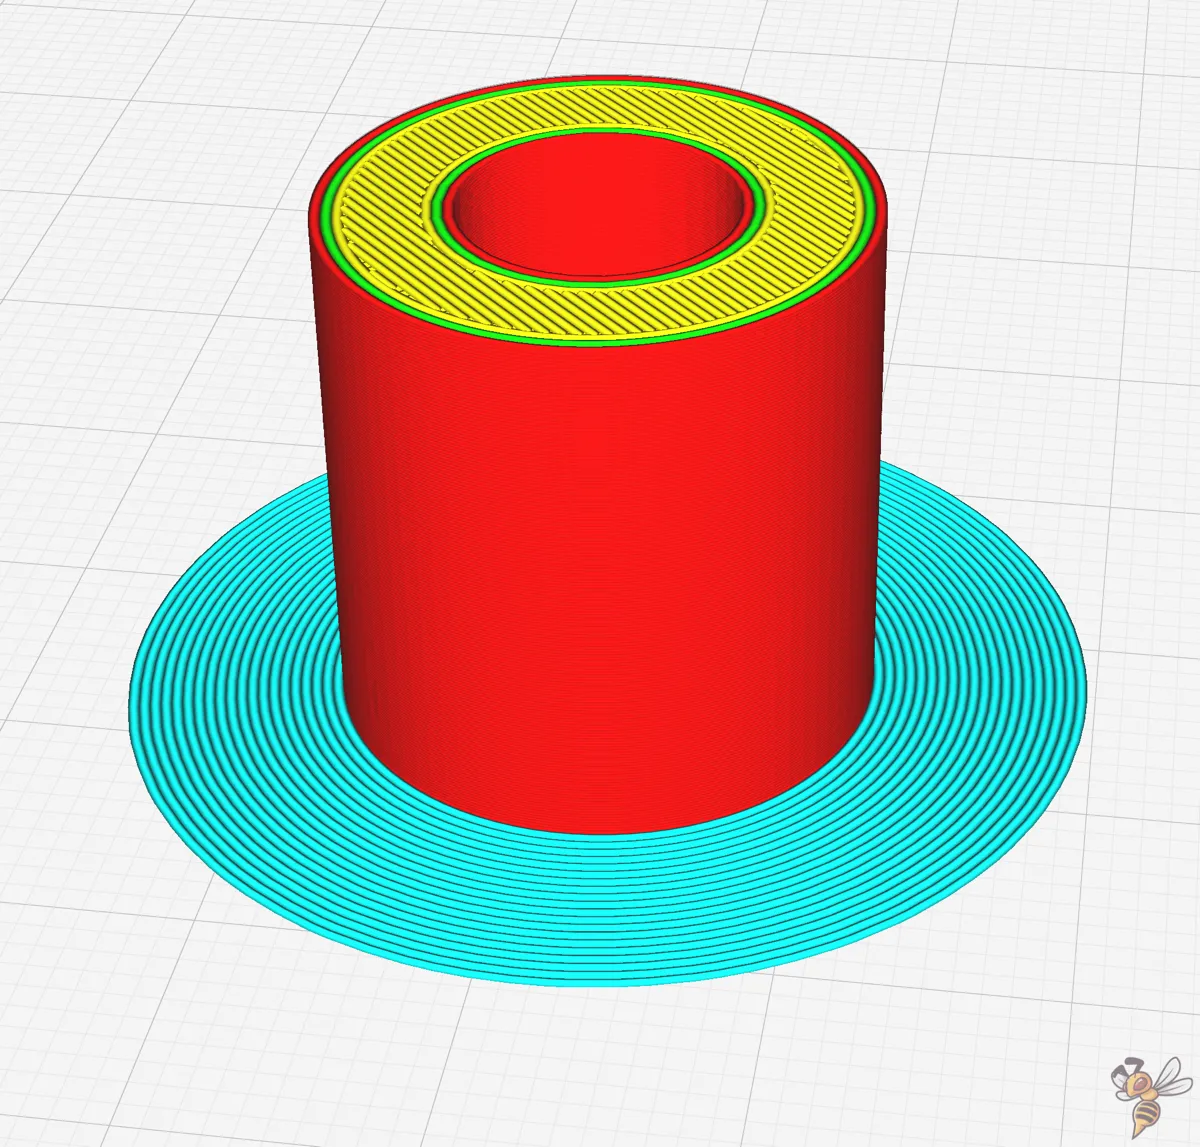
Brim Inside Avoid Margin
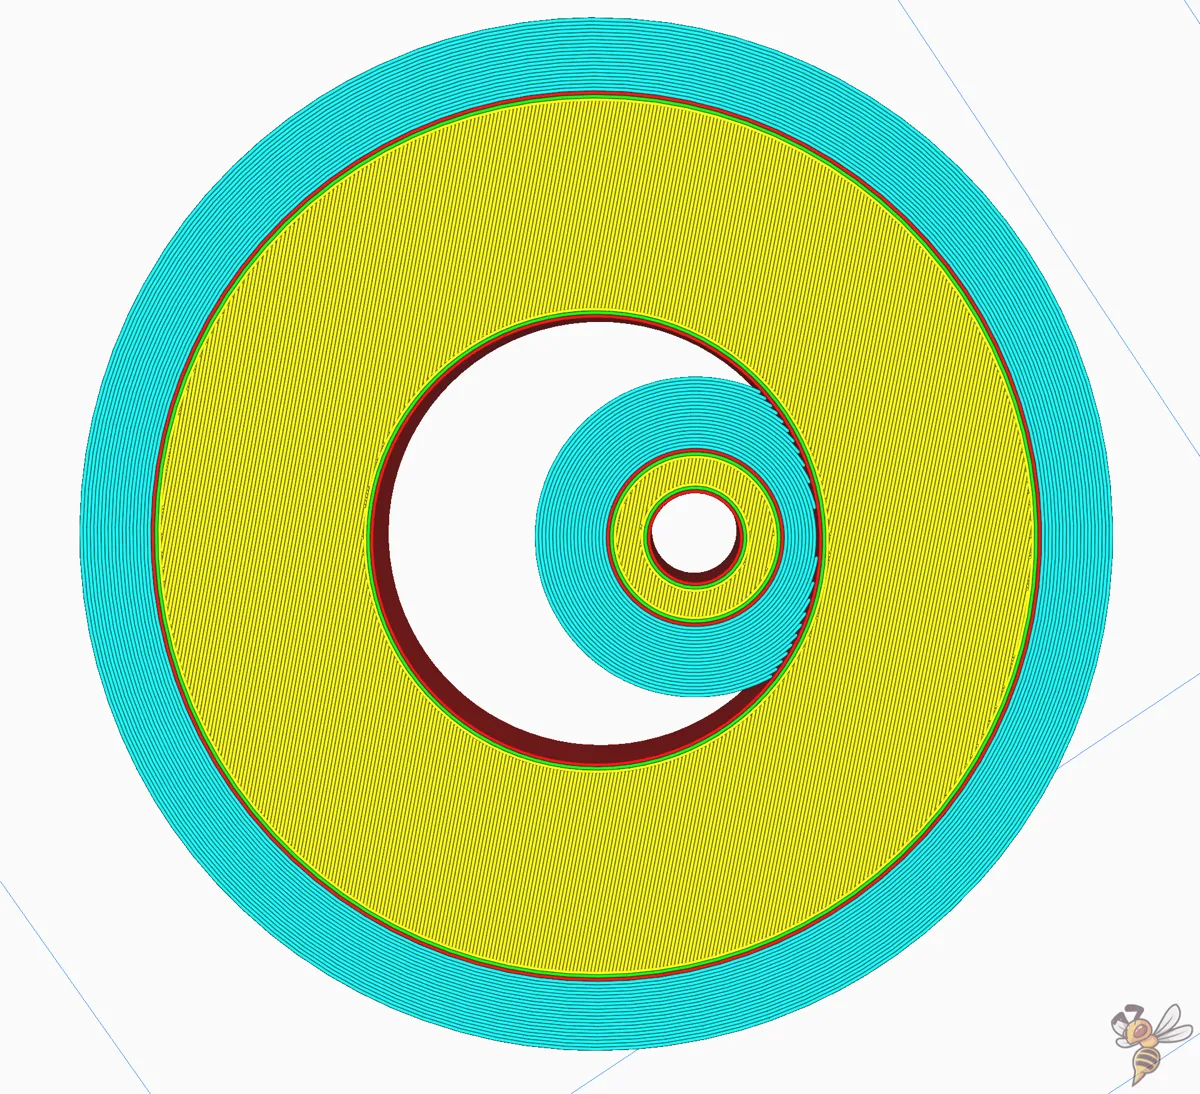
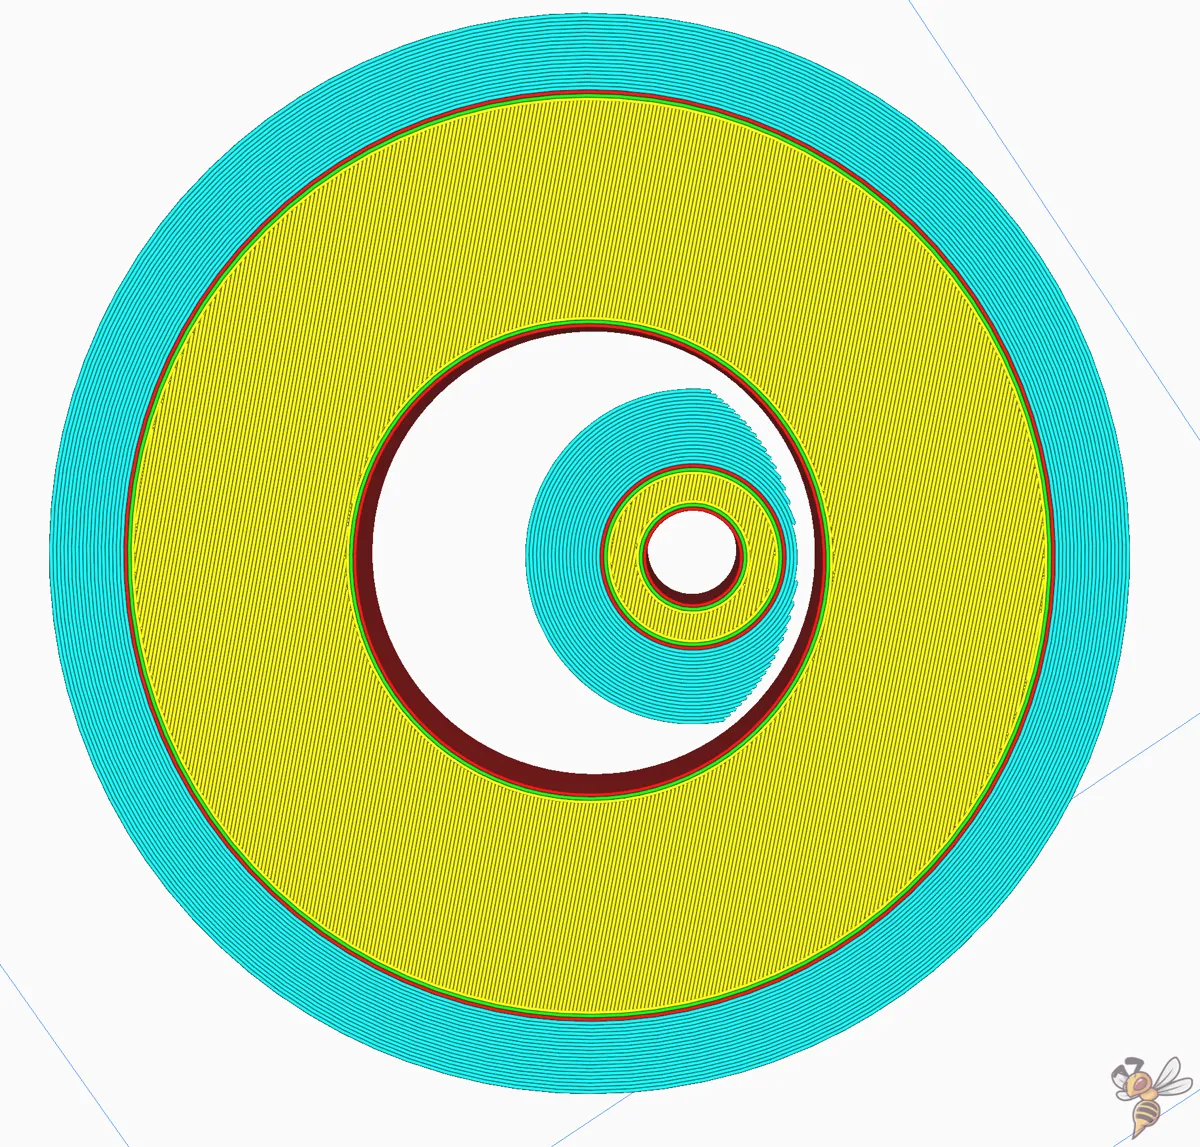
For prints with parts entirely enclosed within another part, Cura’s ‘Brim Inside Avoid Margin’ feature is outstanding. This feature eliminates all brim within a certain distance from internal holes, preventing the brim from sticking to adjacent internal structures.
By using this feature, you can ensure that the brim does not interfere with any internal structures of your model, while still benefiting from the improved adhesion and support that the brim provides. It’s a smart way to tailor the brim settings to the unique requirements of your model, ensuring the best possible print outcome.
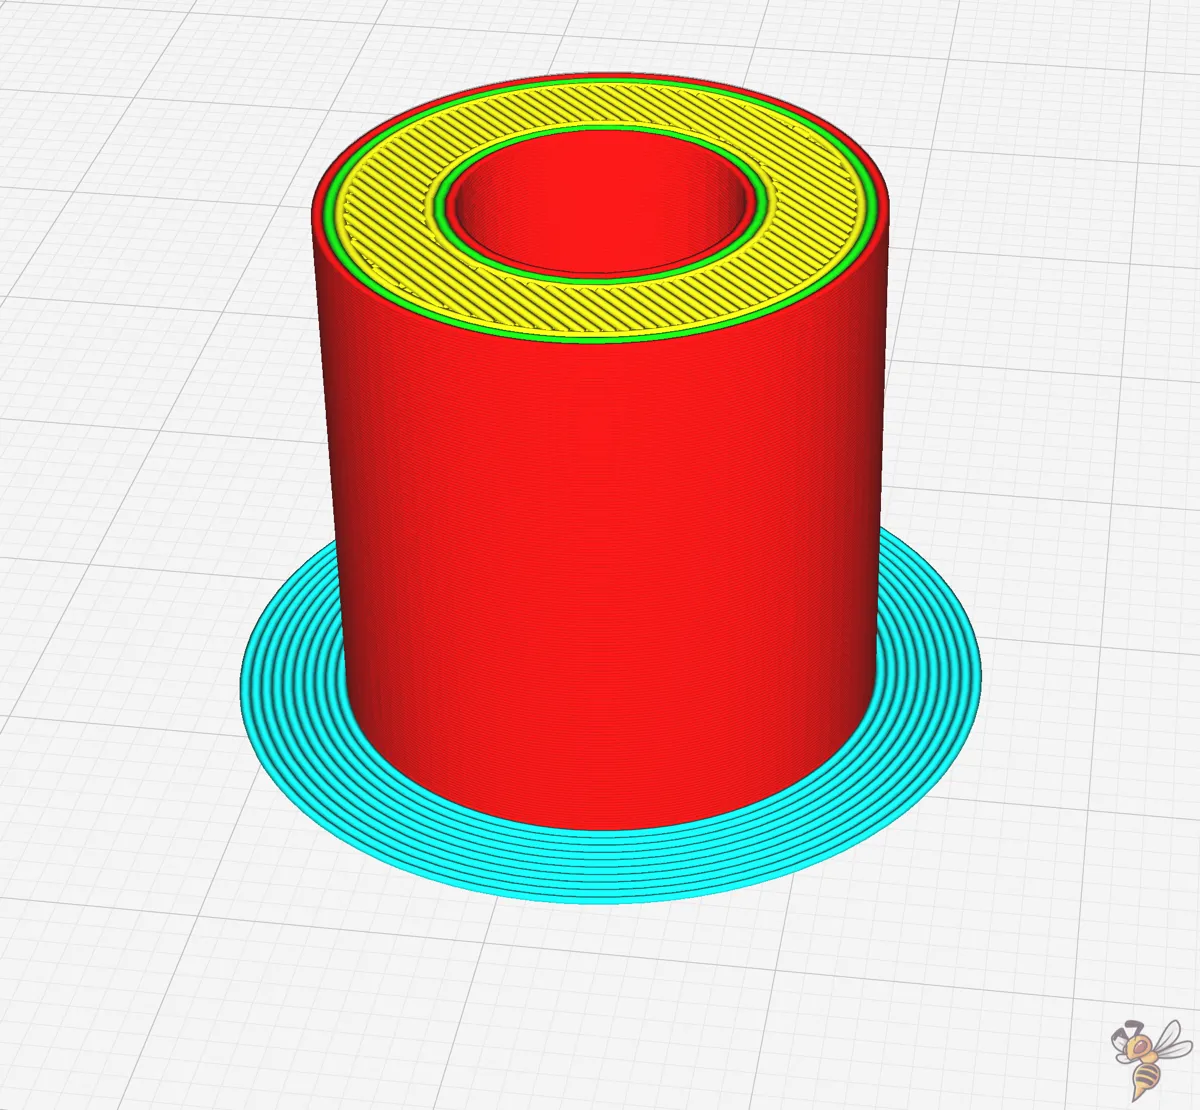
Smart Brim
Introduced in Cura 5.4, the Smart Brim feature revolutionizes the way brims are printed and removed.
The magic lies in the swap of the print order for the innermost and second innermost brim lines. By printing the second innermost line before the innermost one, the adhesion between the brim and the print is strategically reduced.
This subtle change in the sequence makes the innermost line less bonded to the print, thereby significantly improving the ease of brim removal. The result is a brim that fulfills its purpose during the print but doesn’t overstay its welcome, peeling away with less effort and leaving a cleaner finish on the print.
By addressing the challenges of removing traditional brims, Smart Brim offers the following benefits:
- Reduces the likelihood of excessive material being left on the final print
- Less clean-up required after the print is completed
- More efficient utilization of material
Troubleshooting Common Brim Issues
While brim settings can substantially enhance the 3D printing process, they can also present unique challenges. From inefficiently avoiding warping and detachment to difficult removal, a variety of issues can arise. But don’t worry – there are effective strategies for troubleshooting these issues, and we’ll explore them in the following sections.
Bear in mind, irrespective of the issue you’re encountering, success in 3D printing hinges on adjusting settings to meet the specific needs of your model and material. This includes everything from allowing the bed to adequately heat and stabilize its temperature for large 3D prints, to using other steps for improving print bed adhesion issues first (see further down in this article).
Warping and Detachment
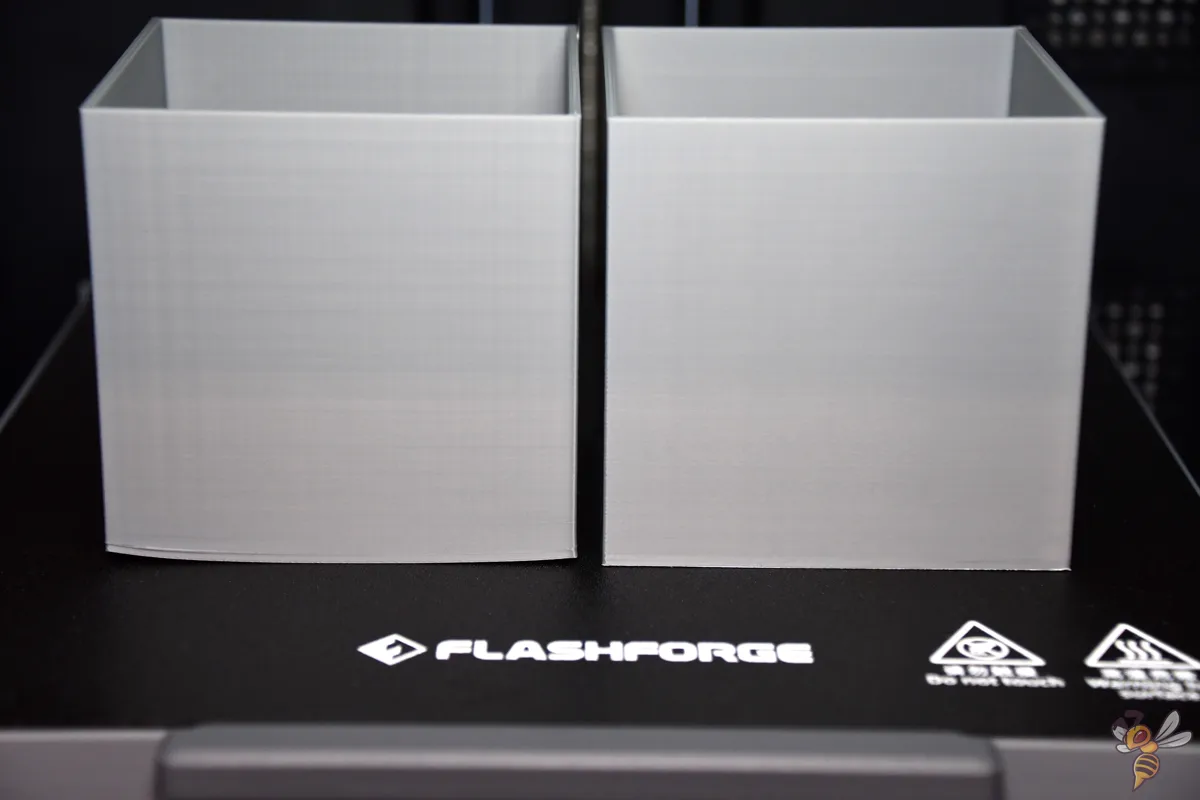
Warping, a frequent issue in 3D printing, results from material shrinkage that leads to the corners of the print lifting and detaching from the build plate. But with the right brim settings, this problem can be effectively tackled. A brim forces the print to stay attached to the bed, preventing warping on large flat-bottomed models.
The line count and width of the brim should be adjusted based on the surface area of the base layer, with larger areas requiring more lines for sufficient strength. So, if you’re printing a larger model or one with corners, increasing the brim width beyond default settings may be necessary for improved adhesion.
Difficult Removal
Users also commonly encounter difficulties in removing the brim from the print. Adjusting the brim gap/distance is one way to make removal easier. For instance, setting the brim distance to around 0.1 mm can strike the right balance between good adhesion and ease of removal.
But sometimes, even after tweaking the settings, the brim can still prove stubborn. In such cases, you can resort to a variety of tools and methods for brim removal, such as fine sandpaper to remove brim residues.
Additionally, Cura’s Smart Brim setting can address brim removal issues by ensuring brims peel off more smoothly, leaving less or no excess material behind.
Inconsistent Adhesion

Several factors can cause inconsistent brim adhesion, such as a dirty print bed, an incorrect initial layer flow rate, or unsuitable cooling settings. By ensuring a clean print bed, optimizing the initial layer flow rate, and carefully managing cooling settings, you can achieve consistent brim adhesion.
If you have trouble with bed adhesion in general, you should try these steps (read this guide for a full guide on print bed adhesion):
- Reduce the distance between the nozzle and the print bed: Decreasing the gap between the nozzle and the print bed means the filament is pressed more firmly against the surface, enhancing the bond between the two.
- Reduce the printing speed of the first layer: Slowing down the print speed allows the filament to remain hot and malleable for a longer period, which can improve its adhesion to the print bed.
- Deactivate the cooling of the first layer: By turning off cooling fans during the initial layer, the filament is able to maintain its temperature longer, ensuring a stronger adhesion as it cools and solidifies.
- Increase the print bed temperature: A warmer print bed keeps the filament heated for a more extended period, which can significantly improve the adhesion of the first layer to the print bed.
Cura Brim Settings for Different Materials
Every 3D printing material has unique challenges and requirements, and this is true for brim settings as well. Whether you’re working with PLA, ABS, or PETG, the brim settings can be adjusted to meet the specific needs of the material, ensuring optimal print results.
Let’s explore the recommended brim settings for these common materials, as well as other brim settings you might encounter.
PLA
PLA is a popular choice for 3D printing due to its ease of use and versatility. However, like any material, it benefits from the right brim settings to ensure proper adhesion to the print bed.
A common brim line count for PLA is three to five lines, which usually provides enough adhesion for most prints without excessive material use.
To enhance first-layer adhesion for PLA prints, start by setting the initial build plate temperature to 70 °C and then lowering it to 60 °C for the remaining layers. By adjusting the build plate adhesion settings, you can achieve optimal results when printing with PLA.
ABS
ABS, while being a durable and resistant material, tends to warp, which can present some challenges in 3D printing. To counteract warping and improve bed adhesion, a typical recommendation for the brim width of ABS in Cura is 8 mm.
For larger ABS models with corners or extensive warping issues, increasing the brim width beyond default settings may be necessary for improved adhesion. By customizing the brim settings to suit the specific requirements of ABS, you can ensure a successful and high-quality print.
PETG
PETG is another commonly used material in 3D printing, known for its strength and flexibility. For PETG, a brim gap of 0.3 mm is recommended for good adhesion and ease of removal, with a brim width setting of 8 mm.
When it comes to temperature settings, the bed temperature for PETG should be maintained between 60 to 90 °C to prevent warping and improve brim adhesion. The hot end should be tuned within a range of 220 to 250 °C, with the initial layer often needing a hotter temperature for better adhesion.
Another important factor to consider is the part cooling fan speed, particularly reducing it, as it affects brim adhesion and the ease of brim removal.
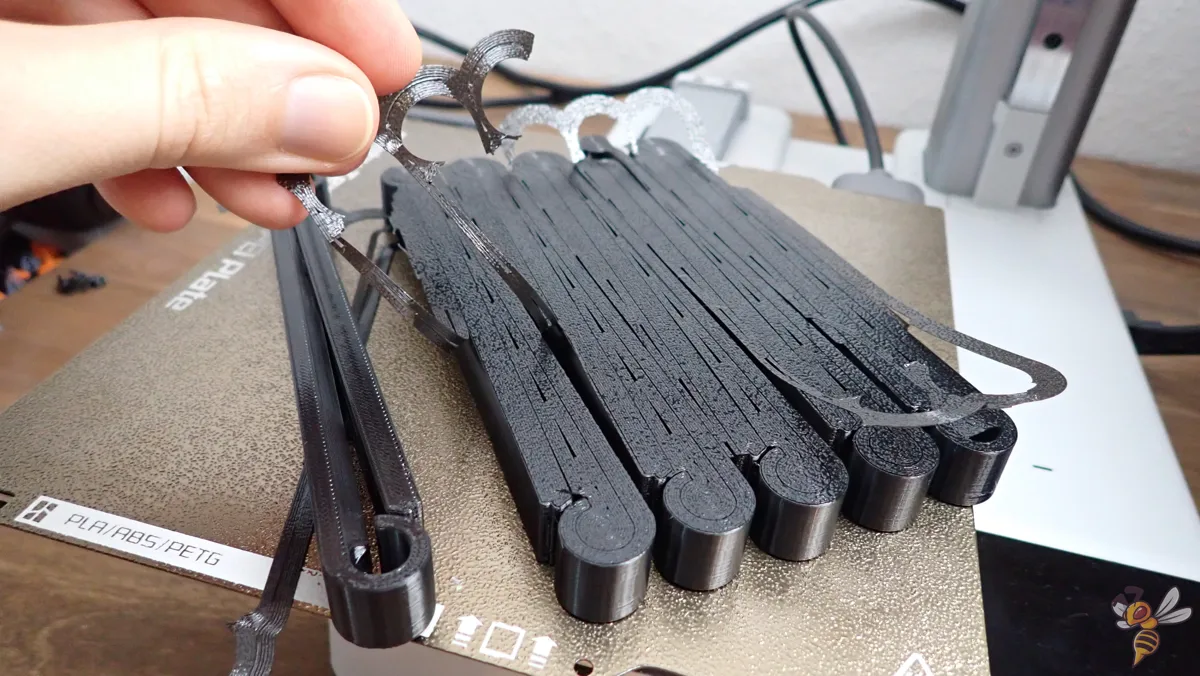
Cura Brim Alternative: Mouse Ears
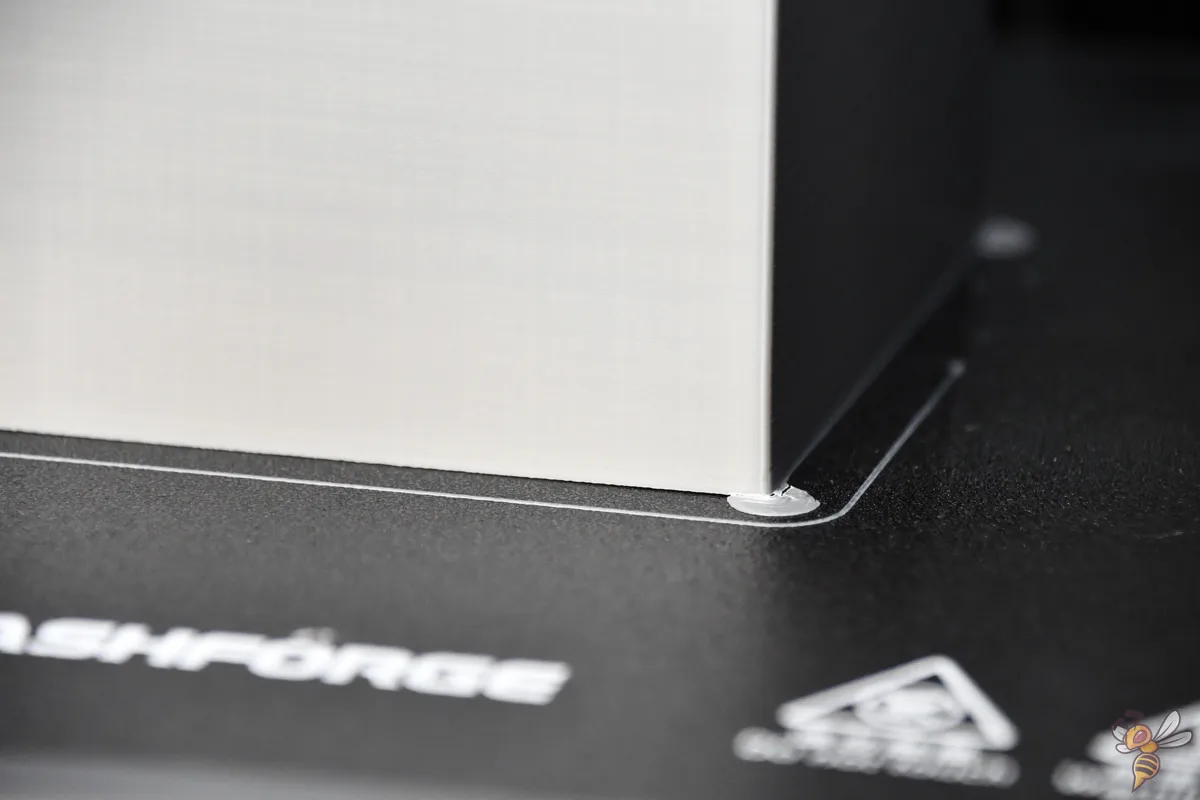
Mouse ears in 3D printing are small, disc-shaped additions that are placed at the corners or edges of a print to assist with bed adhesion, much like a brim. However, unlike a continuous brim, mouse ears are isolated to specific areas that are prone to warping or lifting. This targeted approach can be advantageous for several reasons.
Firstly, mouse ears use less material than a full brim. They are strategically placed only where needed, reducing the overall material consumption and print time. This makes them a cost-effective solution for improving bed adhesion without the excess waste associated with a full brim.
Another benefit of mouse ears is the ease of removal. Since they are smaller and not connected to the entire perimeter of the print, they can be quickly and easily removed with minimal effort. This can be particularly useful when printing objects with delicate or finely detailed edges, as there’s less risk of damaging the main print during post-processing.
Mouse ears also offer a practical solution for prints with irregular shapes or those that only have certain areas susceptible to lifting. By adding mouse ears to these specific locations, you can provide the necessary adhesion support where it’s most needed without affecting the rest of the print’s base.
In terms of application, mouse ears can be manually added to the 3D model before slicing or, in some cases, generated by the slicing software itself. The size and thickness of the mouse ears can be adjusted based on the print’s requirements, with larger ears providing more adhesion force for heavier or larger prints.
FAQ – Frequently Asked Questions
What is a brim in Cura?
A brim in Cura is a 3D-printed border that extends from the edges of the printed part, providing a greater surface area for adhesion to the print bed. Unlike a skirt, the brim is connected to the 3D-printed part.
What is the best brim setting for 3D printing?
A wider brim, around 8 mm, generally provides better first layer adhesion for 3D prints. If you have trouble with removal, set a wider brim distance.
Is a brim better than a skirt?
Brims are better than skirts for improving bed adhesion during 3D printing, as they provide physical support to enhance first layer adhesion. A skirt only ensures smooth filament flow.
What is the purpose of a brim in 3D printing?
The purpose of a brim in 3D printing is to serve as a adhesion enhancing structure, helping to keep the print securely in place during the process by enhancing adhesion and preventing warping.
How can I improve the removability of a Cura Brim?
For easier brim removal, adjust the brim distance in Cura to create a weaker bond. The Smart Brim feature also aids in this by altering the print order of the brim lines. Lastly, a well-prepared print bed and the right tools can ensure a clean removal.
Disclosure: This website is the property of Martin Lütkemeyer and is operated by Martin Lütkemeyer. Martin Lütkemeyer is a member of the Amazon Services LLC and other Affiliate Programs. These are affiliate advertising programs designed to enable websites to earn advertising revenue through advertising and linking to Amazon.com and others. Links marked with * are affiliate links.
