- Wet Filament: Prevention, Symptoms & Drying - July 18, 2024
- Sovol SV08 – Best PrusaSlicer Settings & Profile - June 26, 2024
- Sovol SV08 – Best Orca Slicer Settings & Profile - June 26, 2024
Disclosure: Links marked with * are Affiliate Links. I earn from qualifying purchases if you decide to make a purchase through these links – at no additional cost for you!
Printing flexible filaments is a challenge with most 3D printers. The Cambrian Pro* not only has a direct drive extruder, it was even designed specifically for flexible filaments. Even the rubber-like TPR filament can be printed flawlessly by the Cambrian Pro, although it is much more flexible and stretchable than TPU.
This 3D printer was not only developed for the hobby area, it is also suitable for professional use due to its high quality. Its ability to print flexible filaments makes it interesting for a variety of applications.
I’ve been hands-on testing this 3D printer and in this detailed review, I’ll show you what it can offer you and how it handles the rubbery TPR filament.
Check Price at:
Table of Contents:
- 1 Key Takeaways
- 2 Who Should Buy the Cambrian Pro?
- 3 Advantages & Disadvantages > Atomstack Cambrian Pro Review
- 4 Technical Specifications > Atomstack Cambrian Pro Review
- 5 Scope of Delivery > Atomstack Cambrian Pro Review
- 6 Setup > Atomstack Cambrian Pro Review
- 7 Features > Atomstack Cambrian Pro Review
- 7.1 Specialization on Flexible Filaments
- 7.2 Professional Orientation for Products
- 7.3 TPR Filament
- 7.4 Two Interchangeable Extruders
- 7.5 High Filament Compatibility
- 7.6 Glass Print Bed
- 7.7 Silent TMC2225 Stepper Motors
- 7.8 Easy Assembly
- 7.9 Intuitive Menu With 4.3” LCD Touch Screen
- 7.10 Stylish Metal Frame – Professional Look
- 7.11 Minimalist Wiring
- 8 Heating Times > Atomstack Cambrian Pro Review
- 9 Noise Level > Atomstack Cambrian Pro Review
- 10 Operation > Atomstack Cambrian Pro Review
- 11 Slicer > Atomstack Cambrian Pro Review
- 12 Print Quality > Atomstack Cambrian Pro Review
- 13 Is the Cambrian Pro Worth It? > Atomstack Cambrian Pro Review
Key Takeaways
- Can print rubber (TPR)
- Comes with two direct drive extruders for 1.75 and 2.85 mm filament
- Specially designed for flexible filaments and prints them excellently
- Suitable for hobby and professional users
Who Should Buy the Cambrian Pro?
The Cambrian Pro is designed for flexible filaments and can even print the rubbery TPR. So if you plan to print a lot with flexible filaments or even make products for customers out of flexible material, the Cambrian Pro is perfect for you.
Advantages & Disadvantages
> Atomstack Cambrian Pro Review
PRO:
- Perfect for flexible filaments
- Can print rubber
- Stable construction
- Quiet
- Simple assembly and operation
- Large touch screen
- Can process 1.75 and 2.85 mm filaments
- Cura compatible and offers standard profiles
CON:
- Touchscreen elements are partly very small
- Average accuracy for standard filaments
Technical Specifications
> Atomstack Cambrian Pro Review
DEVICE
- Technology: FDM
- Size: 462 x 452 x 635 mm
- Weight: 9,5 kg
- Operation: 4.3” LCD touch screen
PRINTING
- Print volume: 235 x 235 x 250 mm
- Layer thickness: 0.1 – 0.3 mm
- XY accuracy: 0.1 mm
- Z Accuracy: 0.1 mm
- Print speed: max. 100 mm/s
- Extruder: direct drive extruder
- Filament diameter: 1.75 and 2.85 mm
- Filaments: TPR, PLA, ABS, TPE, TPU, PA+, PETG, etc.
- Print bed leveling: manual, assisted
- Filament sensor: yes
SOFTWARE
- Slicer: Cura (recommended)
- Operating system: Windows, MacOS
- Connectivity: SD card
Scope of Delivery
> Atomstack Cambrian Pro Review
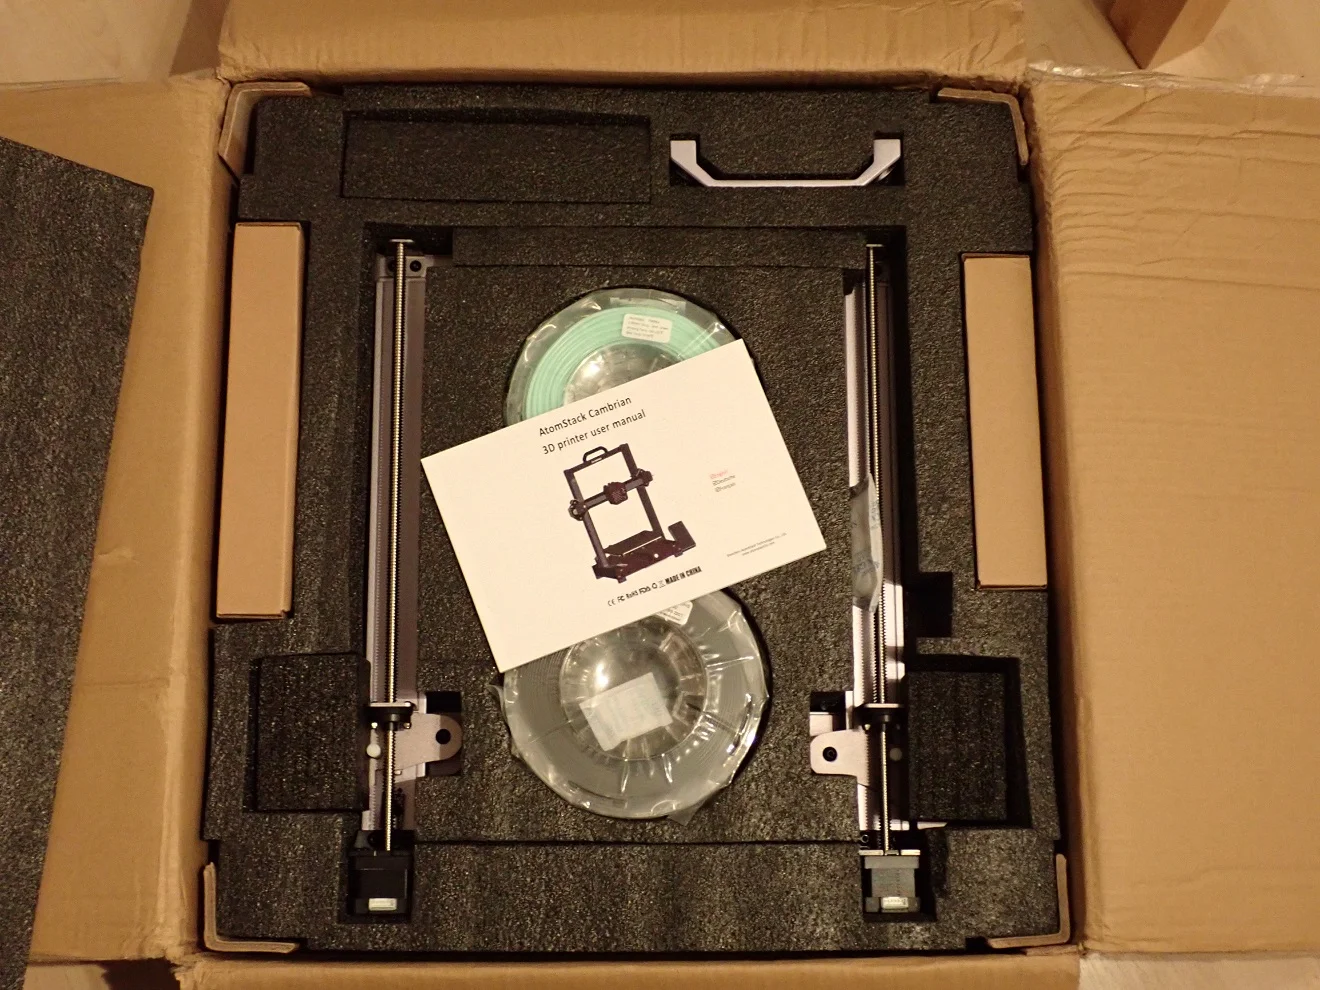
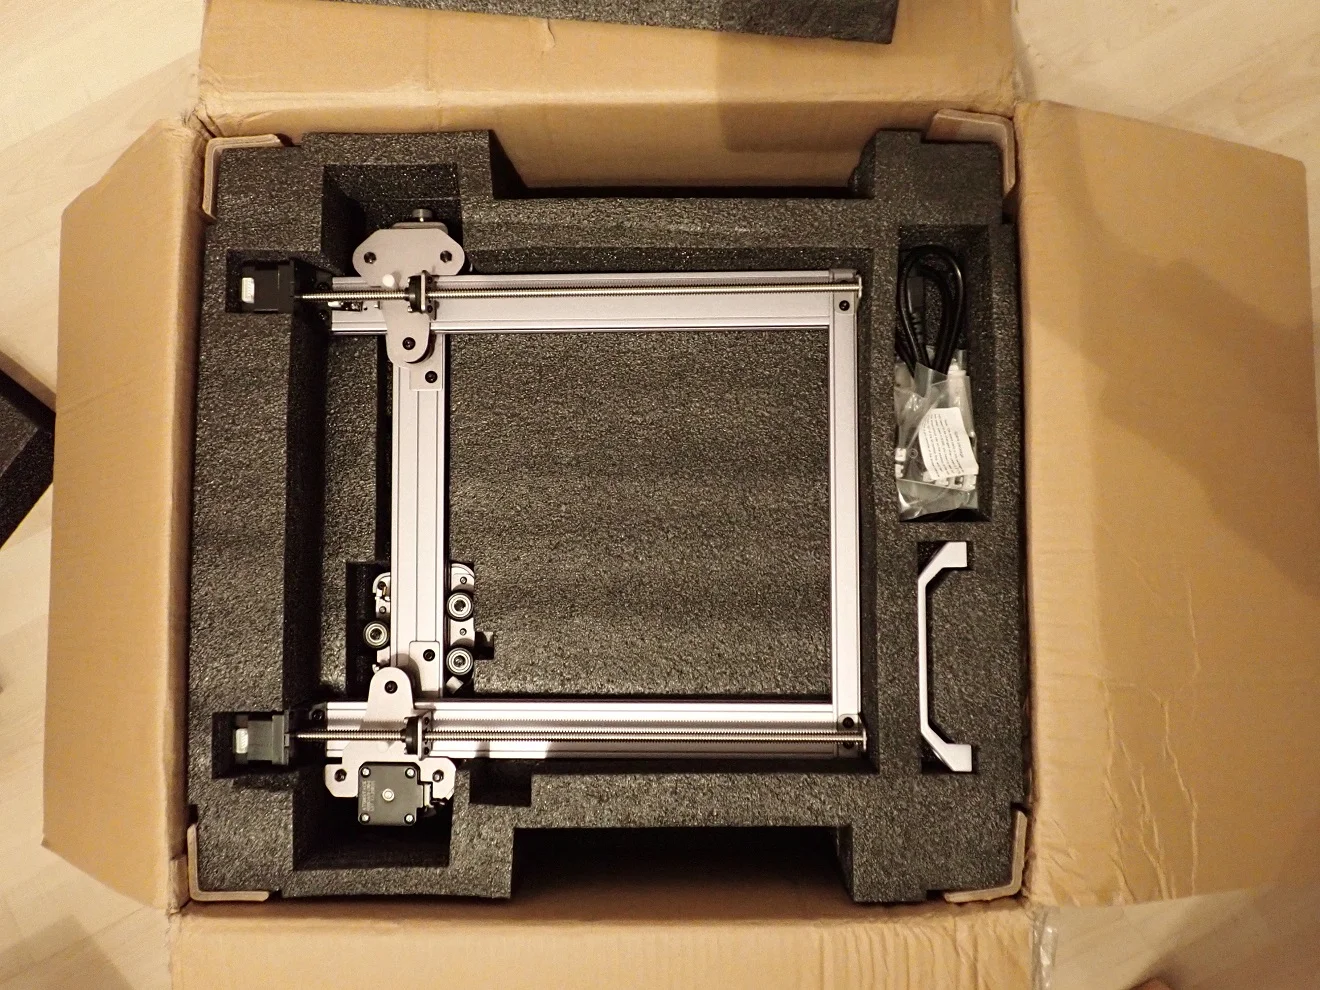
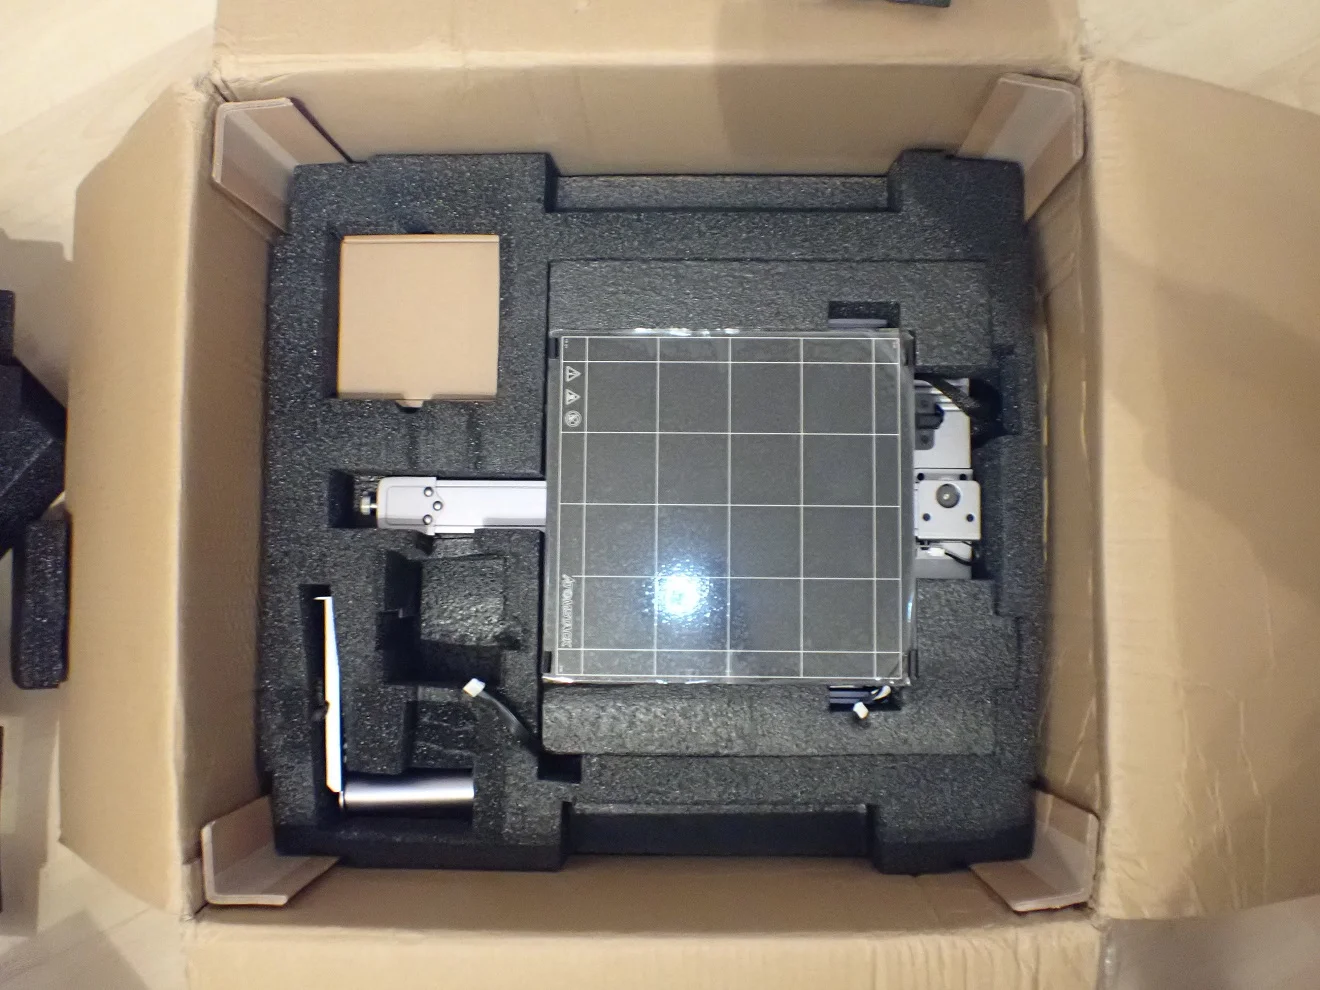
Right out of the box, you get the feeling that the Cambrian Pro is a high-quality product. The packaging is very cleverly designed, protects all components and is arranged very space-saving.
After removing the top foam layers and the included TPR and PLA Filament, you can already see the metallic components of the 3D printer.
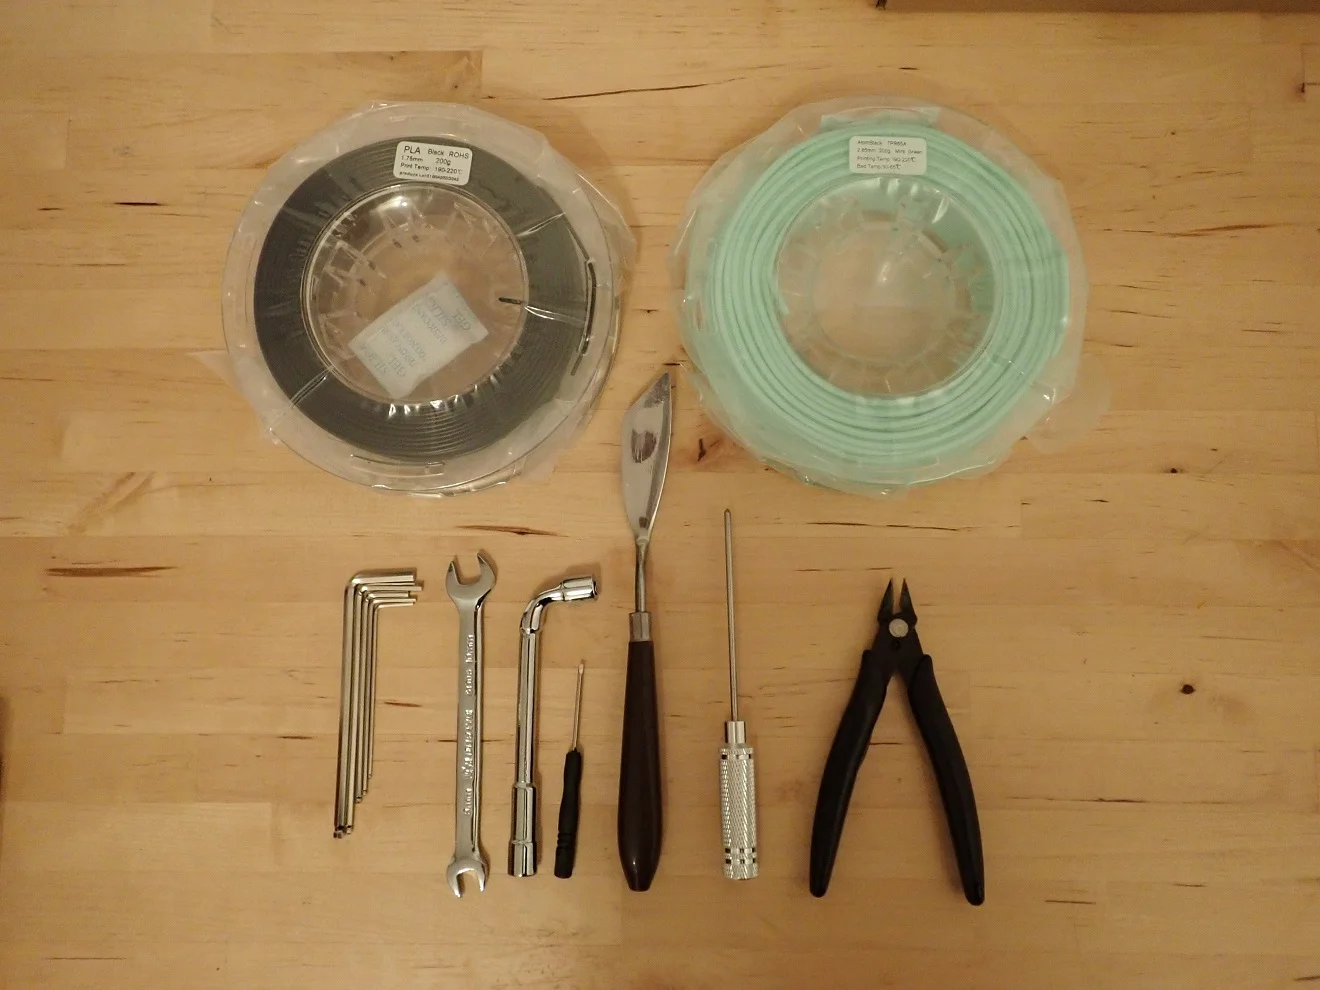
The scope of delivery includes everything to start with the first test prints. I find it very positive that two different direct-drive extruders are included. One for 1.75 mm filaments and one for 2.85 mm filaments.
Included with the Atomstack Cambrian Pro are the following items:
- 200 g of 2.85 mm TPR filament
- 200 g 1.75 mm PLA filament
- Partially pre-assembled 3D printer
- Operating instructions
- MicroSD card with test model, instruction manual, etc.
- MicroSD-USB adapter
- direct drive extruder for 2.85 mm filament
- direct drive extruder for 1.75 mm filament
- Tools:
- Spatula
- Socket wrench for the nozzle
- Allen keys
- 10 mm wrench
- Nozzle cleaning device
- Side cutter
- Screwdriver
Setup
> Atomstack Cambrian Pro Review
The assembly of the Cambrian Pro is done within 10 to 30 minutes – depending on how much experience you have with assembling 3D printers. The printer is assembled in a few steps and the entire process is very well explained by the included instruction manual. For each step, there are individual bags of screws that are labeled accordingly. It feels a bit like Lego.
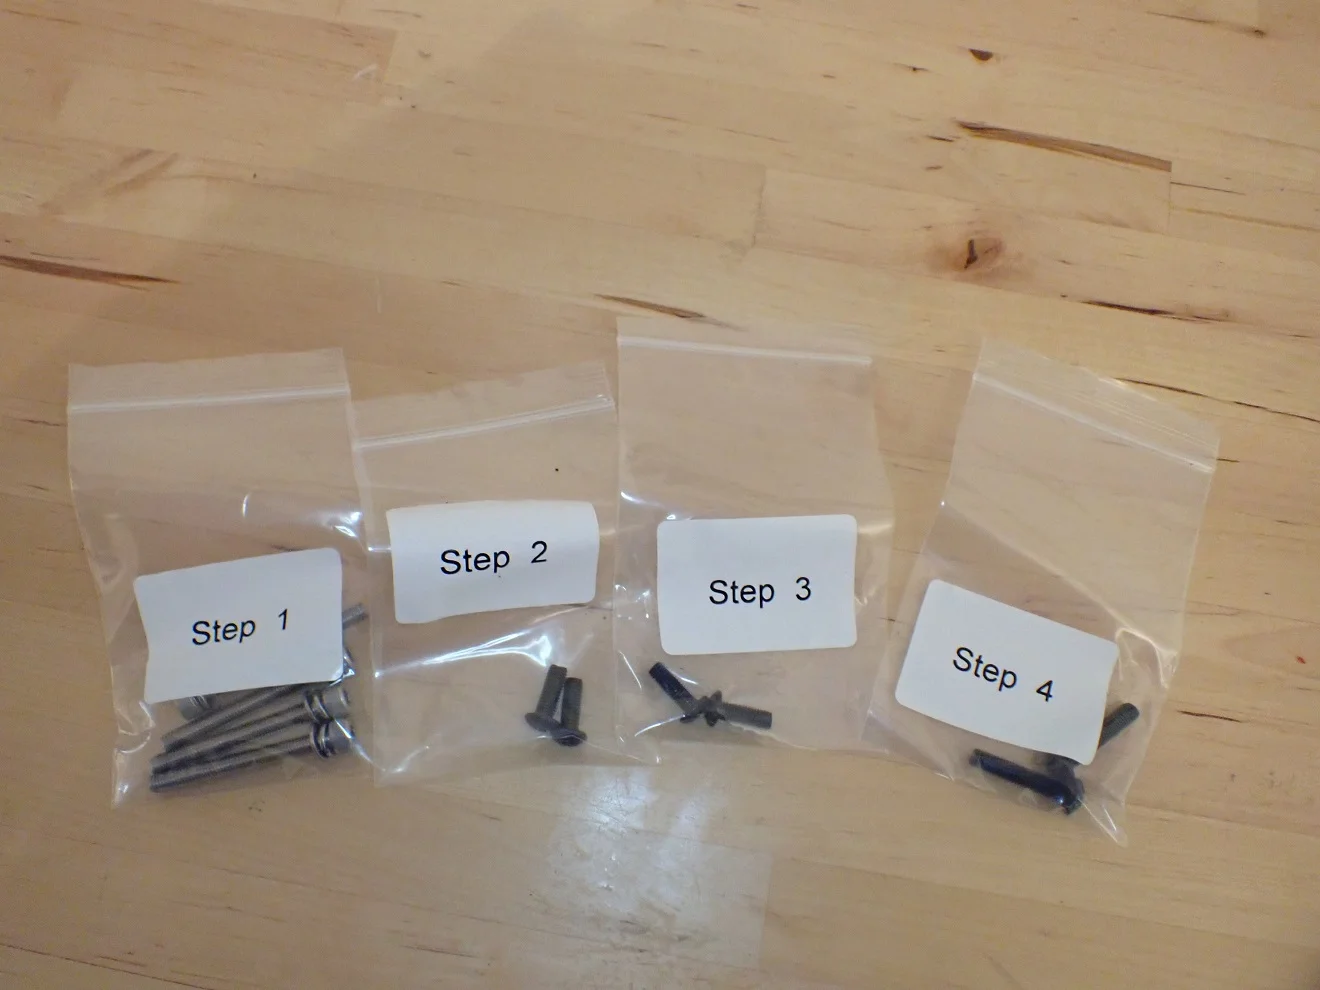
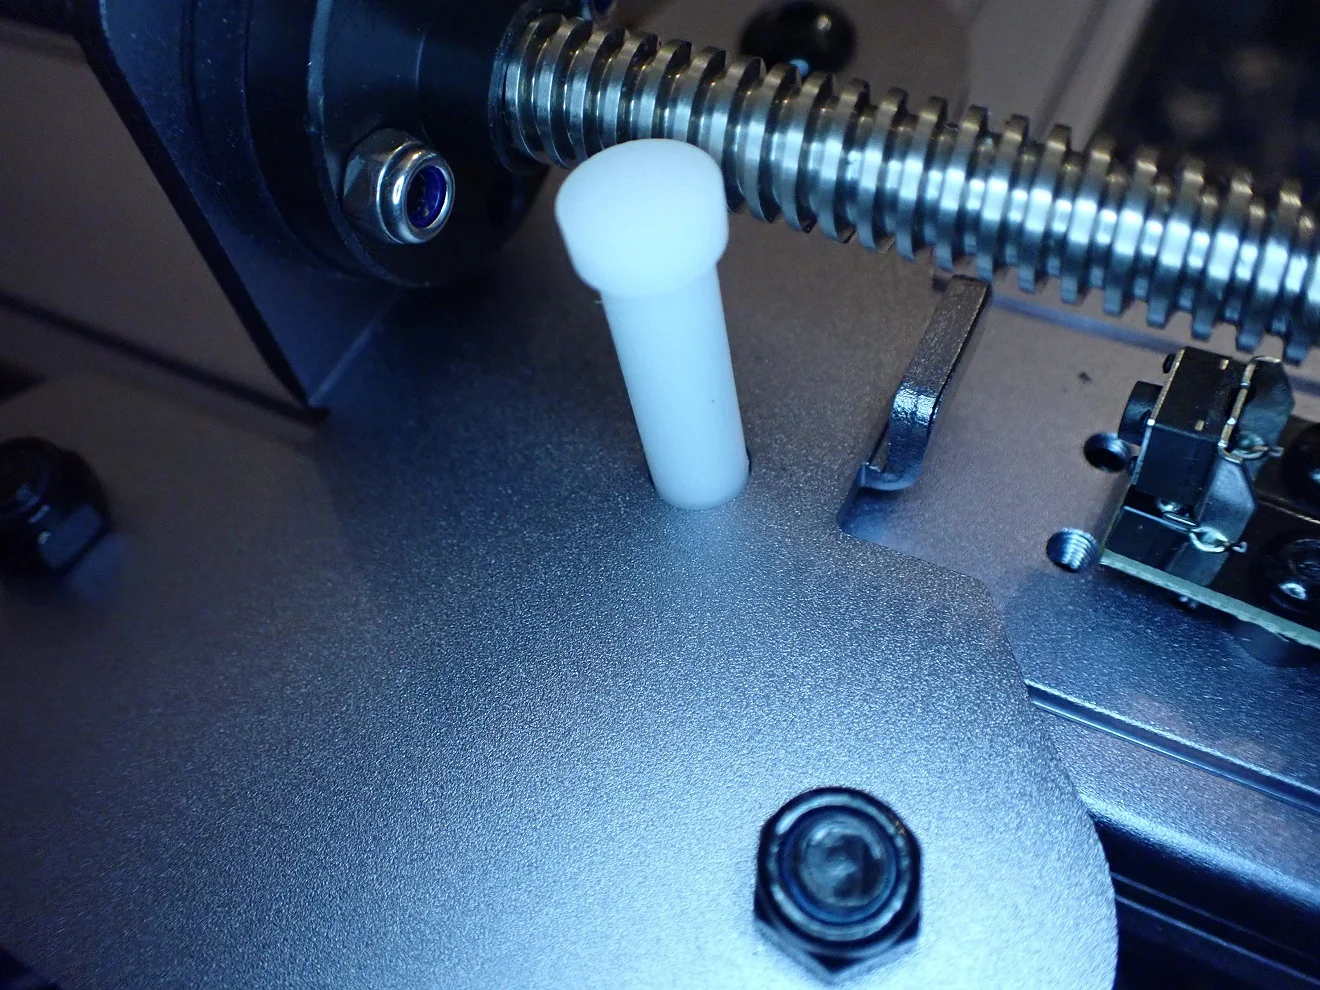
These are the steps to assemble the Atomstack Cambrian Pro:
- Set the input voltage to the correct value for your mains supply (either 115 or 230 V).
- Remove the transport lock of the Z-axis.
- Mount the Z-axis to the 3D printer base.
- The LCD touch screen is fixed on the side with two screws.
- Mount the filament holder and the handle on the Z-axis.
- Connect all cables. The cables are already mounted and partially glued to the frame so that a wrong connection is not possible. Many cables are unlike other 3D printers FFC cables and just have to be plugged into the appropriate slots.
- Leveling the print bed
- Optional: Changing the extruder (by default the E285 extruder for 2,85 mm filament is mounted)
Print Bed Leveling
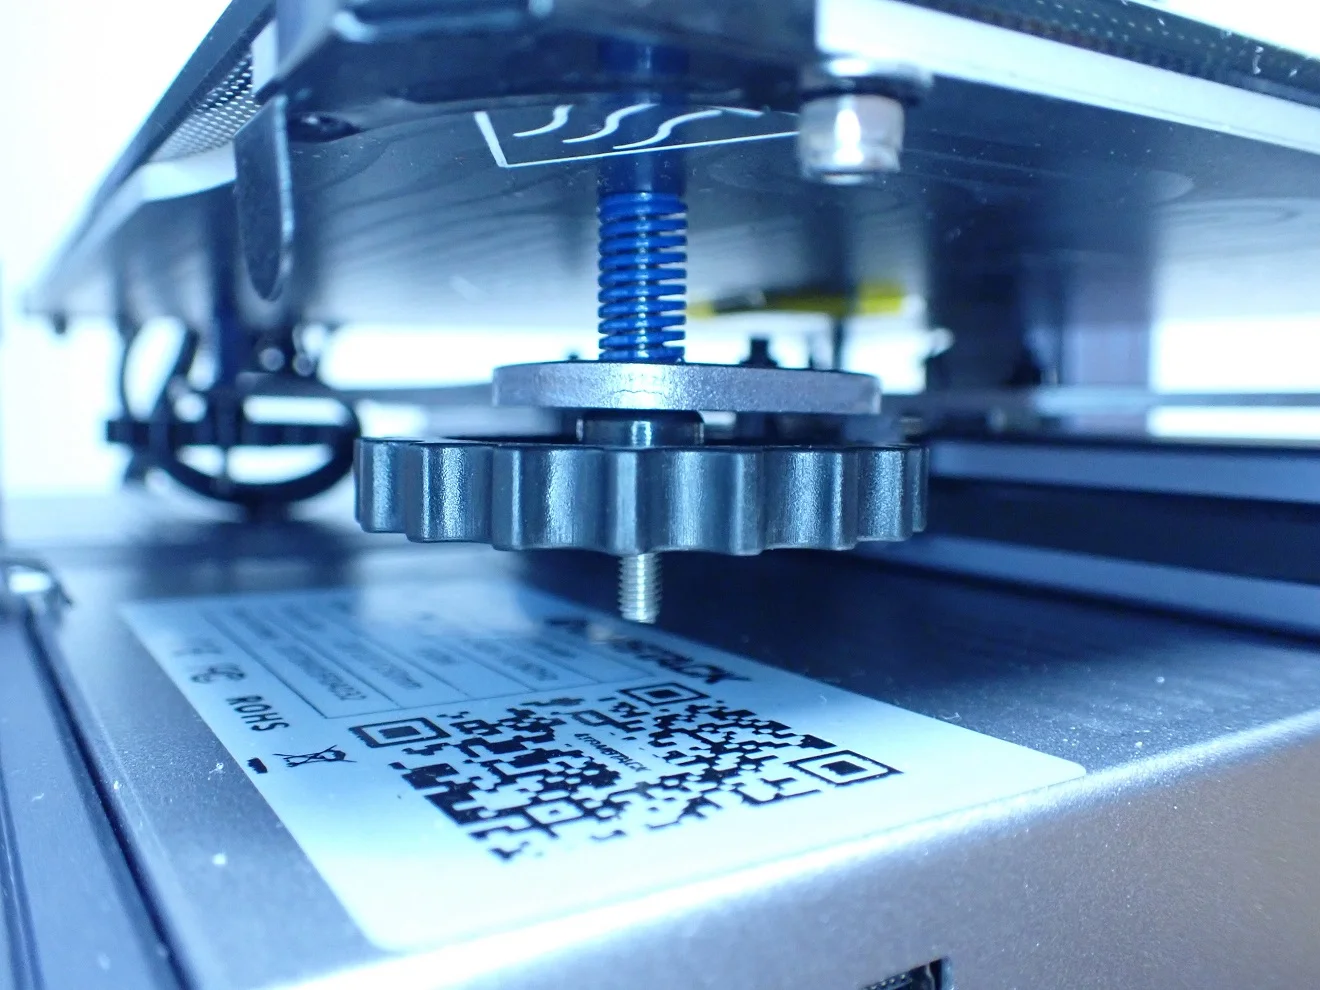
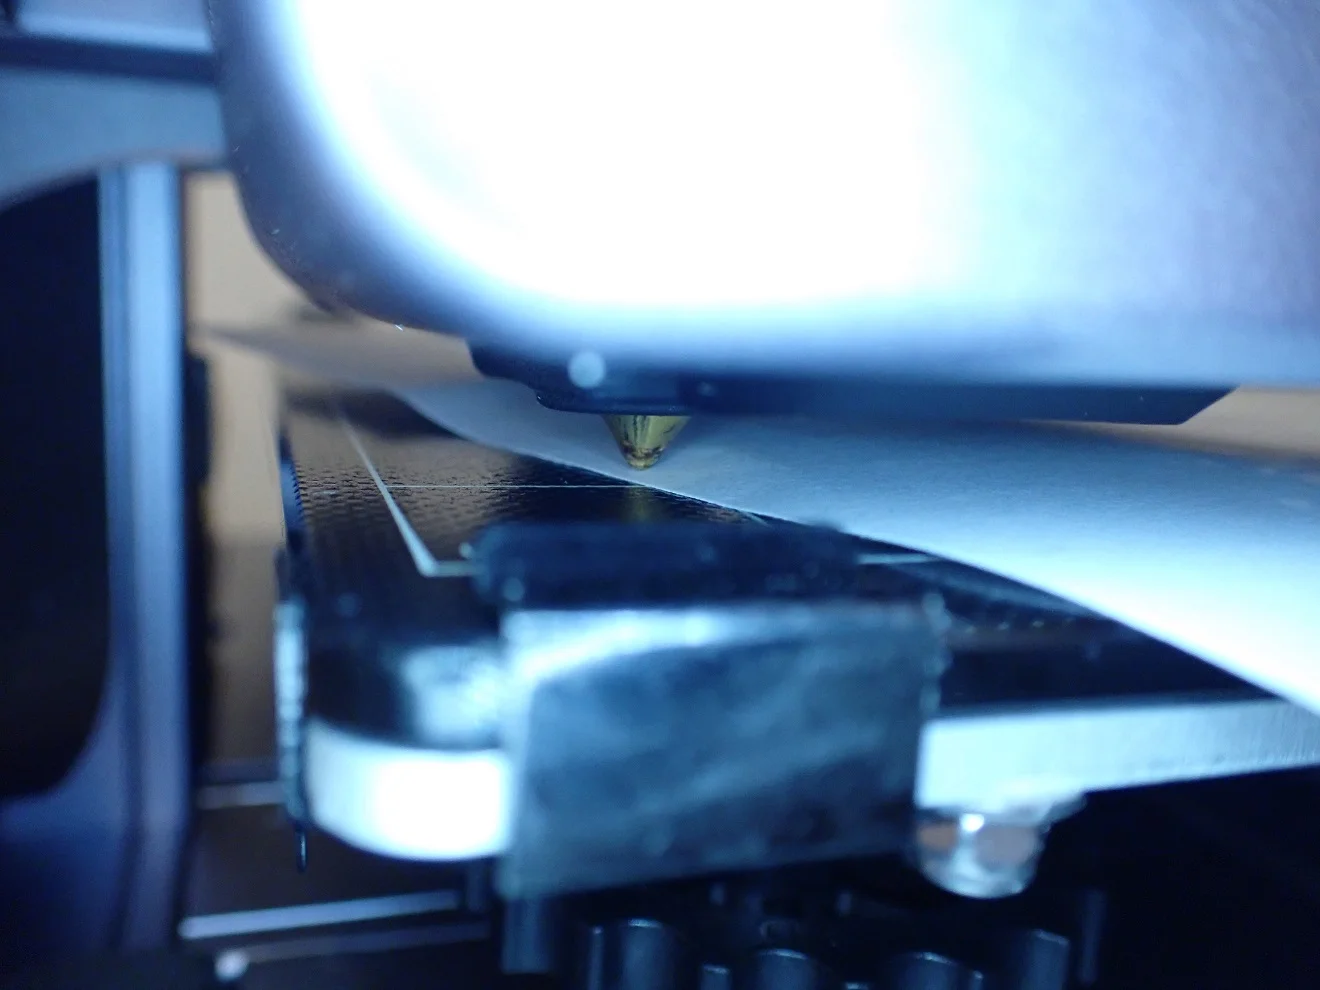
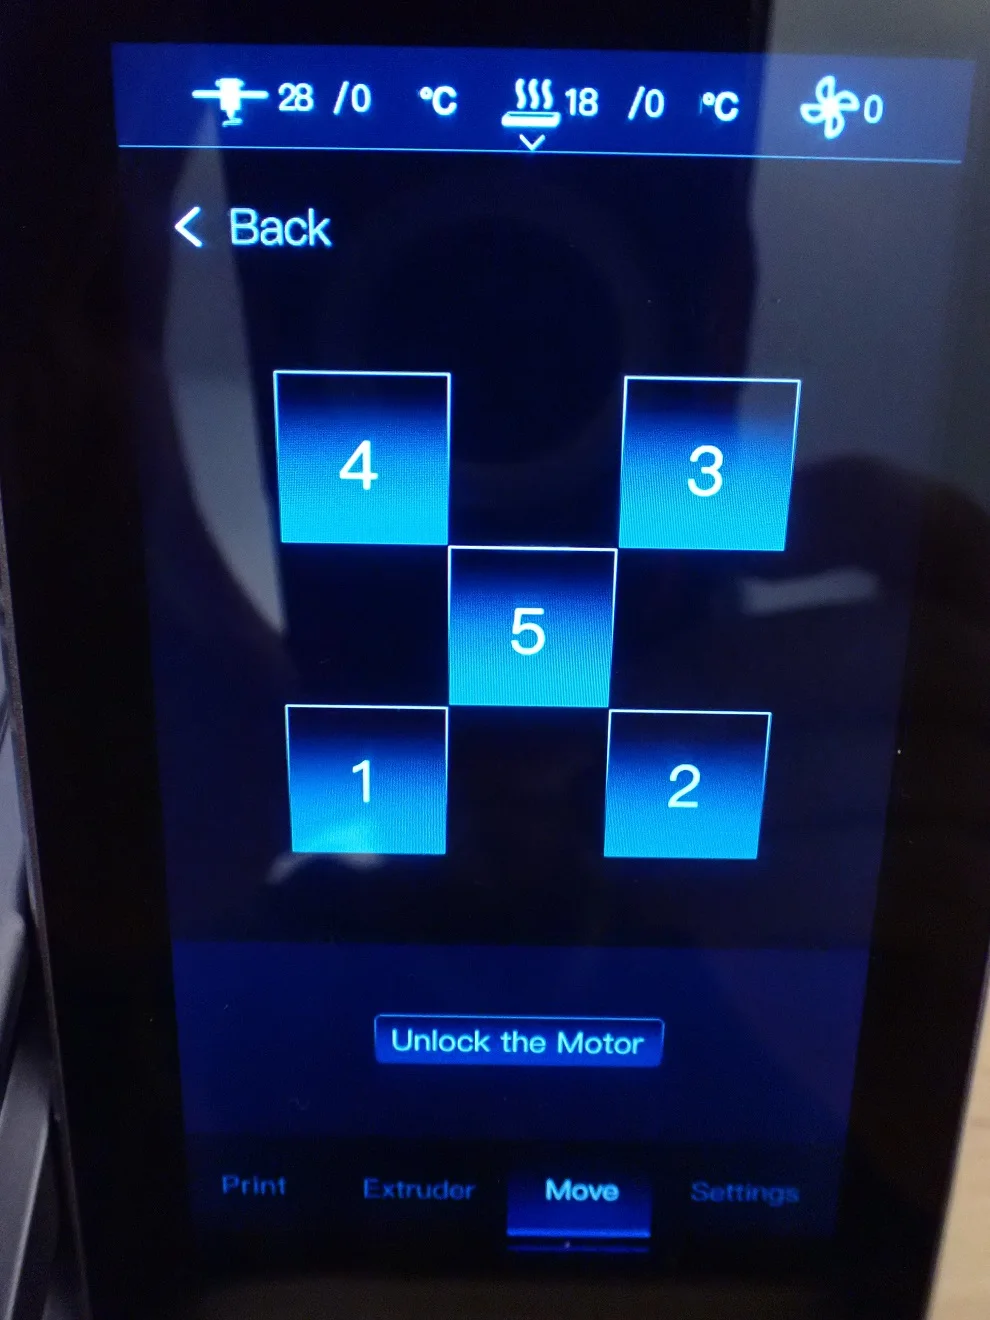
The Cambrian Pro requires you to level the print bed manually with a piece of paper. Through the menu, you can assist leveling by having the print head move to 5 preset positions on the print bed at the touch of a button.
You then only have to adjust the distance between the nozzle and the printing plate with the rotary screws under the print bed. The distance should be adjusted so that the piece of paper can be moved back and forth between the nozzle and the print bed with some friction.
If you have adhesion problems later, you should repeat the leveling process and make sure that the distance is set correctly. If the gap is too wide, the first layer will not bond properly to the print bed and may peel off quickly.
Change the Extruder if Necessary
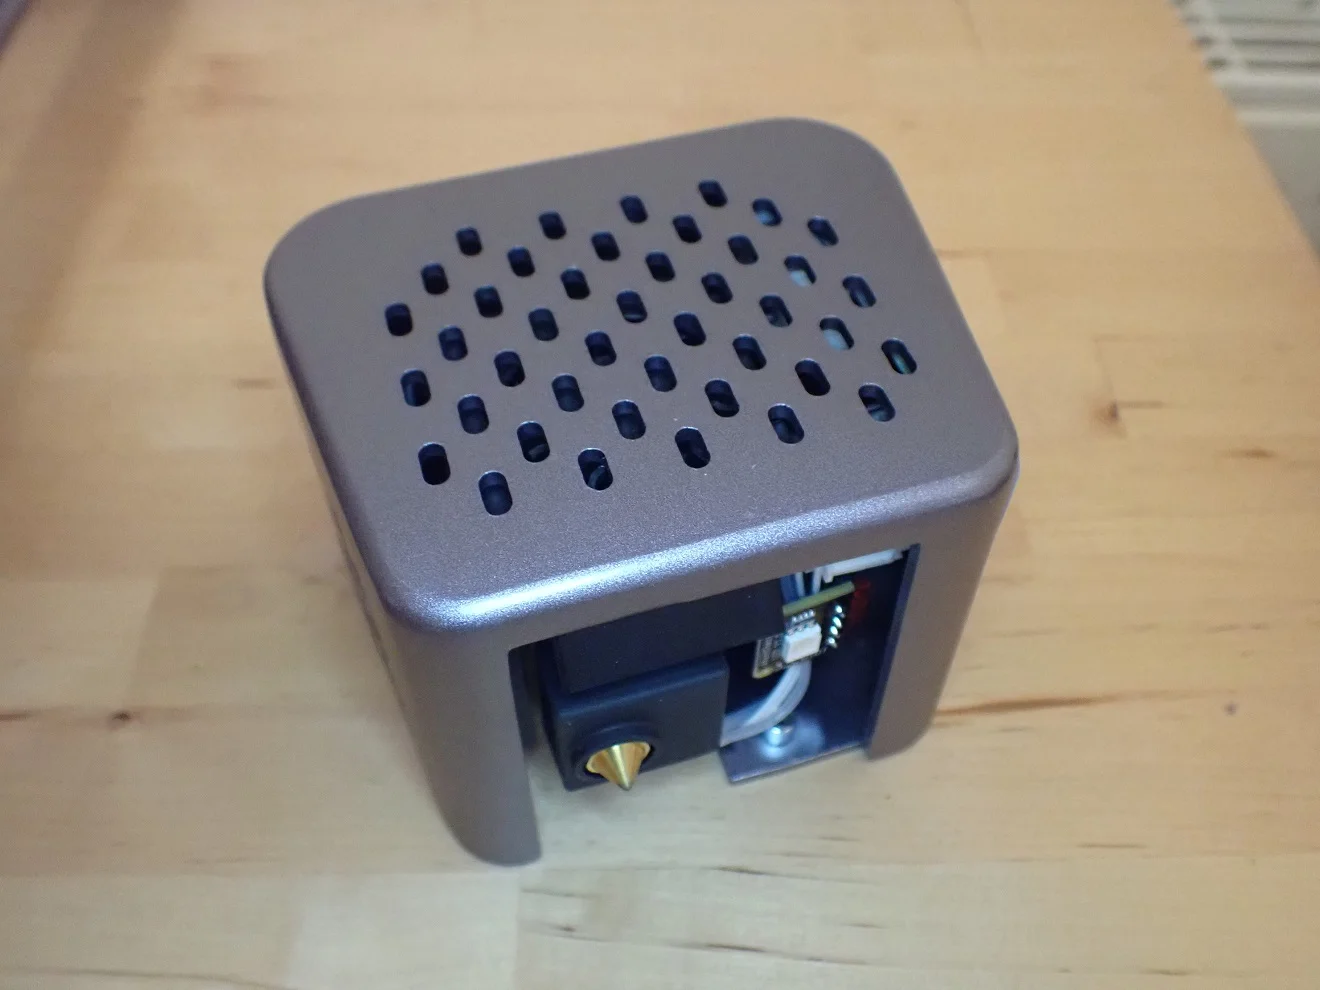
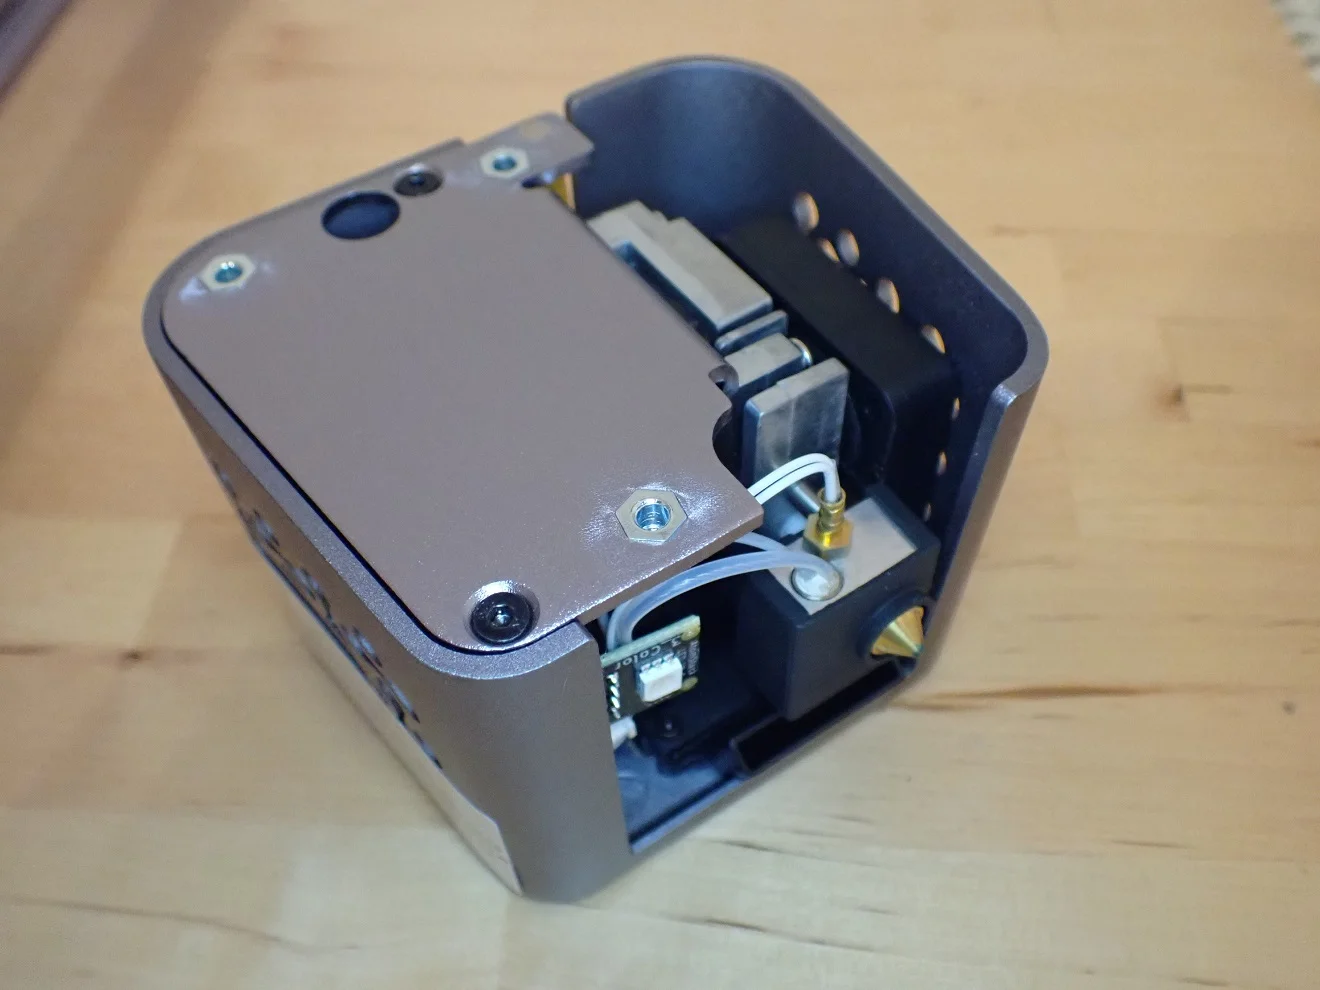
The direct-drive Extruder for 2.85 mm filament is installed by default. With this, you can directly start printing the included flexible TPR filament.
If you want to remove the extruder, you just have to loosen the three screws on the back of the extruder and unplug the FFC cable. A small screwdriver is included to unplug and plug in the FFC cable without damaging it.
To mount the new extruder you have to screw it back to the X-axis with the three screws and fix the FFC cable. The whole process takes only a few minutes.
My tip: Be sure to re-level the print bed afterward!
Features
> Atomstack Cambrian Pro Review
The Cambrian Pro from Atomstack* has many features that make it a professional 3D printer. Especially the specialization on flexible filaments is well done by Atomstack. The two interchangeable direct-drive extruders for 1.75 and 2.85 mm are ideal for printing flexible filaments.
The design of the extruder even allows printing the TPR filament from Atomstack. This filament is extremely flexible and very similar to rubber. It is even more flexible than soft TPU variants. This allows the Cambrian Pro to print entire shoes or other products from flexible material.
Besides the professional look, the operation is also straightforward. The fact that it can also be easily operated with Cura makes it interesting not only for the professional sector but also for the hobby sector.
Specialization on Flexible Filaments
The focus on flexible filaments makes the Cambrian Pro special. Since it comes standard with two different direct-drive extruders for 1.75 and 2.85 mm filaments, it is ready to process all flexible filament types.
In contrast to Bowden extruders, the extruder of direct drive extruders is located directly in the print head behind the nozzle. This means that the distance between the extruder and the nozzle is as short as possible.
This is important with flexible filament, otherwise, it could get tangled in the Bowden Tube. In addition, the extrusion would not be as accurate, as the flexible filament in the Bowden Tube could partially compensate for the feed. Especially the TPR filament from Atomstack is so flexible that it would be difficult to print with a Bowden extruder.
I myself was surprised how easily I could print flexible filaments with this 3D printer. The print bed is ideal for TPU, TPR or other flexible filaments and provides very good print bed adhesion and the extruders are easy to change and produce great results. I have never once had a problem with the filament getting tangled.
Professional Orientation for Products
Atomstack advertises that with the Cambrian Pro you can print end products for your customers in series. For example, it is possible to print complete shoes or their components in one piece from a flexible material.
But also its exterior gives the Cambrian Pro a professional impression. The gray and matte metal surfaces look very classy and robust. The touchscreen is of very high quality, in color and very responsive to touch.
But also the other processing including the FFC cables signal professionalism and high quality. Although the design of the printer is not really different from classic 3D printers like the Ender 3 V2, it is the implementation that makes the professional orientation.
TPR Filament

The included sample of 200 g TPR filament has a diameter of 2.85 mm and can be processed with the pre-assembled direct drive extruder.
The TPR filament is extremely flexible and much more stretchy than TPU. This also makes it very difficult to print. Most other 3D printers would come to their limits with TPR filament. Especially Bowden extruders would have problems and it would constantly come to filament jams.
Print quality with TPR filament is as good as any other filament with the right settings. However, it tends to blob a little more because it is so flexible and accumulates easily. But it is very easy to remove from the printing plate after printing.
When I removed the first test print from the printing plate, I was amazed to find that the flexibility of the finished object was just as high as the original material on the spool. I am not used to this high flexibility of TPU and it gave me many ideas for interesting objects.
Two Interchangeable Extruders
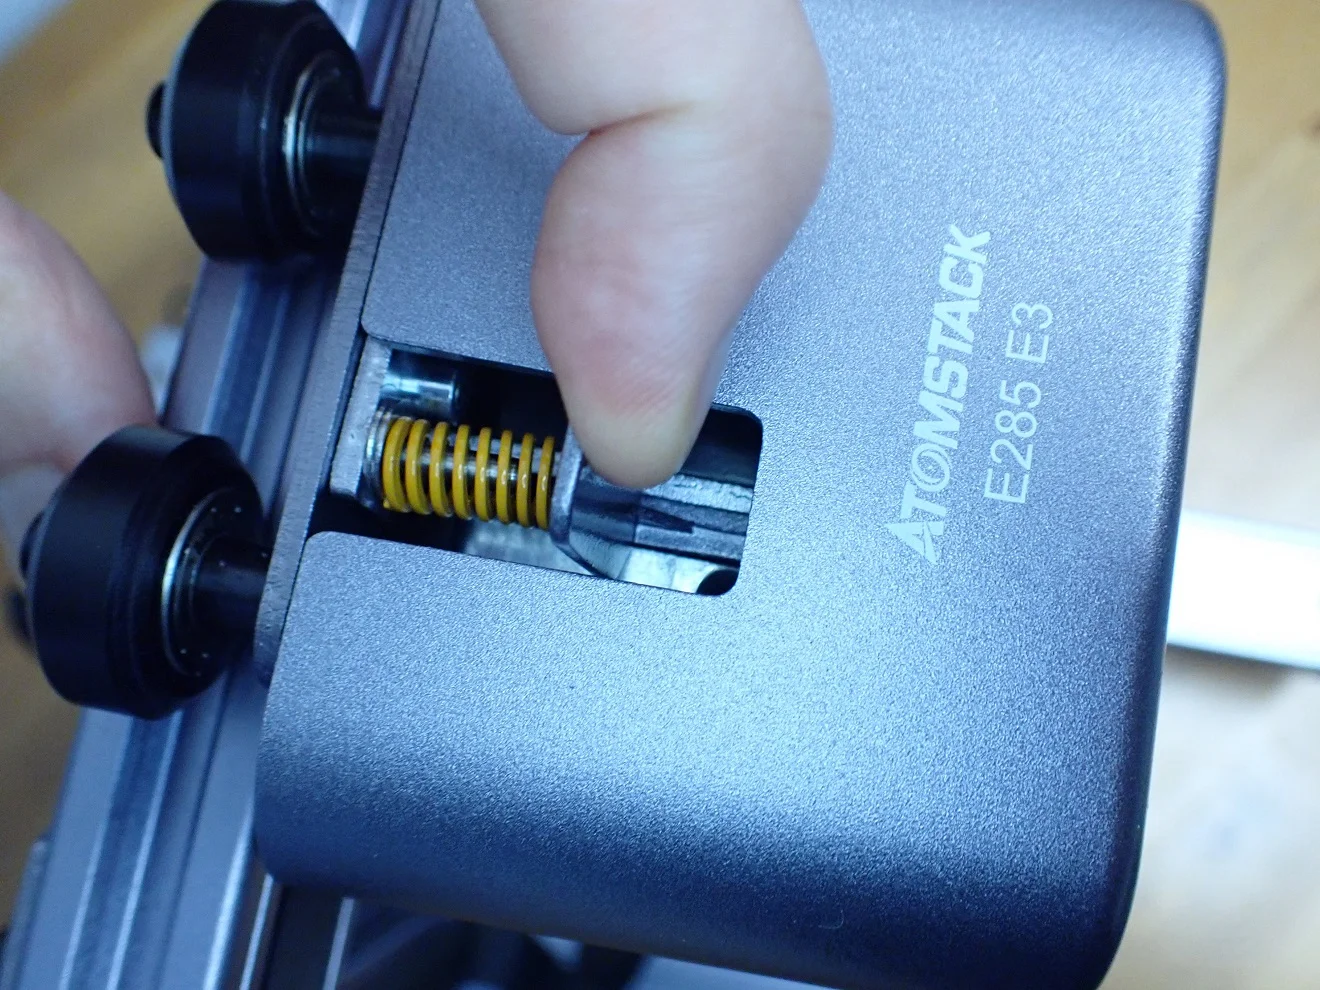
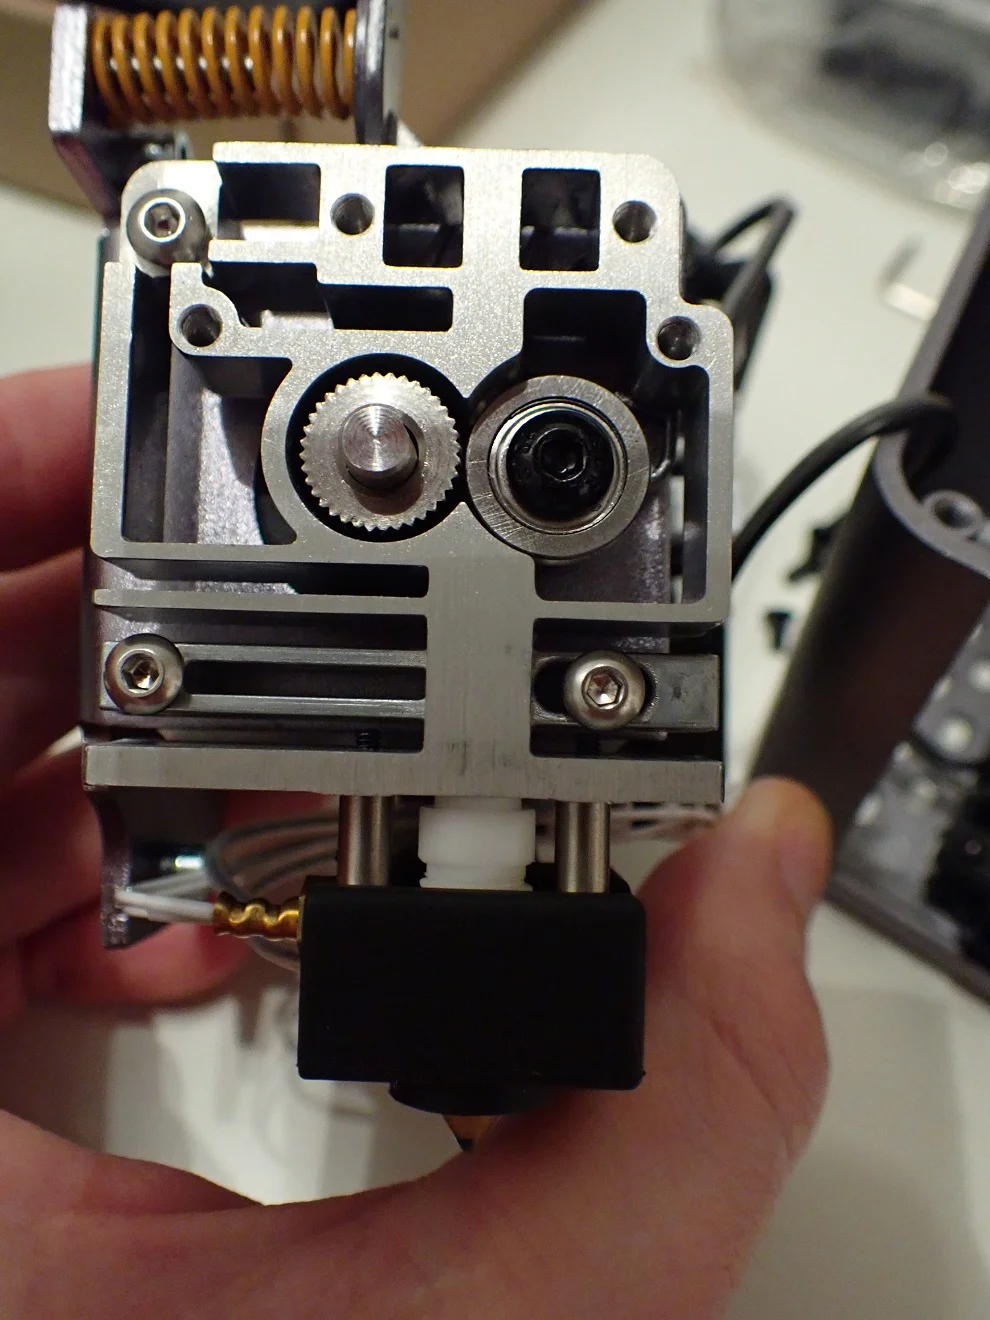
Direct drive extruders are best suited for flexible filaments. That is why the Cambrian Pro has two of them that can be exchanged. With a direct drive extruder, the extruder sits directly in front of the nozzle. Between the extruder and the nozzle is a TFN (Teflon/PTFE) heatbreak.
Because the distance between the nozzle and the extruder is so short with direct drive print heads, no large temperature decoupler made of metal can be installed. Due to the special material of this heatbreak, Atomstack prevents the filament from melting in front of the nozzle or in the worst case in the extruder. Another advantage of this material is the low friction, which further reduces the likelihood of filament jams.
The only really disappointing thing about the Cambrian Pro are the built-in fans in the print head. Of course, with a direct drive extruder system, the fans need to be as light as possible to avoid vibration, but the fans are not of the same high quality as the rest of the printer and will certainly need to be replaced early.
High Filament Compatibility
The Cambrian Pro is not only perfectly suited for flexible filaments, but it can of course also process all other standard materials. PLA, ABS and other filaments like PETG or wood filament* are no problem.
Due to the high requirements for extremely flexible filaments like TPR, it is easy for the Cambrian Pro to process normal filaments like PLA. The print quality is good and reliable.
The 2.85 mm printhead is not suitable for non-flexible filaments. The gears are adjusted correctly for flexible filaments but do not create good friction with hard filaments. There are extruders where you can adjust the contact pressure, but the direct drive extruder of the Cambrian Pro is not one of them.
This means that you have to print PLA, ABS, PETG and other hard filaments with the 1.75 mm print head. But that’s okay since 1.75 mm is the standard for such filaments. However, I think it’s relatively rare to use this printhead since you buy the Cambrian Pro for its good ability to print with flexible filaments.
Glass Print Bed
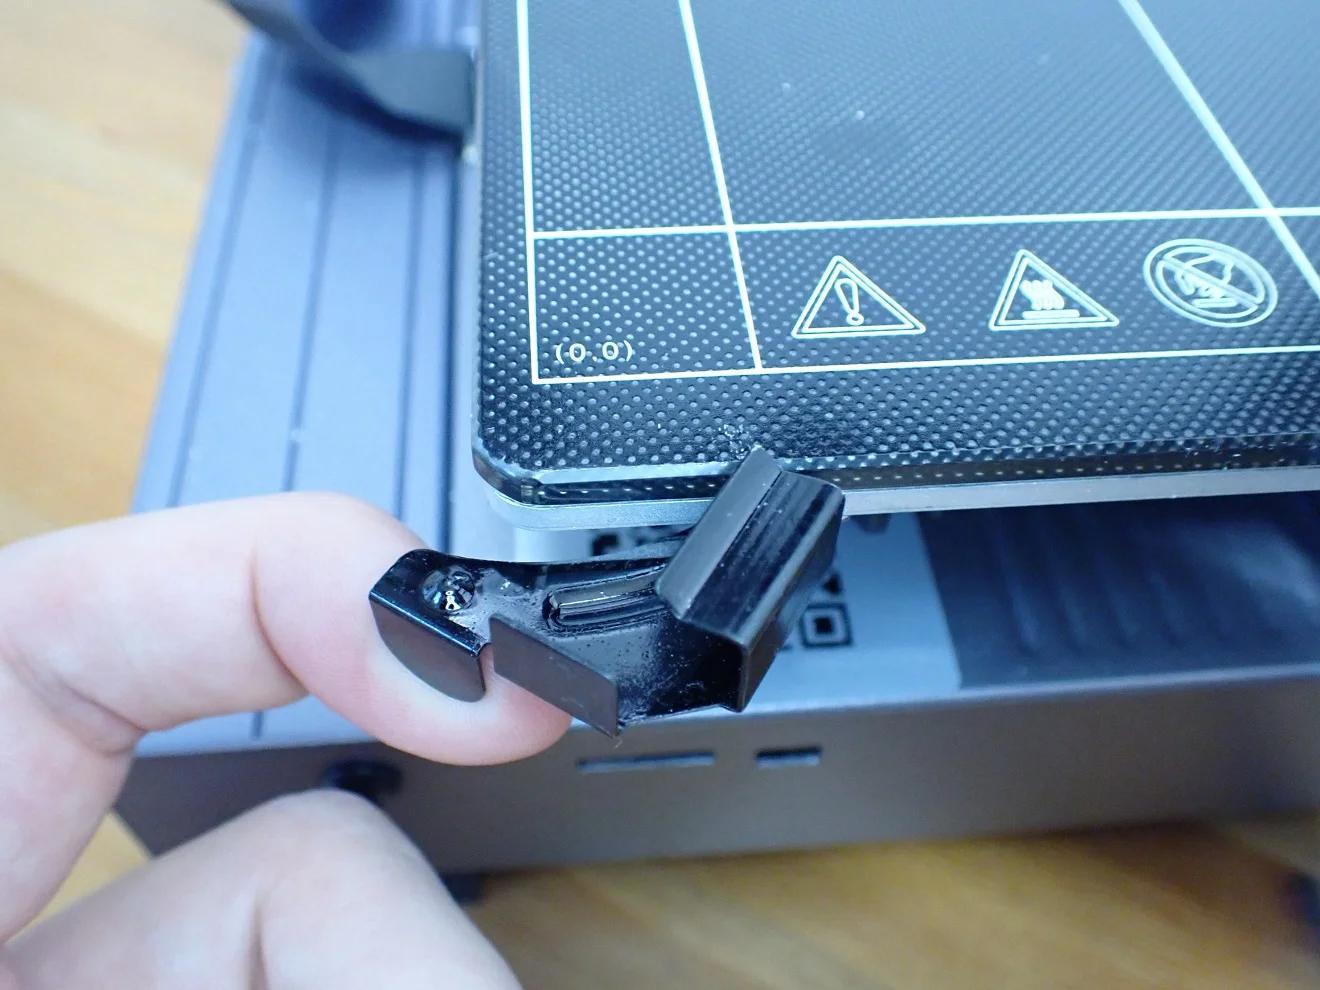
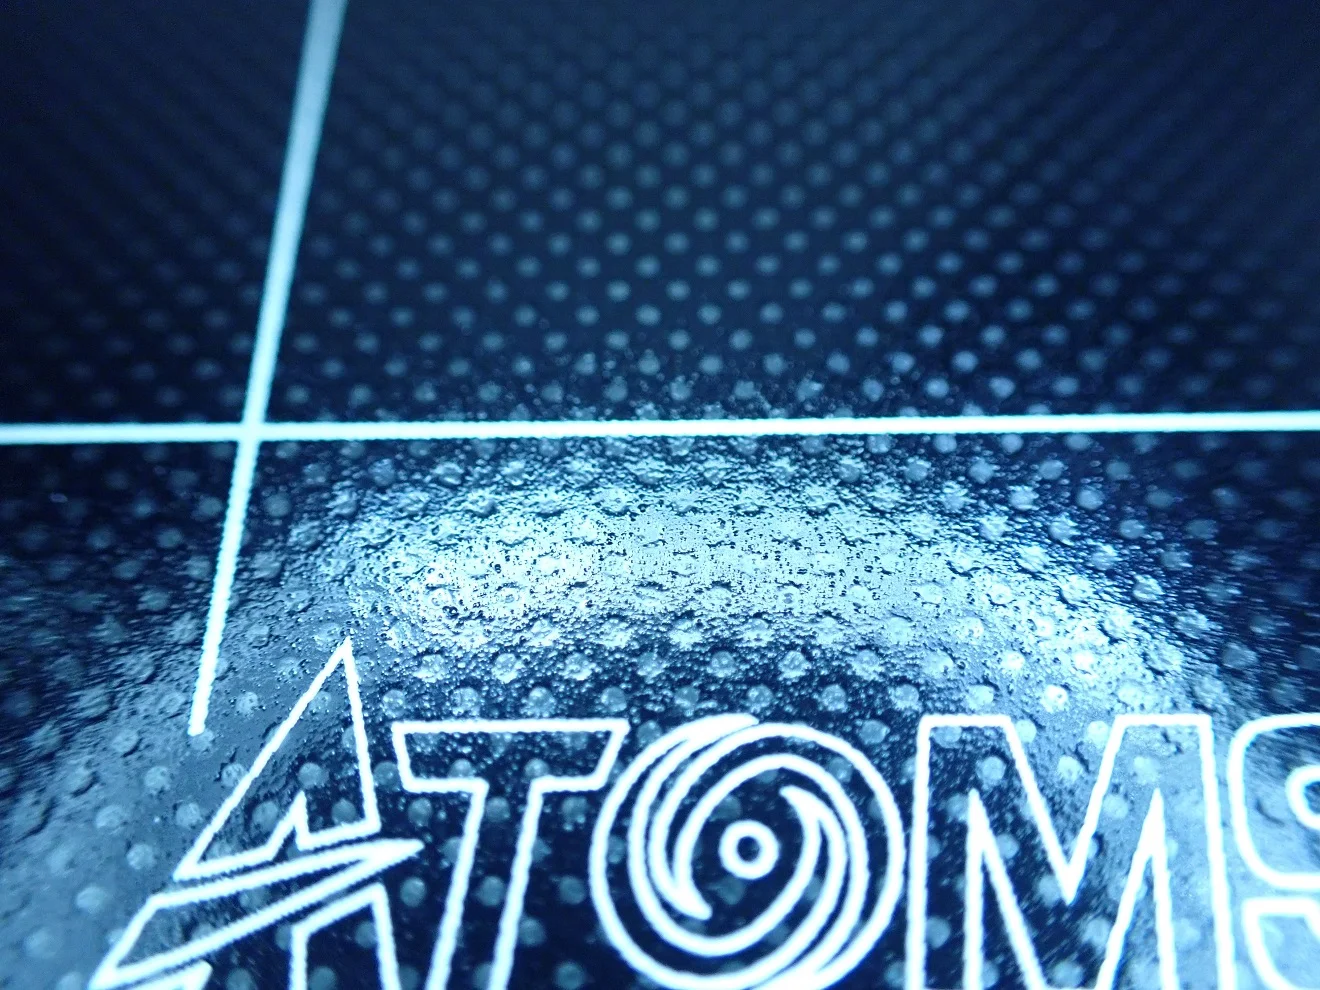
The print bed of the Cambrian Pro consists of a textured glass surface. The print bed adhesion is really very good, especially with flexible filament. In all test prints with TPR and PLA I had no problems with the print bed adhesion.
The use of Blue Tape and other aids was not necessary and would not fit the professional image of the Cambrian Pro.
In order to be able to remove finished 3D prints from the printing plate more easily, you can easily loosen and remove the glass plate via two metal levers on the front.
This also makes cleaning the print bed much easier. The rotary screws on the underside of the print plate for print bed leveling are designed with a high level of user-friendliness. The print bed leveling is therefore very easy.
Silent TMC2225 Stepper Motors
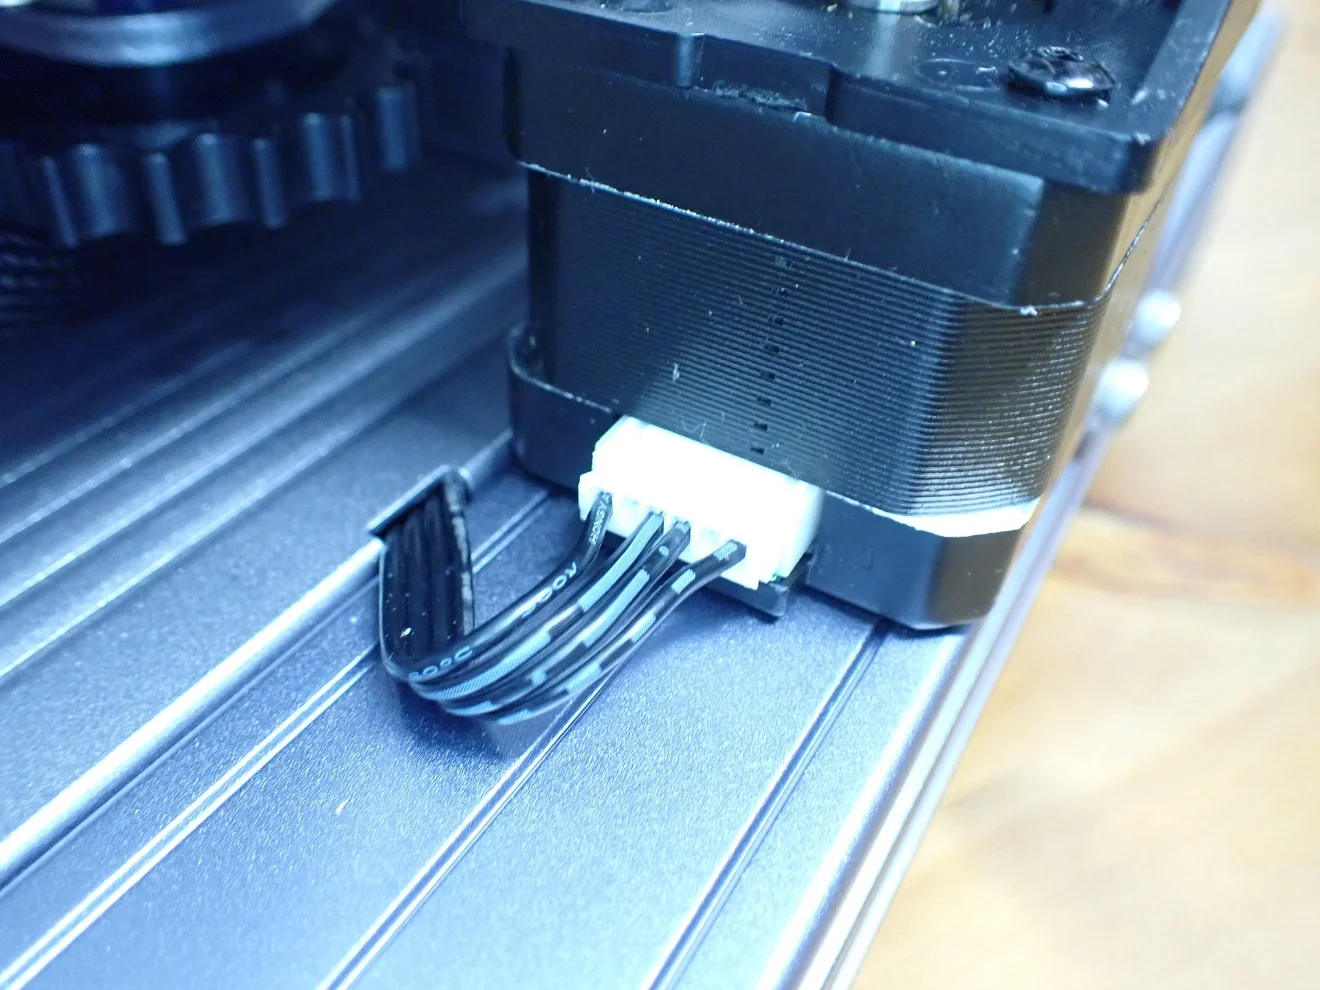
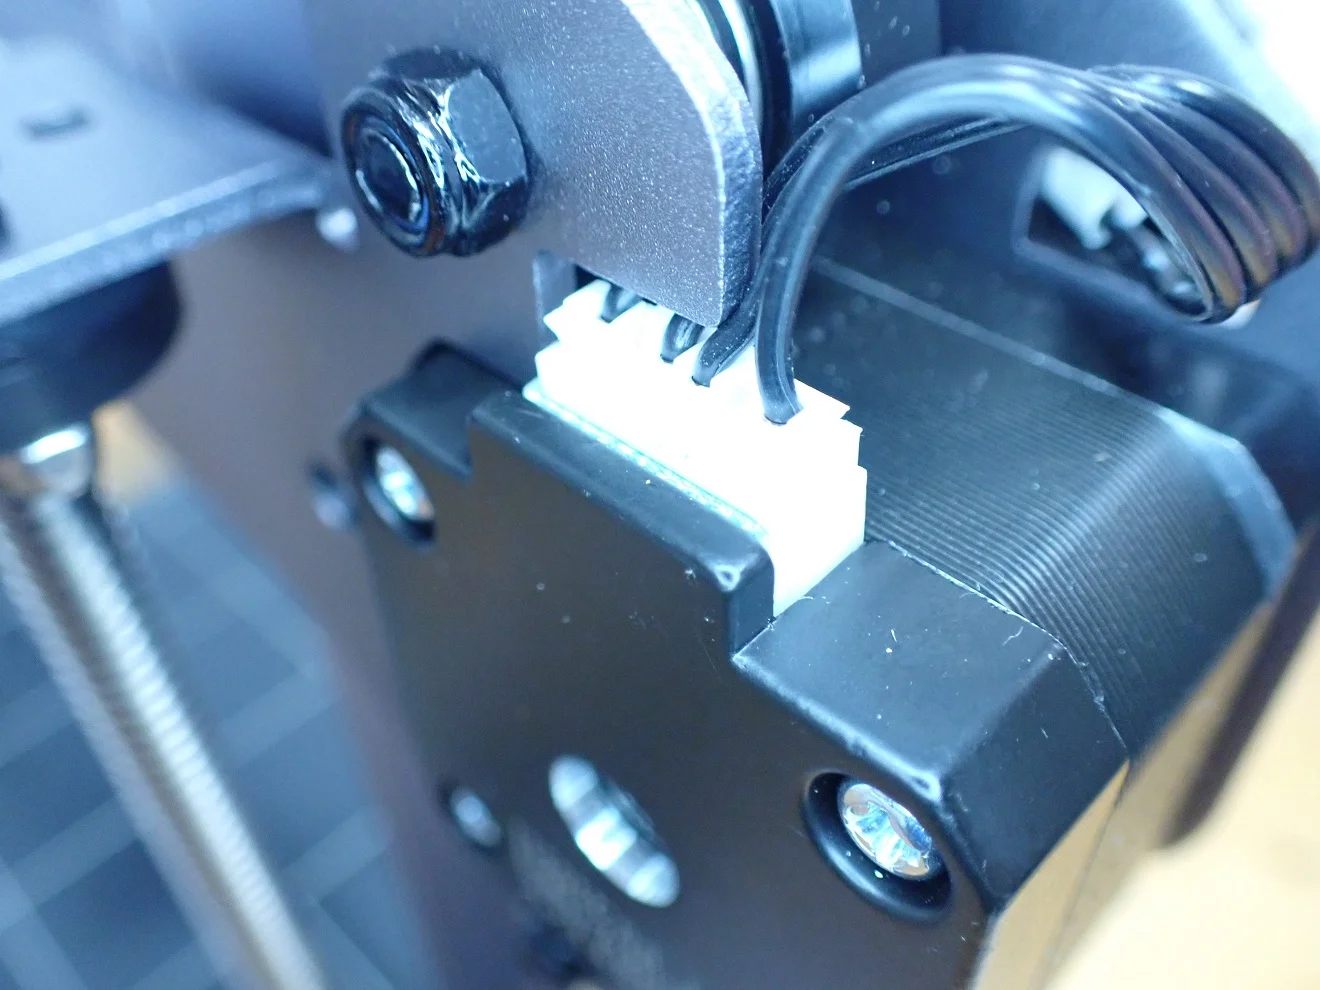
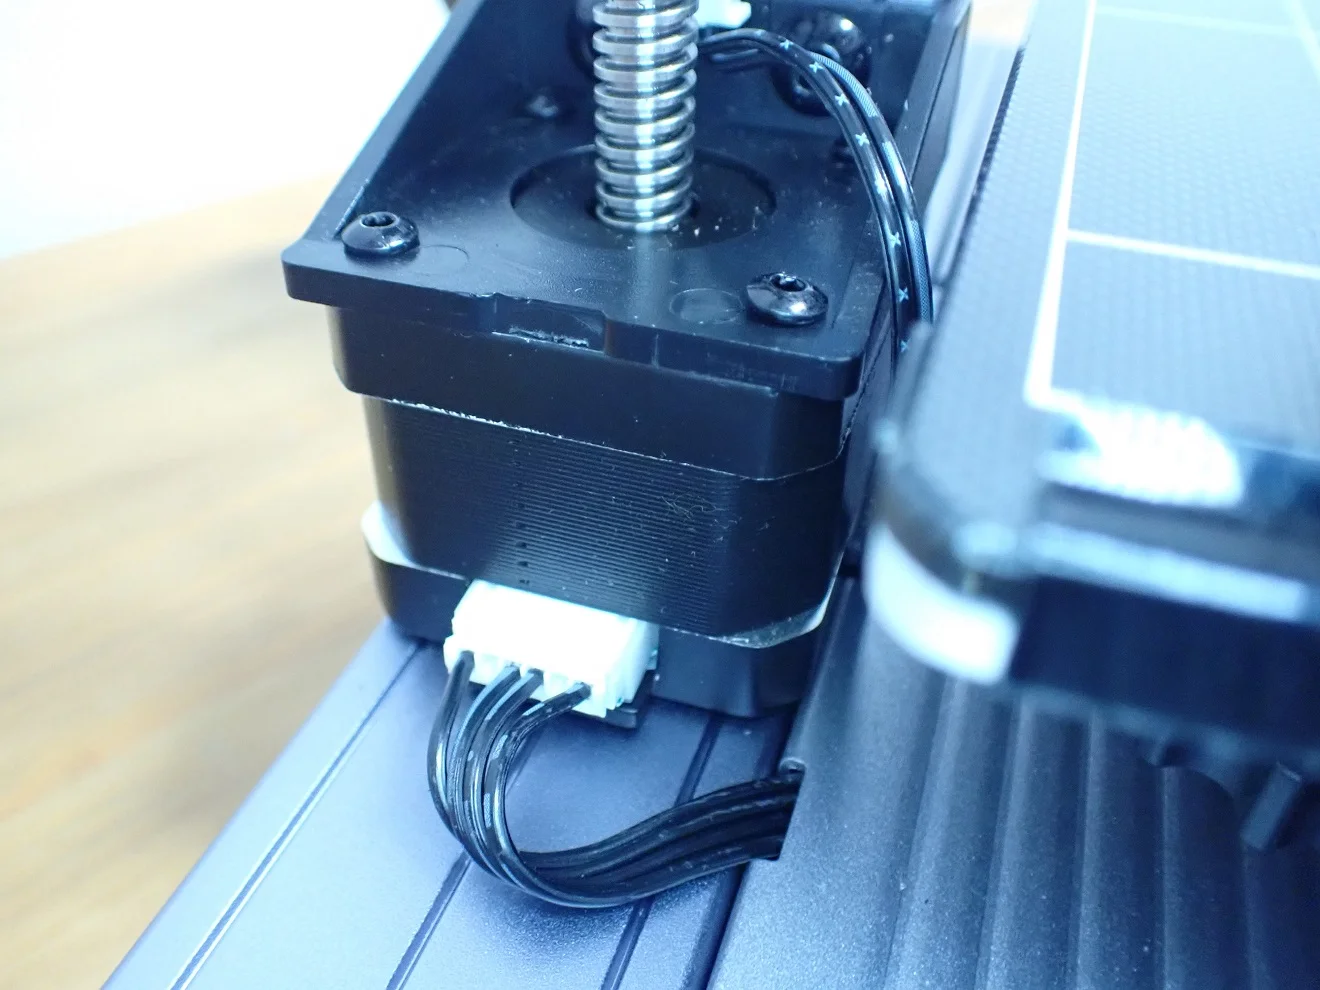
As befits a professional 3D printer, very quiet stepper motors are installed. The TMC2225 stepper motors are so quiet that you can hardly hear them. If you now replace the fans in the print head with quieter ones, the Cambrian Pro would be almost so quiet that you could concentrate and work next to it.
Even if you think in terms of a professional application, these silent TMC2225 stepper motors will be worthwhile and increase employee safety and satisfaction.
I think the Cambrian Pro with better fans might be my quietest 3D printer.
Easy Assembly
Specialized devices are often not very user-friendly because they only have a small target group and have not yet been optimized. However, this is not the case with the Cambrian Pro. The assembly is done in a few minutes and is clearly explained by the included instructions.
The screws and other parts needed have even been packaged in different labeled bags for each step. So you don’t even have to search for the right screws!
Even though the Cambrian Pro is marketed as a professional machine, the setup and operation is manageable by beginners. Even replacing the extruder is very simple and well explained.
With other 3D printers, the extruders are so tightly installed that it can take quite a long time to remove them, let alone replace them. With the Cambrian Pro, it’s basically just 3 screws and a cable that you have to loosen and reattach.
Intuitive Menu With 4.3” LCD Touch Screen
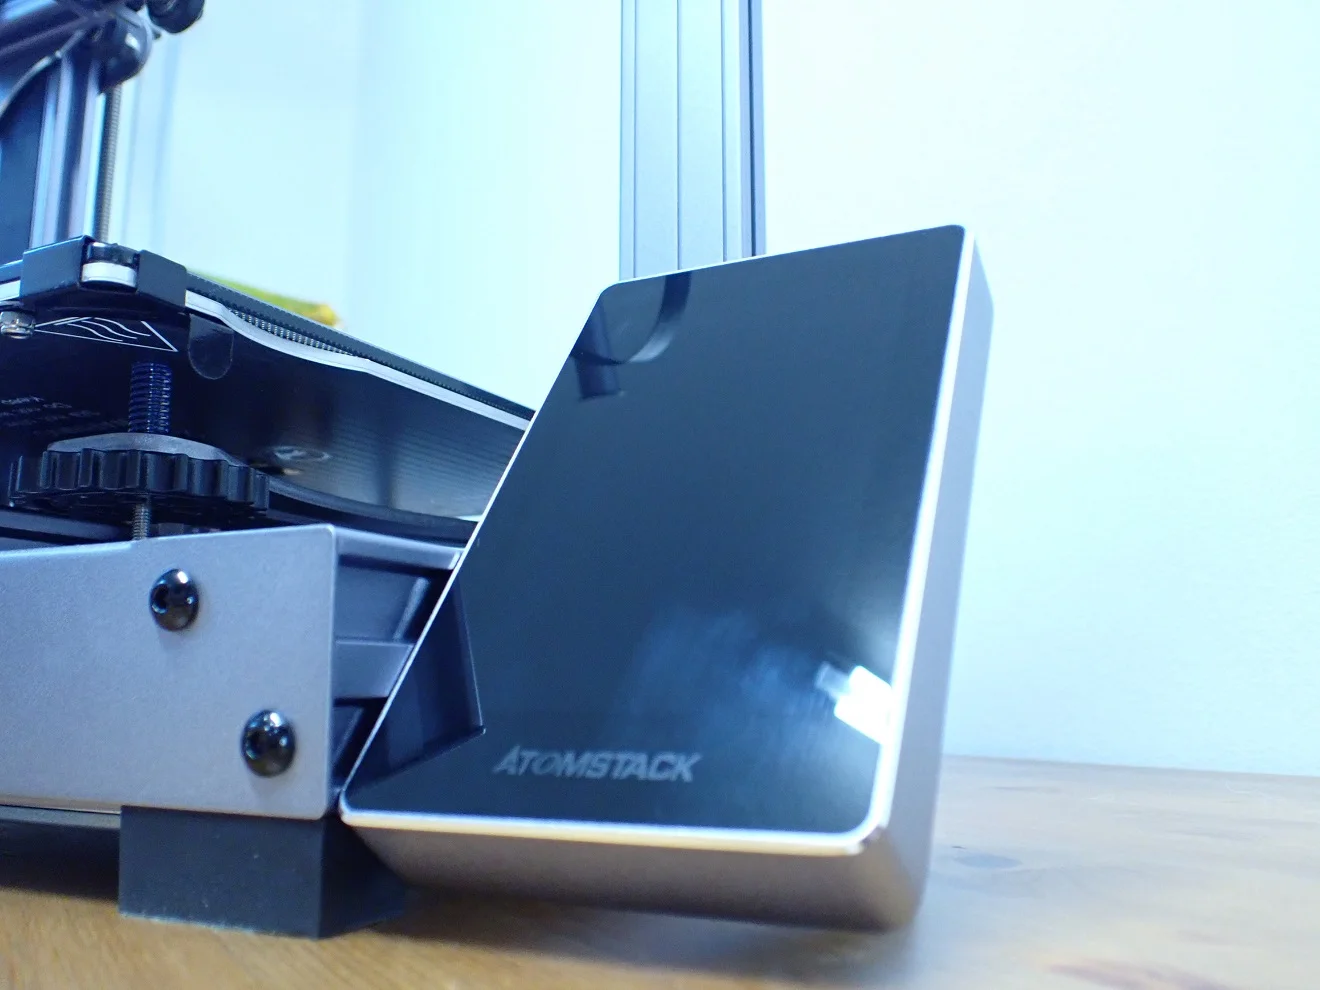
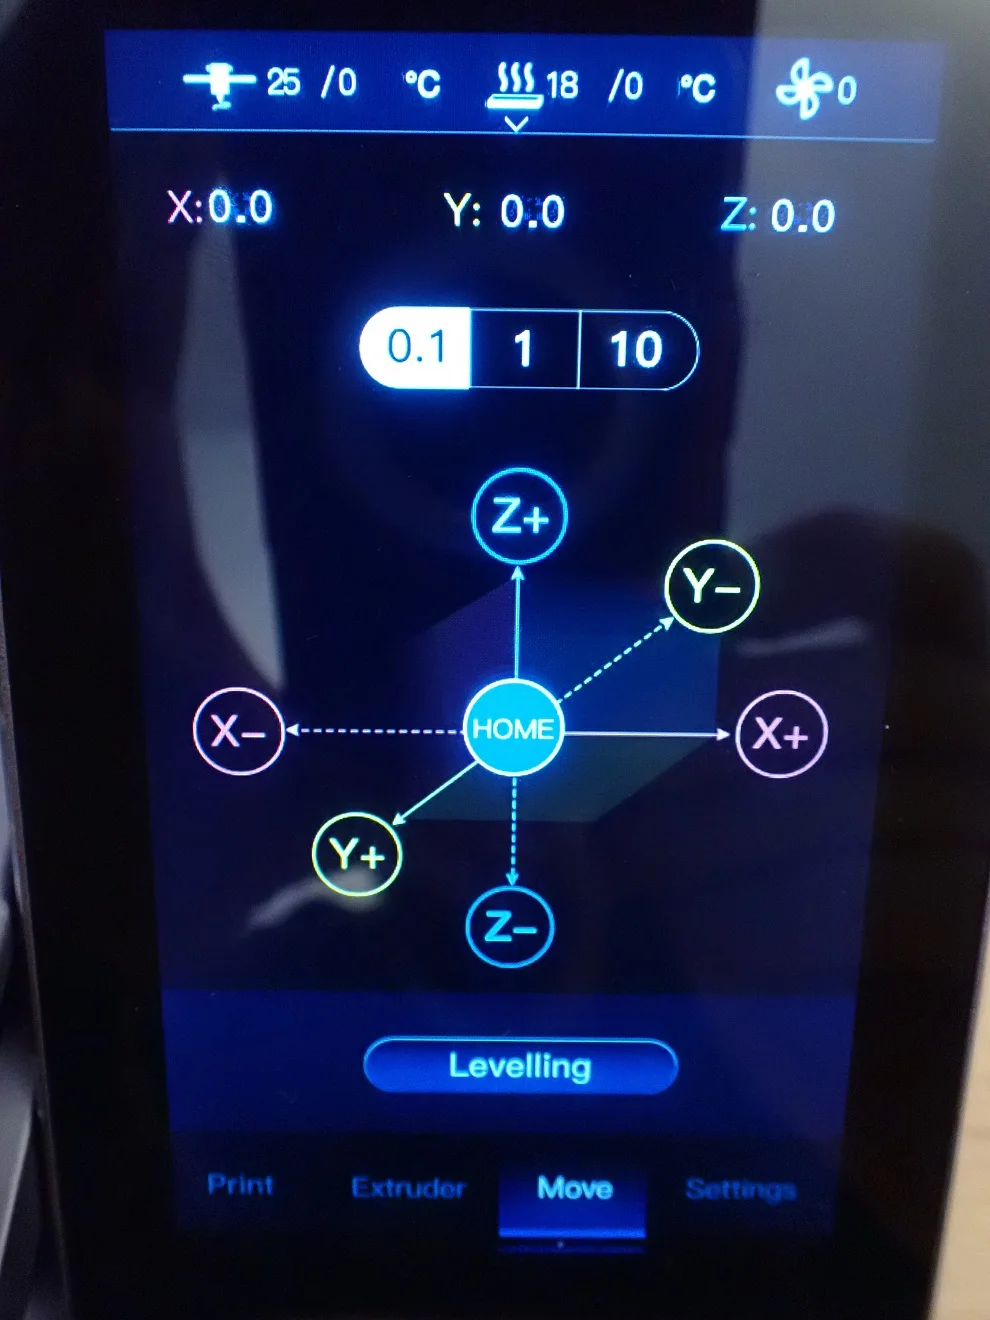
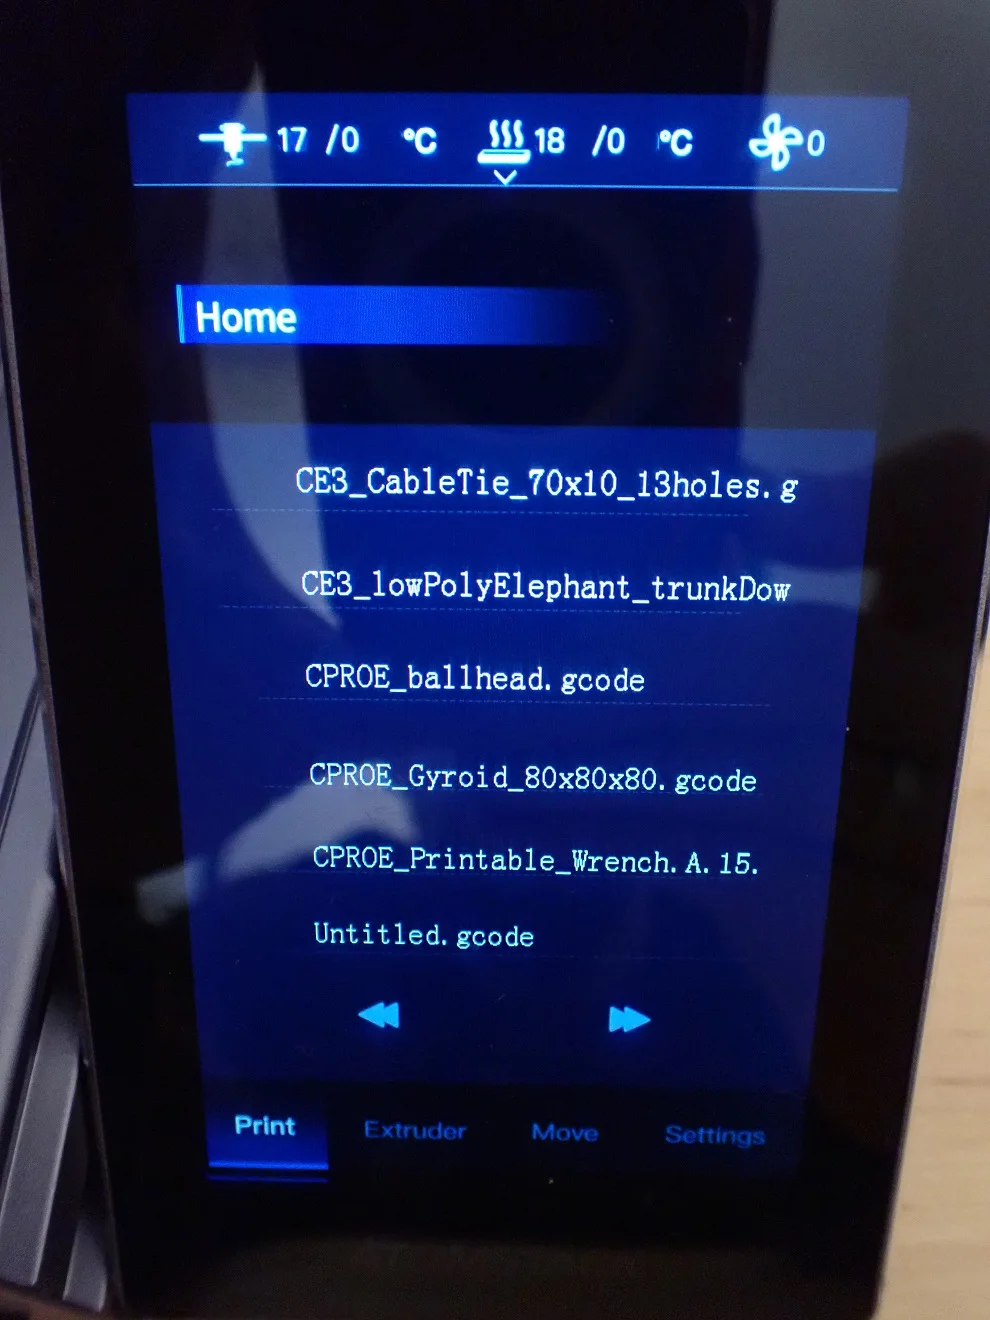
What amazed me when I first started using the Cambrian Pro was the high quality of the LCD touchscreen. The metallic casing and the size of the display are almost luxurious.
However, the good resolution of the display also has a disadvantage: if you have large fingers, it might be difficult to click on certain controls right away. Some numbers are so small and close to each other that it can sometimes lead to accidental missclicks.
Nevertheless, the menu is very nice to look at and for the most part, intuitively designed. Even without a manual, you can find your way around and find all the settings you need with just a few clicks.
In the beginning, it is a bit confusing that you can’t click the lower buttons for the main menus when you are in a submenu. Also, it would be nice if the list for the print objects on the Micro SD card would not only contain the file names, but also thumbnails of the object.
Stylish Metal Frame – Professional Look
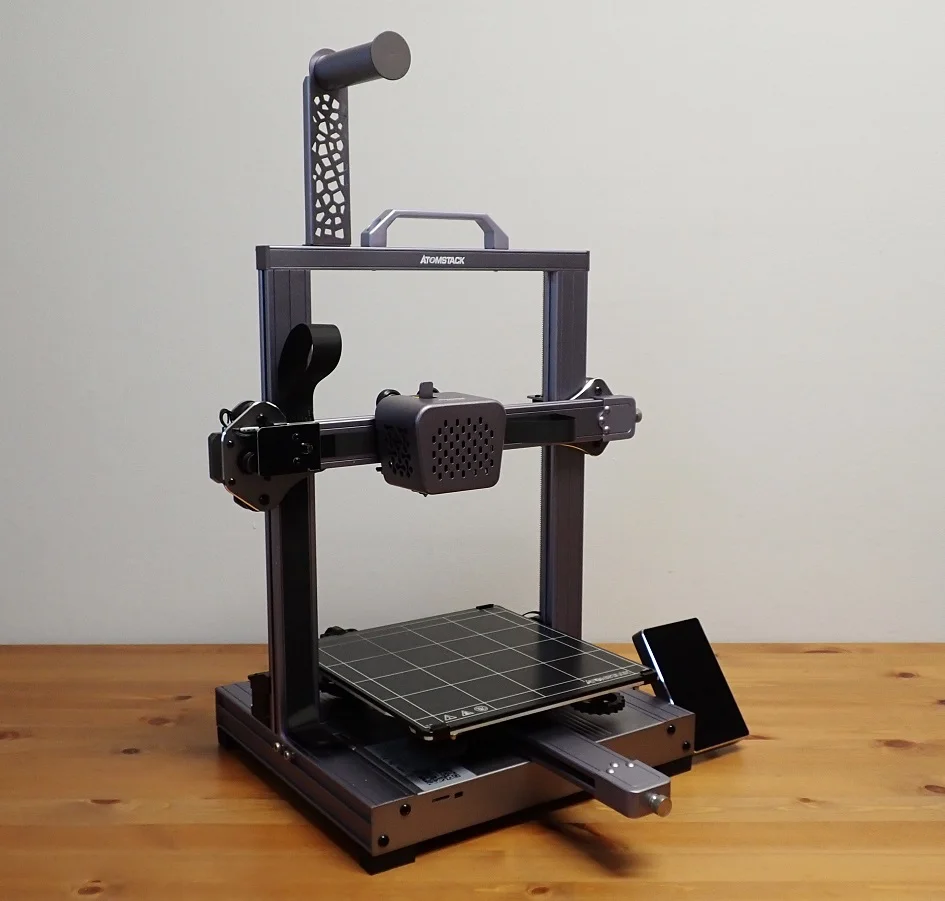
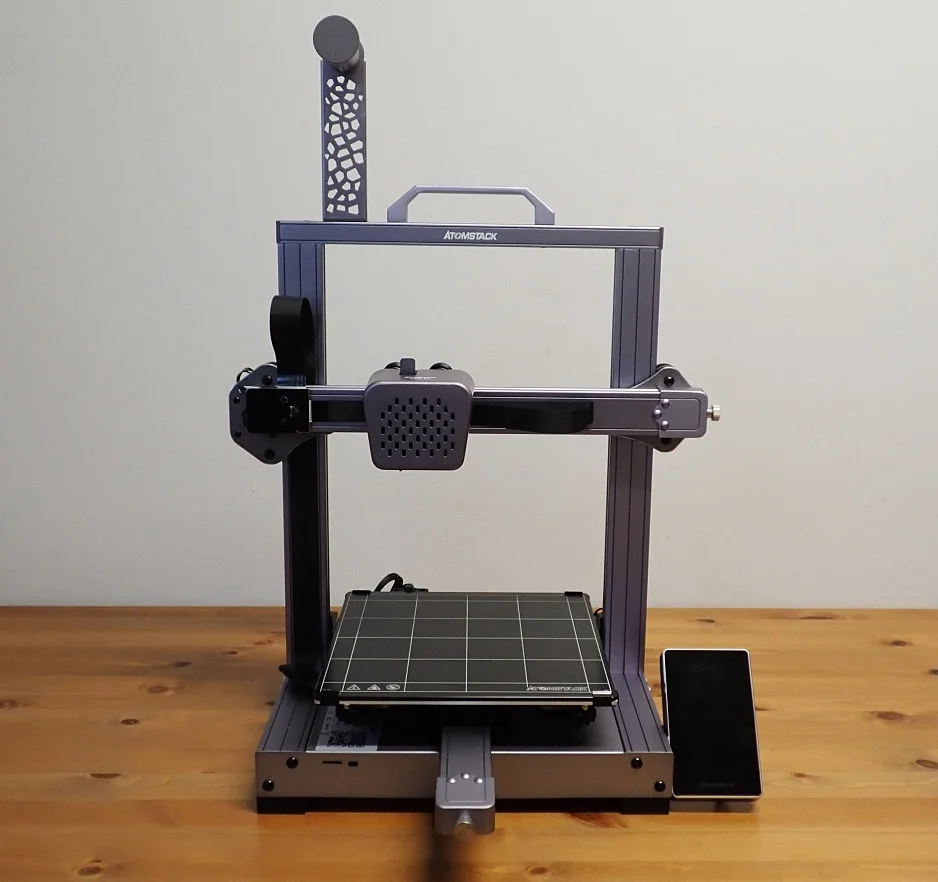
One thing that stands out about the Cambrian Pro is the grey metal surfaces on just about every part of the 3D printer. Atomstack has used a highly robust aluminum alloy to make the Cambrian Pro as stable as possible.
The design itself is nothing new, most hobby 3D printers, like the Ender 3 V2 use this design. Nevertheless, the Cambrian Pro stands out from most other 3D printers by its color alone.
Together with the FFC cables and the stylish display, the design looks very professional, rounded and anything but improvised. With the design, Atomstack wants to underline the name “Pro” of this 3D printer.
Minimalist Wiring
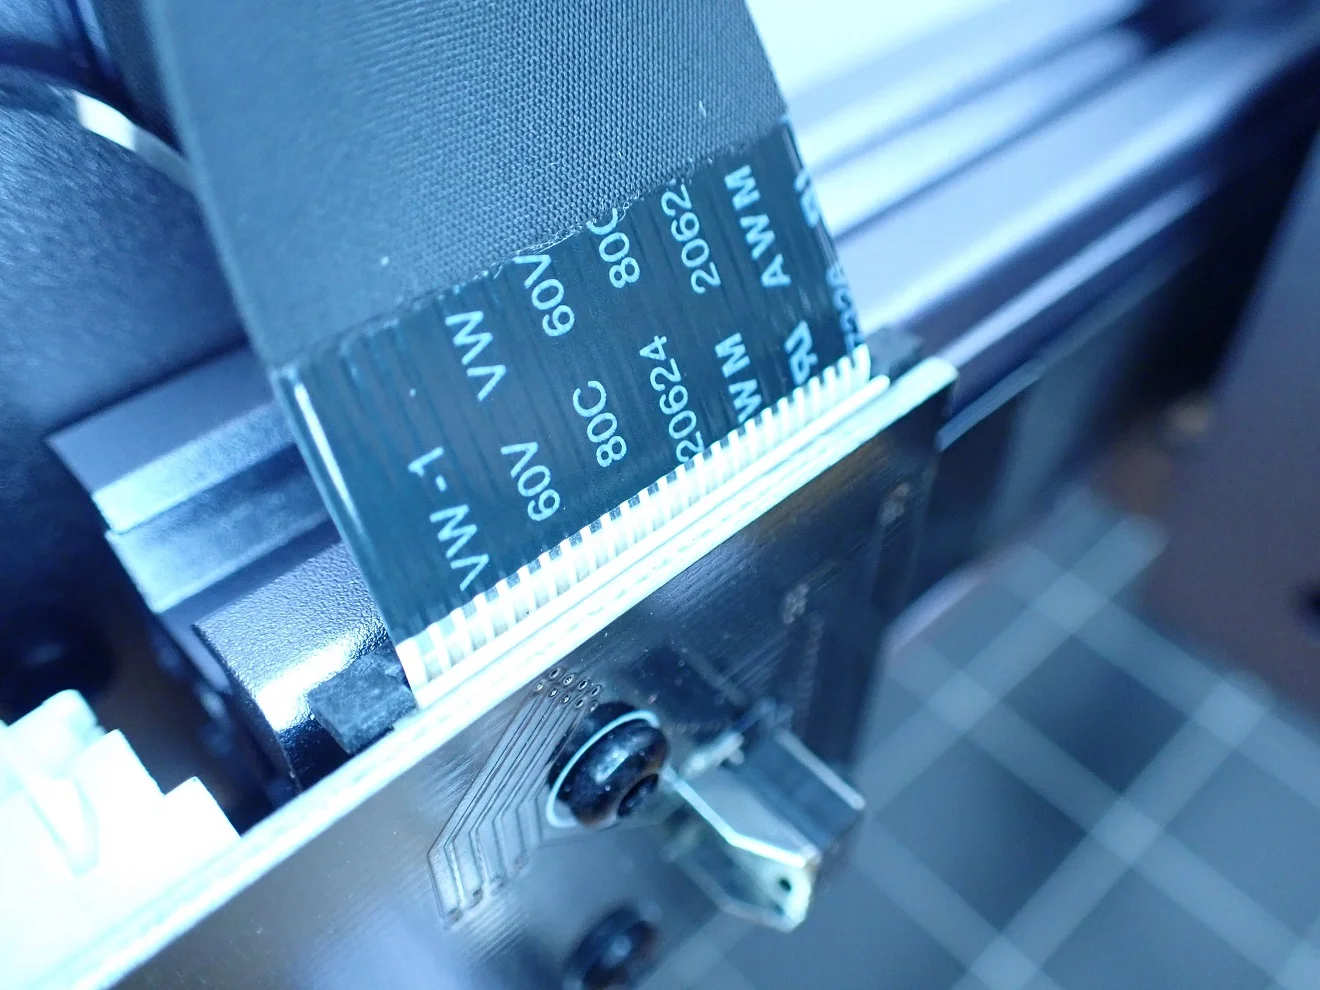
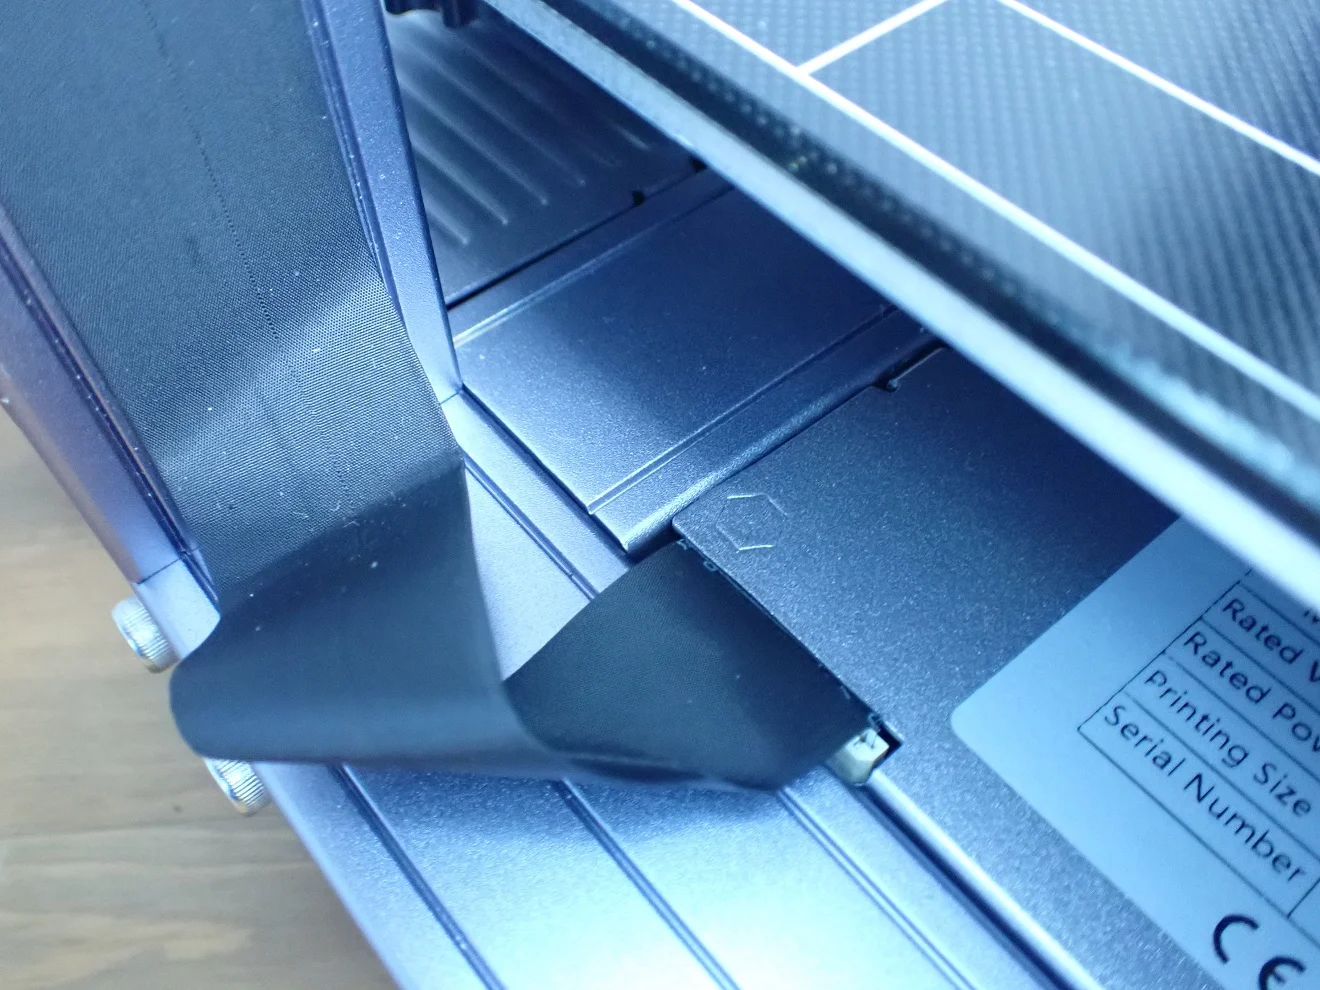
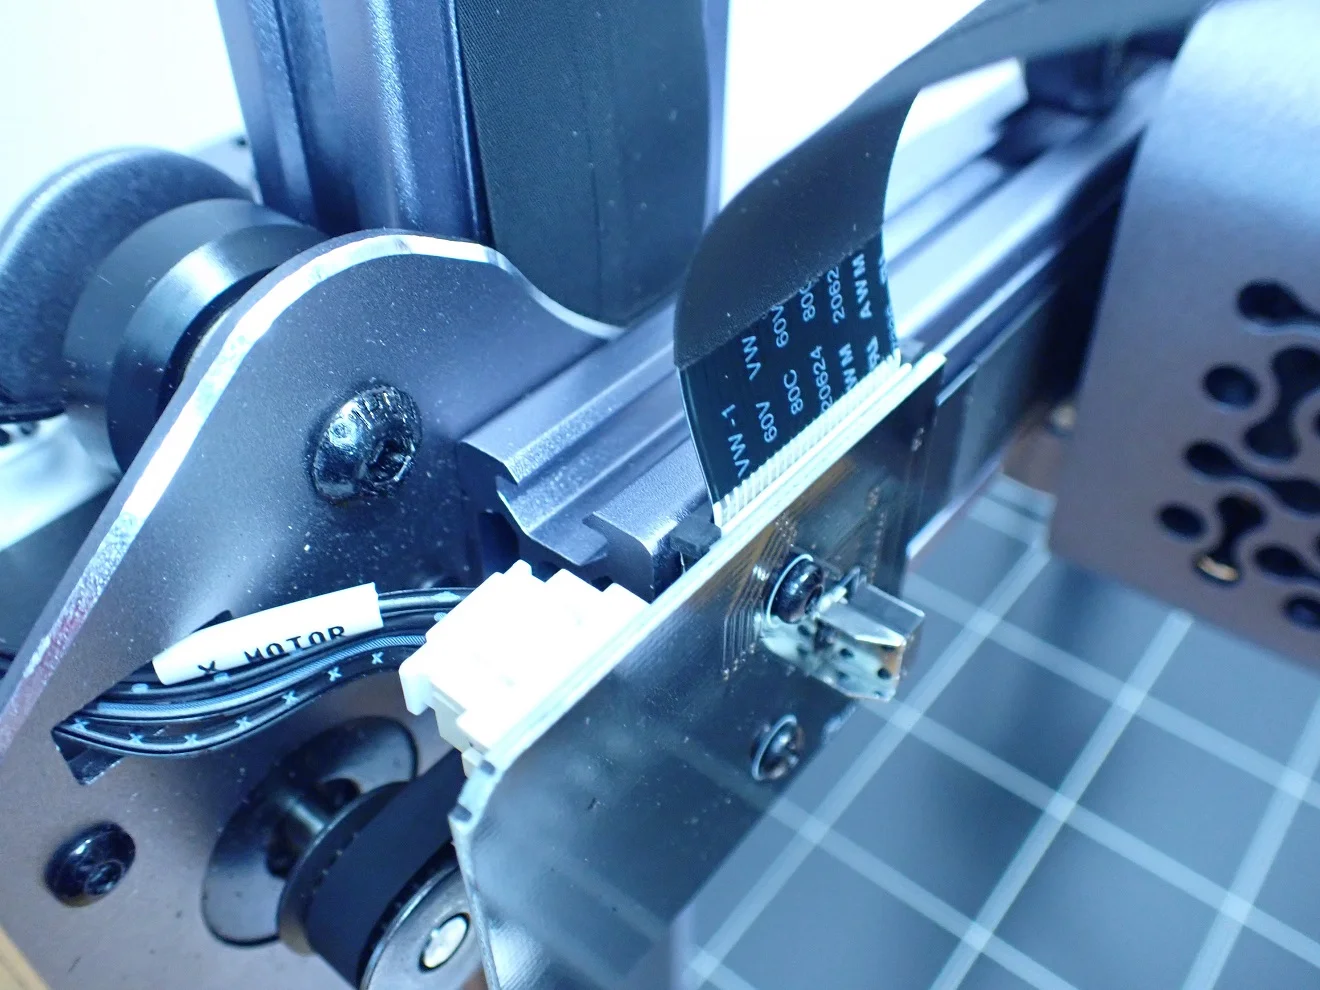
Unlike most other 3D printers, Atomstack uses FFC cables that are glued to the frame of the Cambrian Pro. This means that there are no cables standing wildly in the room, but everything is nicely tidy and gives a very professional impression.
If you have never worked with FFC cables before, it takes a bit of getting used to plugging and unplugging the cables. The manual explains the process very well and after one or two plug-ins you will get the hang of it.
The cables for the extruders are also fixed to the X-axis. The only thing that has to be led to the extruder is the filament via the filament holder at the upper end of the Z-axis.
Heating Times
> Atomstack Cambrian Pro Review
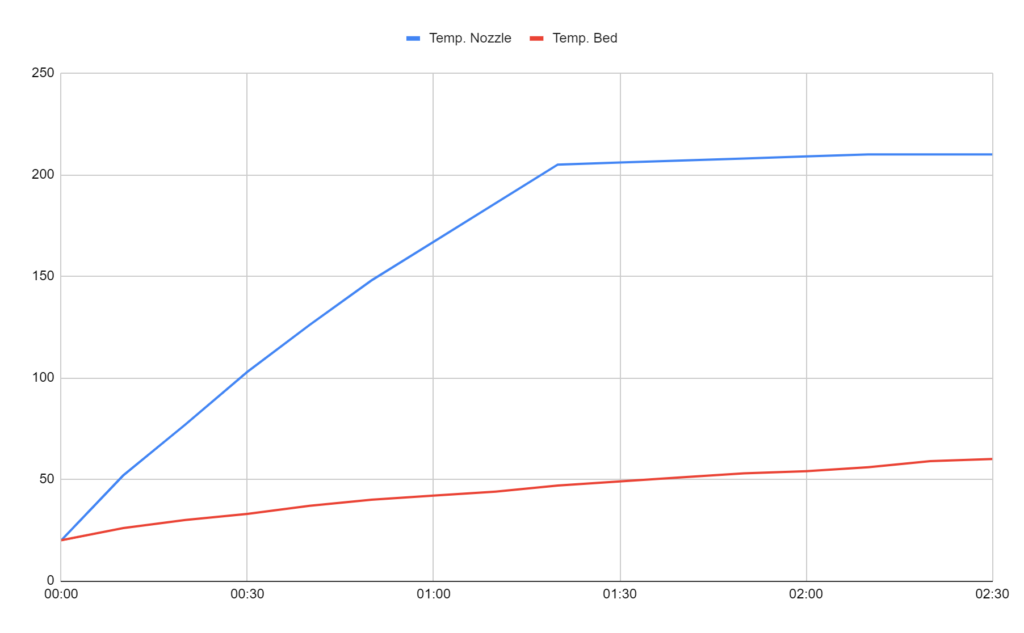
The Cambrian Pro heats its nozzle to 210 °C within about 2 minutes and the print bed to 60 °C within 2.5 minutes. These are the recommended temperatures for TPR.
These heat-up times are quite fast compared to hobby 3D printers.
| Time | Temp. Nozzle | Temp. Print Bed |
|---|---|---|
| 00:00 | 20 °C | 20 °C |
| 00:10 | 52 °C | 26 °C |
| 00:20 | 77 °C | 30 °C |
| 00:30 | 103 °C | 33 °C |
| 00:40 | 126 °C | 37 °C |
| 00:50 | 148 °C | 40 °C |
| 01:00 | 167 °C | 42 °C |
| 01:10 | 186 °C | 44 °C |
| 01:20 | 205 °C | 47 °C |
| 01:30 | 206 °C | 49 °C |
| 01:40 | 207 °C | 51 °C |
| 01:50 | 208 °C | 53 °C |
| 02:00 | 209 °C | 54 °C |
| 02:10 | 210 °C | 56 °C |
| 02:20 | 210 °C | 59 °C |
| 02:30 | 210 °C | 60 °C |
Noise Level
> Atomstack Cambrian Pro Review
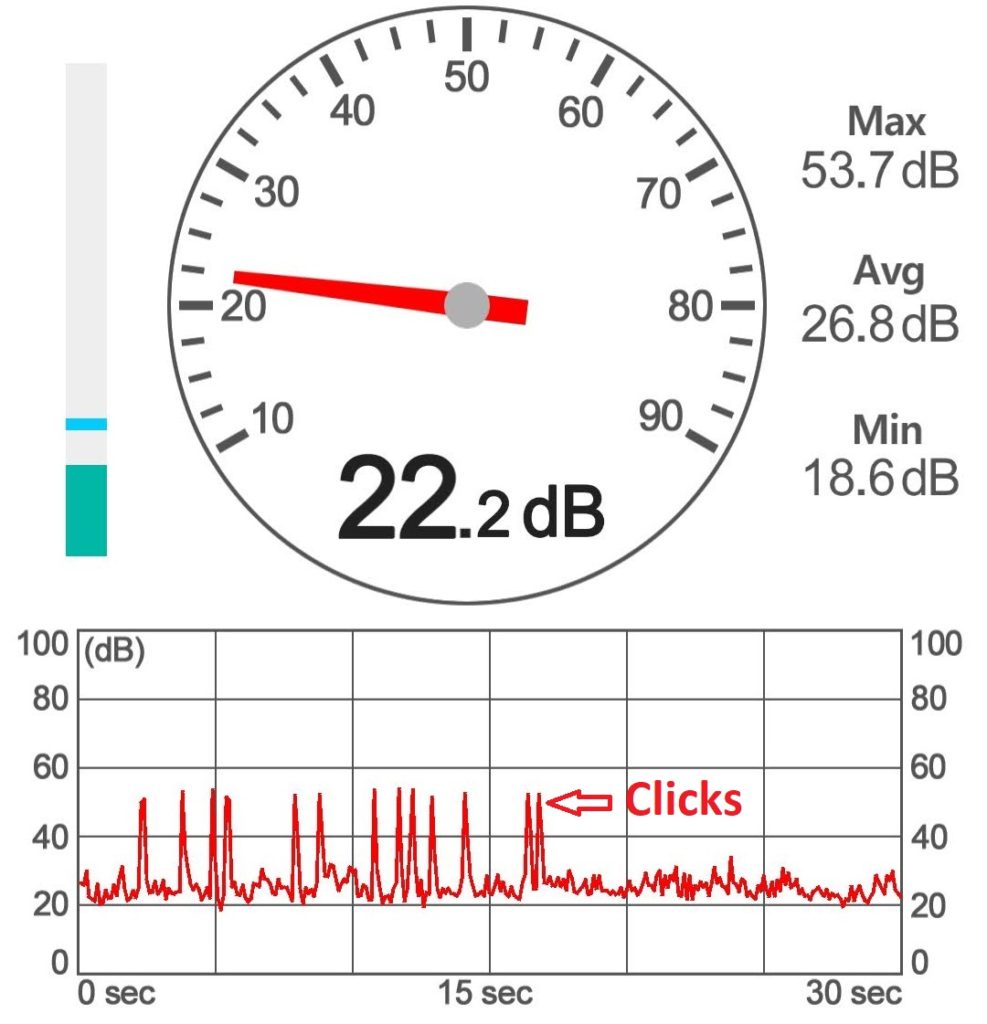
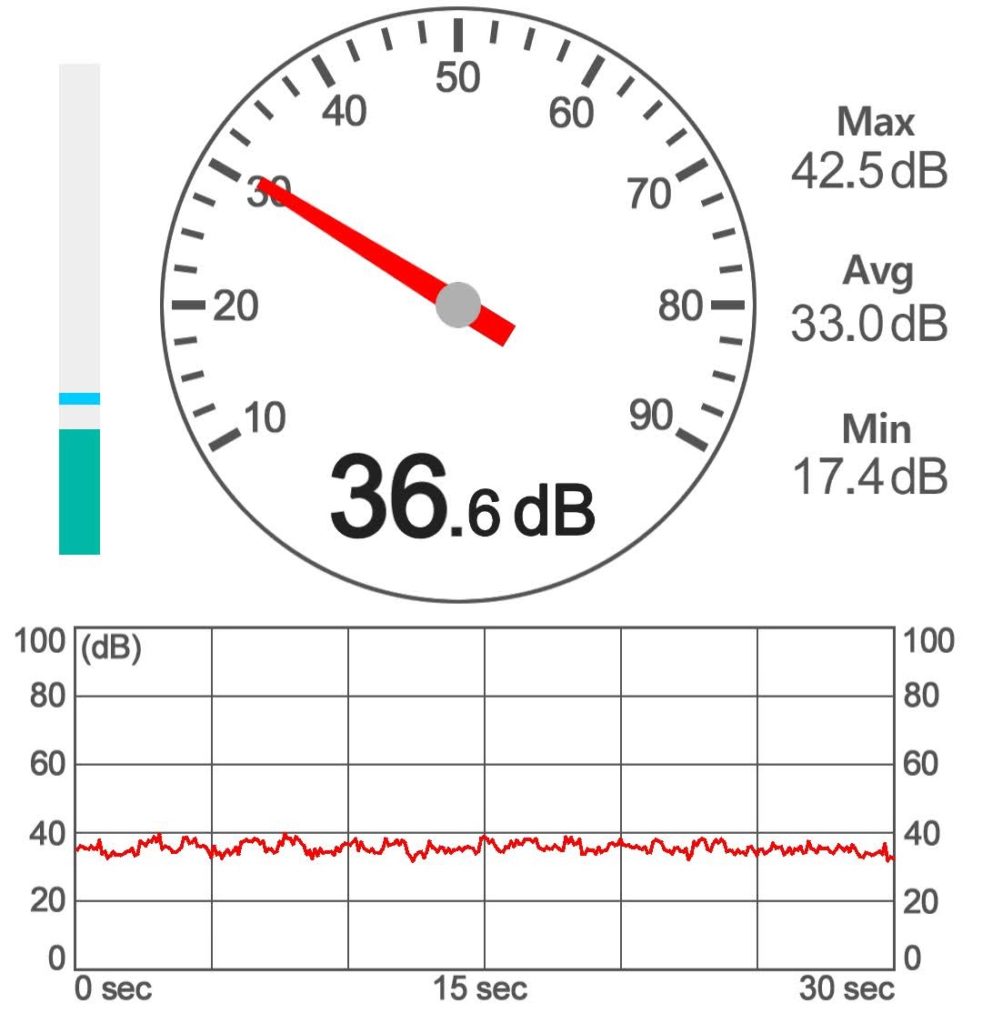
The loudest thing about the Cambrian Pro is the clicks in the menu. In idle mode with preheated nozzle and print bed, the Cambrian Pro reaches an impressive 22.2 decibels despite its fans. That is no more than a whisper!
But even during printing it only reaches 36.6 decibels. This is a very good result for an FDM printer. If the fans in the extruders were replaced by better ones, the Cambrian Pro would definitely be the quietest 3D printer I have ever tested.
Although it’s not really advisable to work in the same room as a 3D printer, this would definitely be possible with the Cambrian Pro. It is so quiet that you could concentrate on something while printing next to it. This is also a great advantage for professional use: when 20 3D printers are next to each other, the noise often adds up to a loud cacophony. With the Cambrian Pro, this is greatly defused and gives employees a pleasant working atmosphere.
Operation
> Atomstack Cambrian Pro Review
The Cambrian Pro is surprisingly easy to use. Even though it was partially designed for professional use, the operation is similar to other hobby 3D printers.
Print bed leveling is supported via the menu and is basically no different than other 3D printers such as the popular Ender 3 V2 or the Voxelab Aries.
The only minus point that could be awarded in the operation is the rather stiff extruder. It takes some force to uncouple it in order to insert the filament. In addition, the resolution of the touchscreen is so good that very small controls can be displayed very well, but are sometimes difficult to click.
Slicer
> Atomstack Cambrian Pro Review
I have operated the Cambrian Pro with Cura. Cura even has preset profiles for both extruders. This makes the settings very easy. I hardly had to adjust the settings in Cura at all to get good results – the default profiles are very well set and a good starting point for further optimizations.
It is always worth doing a temperature tower or retraction test to find the perfect settings for the filament you are using.
In the beginning, I had more blobbing with the TPR filament on slanted parts of the objects. With the right retraction and flow rate, I could fix this.
Print Quality
> Atomstack Cambrian Pro Review
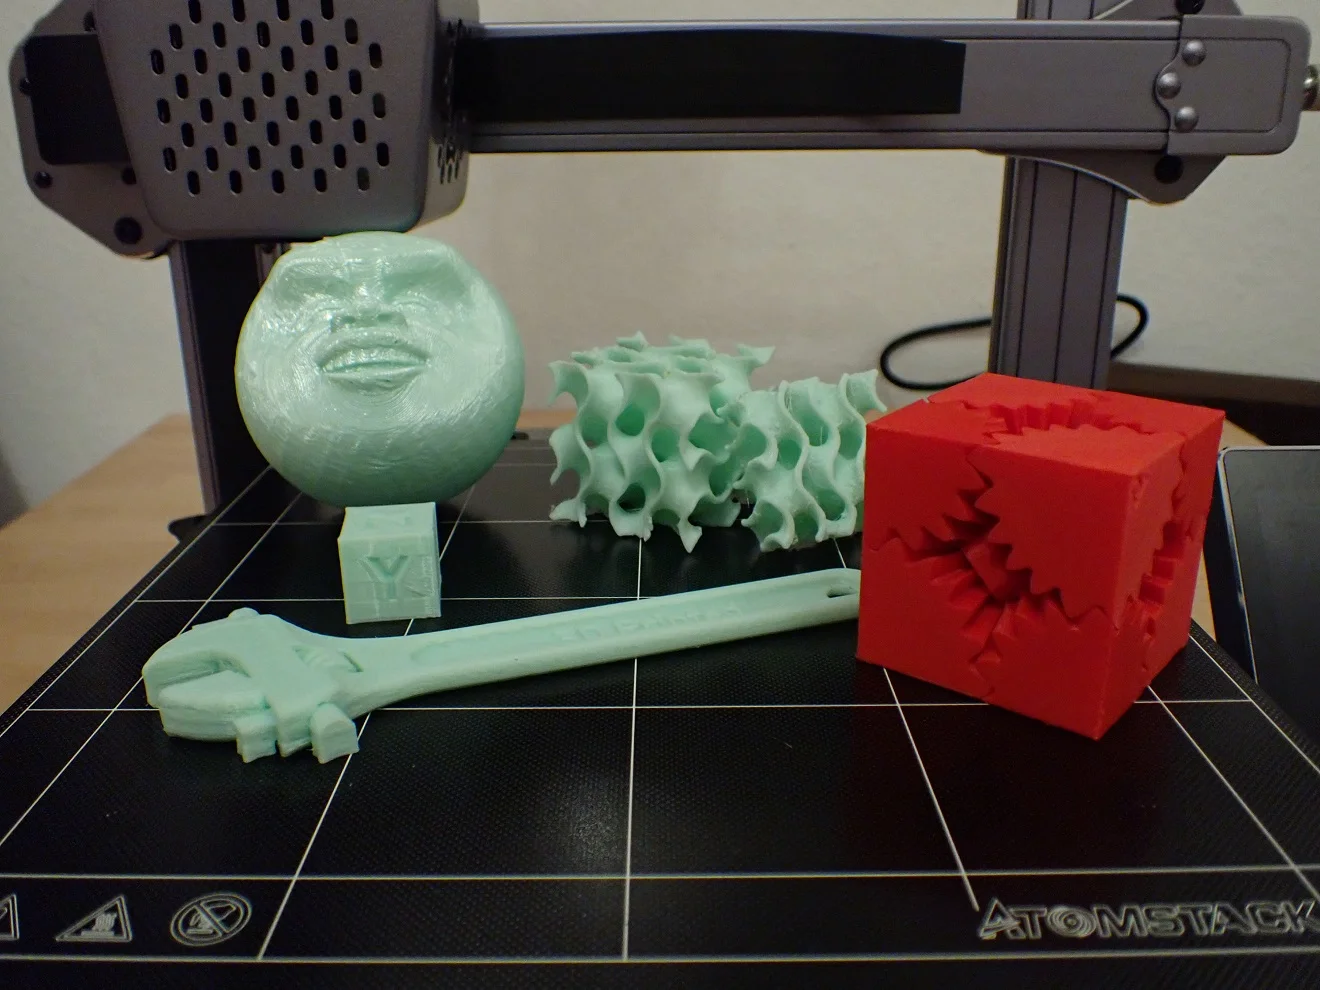
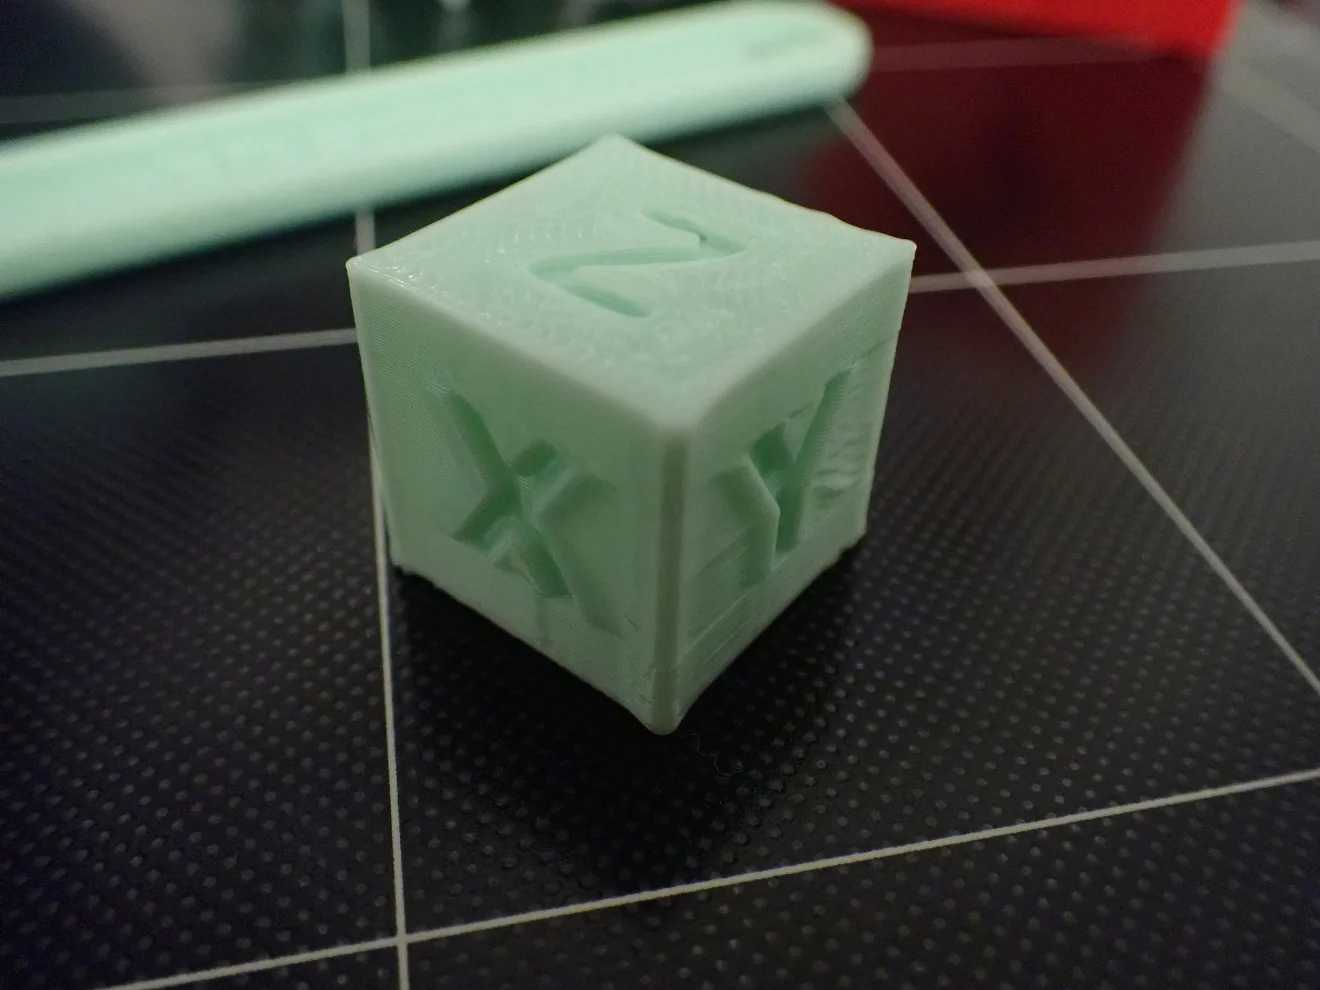
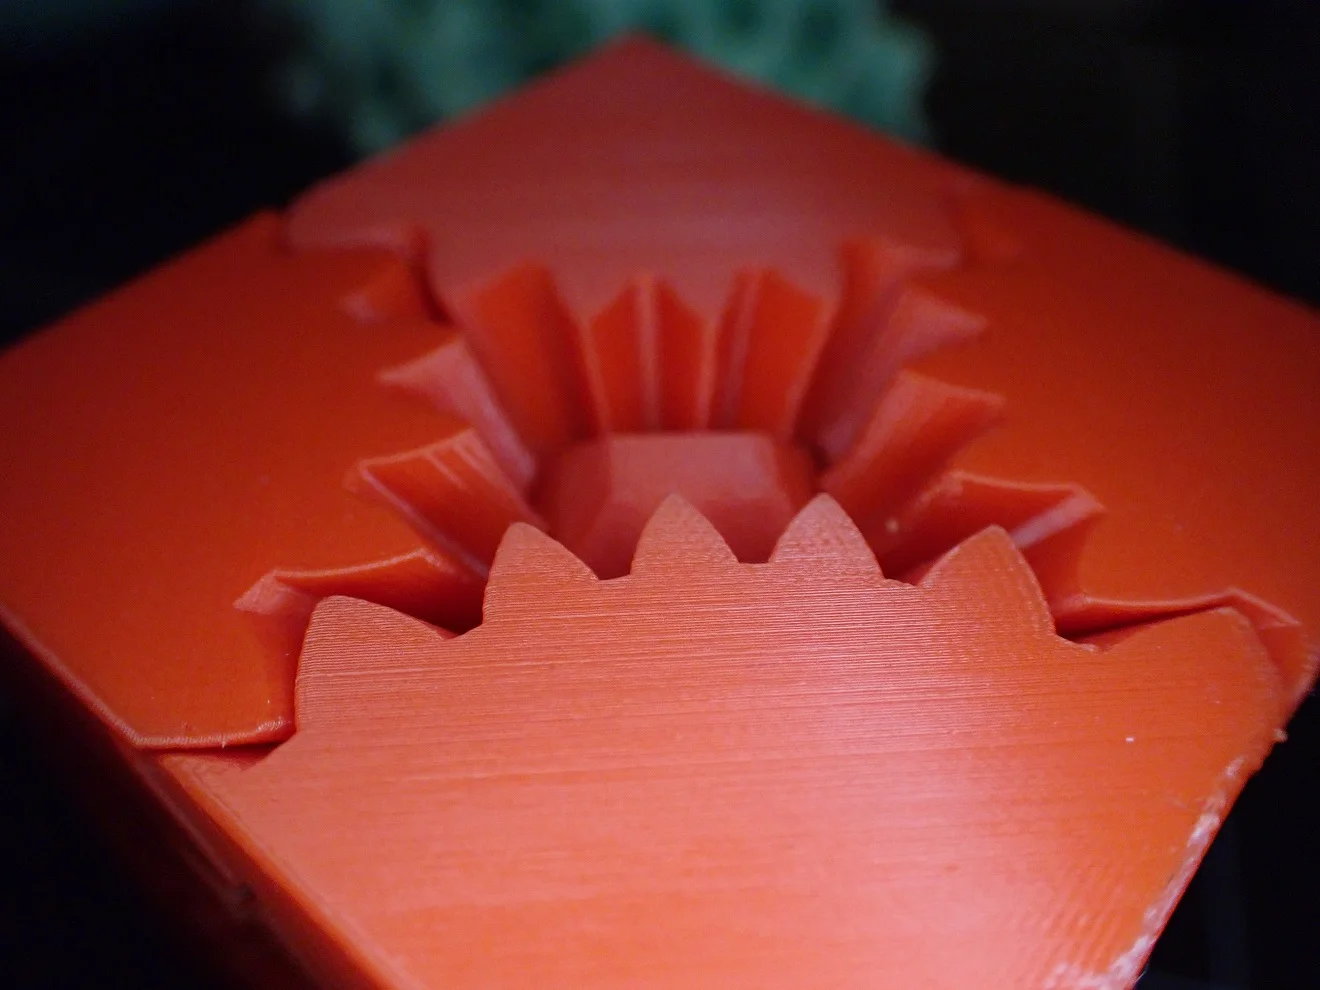
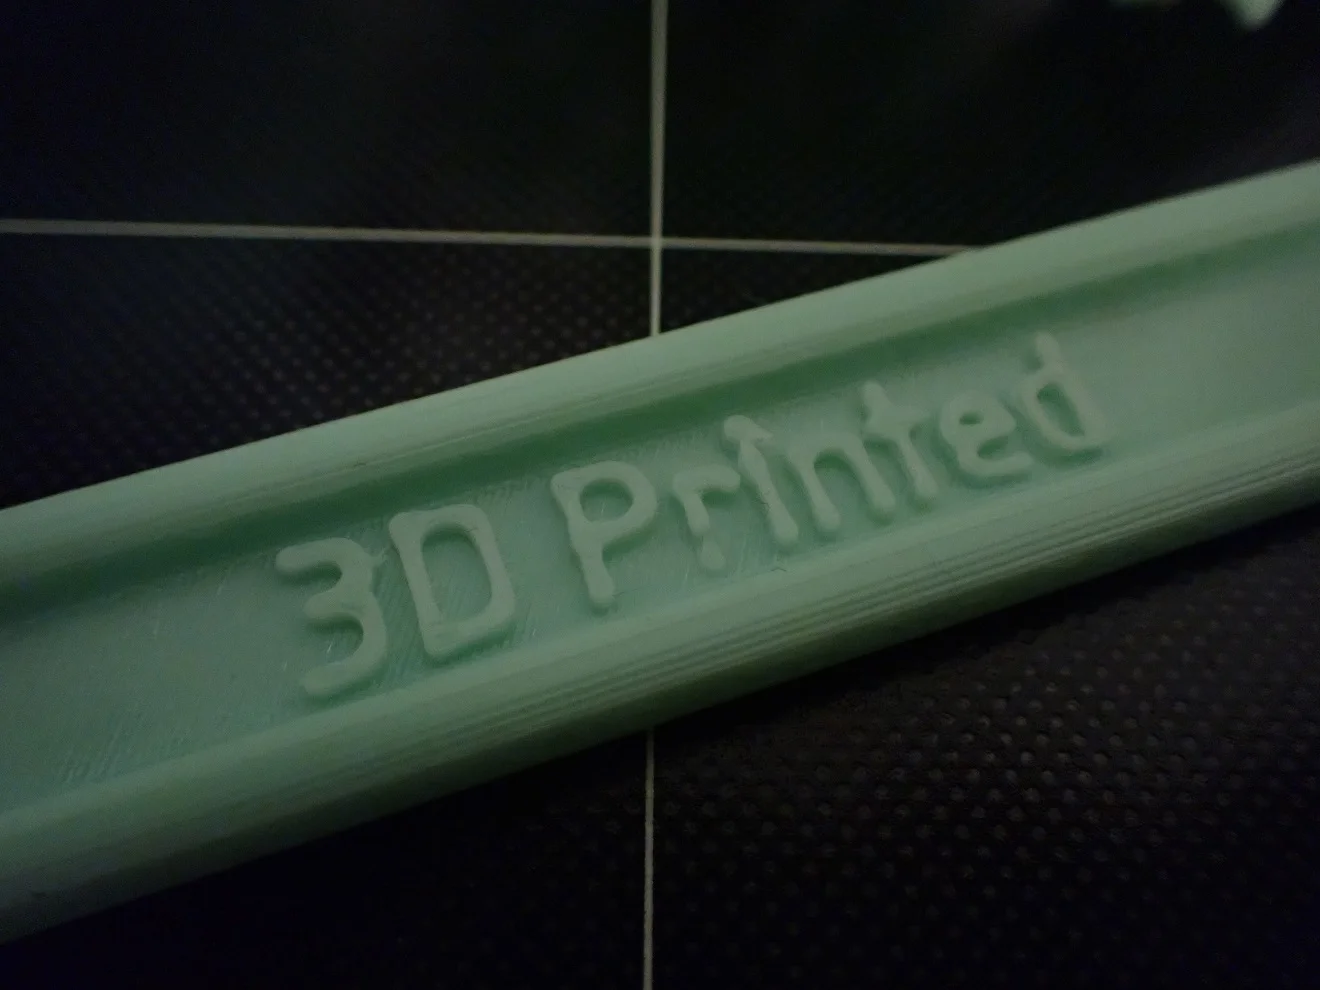
The Cambrian Pro achieves layer thicknesses of 0.1 mm. This layer thickness is currently the standard among hobby 3D printers. With high-quality “hard” filament and a 0.4 mm nozzle, accuracies of 0.06 mm are possible. With flexible filaments and a 0.8 mm nozzle, the highest layer thickness is 0.6 mm.
With flexible filaments, greater layer thicknesses are usually aimed for, as functionality and flexibility are more important than accuracy. In addition, printing takes much less time if the layer thickness is chosen higher. For the production of shoe soles, for example, a thicker layer thickness is worthwhile and an accuracy of 0.3 mm would be absolutely sufficient here.
In Cura there are already preset standard profiles for different layer thicknesses:
- 0.06 mm – Extra Fine
- 0,1 mm – Fine
- 0.15 mm – Normal
- 0.2 mm – Draft
- 0.3 mm – Extra Fast
- 0.4 mm – Coarse
- 0.6 mm – Extra Coarse
Is the Cambrian Pro Worth It?
> Atomstack Cambrian Pro Review
If you are looking for a printer that can handle flexible filaments very well, but also prints all other filaments excellently, the Cambrian Pro* is just right for you.
However, the Cambrian Pro stands out for flexible filaments, which is what it was designed for. So if you’re a frequent user of flexible filament, or even if you want to make products for customers out of flexible material, the Cambrian Pro is perfect for you.
If these criteria apply, the Cambrian Pro from Atomstack is definitely worth it!
Check Price at:
Disclosure: This website is the property of Martin Lütkemeyer and is operated by Martin Lütkemeyer. Martin Lütkemeyer is a member of the Amazon Services LLC and other Affiliate Programs. These are affiliate advertising programs designed to enable websites to earn advertising revenue through advertising and linking to Amazon.com and others. Links marked with * are affiliate links.


