
- Wet Filament: Prevention, Symptoms & Drying - July 18, 2024
- Sovol SV08 – Best PrusaSlicer Settings & Profile - June 26, 2024
- Sovol SV08 – Best Orca Slicer Settings & Profile - June 26, 2024
Disclosure: Links marked with * are Affiliate Links. I earn from qualifying purchases if you decide to make a purchase through these links – at no additional cost for you!
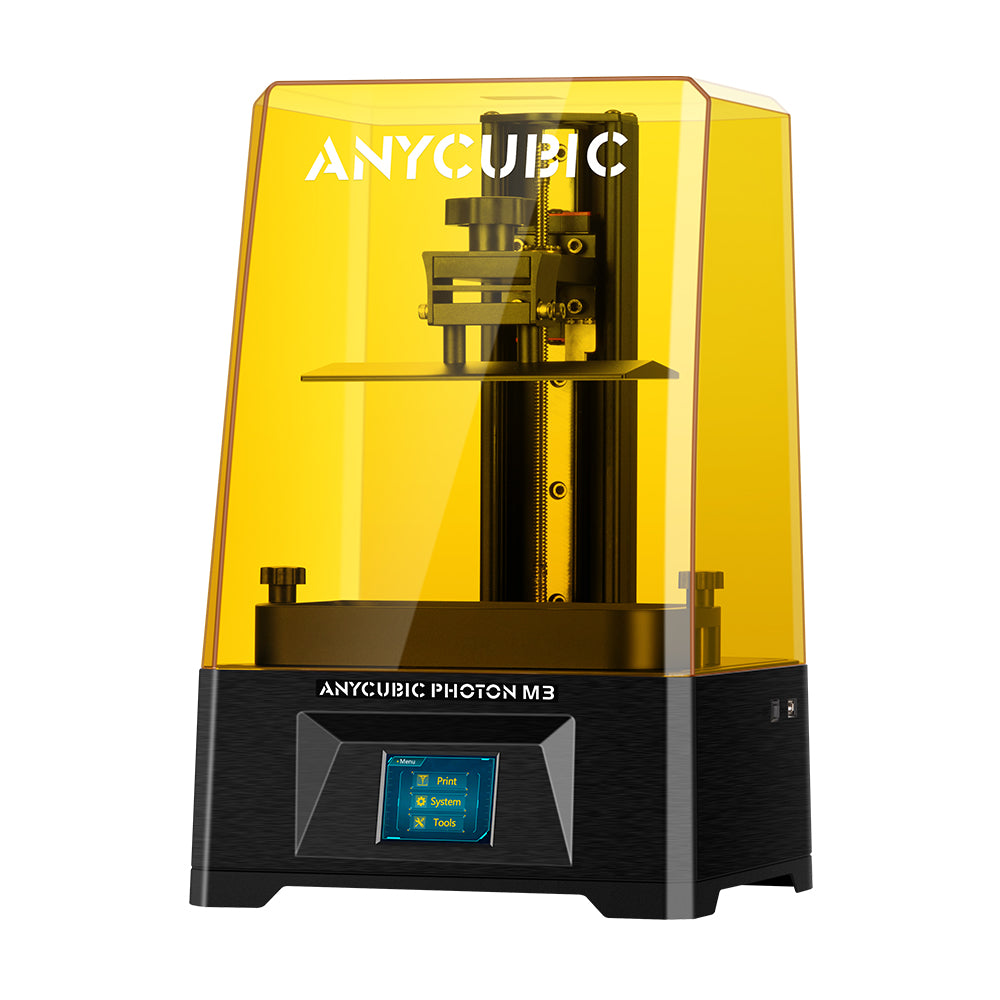
The Anycubic Photon M3* is an entry-level LCD 3D printer, can produce high-quality prints, and is very affordable, especially compared to other printers in its category. I was very excited to try it out, so I put it through its paces.
In this post, I’ll tell you about my experience with the printer, from setting it up to printing my first objects. I was particularly interested in the print quality, which is marketed as “4K+”. You can see the results below in this review.
Check Price at:
Table of Contents:
- 1 Key Takeaways
- 2 Who Should Buy the Photon M3?
- 3 Advantages & Disadvantages > Anycubic Photon M3 Review
- 4 Technical Specifications > Anycubic Photon M3 Review
- 5 Scope of Delivery > Anycubic Photon M3 Review
- 6 Setup > Anycubic Photon M3 Review
- 7 Features > Anycubic Photon M3 Review
- 8 Noise Level > Anycubic Photon M3 Review
- 9 Power Consumption > Anycubic Photon M3 Review
- 10 Print Speed > Anycubic Photon M3 Review
- 11 Handling > Anycubic Photon M3 Review
- 12 Slicer > Anycubic Photon M3 Review
- 13 Print Quality > Anycubic Photon M3 Review
- 14 Useful Accessories > Anycubic Photon M3 Review
- 15 Photon M3 vs. M3 Plus vs. M3 Max > Anycubic Photon M3 Review
- 16 Is the Photon M3 Worth It? > Anycubic Photon M3 Review
- 17 Similar 3D Printers
Key Takeaways
- Large print volume with still good resolution (163 x 102 x 180 mm with 40 μm)
- High contrast for sharp edges
- Good print bed adhesion due to textured print bed
- Uncomplicate doperation via touchscreen
- Very good price-performance ratio
Who Should Buy the Photon M3?
The Anycubic Photon M3 is a 3D printer aimed at hobbyists and beginners. It offers good print quality at an affordable price, making it a good option for anyone looking to get into 3D printing. Its quality is good enough to print small figures for tabletop games.
Advantages & Disadvantages
> Anycubic Photon M3 Review
PRO:
- 4K+ resolution
- Laser engraved print bed
- Simple print bed leveling
- Cheap
- Easy handling
CON:
- No built-in air filters (I used the Anycubic AirPure*)
- Impractical placement of the USB port
Technical Specifications
> Anycubic Photon M3 Review
- Screen: 7.6” monochrome LCD screen
- Print resolution: 4096 x 2560 pixels
- XY pixel size: 40 μm
- Z resolution: 0.01 mm
- Print volume: 180 x 163 x 102 mm
- Contrast ratio: 400:1
- Light source: Parallel Matrix Light Source
- Print bed: laser engraved aluminum
- Printing speed: ≤ 5 cm per hour
- Operation: 2.8” color touch screen
- Connectivity: USB-A 2.0
- Size: 425 x 269 x 256 mm
- Weight: 7 kg
Check Price at:
Scope of Delivery
> Anycubic Photon M3 Review
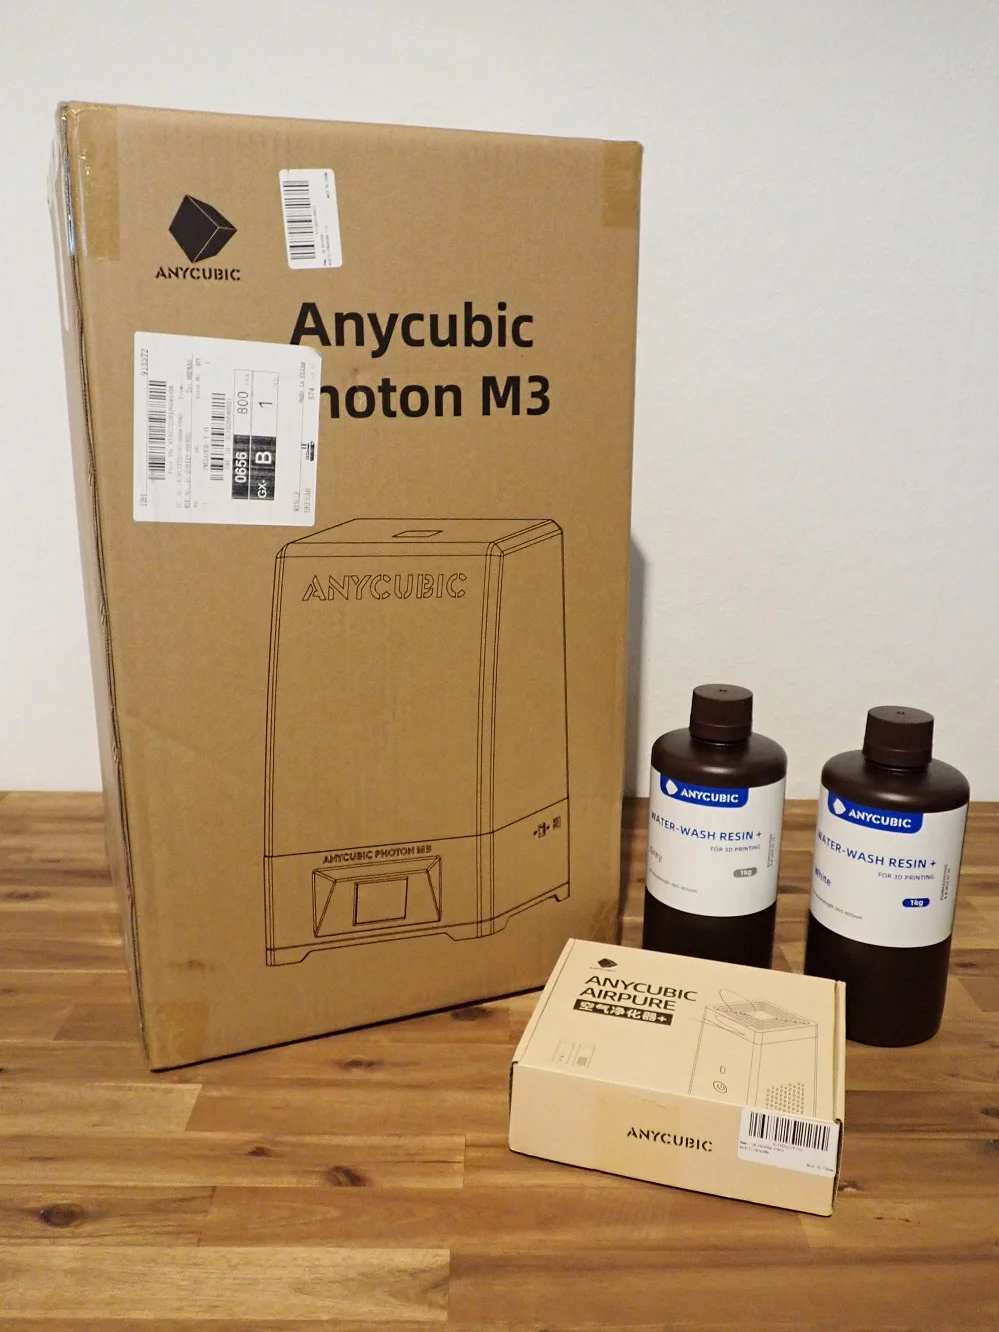
The Anycubic Photon M3 comes with “almost” everything you need to get started with your first 3D print. All you need is resin. I tested the M3 with the water washable resin from Anycubic* and the Anycubic AirPure Filters* and had very good experiences with it.
There are also one-time resin filters, gloves, and basic respirators included. However, I recommend you to buy a reusable resin filter with a funnel*. This way you are not forced to buy new filters again and again and you save money and the environment. In addition, an FFP2 mask is always the better choice when it comes to respiratory protection.
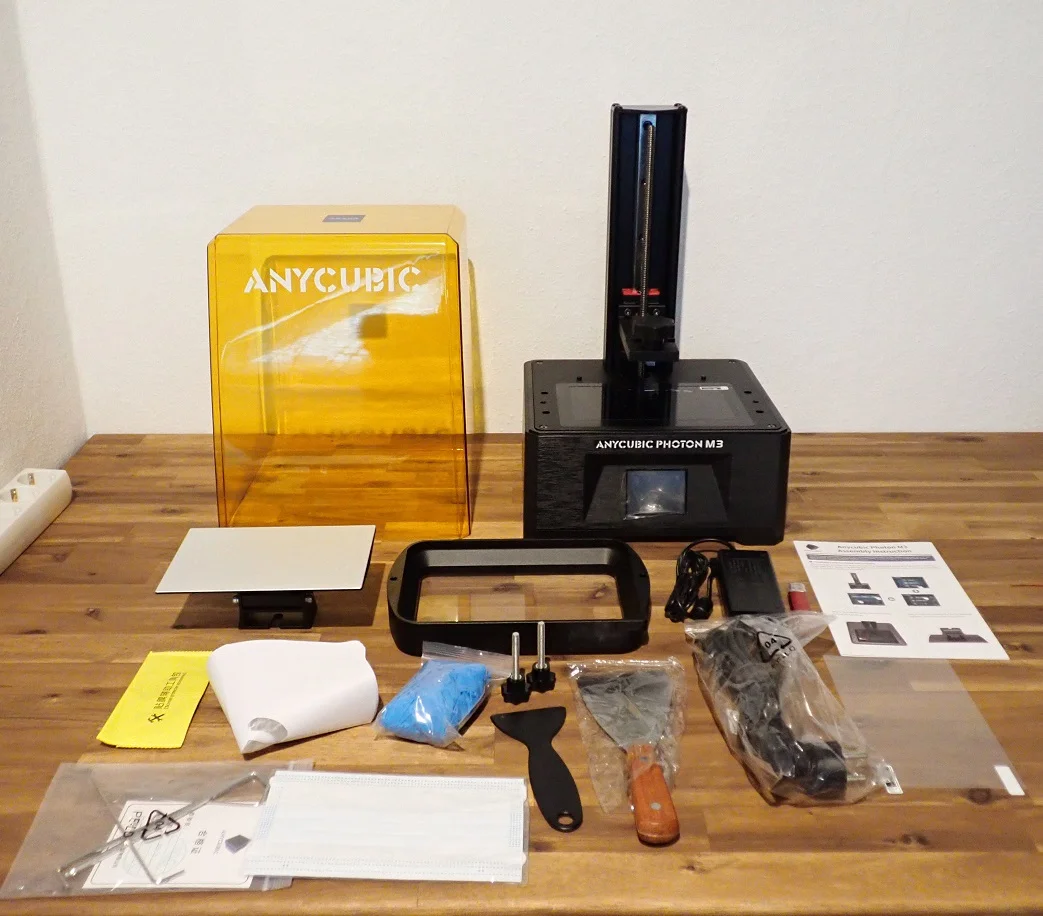
The following things are included in the scope of delivery of the Anycubic Photon M3:
- 3D printer with pre-mounted Z-axis
- Protective cover
- Print bed
- Resin container with FEP foil
- Power supply and cable
- Instruction manual
- Protective film for the LCD screen
- A few resin filters
- Disposable gloves
- Plastic spatula for the FEP film
- Metal spatula for the print bed
- Tools for assembly
- USB stick:
- Digital instruction manual for the printer
- Digital user manual for the software
- Photon Workshop (Slicer)
Setup
> Anycubic Photon M3 Review
The Anycubic Photon M3 is very easy to assemble. As with most other resin 3D printers, assembly consists of only a few steps, as the printer comes completely pre-assembled.
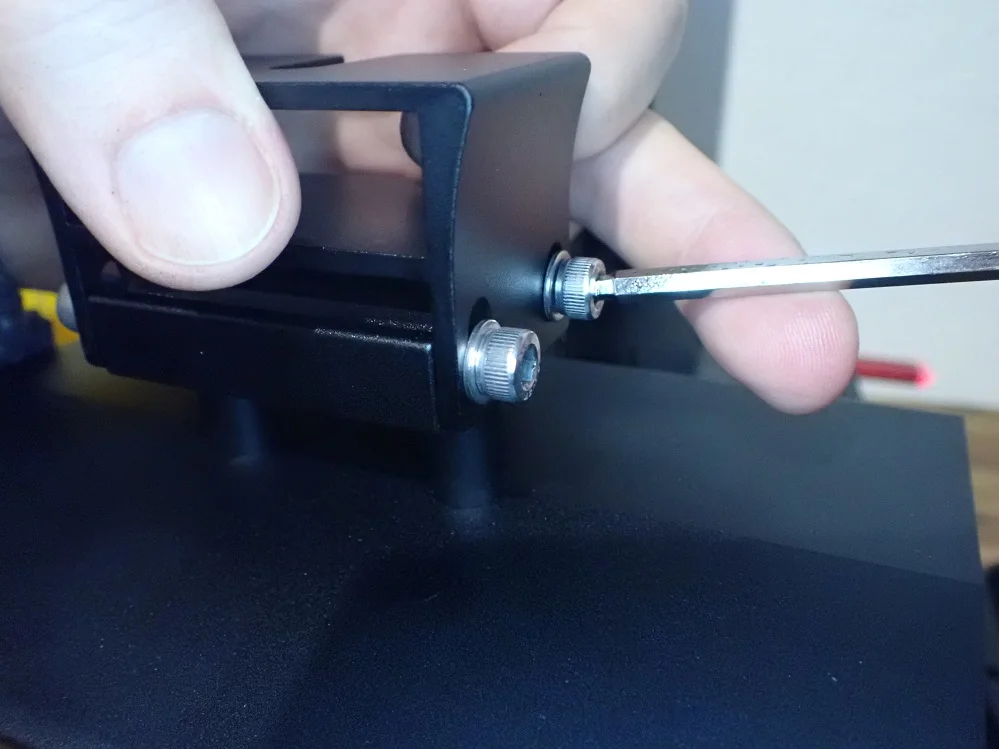
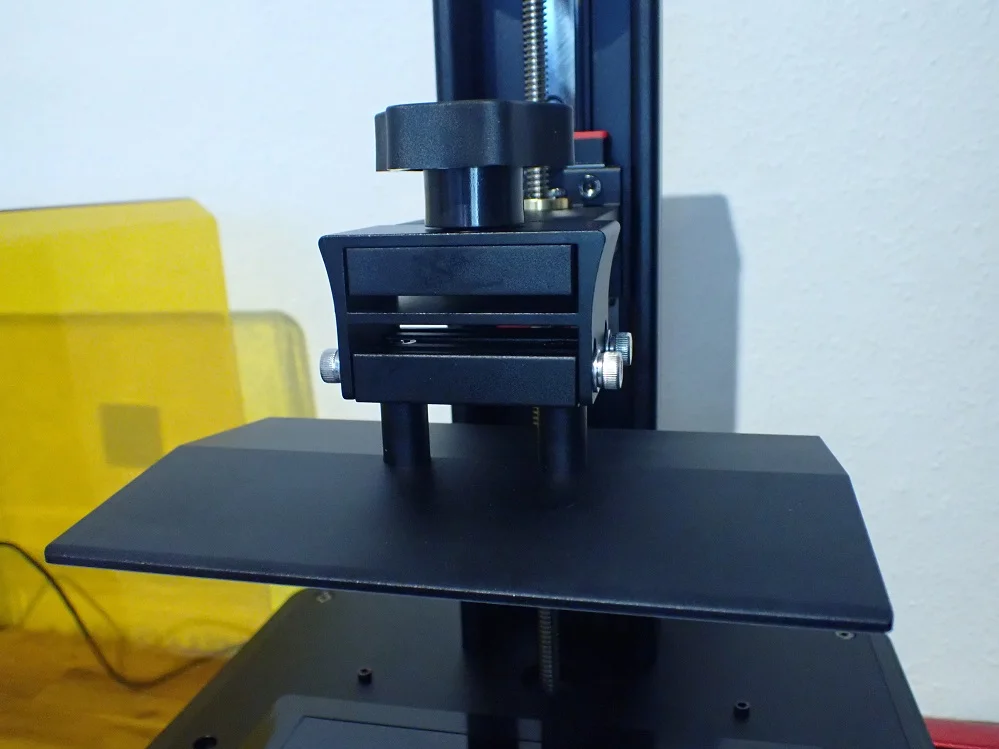
After you have removed the protective films from the various surfaces, the assembly basically only consists of mounting and leveling the print plate. The print plate of the Photon M3 is fixed with 4 screws. If you loosen these a bit, the print plate can be aligned. This is done in the following steps:
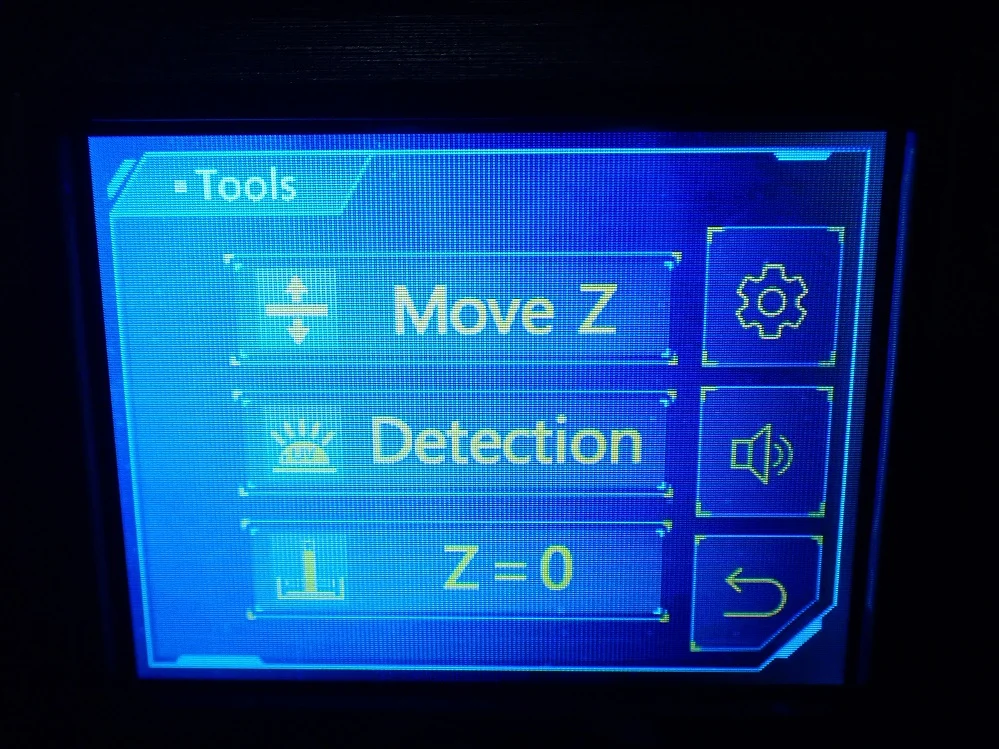
- Raise the Z-axis via the menu so that there is enough space for mounting the print bed.
- Mount the print bed.
- Loosen the 4 screws of the print bed so that it can be aligned.
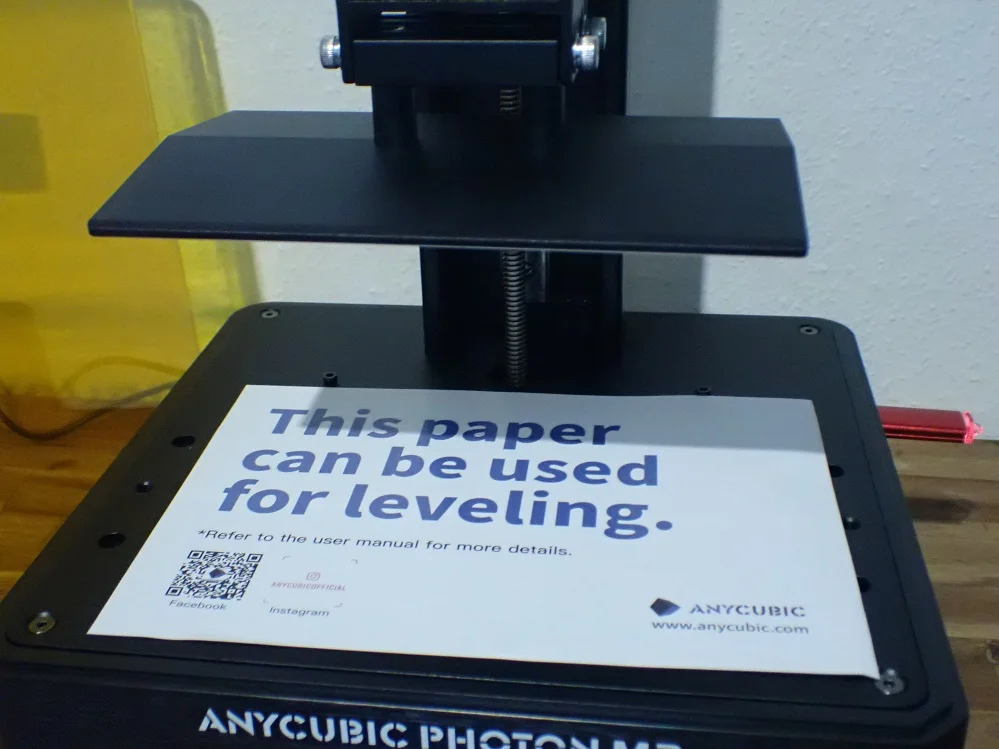
- Place the enclosed sheet of paper on the LCD screen for leveling.
- Move the print bed to the home position via the menu. Since you have loosened the screws, the print bed gives way and rests loosely on the LCD screen.
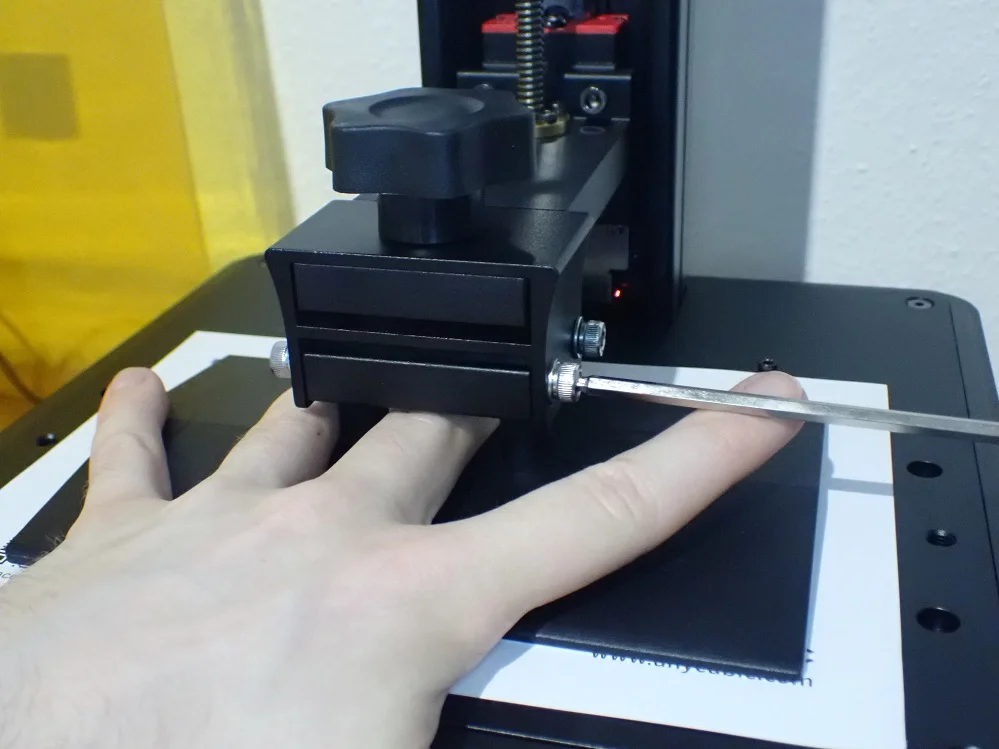
- Now hold the print bed firmly with one hand with a slight downward pressure and tighten the screws again with the other hand.
- By this process, you have redefined the Z0 position and can save it via the menu.
Check Price at:
Features
> Anycubic Photon M3 Review
The Anycubic Photon M3 has many of the same features found on most other resin 3D printers. However, there are a few interesting new features that make it even more user-friendly.
4K+ Monochrome LCD Screen

The Anycubic Photon M3 is equipped with a 4K+ monochrome LCD screen that can display stunningly clear images. This makes it the perfect printer for anyone who needs high-quality results without compromising on image quality.
At first glance, the specification of a “4K+” resolution suggests a higher accuracy than printers with a normal 4K resolution. In this case, 4K+ means that the LCD screen actually has more pixels than a normal 4K resolution with 4096 x 2160 pixels. However, the accuracy, i.e. the XY pixel size, depends on the area of the screen on which the pixels are distributed.
With a resolution of 4096 x 2560 pixels, the Anycubic Photon M3 has an XY pixel size of 40 microns, which allows it to produce extremely accurate prints. So you can be sure that you’ll get great results every time you use this printer. This is mid-range in this price range, but is sufficient for 95% or more of all applications!
If you have an accurate eye, you can see the individual steps in the Z-direction with the naked eye (step height minimum 0.01 mm). But as soon as you set even moderate edge smoothing, the prints look like high-quality injection-molded parts!
Laser Engraved Printing Plate
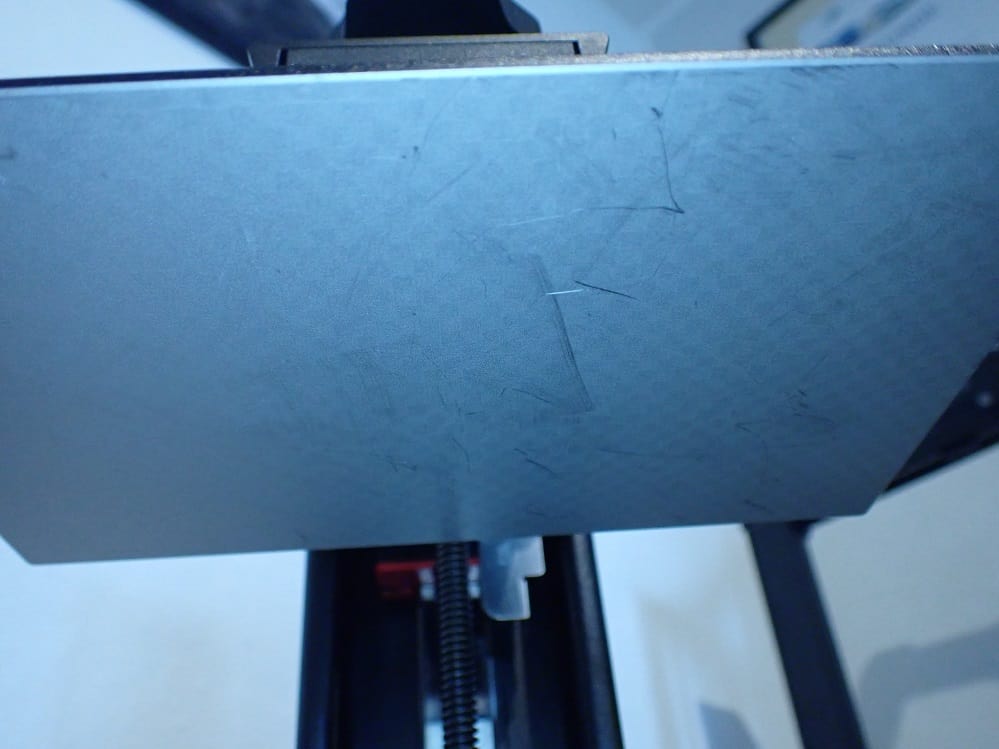
The Anycubic Photon M3 has a laser-engraved print bed where adhesion is never a problem. After prolonged use, the surface of the print bed starts to wear. The spatula leaves marks when removing the finished objects. However, this does not affect the quality of the prints or the adhesion, but you should be aware of it.
Laser engraving on the print bed increases the surface area. This results in better print bed adhesion. However, the Photon M3 is not exempt from a common problem with resin printers: the adhesion on the FEP film is often greater than on the print bed. This leads to the fact that the printed object does not adhere to the print bed but to the FEP foil.
As a result, the print has failed completely. This error frustrates beginners enormously because the solution is not obvious. A simple solution to this is to spread a drop of PTFE lubricant on the FEP film. This extremely reduces the adhesion to the film and does not hinder the print quality in the slightest.
I use this PTFE lubricant on each of my prints (link to product*).
The resin tray with which the M3 is supplied is easy to remove and clean. The FEP film can also be replaced if necessary.
High Printing Speed
One of the best features of the Anycubic Photon M3 is its high printing speed. The printing speed is an important factor that you should consider when buying a 3D printer.
Resin 3D printers with print speeds up to 50 mm/h are ideal for rapid prototyping or large objects with low resolution plus edge smoothing. However, if details are very important to you, a lower speed is better.
How fast a 3D printer can print depends on two things: exposure time and layer thickness. These two factors determine how quickly the printer can add layers of material to create a 3D object.
Monochrome LCD screens have made exposure times much shorter. This allows for shorter print times per layer and saves a great deal of time when printing the entire object. The Photon M3’s LighTurbo exposure matrix is powerful and efficient. This and the monochrome LCD technology allow the individual layers to be printed within 1-3 seconds (depending on the resin used).
LighTurbo UV Matrix
The light source is the heart of a resin 3D printer. The UV LEDs illuminate the LCD screen and thus print the object. The stronger the exposure through these LEDs, the more precise and faster the printing can be.
The Anycubic Photon M3 uses an LED array called the LighTurbo Matrix as its light source. This unique setup sets the Anycubic Photon M3 apart from other 3D printers. The LighTurbo Matrix is a UV LED array with a wavelength of 405 nm. The LEDs are evenly distributed to give powerful illumination over the entire surface of the LCD screen – even at the edges!
The strong exposure of the monochrome LCD screen also has a very high contrast of 400:1. The high contrast makes the image sharper which also allows sharp edges and precise details to be printed.
Anti-Scratch Coating on LCD Screen
LCD screens are quite robust and durable. But even the most robust LCD screen does not last forever. That’s why the Photon M3’s LCD screen has an anti-scratch coating that protects it from wear and tear. This coating ensures that your print results look perfect even after prolonged use.
You can replace the anti-scratch coating of the LCD screen. This will protect your screen from scratches and other damage. Instructions and a replacement coating are included.
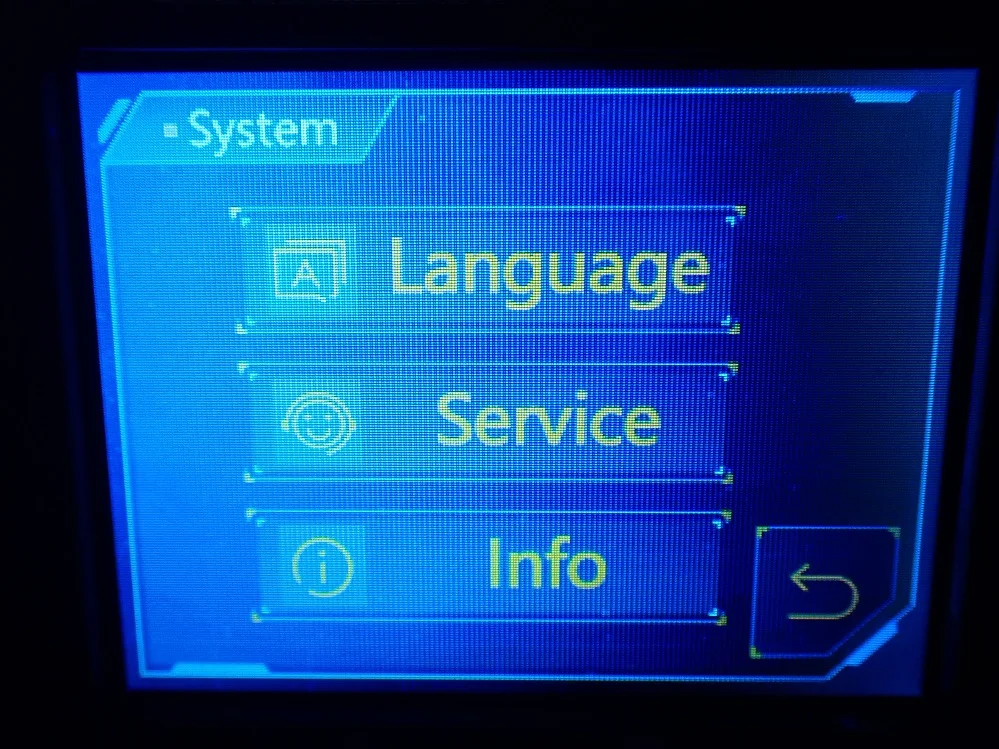
Simple Operation
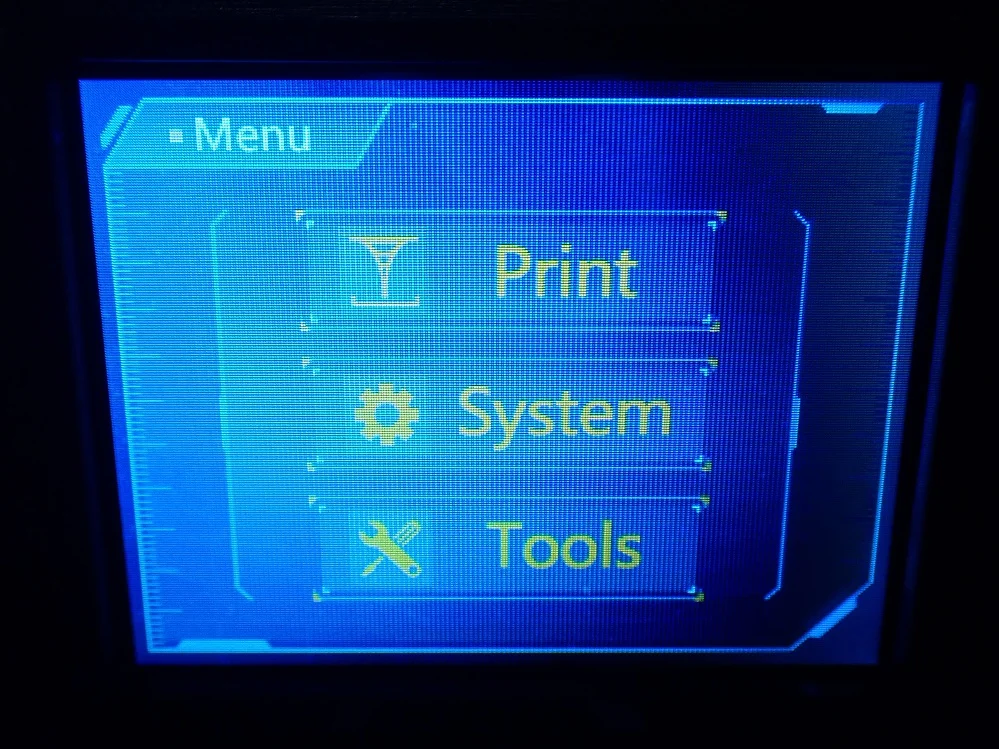

The Anycubic Photon M3 is very easy to use. After skimming the manual, I immediately knew how it worked – basically the same as most other resin 3D printers. But even if you’ve never used a 3D printer before, you’ll quickly get to grips with it.
The M3 has an LCD screen with an easy-to-understand and intuitive menu that shows you all the important functions in just a few clicks. The screen is bright and clear, so you can easily see the printing process.
The touchscreen responds well to your inputs and makes it easy to use. The only thing I didn’t like was that the screen is a bit small, but that’s not a big problem. The printer is easy to set up and use, with clear instructions in the manual. It takes a bit to get everything set up (about 20 minutes), but it’s worth it.
The printer comes with all the necessary tools and materials, so you don’t have to worry about buying everything separately (except more resin and other consumables, of course). The Anycubic Photon M3 is a great choice for anyone looking for an easy-to-use, affordable resin 3D printer.
Simple Print Bed Leveling
Leveling the print bed is a breeze with the Photon M3. The process is supported by the menu and only takes a few minutes.
It can be difficult to level print beds. If your print bed isn’t level, your prints can turn out uneven or even fail altogether. The good news is that there is an easy way to ensure that the print bed is level on a resin 3D printer. All you need is a piece of paper.
First, place the paper on the LCD screen. Then attach the print bed to the Z-axis. Then loosen the 4 screws of the print bed. Now move the Z-axis to the home position via the menu. Once the Z-axis is in the home position, press the print bed evenly onto the paper. Then tighten the 4 screws of the print bed. Save the Z0 position in the menu and you’re done!
The print bed is also very stably locked in place by the 4 screws, so leveling rarely needs to be repeated.
Check Price at:
Noise Level
> Anycubic Photon M3 Review
The noise of a resin 3D printer is divided into 2 phases during printing: the exposure time and the movement of the print bed. During the exposure time, the Photon M3 is virtually silent because the fans are extremely quiet. The loudest part of the 3D printer, besides the menu sound (which you can turn off), is the Z-axis motor.
While the print bed moves on the Z-axis, I was able to measure a noise level of about 35 decibels. This is a very good value and comparable to other resin 3D printers in this price segment. The volume is so low that you won’t be disturbed by it in another room.
Even in the same room, the noise level is so low that you can concentrate on complicated work. Note, however, that with resin 3D printers you should not normally be in the same room because of the toxic gases of the resin.
Power Consumption
> Anycubic Photon M3 Review
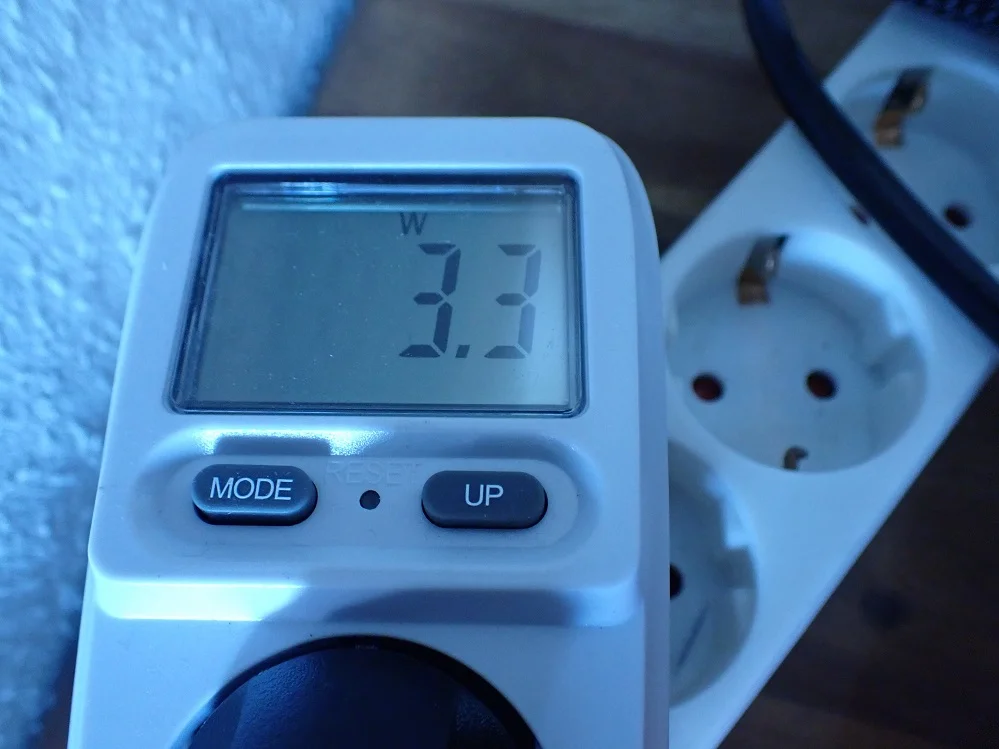
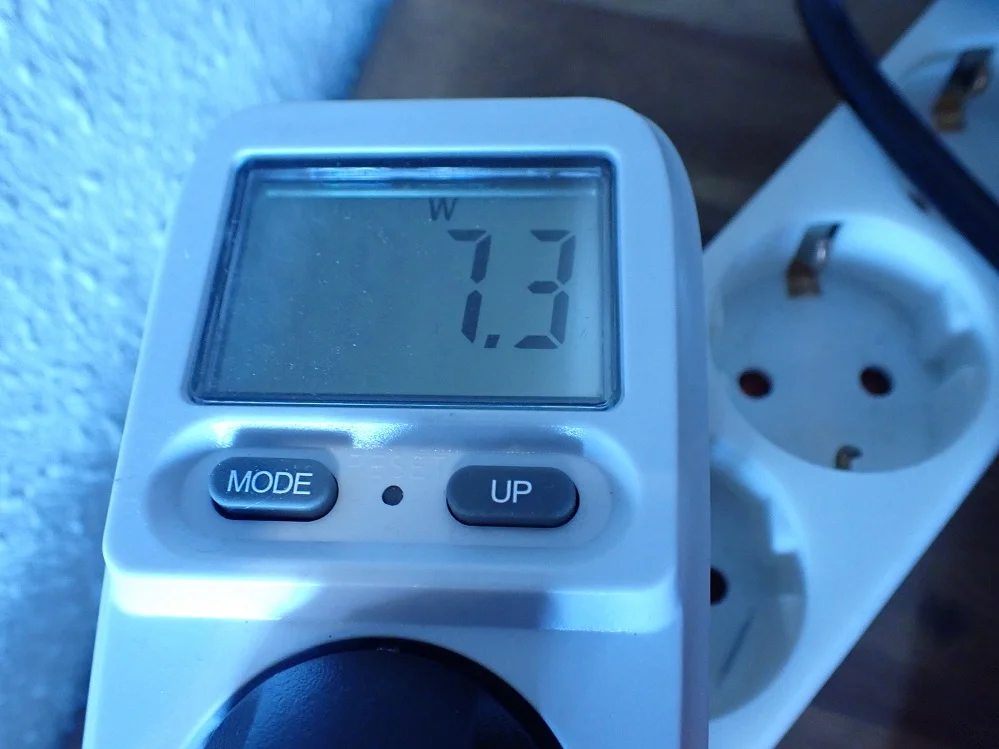
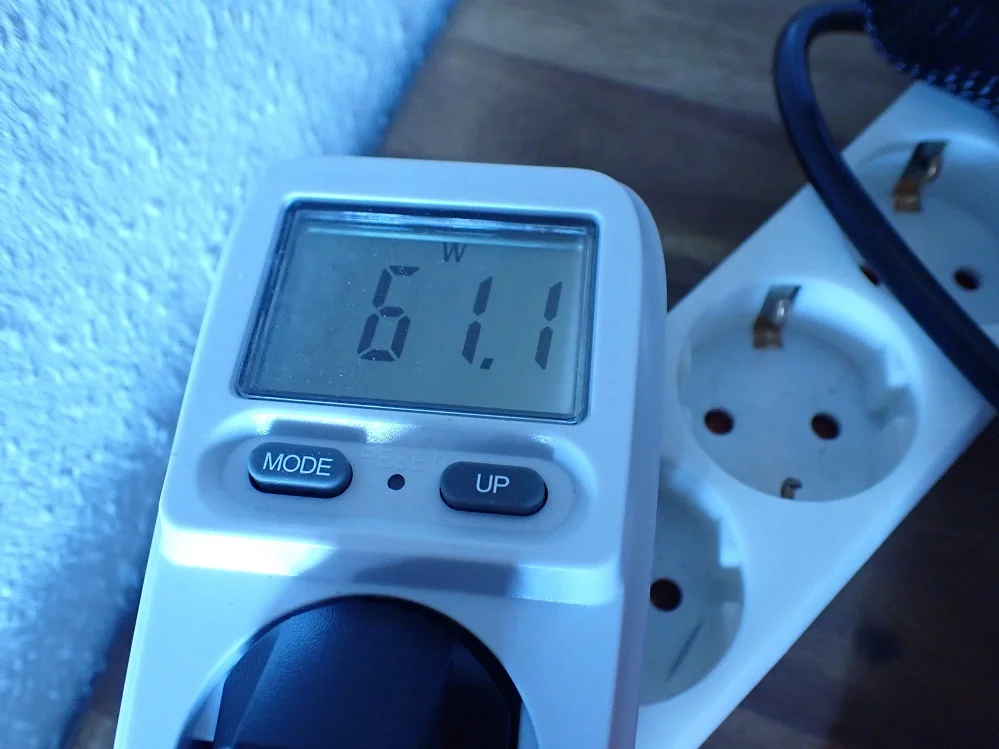
- Switched on but without printing: 3.3 W
- Z-axis movement: 7.3 W
- During exposure (approx. 50% of the screen): 61.1 W
The biggest power consumer in a resin 3D printer is the light source. The powerful LEDs consume a relatively large amount of power, but their power consumption is not so high that 3D printing becomes a luxury.
With the Anycubic Photon M3, the highest power I measured was 61.1 W during exposure. On average, about half of the screen was illuminated, since I printed quite a few smaller objects at once.
However, this power is not present during the entire print; the exposure time is only a portion of the total print time. The rest of the time, the Z-axis moves up and down and realigns itself for the next layer.
Print Speed
> Anycubic Photon M3 Review
The print speed of the Anycubic Photon M3 is theoretically quite high at 50 mm/h, but in reality, it depends on the layer thickness you set. For example, I always print with a layer thickness of 0.01 mm to get the best possible details. If I print an object that is a few centimeters high, the print takes 10 – 20 hours.
Another factor that significantly affects the printing time and thus the printing speed is the resin used. I used the water-soluble resin from Anycubic* and achieved an exposure time of only 1.5 seconds per layer.
Handling
> Anycubic Photon M3 Review
User Interface: With resin 3D printers, the user interface is very straightforward. There are only a few settings that you have to make, which means that the menu only has a few levels. This allows you to quickly find all the options and start printing with just a few clicks. The touchscreen of the Photon M3 works very well, but it could be a bit larger so that the small font is easier to see.
Preparation & Printing: Preparation for printing consists mainly of filling the resin into the container and slicing the model. The print bed adhesion to the laser engraved print bed is really very good. Throughout my testing, I never once had a problem with objects not adhering to the print bed.
Post-Processing: There are many who shy away from post-processing a resin 3D print. And yes, even with the Anycubic Photon M3, you can’t avoid cleaning the container and removing excess resin from the objects and cure them. But all this takes only 15 – 20 minutes with a little practice.
Slicer
> Anycubic Photon M3 Review
I fed the Anycubic Photon M3 with sliced objects using the Anycubic Photon Workshop. Like other slicers, Photon Workshop has all the important features like hollowing objects and setting automatic supports.
However, in my opinion, ChiTuBox is a bit better, because here the automatic support generation is a bit more intelligent and delivers better results. With Photon Workshop I set the supports manually to not destroy important details. The time Photon Workshop needs to write the file can take several minutes depending on the system used.
Learn to print perfect details:
Resin 3D Printer Calibration: Step-by-Step Guide
Anycubic Photon M3 Slicer Settings
The USB stick included in the delivery contains a profile for the Photon M3. You can import this in the Photon Workshop and only have to calibrate the exposure time to your used resin. I used the water-soluble resin from Anycubic and got an exposure time of 1.5 seconds.
If you are now wondering how to calibrate the exposure time on a resin 3D printer, I can only recommend this test matrix on Thingiverse. This object is very flat and can be printed in a few minutes. There are many small details on the surface that you can use to perfect the exposure setting. If the exposure time is too high, some details will overlap, if it is too low, small gaps will appear in between.
Check Price at:
Print Quality
> Anycubic Photon M3 Review
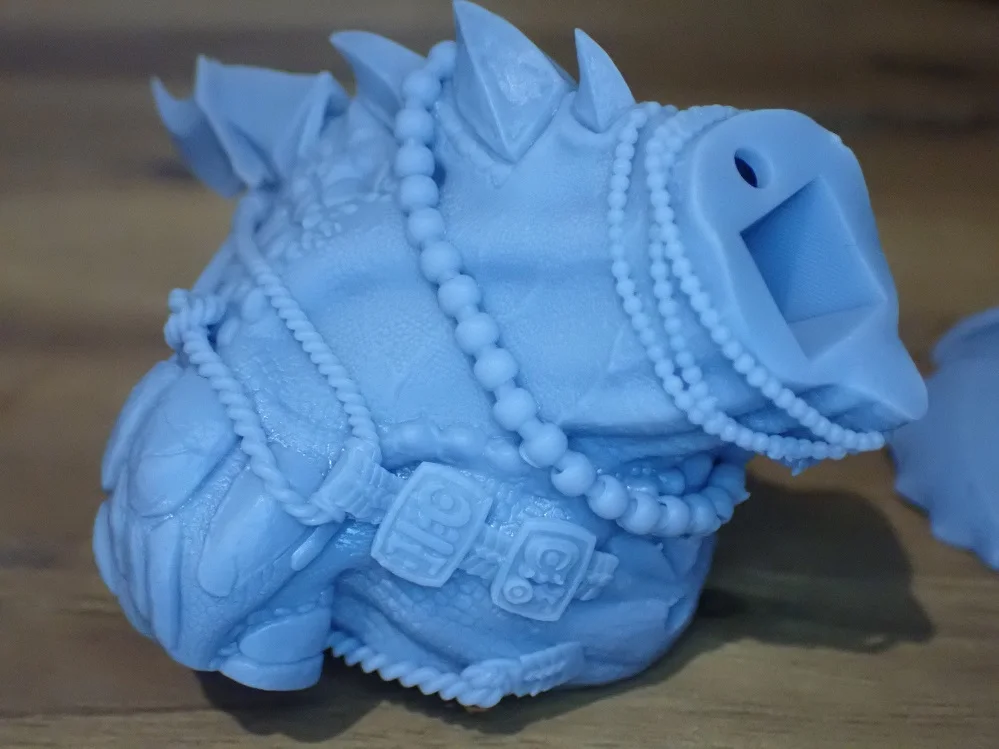

The print quality of the Anycubic Photon M3, at 40 μm, is not as good as the 22 μm of the Sonic Mini 8K, but with a well-adjusted edge smoothing it looks almost perfect!
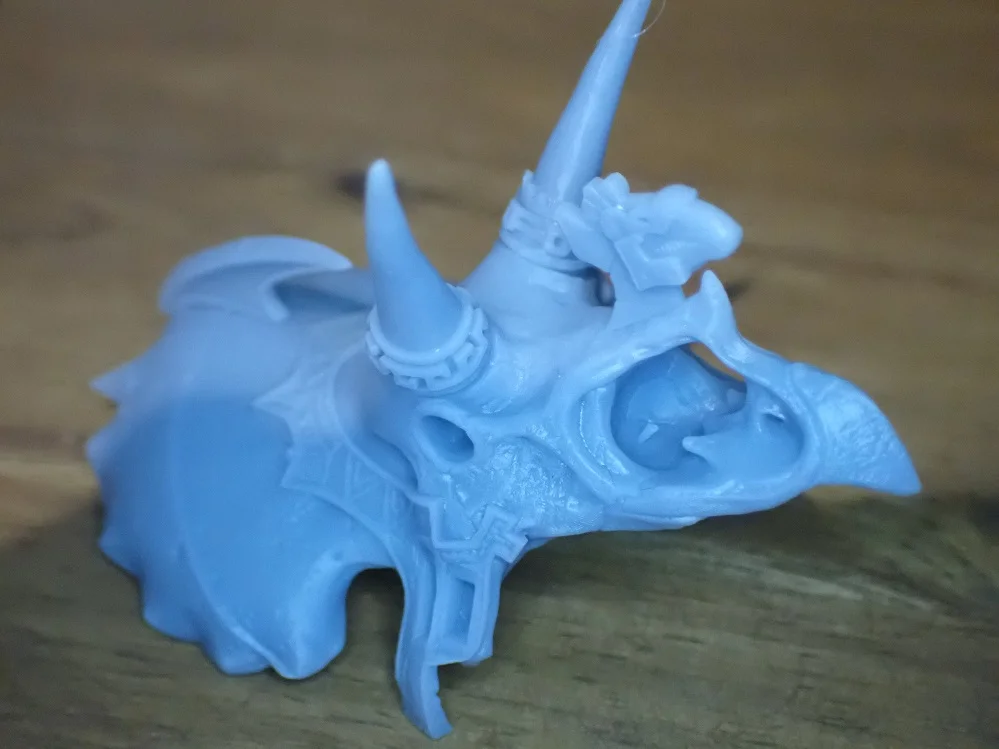
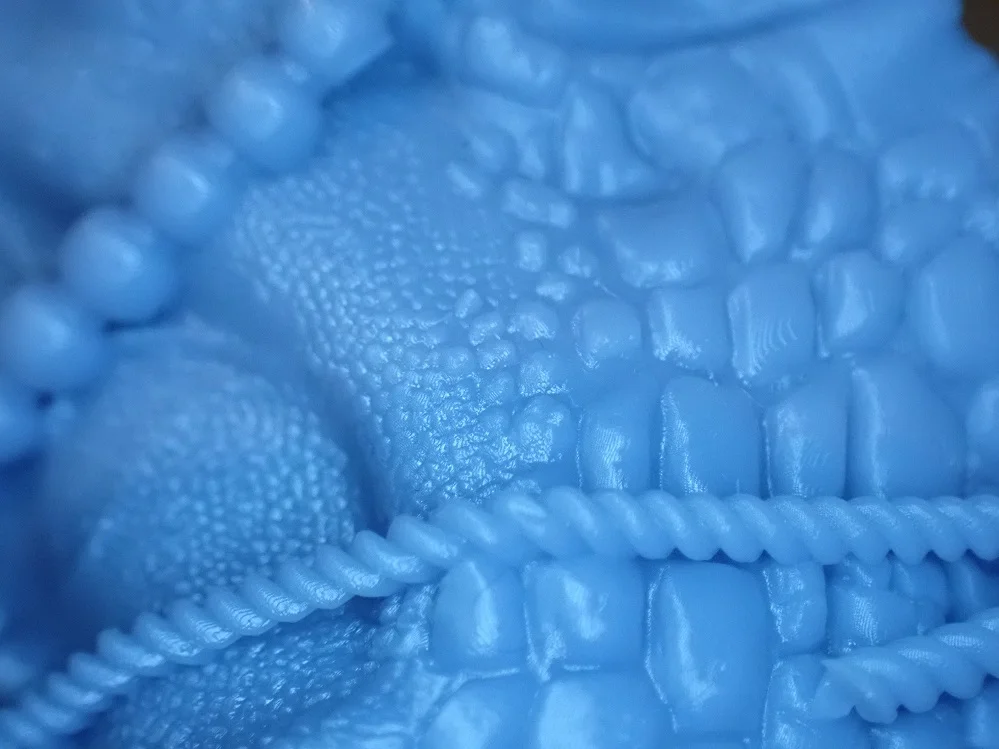
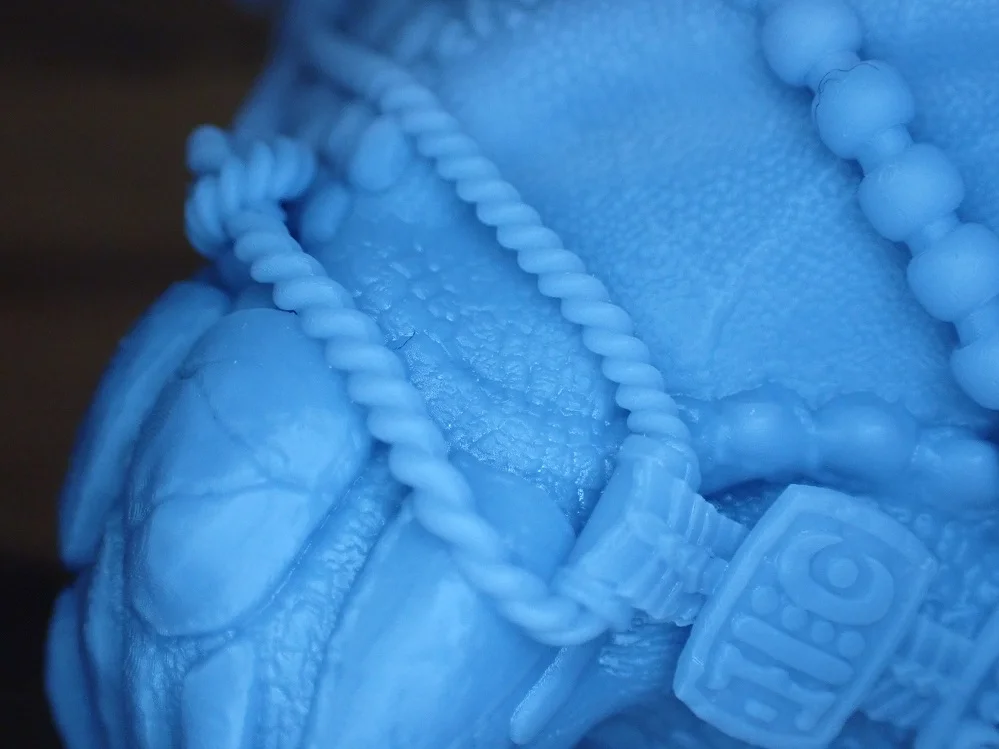
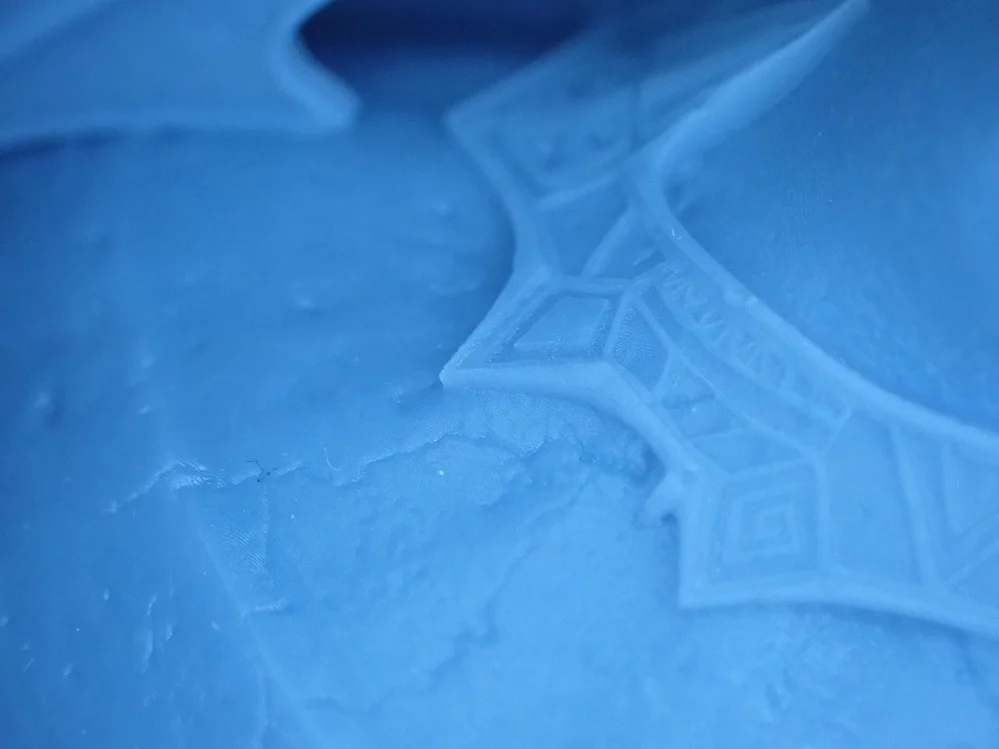
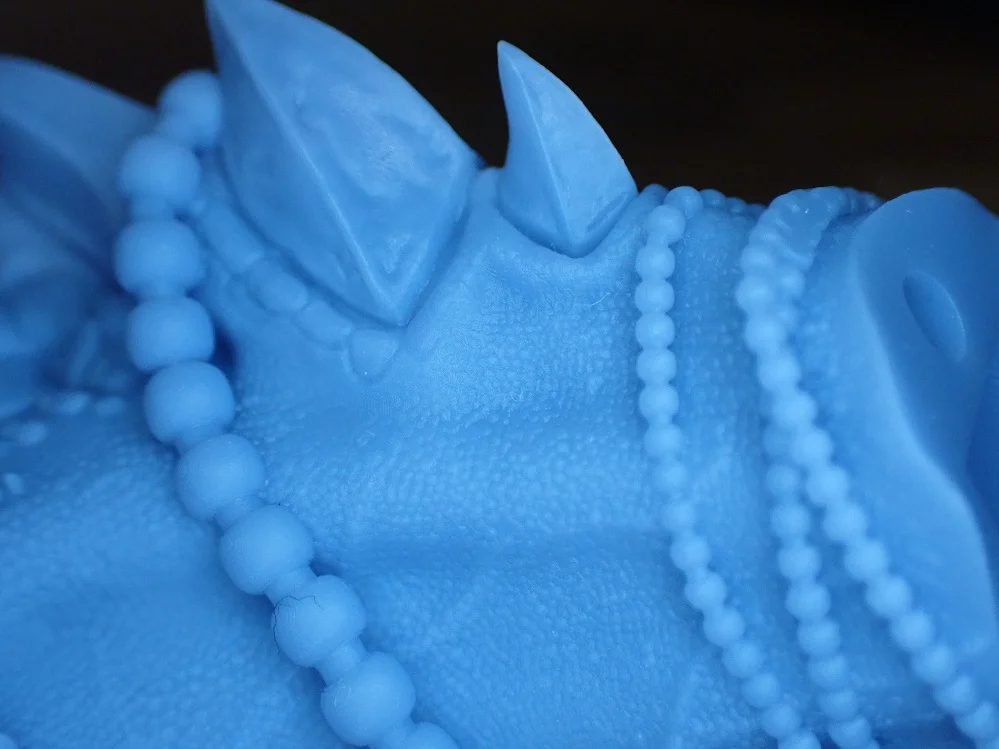
I printed some parts of the AZUL’ANOK with the Anycubic Photon M3. This bust consists of many small parts that were designed extremely detailed. Here you can find the object on MyMiniFactory.
I set a low level of edge smoothing for this object so that the steps of the layers would not be visible, but all the details would still be preserved. I was very surprised by the accuracy, as I had only recently tested the Phrozen Sonic Mini 8K with about twice the resolution (22 instead of 40 μm). But even the smallest details are razor-sharp and perfect for painting.
This result shows me again that it doesn’t always have to be a high-end 3D printer to produce near-perfect results. Even with the mediocre pixel size of 40 microns, sharp objects are possible that look like high-quality injection molded objects.
Useful Accessories
> Anycubic Photon M3 Review

Check Price at:
When buying a new resin 3D printer, it is always necessary to buy some accessories. These include, above all, consumables:
- Resin from which the objects are printed (I used the water-soluble resin from Anycubic*)
- FFP2 masks for protection against the toxic gases
- Disposable gloves so that you don’t get any resin on your skin
- Resin filters for pouring the resin back into the bottle (either disposable or reusable filters*)
- Isopropanol if you do not use a water-soluble resin
For the curing of the object, you still need a UV light source. You can either buy a cheap nail polish lamp or get a product designed for this purpose, such as the Anycubic Wash & Cure 2.0 Station*. With this device, you can quickly wash and cure your objects after printing without having to do much yourself.
Photon M3 vs. M3 Plus vs. M3 Max
> Anycubic Photon M3 Review
Anycubic has released two more 3D printers in the M3 series besides the Photon M3: the M3 Plus* and the M3 Max*. In principle, the three 3D printers offer you different print volumes and are therefore suitable for different application areas.

Check Price at:
The M3 Plus has an accuracy of 34 μm on its 6K screen with a print volume of 245 x 197 x 122 mm. It is also promoted as a smart device as it can be controlled via an app, the Anycubic Cloud.
Another striking difference is the larger touchscreen and the intelligent resin pump. With this pump, the printer can independently refill resin when its supply is exhausted. With large objects, the resin in the container can sometimes be insufficient. So you don’t have to set an alarm clock at night, the M3 Plus automatically refills resin.

Check Price at:
The M3 Max is basically just an enlarged version of the M3. It has a print volume of 298 x 164 x 300 mm and therefore also has the intelligent resin pump to independently refill resin during printing for large objects.
Is the Photon M3 Worth It?
> Anycubic Photon M3 Review
The Anycubic Photon M3* is worthwhile for anyone who wants to get into resin 3D printing. Due to its solid and well-thought-out features and the low price, it has an extremely good price-performance ratio.
As you can see from the pictures above, the print quality is also excellent. With the right settings, you can print objects that are indistinguishable from high-quality injection molded objects to the naked eye. If you want to print larger objects than the print volume of the M3 allows, there are two more 3D printers in this series: the M3 Plus* and the M3 Max*.
Check Price at:
Similar 3D Printers
Elegoo Mars 3

Check Price at:
Or Check Out the Review: Elegoo Mars 3 Review
The Elegoo Mars 3 is a very popular entry-level resin 3D printer. It has a 4K resolution and thus comes with a pixel size of 35 µm for its print area. Its print volume is 143.36 x 89.6 x 175 mm.
Creality3D Halot-One
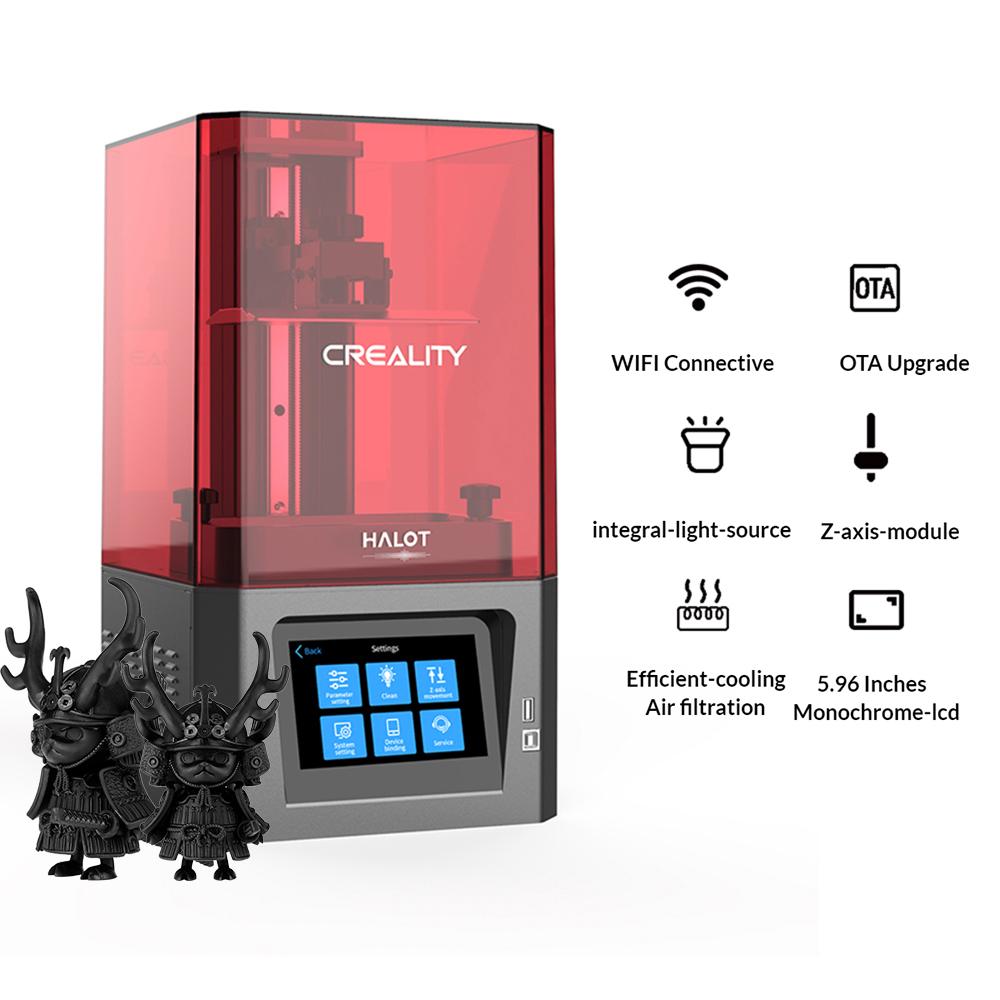
Check Price at:
The Creality3D Halot-One* has a print volume of 130 x 82 x 160 mm with a pixel size of 50 µm.
Disclosure: This website is the property of Martin Lütkemeyer and is operated by Martin Lütkemeyer. Martin Lütkemeyer is a member of the Amazon Services LLC and other Affiliate Programs. These are affiliate advertising programs designed to enable websites to earn advertising revenue through advertising and linking to Amazon.com and others. Links marked with * are affiliate links.
