
- Wet Filament: Prevention, Symptoms & Drying - July 18, 2024
- Sovol SV08 – Best PrusaSlicer Settings & Profile - June 26, 2024
- Sovol SV08 – Best Orca Slicer Settings & Profile - June 26, 2024
Disclosure: Links marked with * are Affiliate Links. I earn from qualifying purchases if you decide to make a purchase through these links – at no additional cost for you!
The CR-Laser Falcon2 from Creality* is a desktop laser with a power of 22 watts. This allows it to engrave and cut many materials. Wood can be cut with this power with a thickness of up to 15 mm in one pass. It is also possible to engrave stainless steel with it in color, which I was particularly interested in.
In this detailed review, I’ll show you the laser in detail, what you can expect from it, and show you the results I was able to achieve with it.
Check Price at:
Table of Contents:
Technical Specifications
- Laser power: 22 W diode laser
- Laser wavelength: 455 +/- 5 nm
- Cutting: up to 15 mm of wood in one pass
- Engraving: 25000 mm/min
- Laser focus: 0,1 mm
- Resolution: 254 dpi
- Working area: 400 × 415 mm
- Materials: wood, bamboo, cardboard, rubber, leather, paper, felt, fabric, acrylic, plastic, metal
- File format: G-code
- Software: LaserGRBL, LightBurn
Scope of Delivery & Unboxing
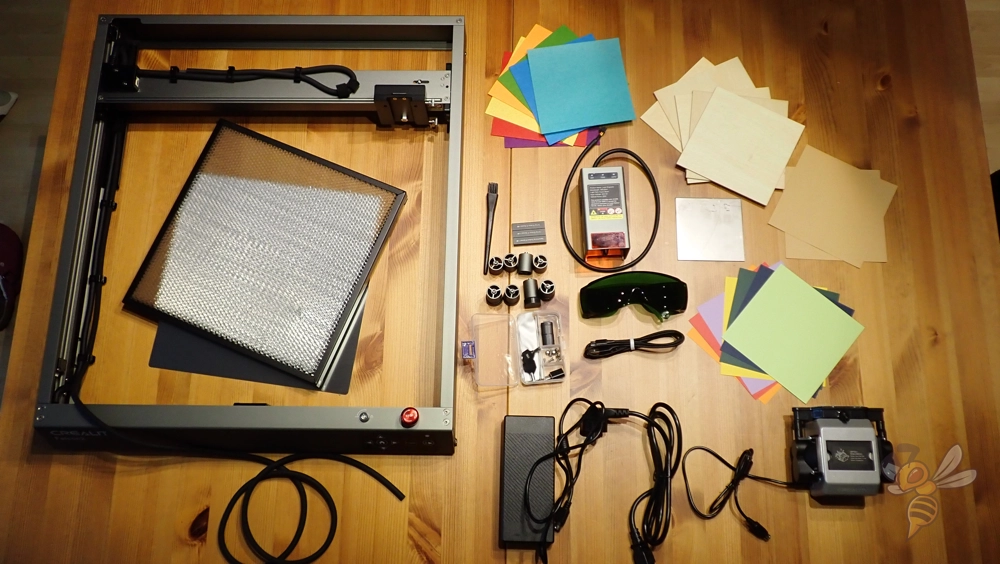
When unboxing the CR-Laser Falcon2, I was positively surprised by the fact that it comes completely pre-assembled. In addition, all cables on the moving axes and the tube for the air system are already neatly wired.
The scope of delivery contains everything you need for your first tests. Various materials are included: Cardboard, colored paper, felt, several wooden plates and a stainless-steel plate.
Besides the pre-assembled frame of the laser, the laser module and the air assist system, there are also laser safety goggles, a focusing aid, an adapter for SD cards to USB and tools for cleaning the laser module.
Also included is a honeycomb sheet. This way, the undersides of your lasered objects will be cleaner and you won’t destroy your work surface with the laser.
Mounting
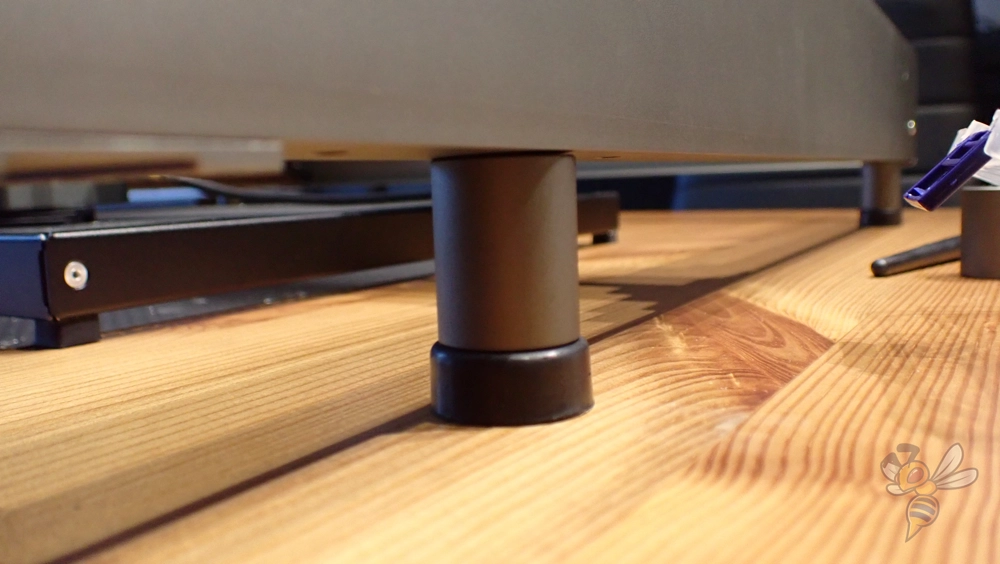
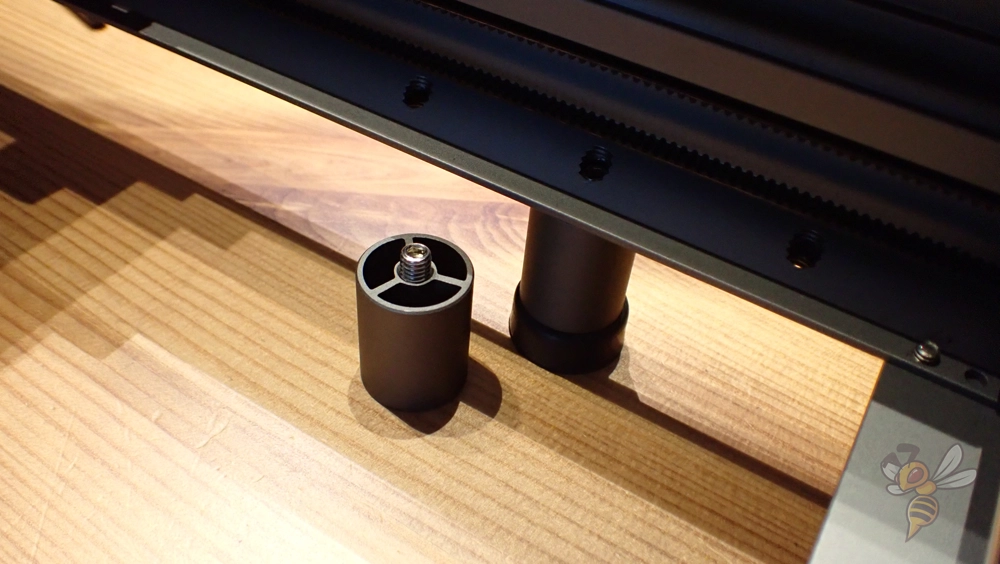
Since the frame of the CR-Laser Falcon2 is delivered pre-assembled, the assembly is done within 5 to 10 minutes and consists of only a few simple steps. The first step is to attach the feet to the frame.
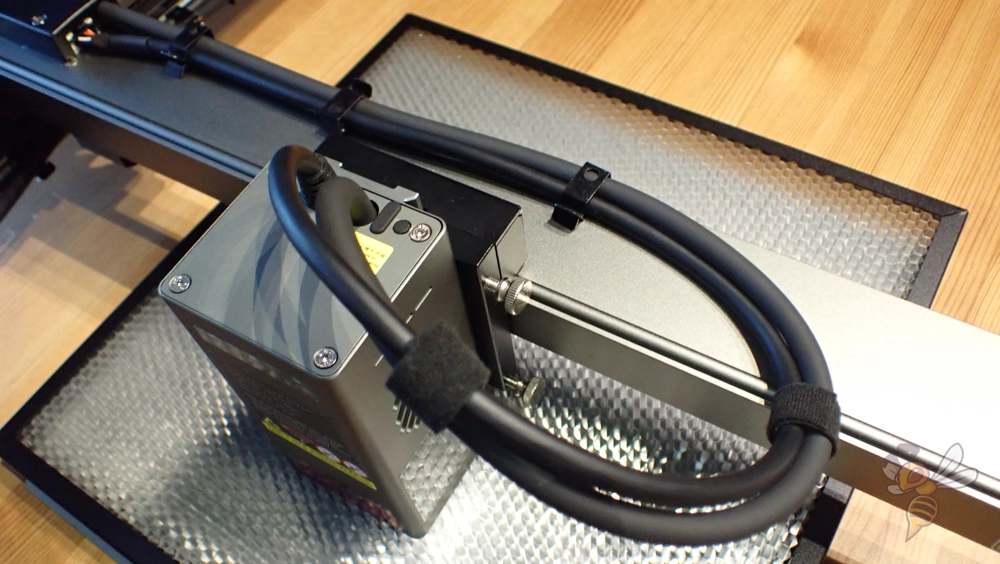
The laser module is inserted into the mount and secured with the two turn screws. Then the laser module cable must be plugged into the axis and the air supply into the laser module.
There are already practical cable guides on the axis to be able to lay everything neatly and tidily.
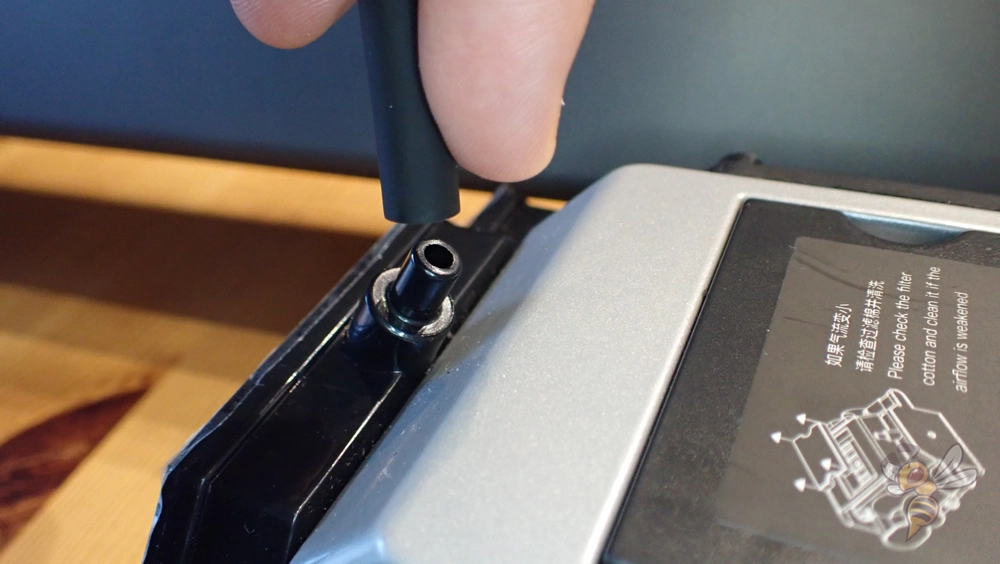
The last step of the assembly only consists of connecting the tube for the air assist system to the compressor.
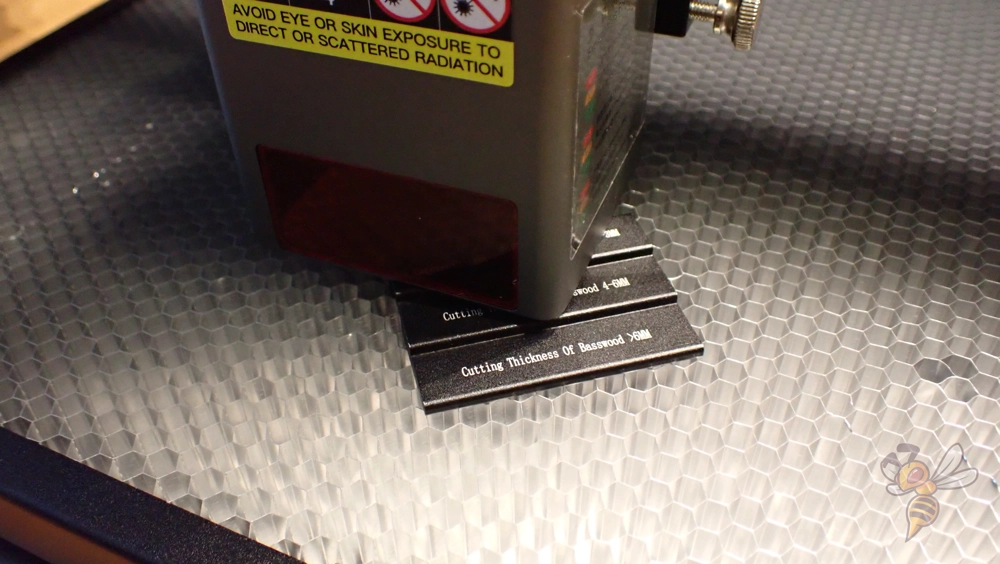
After assembly, you only need to use the focusing aid to set the distance between the laser module and your workpiece. There are three levels on the focusing aid for different thicknesses. This allows you to quickly set the correct height.
This step is necessary every time you use a different material thickness. If the laser is not properly focused, it will not cut accurately, resulting in inaccurate results or insufficient depth of cut.
Design & Features
The most important feature of the CR-Laser Falcon2 is, of course, the powerful laser. It puts out 22 watts of power, allowing it to cut and engrave many materials. It is also possible to engrave stainless steel in color with it. You can see what this looks like below in my projects.
Compared to the CR-Laser Falcon 10 Watt, the power is more than double. Even though I mainly work with wood, the step between these two lasers is noticeable. I can do the same project on the Falcon2 in a much shorter time. The speed at which the laser module can travel and still cut the same thickness of material can be set much higher than with 10 watt lasers.
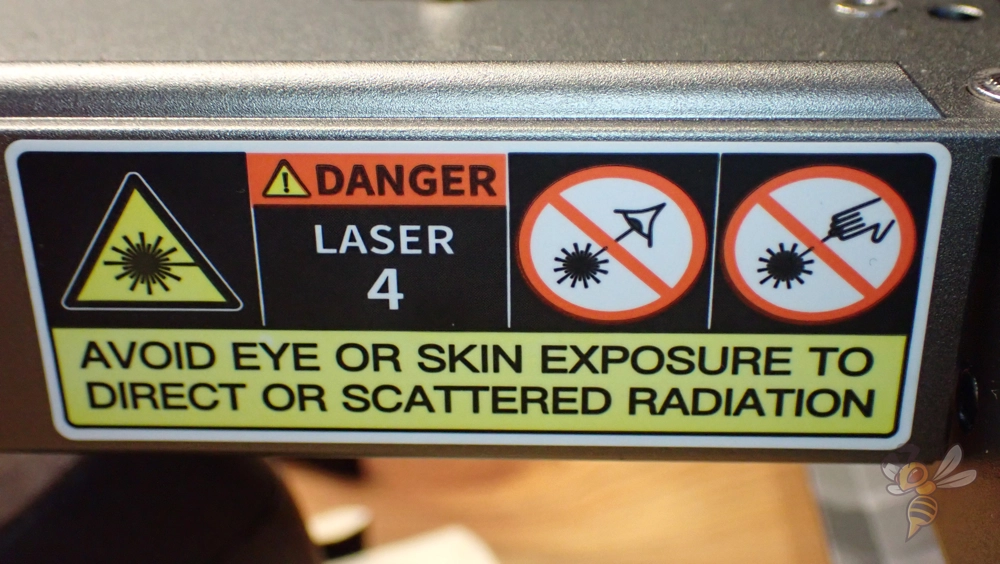
However, with such high power comes high danger. The laser can cause serious injury to your skin and eyes. Although laser safety goggles are included, you still need to be very careful with this device.
It is best if no one without laser safety glasses is in the same room where the laser is operating. Deflected rays of the laser from the workpiece can also cause injuries to your eyes.
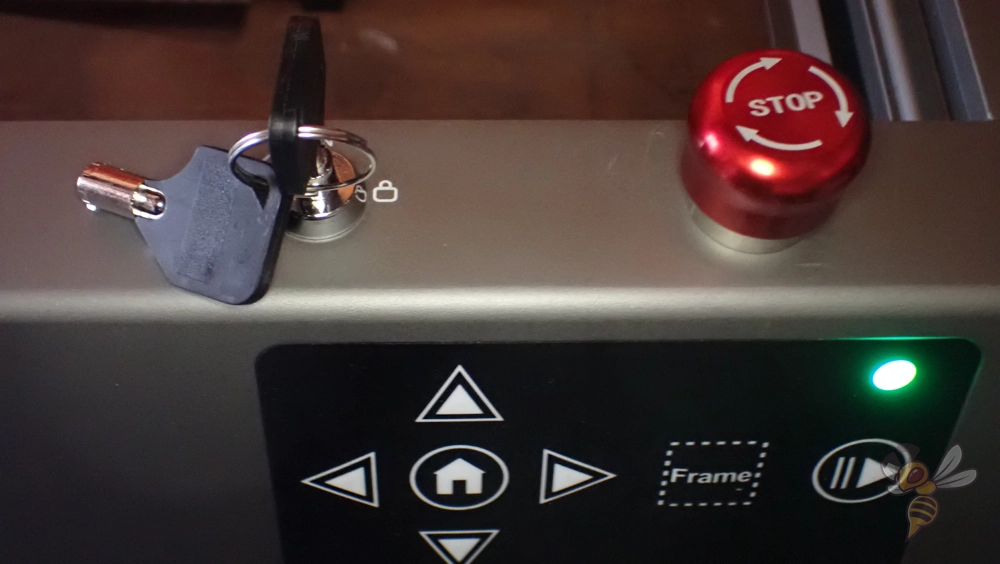
As you may have noticed, the CR-Laser Falcon2 has several safety features. These include the large stop button and the lock, which you can lock or open with a key.
Otherwise, the operation of the device is simple. You can move the laser module on the XY plane with four arrow keys and move to the zero point with the home button. You can use the frame button to trace the outline of your file to position the material correctly.
There are also lasers that work with a built in camera so you can see directly in the software where your object will be cut or engraved. I actually prefer this frame feature, though, as it allows for even more accurate positioning.

At the bottom of the laser module is the output of the laser with lens and the air supply system. I have used and tested several laser cutting and engraving devices. Meanwhile, I would not use such a laser without a supply air system. The results are much cleaner and there are less burn marks.
The small compressor that stands next to the laser feeds the air through a flexible hose to the laser module. This hose has been very cleverly routed inside the frame and never comes in contact with the material.
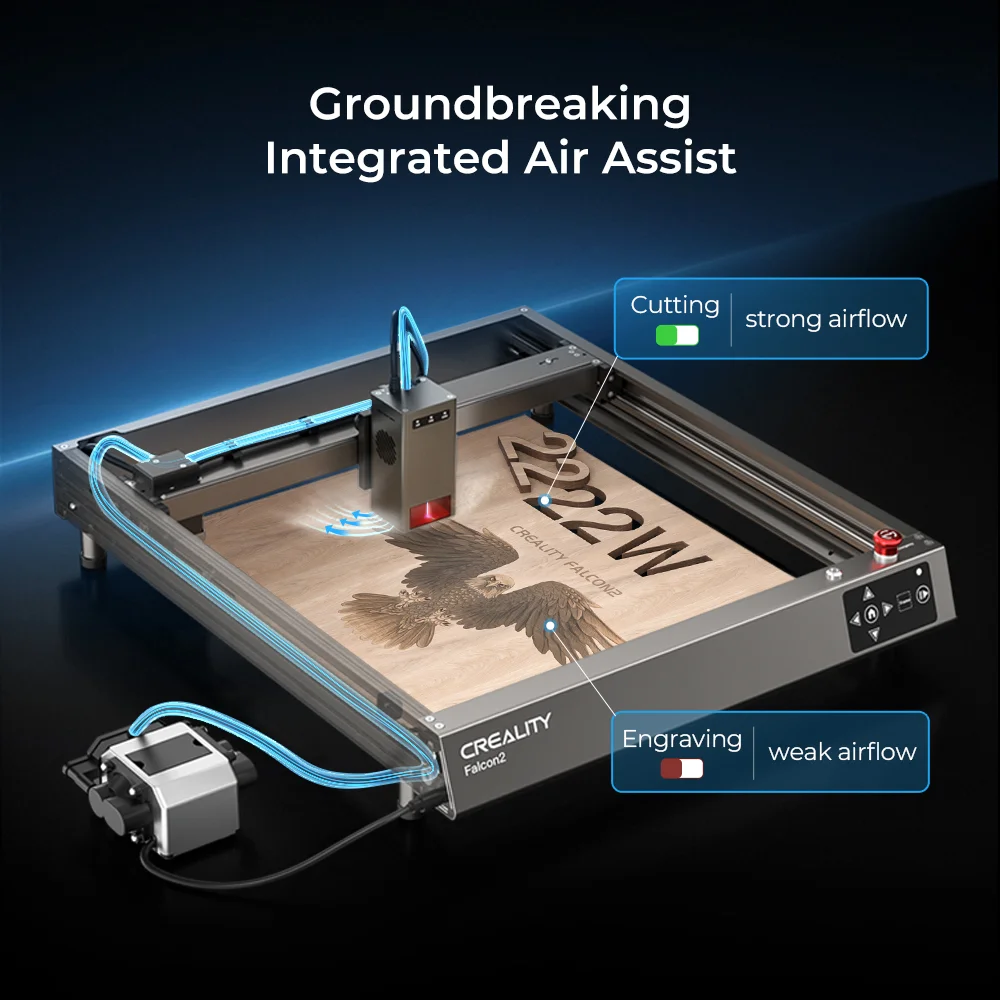
On the side of the frame, you can regulate the strength of the air assist. For engraving, it is recommended to reduce the power and increase it when cutting. I always left the power at the maximum during my test.
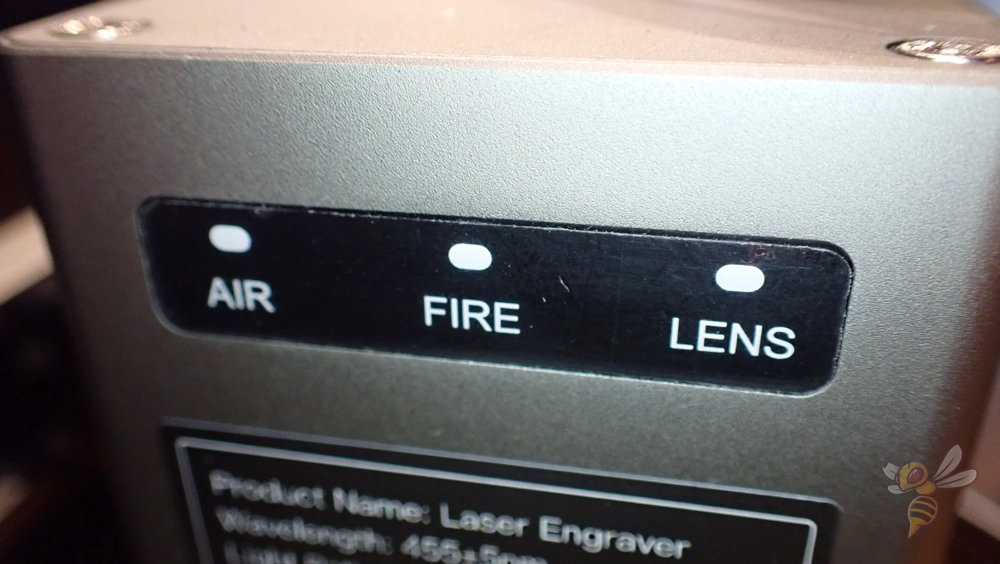
The laser module has three warning lights for the air assist system, a fire detection, and for the degree of lens contamination. Although no alarm sounds when one of these lights turns red, you can still tell during and after the process if any difficulties have occurred or where inaccuracies in the result might be coming from.
Software
The CR-Laser Falcon2 is compatible with LaserGRBL and LightBurn. I used LightBurn because it runs well on my Mac and I use it to operate the rest of my lasers. But in principle, both programs are similar to use.
You can load digital patterns for your projects here and either cut the lines or engrave them. The main settings are the power of the laser, the speed at which it moves and how many times it should go over the same spot.
The included SD card has recommended parameters for different materials. If the material you want to use for your project isn’t on this list, you can simply test which settings are best via the software itself. You will have to change a small part of your material as well, but it is worth it.
Once you have your file set up, you can save it as G-code on the SD card and plug it into the Falcon2. You can also connect it directly to your computer.
Laser Cutting & Engraving
The MicroSD card already contains two pre-made files. To get a first feeling for the device, these files were ideal, even if I had to sacrifice two of the small wooden boards.
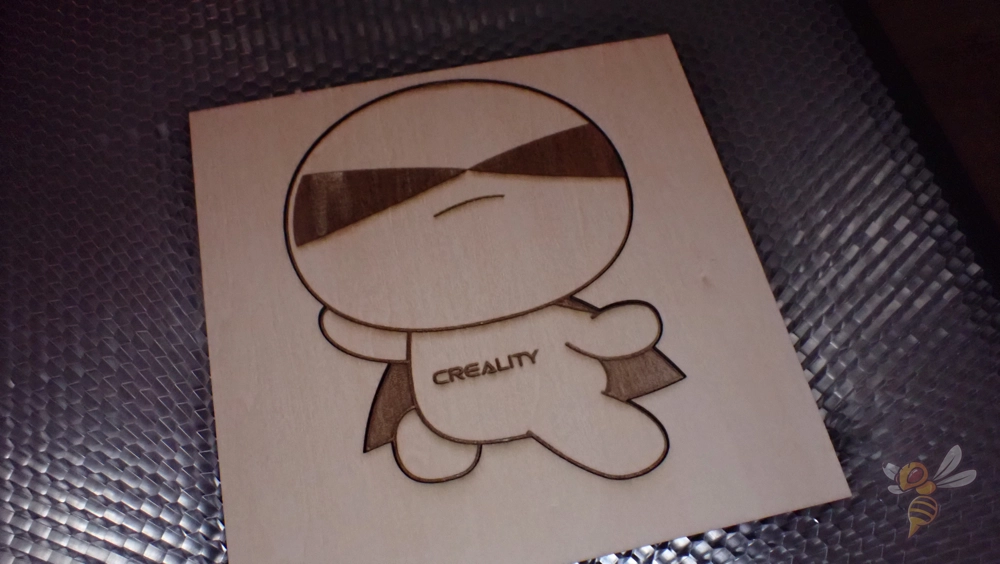
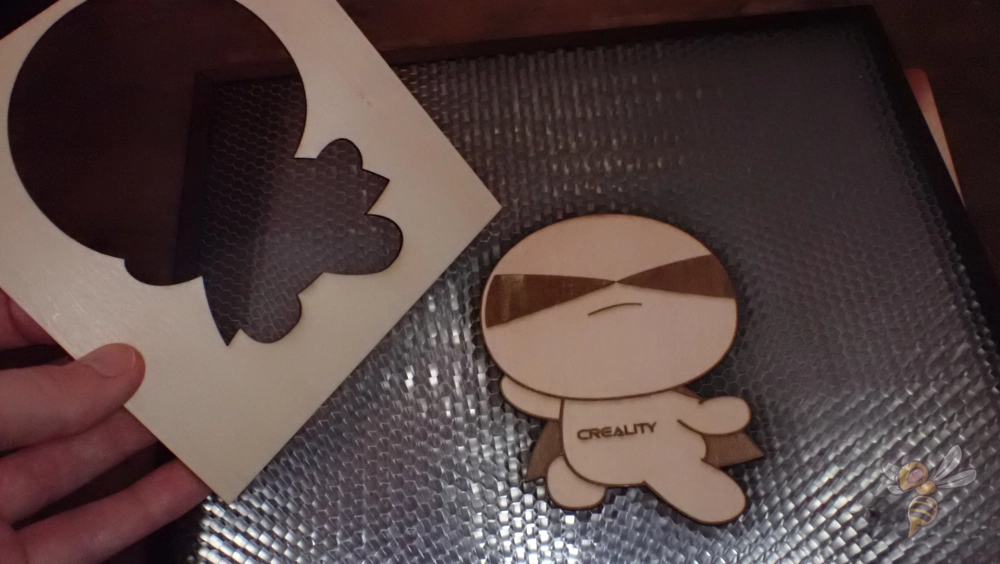
What amazed me about both designs was how quickly they were finished. However, since I was only used to 10 watt lasers before, it was predictable that the speed would be much higher with the Falcon2.
Thanks to the air supply system, there were also no significant burn marks on the surface. Post-processing was not necessary in either case.
This first test gave me a good feeling about using this machine. Now I was ready to finally try what I was excited about most: Engraving stainless steel in color!

The supplied stainless-steel plate has two sides. One side is protected with a foil to protect it from scratches. On the other side, I was therefore able to perform material tests. In doing so, I created material tests in LightBurn where I changed the speed and power of the laser. You can see the result in the picture above.
I was very amazed at the range of colors that were actually possible. This inspired me to engrave a butterfly with colorful wings.

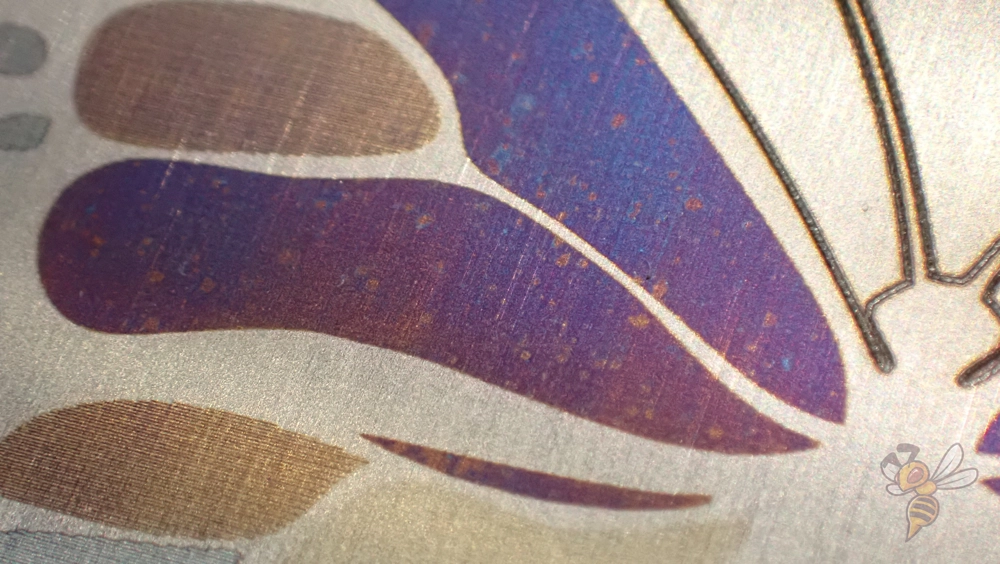
As you can see, I was actually able to engrave the butterfly’s wings in color on the stainless steel plate. While I knew beforehand from my physics degree that this effect exists, to actually realize it myself at home is still exciting.
In the future, I will definitely engrave more stainless steel plates this way and maybe even customize existing steel surfaces in my home with it.
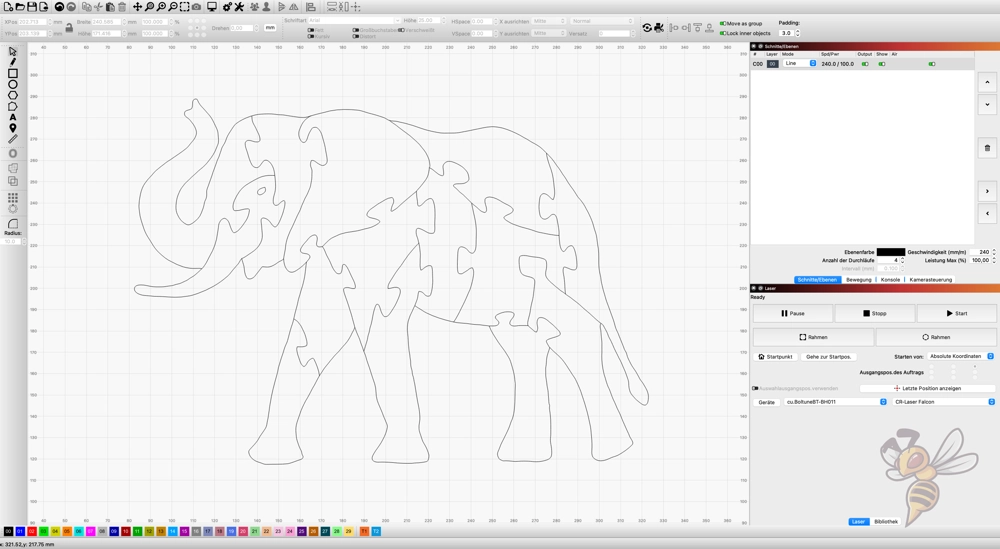
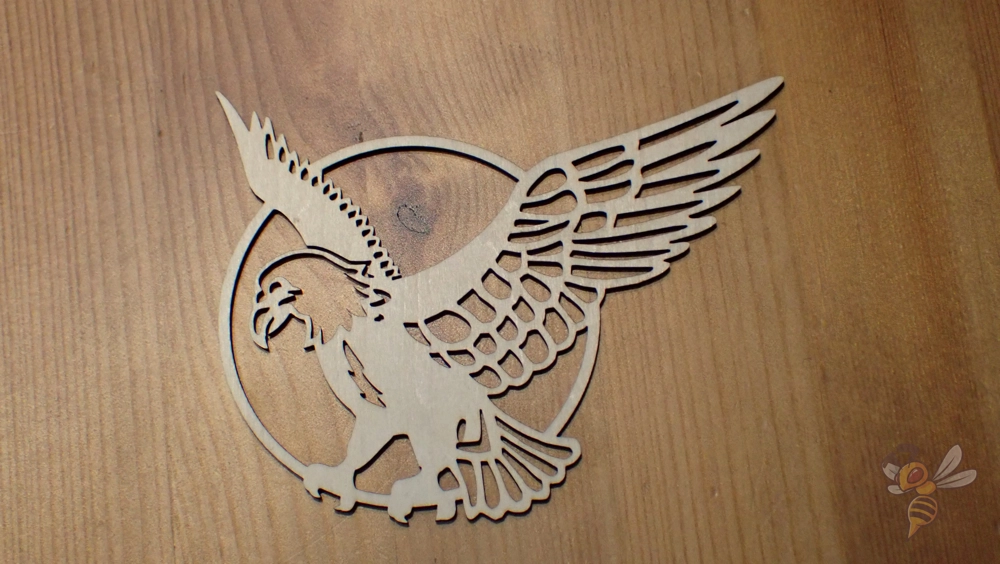
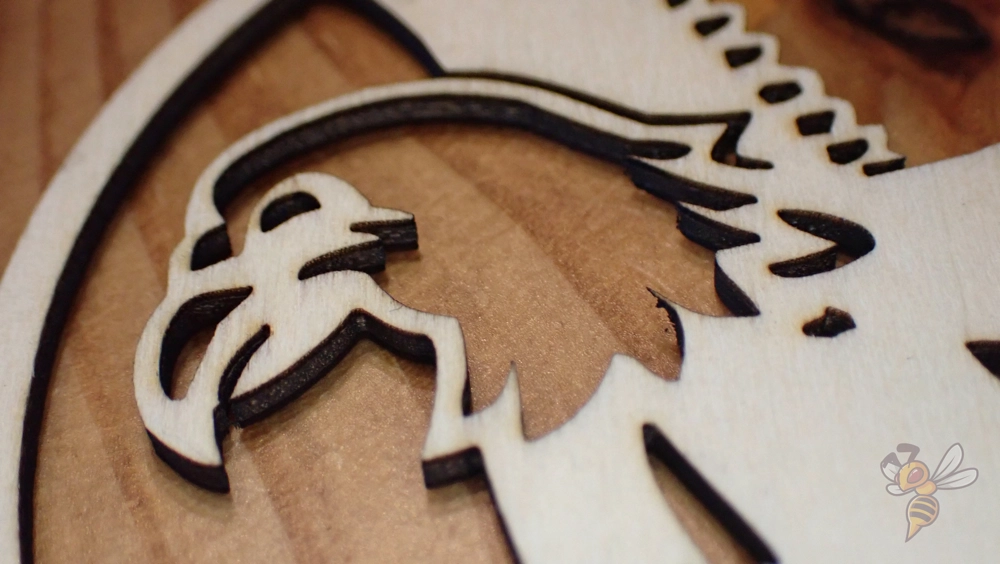
To further take advantage of the high laser power, I wanted to cut some very thick wood. For this, I chose animal pattern puzzles and 1 cm birch plywood sheets as the material.
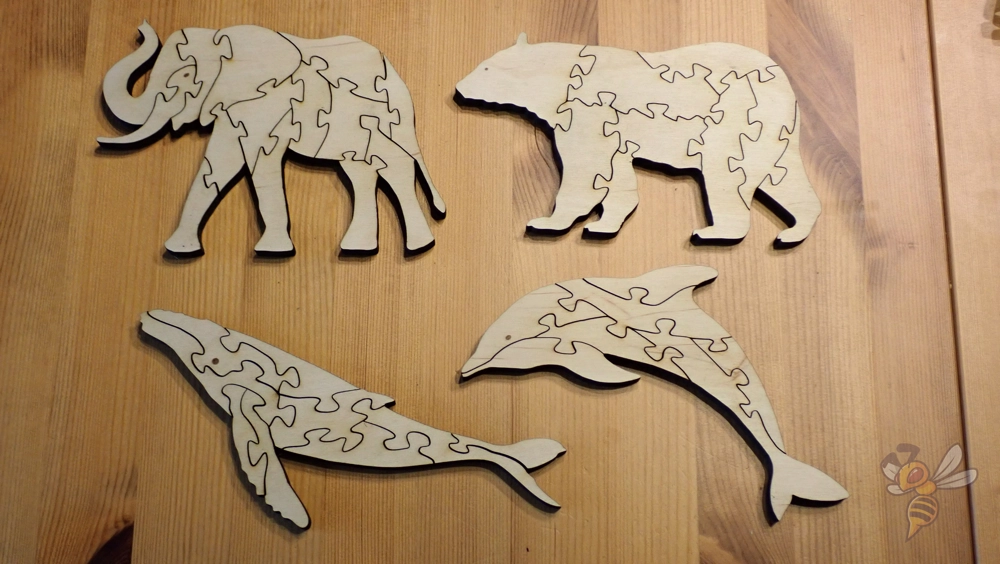
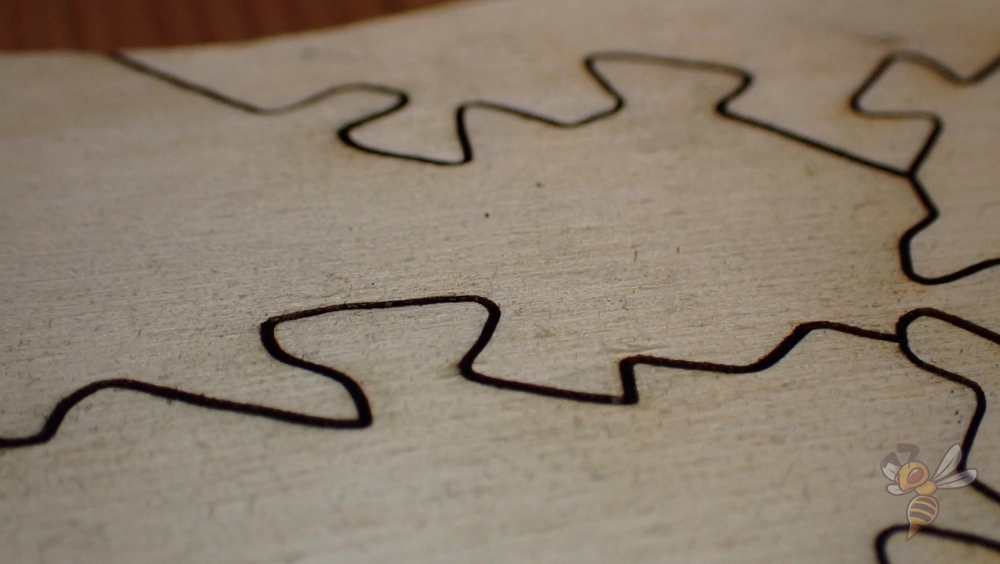
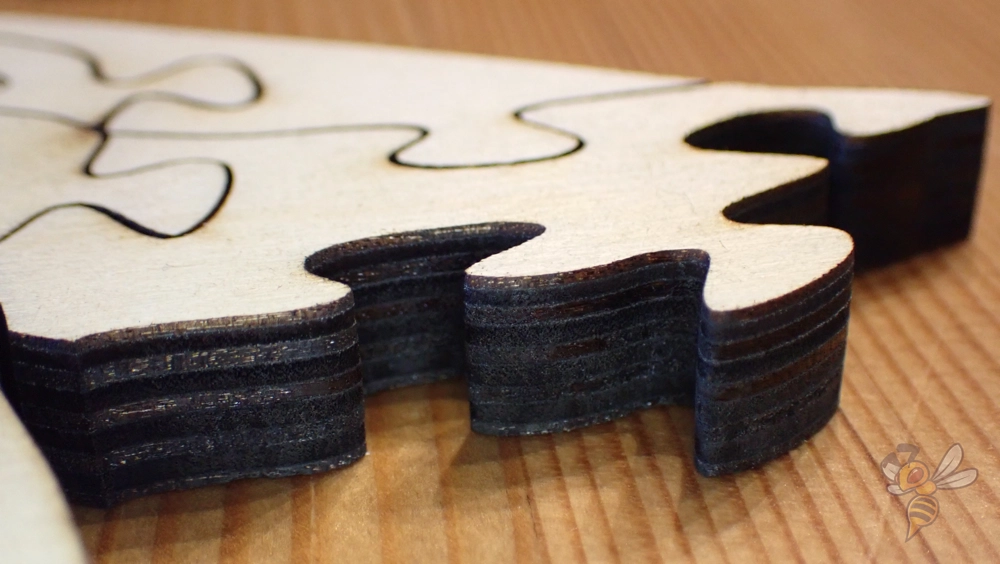
The Falcon 2 was able to cut the relatively hard birch wood with confidence and in a relatively short time. With a weaker laser, it would have taken me several passes to cut this wood.
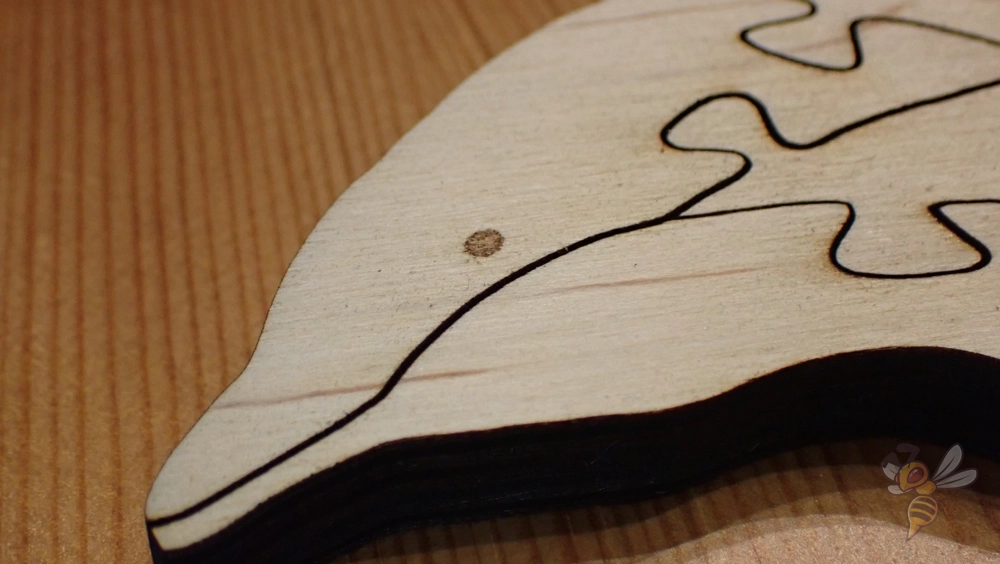
The only drawback to working with such thick sheets of wood is that the glue contained in the plywood creates smoke and, over time, dirties the lens. I had to clean the lens with the included microfiber cloth after each puzzle.
That’s why it only turned out to be four puzzles and not five. One of them was not completely lasered through in some places, as the lens was apparently already too dirty.
Otherwise, I am very satisfied with the performance, ease of use and speed of the Falcon2 and look forward to future projects with it.
Conclusion: Is the Falcon2 Worth it?
If you’re looking for a desktop laser for cutting and engraving, the Falkon2 is definitely worth it. If you’re only looking to cut thin wood, paper, or other soft materials with your laser, you’d probably be fine with a less expensive, lower-powered machine like the Falcon10W.
Otherwise, the Falcon2 is currently superior to most other devices in terms of speed, power and ease of use!
Check Price at:
Disclosure: This website is the property of Martin Lütkemeyer and is operated by Martin Lütkemeyer. Martin Lütkemeyer is a member of the Amazon Services LLC and other Affiliate Programs. These are affiliate advertising programs designed to enable websites to earn advertising revenue through advertising and linking to Amazon.com and others. Links marked with * are affiliate links.
