- Wet Filament: Prevention, Symptoms & Drying - July 18, 2024
- Sovol SV08 – Best PrusaSlicer Settings & Profile - June 26, 2024
- Sovol SV08 – Best Orca Slicer Settings & Profile - June 26, 2024
Disclosure: Links marked with * are Affiliate Links. I earn from qualifying purchases if you decide to make a purchase through these links – at no additional cost for you!
The Neptune 4 Max from Elegoo* has a lot to offer: A huge print volume, high print speeds and impressive print quality. In this practical review, I will share my experiences with the Neptune 4 Max, present its features in detail and find out whether it really delivers what it promises.
Who should buy the Elegoo Neptune 4?
The Elegoo Neptune 4 Pro is suitable for anyone who wants to 3D print large objects fast. It is absolutely huge and prints even very large objects in one piece at speeds of up to 500 mm/s. Especially interesting for cosplay enthusiasts!
The Elegoo Neptune 4 Max is a large-format FDM 3D printer that achieves very high printing speeds thanks to active vibration compensation (input shaping).
Build Volume: 420 × 420 × 480 mm
Speed: max. 500 mm/s
Extruder: Dual-gear direct drive
Print Bed: PEI, flexible, magnetic
Leveling: Manual & automatic
Nozzle Temp.: max. 300 °C
Bed Temp.: max. 80 °C
Connectivity: WiFi, Ethernet, USB
Pros:
✓ Huge print volume
✓ High printing speeds
✓ Input shaping
✓ Wide filament compatibility
✓ WiFi and ethernet connectivity
Cons:
× Input shaping is hidden in menus
× Nozzle does not have standard dimensions
× Long heat-up time of the print bed
× Loud
Table of Contents:
- 1 Unboxing & First Impressions
- 2 Setup
- 3 Technical Specifcations
- 4 Print Bed & Leveling
- 5 Input Shaping
- 6 Extruder
- 7 Fan Bar of the X-Axis
- 8 Print Volume & Stability
- 9 WiFi & Klipper
- 10 Touch Screen & Menu
- 11 Tool Drawer
- 12 Slicer
- 13 Print Quality
- 14 Print Speed
- 15 Elegoo Neptune 4 Max vs. Neptune 3 Max
- 16 Conclusion
My Verdict – What Makes the Elegoo Neptune 4 Max Stand Out?
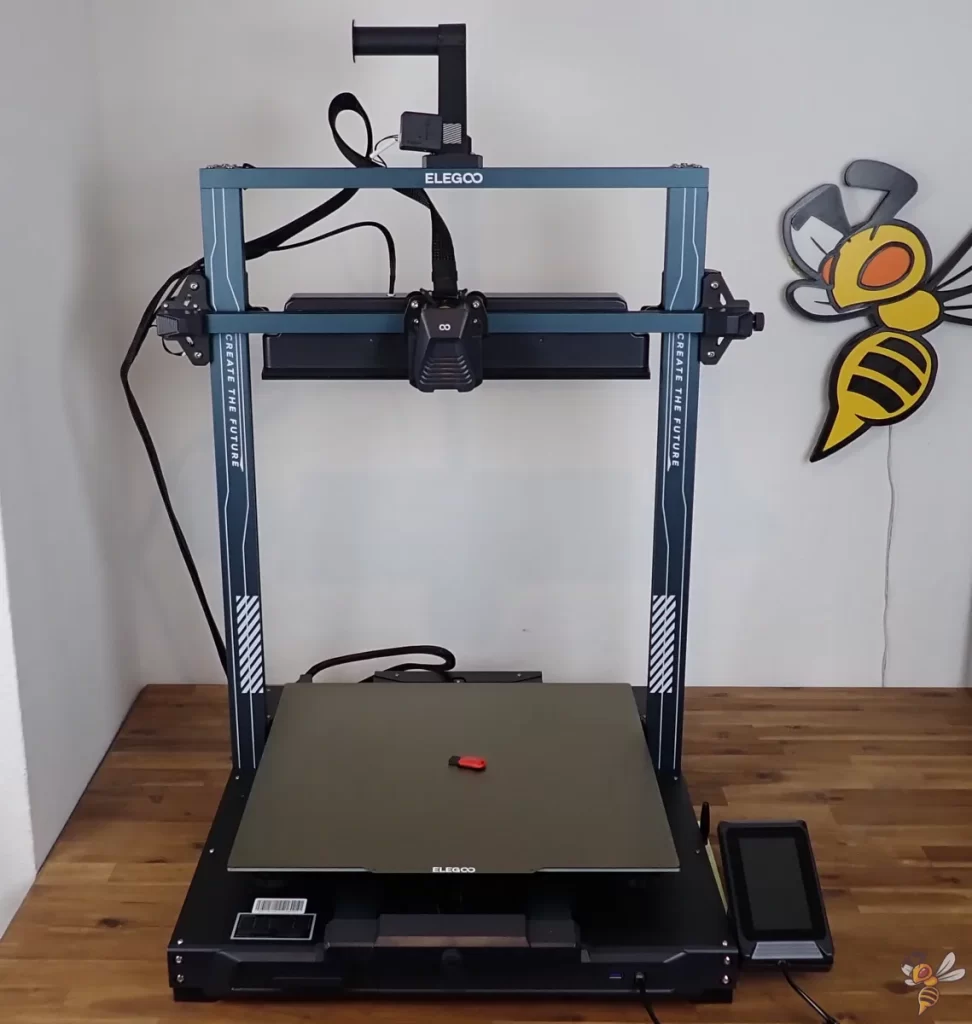
The Elegoo Neptune 4 Max clearly stands out from other 3D printers due to its impressive size and speed. This huge printer not only offers an enormous print volume, but also amazing speed thanks to the“Input Shaping” feature.
My experience with its predecessor, the Neptune 3 Max, was already very positive, which is why I had high expectations of the Neptune 4 Max. These were largely fulfilled, particularly in terms of print speed and quality.
However, there are also some points of criticism. One disadvantage is that standard nozzles are not compatible with the hotend of the Neptune 4 Max. If you want to switch to a larger nozzle to print large objects faster, this is not so easy.
In addition, input shaping is somewhat hidden in the menu and is not executed automatically before each print. As a result, it could easily be overlooked, which is a shame as it can significantly improve the print result.
However, I think that the Elegoo Neptune 4 Max will be particularly attractive to cosplay enthusiasts. Its large print volume is perfect for creating large and detailed costume pieces and props. Despite its minor flaws, it offers outstanding value for money and is an excellent choice for anyone looking for large-format, high-quality 3D printing.
Unboxing & First Impressions
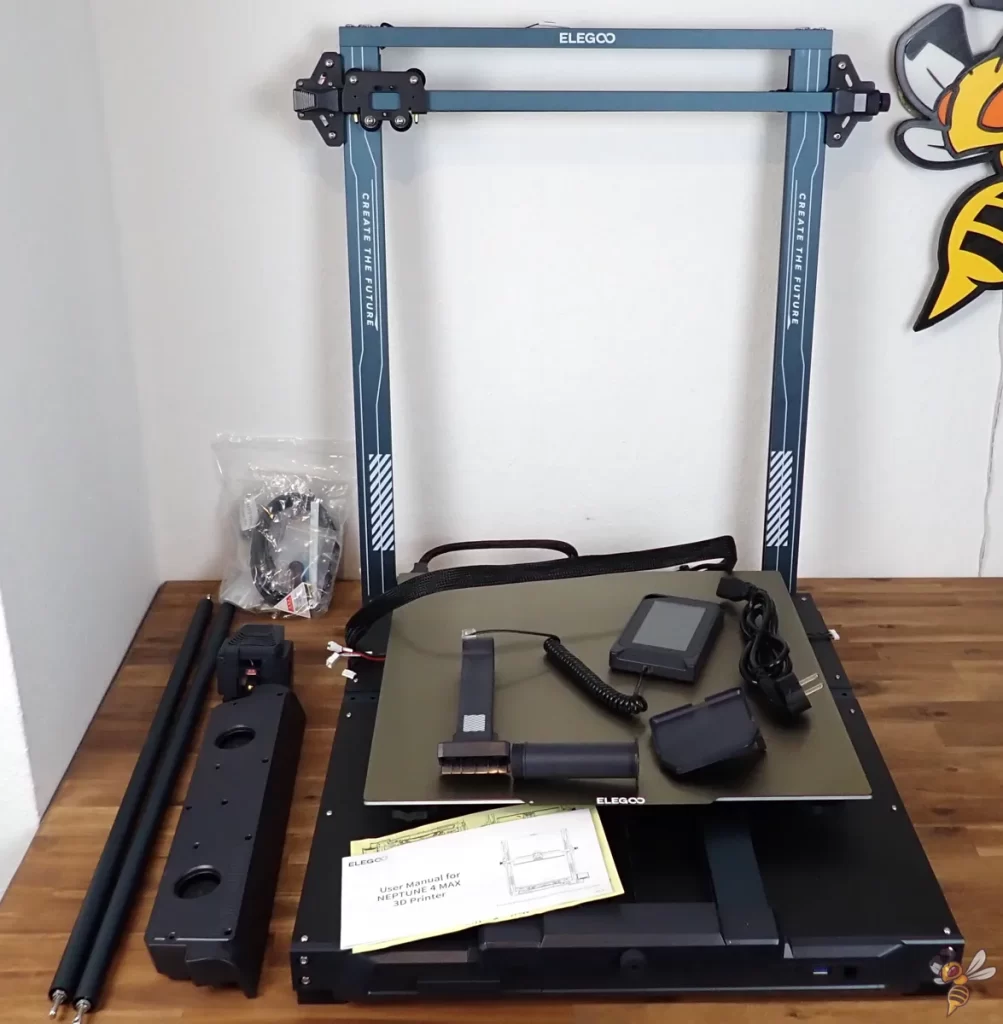
When unboxing the Elegoo Neptune 4 Max, its impressive size is immediately apparent. Before deciding on this printer, you should make sure that it will fit on your workbench. Also bear in mind that the print bed extends beyond its footprint to the back and front.
Another striking feature that immediately catches the eye is the large fan bar on the X-axis. It ensures that the printed layer cools down quickly, even at high printing speeds. Without this cooling, the high printing speed would be counterproductive, as the printer would otherwise have to wait to print the next layer in order to avoid printing errors.
The scope of delivery includes:
- The pre-assembled base of the printer, including the print bed.
- The pre-assembled frame with X-axis.
- Display holder and the display.
- The filament holder with filament sensor.
- The large fan bar for the X-axis.
- The WiFi antenna.
- The print head.
- Diagonal braces for the frame.
- All necessary cables, screws and tools for assembly.
- An 8 GB USB stick with software, models and digital instructions.
Setup
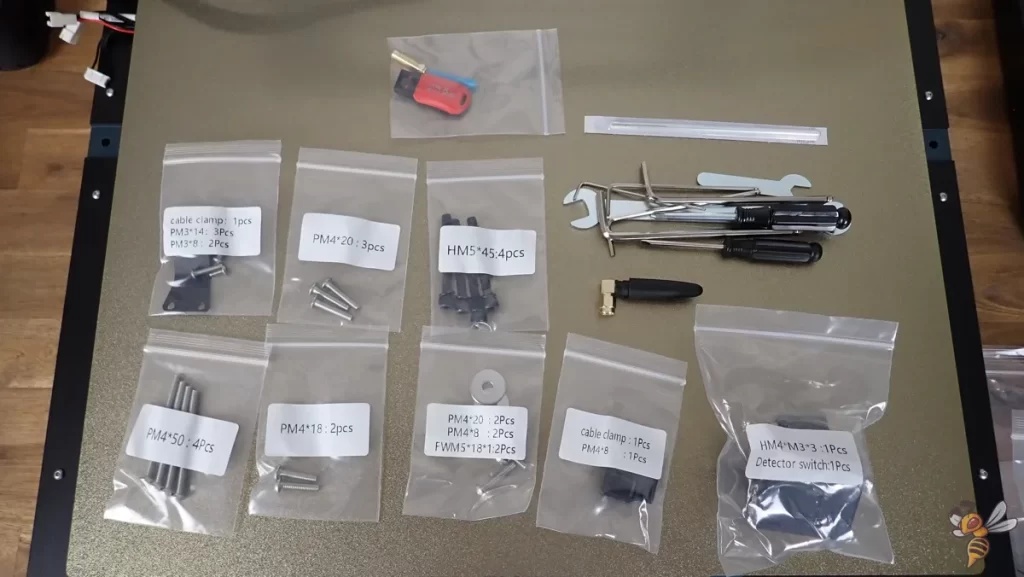
Assembling the Elegoo Neptune 4 Max takes around 10 to 20 minutes, although the size of the printer can make assembly a little awkward. Fortunately, all pre-assembled modules are carefully packaged and well protected from damage during transportation.
Follow these steps for assembly:
- Attach the print head to the x-axis
- Attach the frame to the base
- Attach the display
- Screw on the WiFi antenna
- Attach the filament holder and filament sensor
- Screw on the diagonal struts
- Attach the fan bar to the x-axis
- Connect all cables
Once all the parts have been assembled and the cables connected, the Elegoo Neptune 4 Max is almost ready for its first print.
Technical Specifcations
- Print volume: 420 × 420 × 480 mm
- Extruder type: Dual-Gear Direct Drive Extruder
- Print bed: PEI magnetic, flexible
- Max. printing temperature: Up to 300 °C
- Max. print bed temperature: Up to 80 °C
- Speed: Up to 500 mm/s
- Filaments: PLA, PETG, ABS, TPU, nylon
- Display: Touchscreen, bright and user-friendly
- Connectivity: WiFi, ethernet, USB
- Slicer: Compatible with common slicers, uses Klipper firmware
Print Bed & Leveling
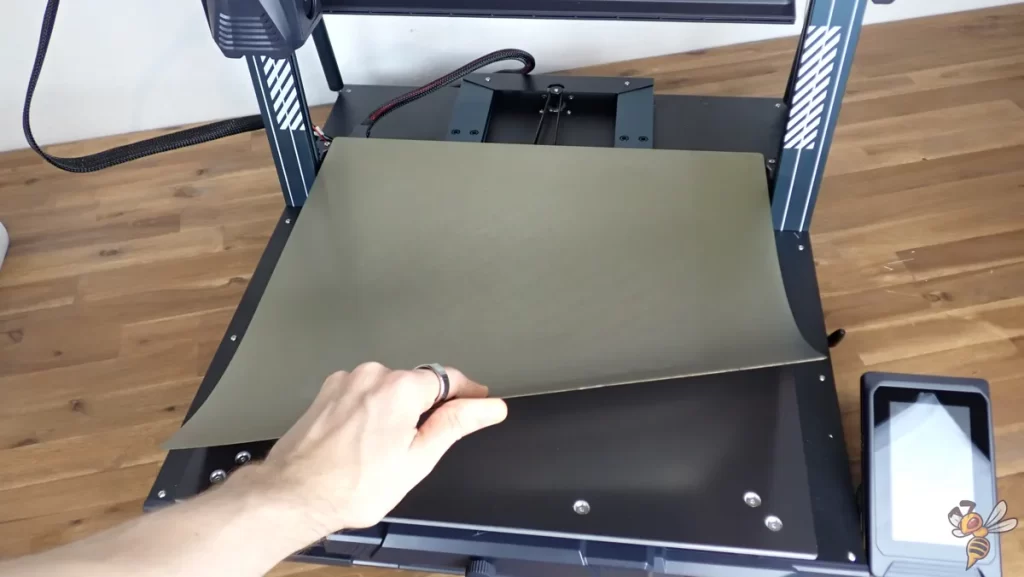
The huge print bed of the Elegoo Neptune 4 Max has a PEI coating, which enables optimum adhesion of different filaments. It is also flexible and magnetic, which makes it easier to remove the printed objects.
While I had no problems with the adhesion of different filaments, the positioning of the print bed is sometimes a little awkward due to the lack of alignment guides at the rear end. On many other modern 3D printers, there are two screws at the back of the print plate that can be used to align the print bed.
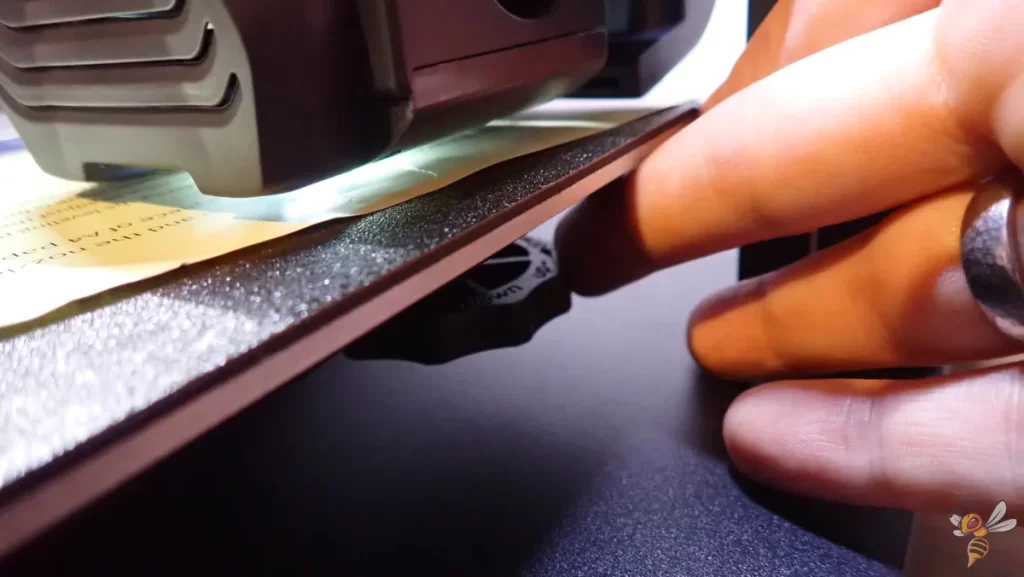
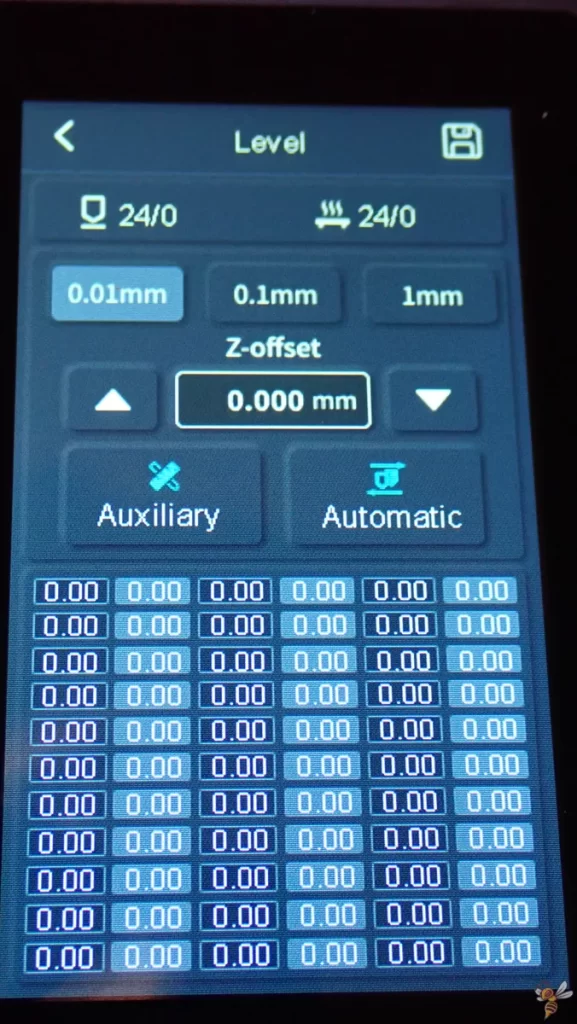

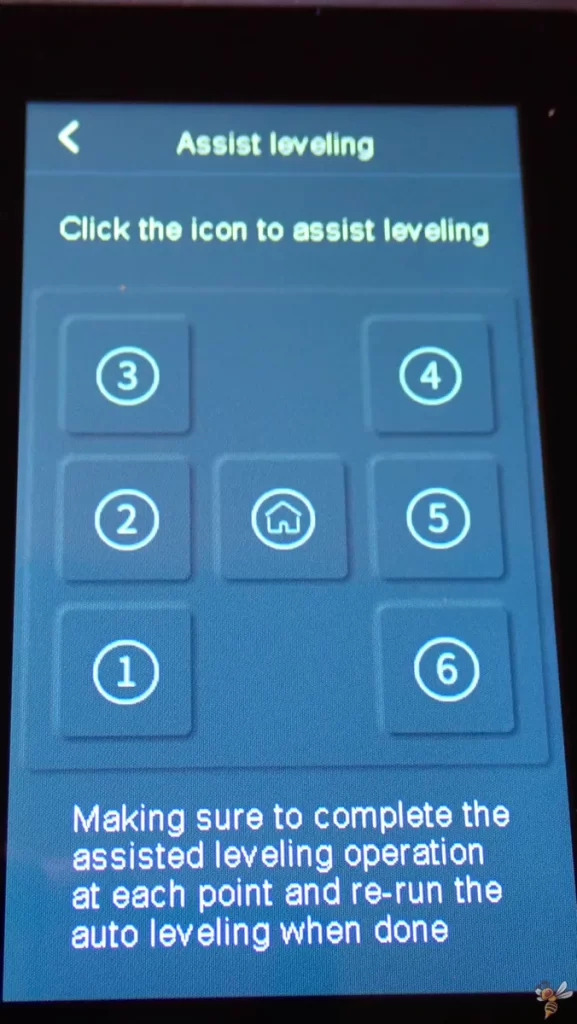
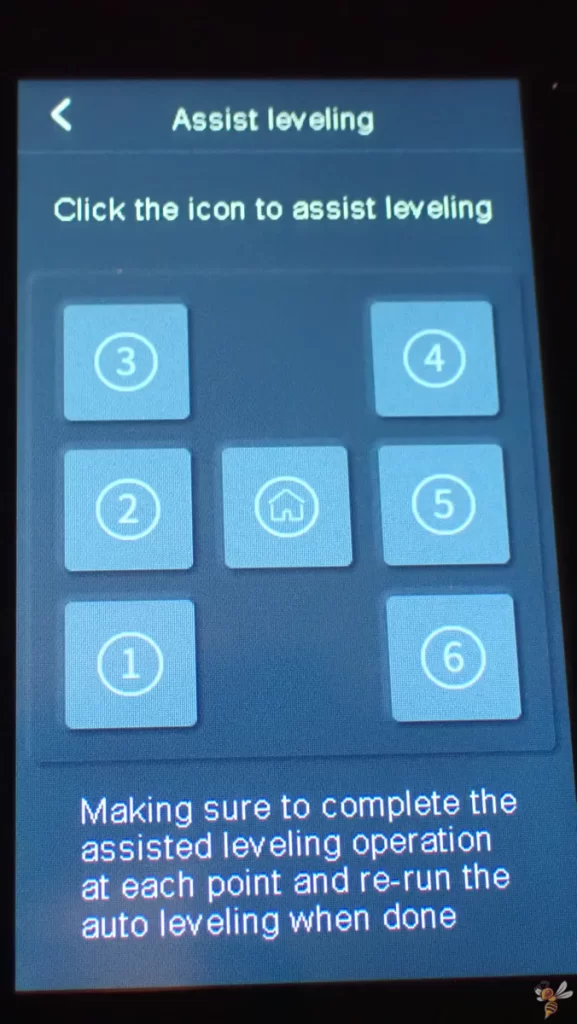
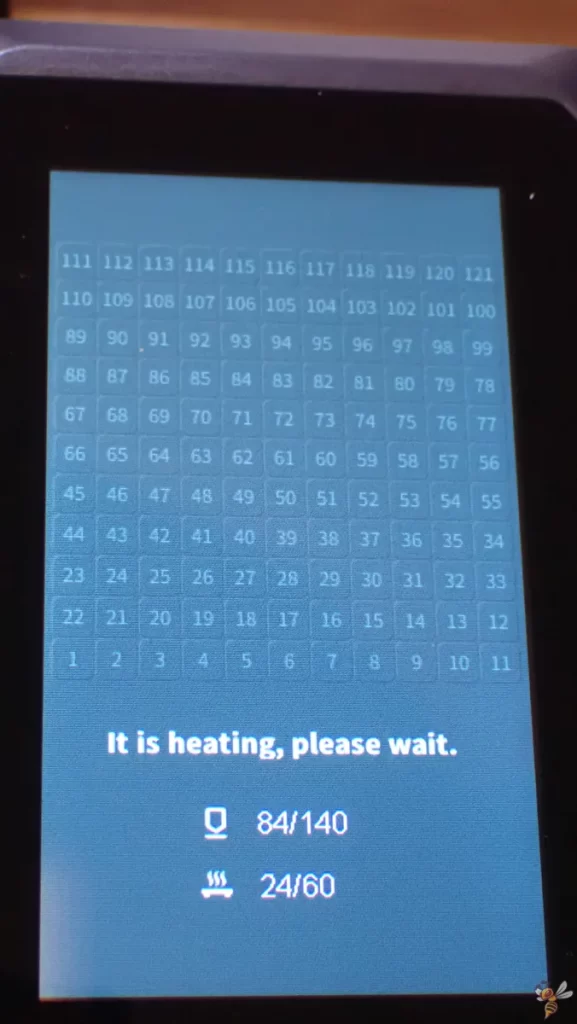
The print bed is leveled both manually and automatically. First, the print bed is roughly leveled manually by automatically navigating the print head to seven different points on the print bed. There are six adjusting screws under the print bed that you can use to set the inclination using the paper method. After this rough leveling, a finer, automatic leveling takes place. Finally, you need to adjust the Z-offset in the middle of the print bed.
Another disadvantage of the large print bed is the long heat-up time. However, this is understandable, as a correspondingly large mass has to be heated up for this large print bed.
Input Shaping
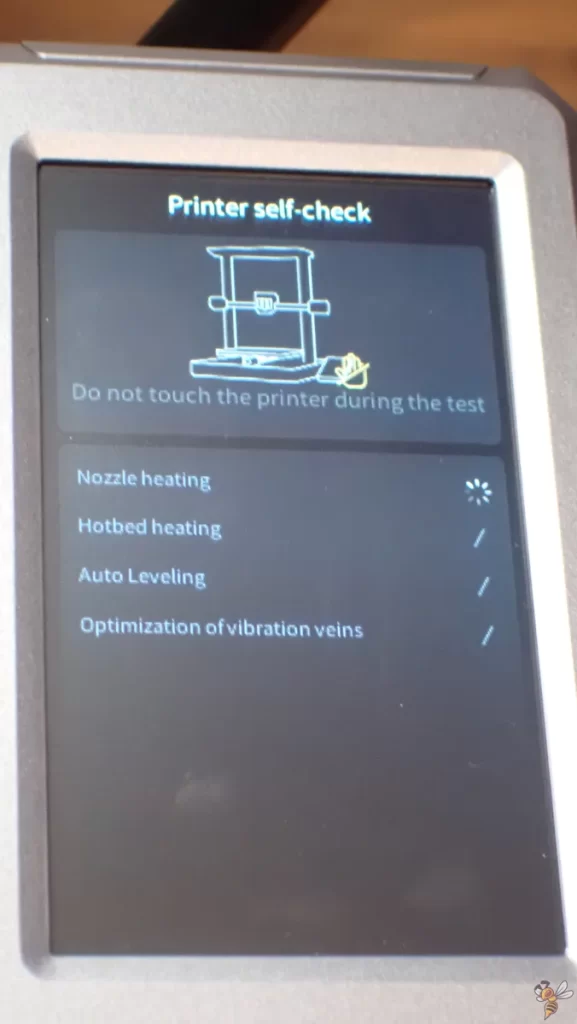
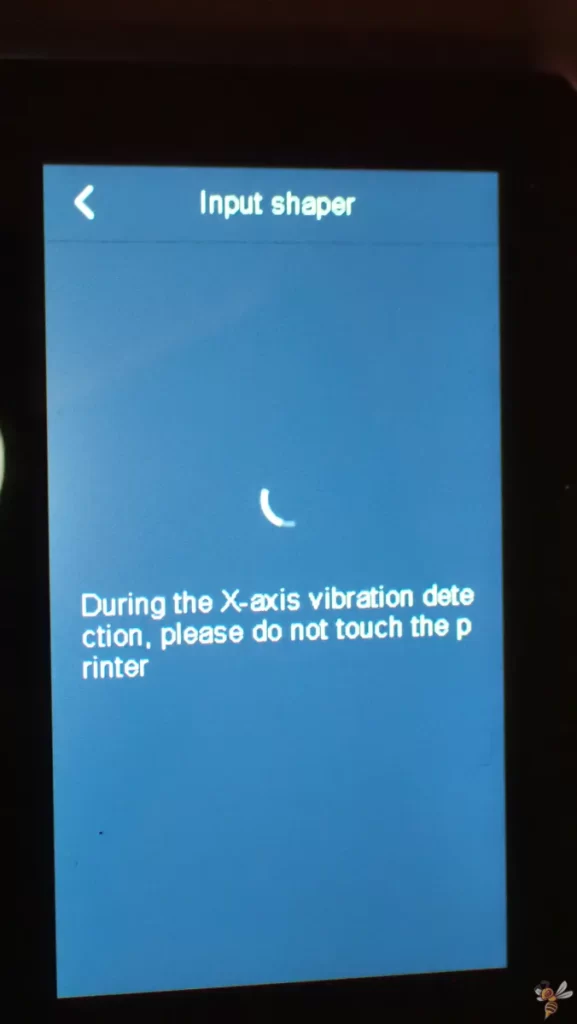
Input Shaping is an advanced feature of the Elegoo Neptune 4 Max that improves print quality by reducing vibrations and associated artifacts. Unfortunately, this feature is buried deep in a menu and is not automatically activated. It is recommended to run this feature regularly afterwards.
Technically, Input Shaping helps to control the printer’s movements more precisely. It analyzes and compensates for the resonant frequencies of the printer caused by fast movements.
This is particularly important at high printing speeds, as the Neptune 4 Max can achieve. By optimizing the motion control, a more consistent layer quality is achieved and the risk of printing errors is reduced. Ringing and ghosting no longer occur at all or only to a small extent.
Extruder
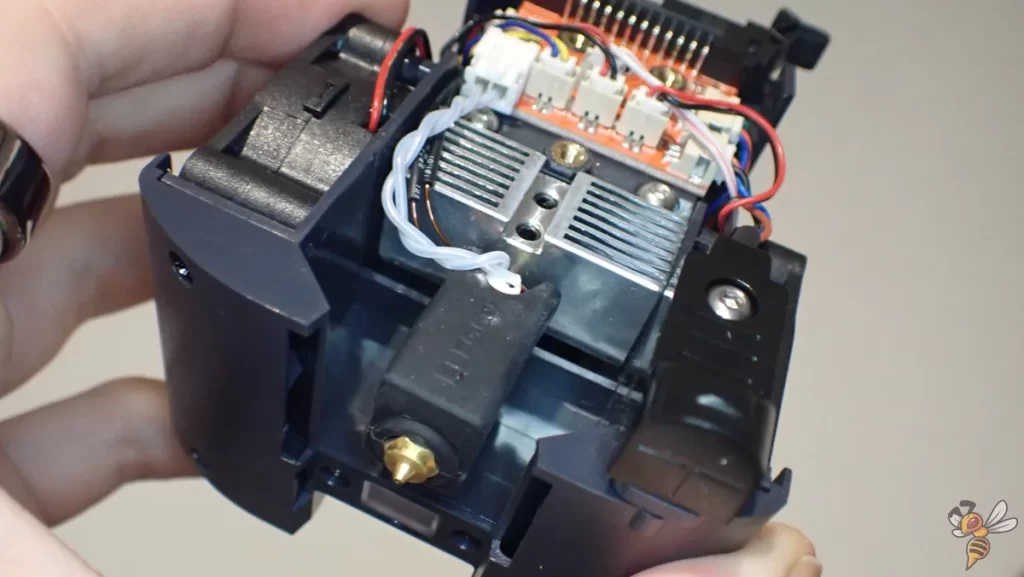
I have long been a fan of the Direct Drive extruders in the Neptune series. This type of extruder offers several advantages, especially when it comes to processing a variety of filaments.
Thanks to the direct drive technology, even flexible filaments can be printed efficiently and with high precision, which is often difficult to impossible with Bowden extruders. This flexibility makes the Neptune 4 Max a versatile machine for a wide range of printing projects.
One point of criticism that already existed with the previous model is the special size of the nozzle. This special size means that you cannot simply use a standard nozzle. This can be a particular problem if you need a hardened nozzle for printing with abrasive materials.
Fan Bar of the X-Axis
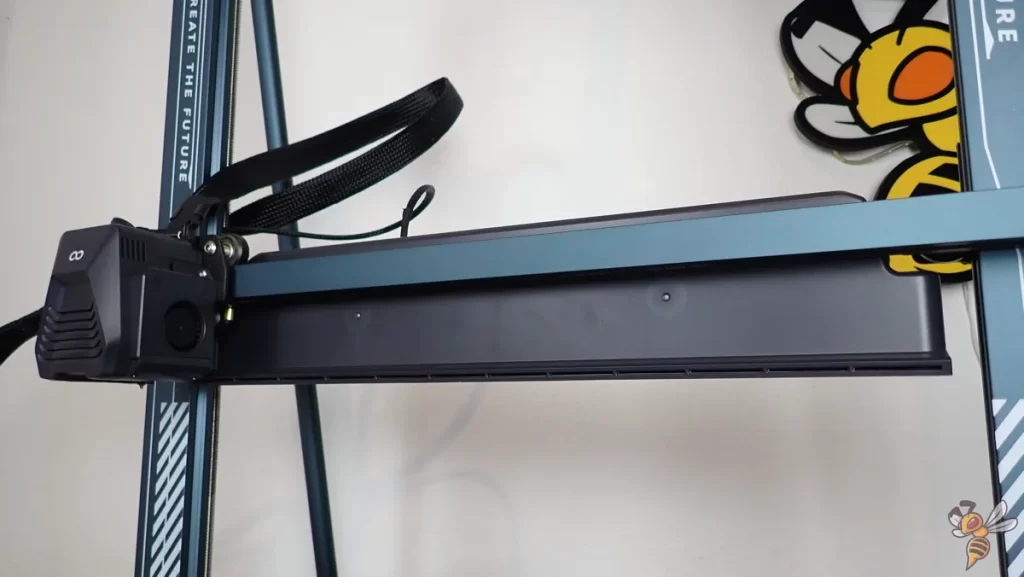
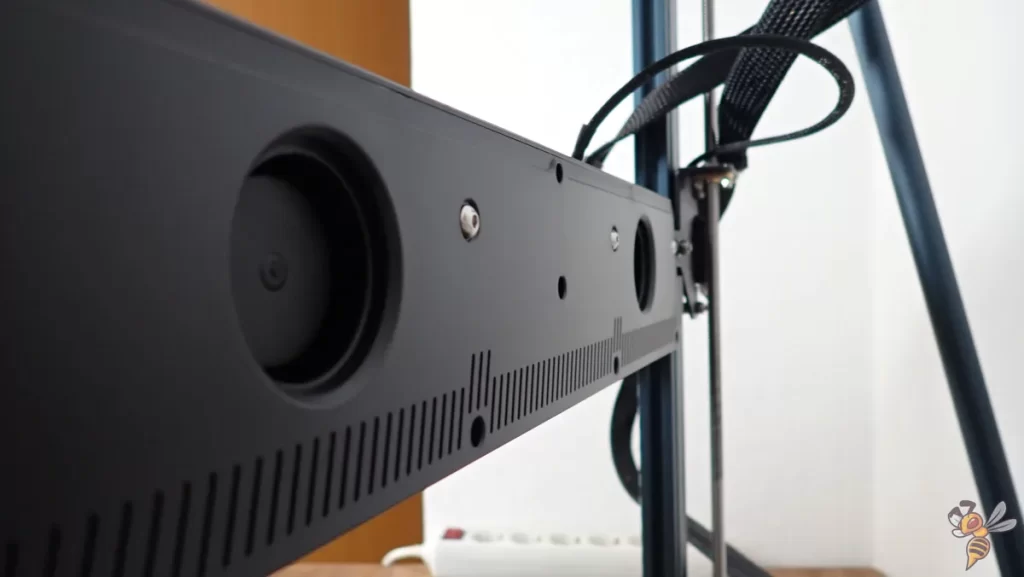
The Elegoo Neptune 4 Max has a fan bar on the x-axis, which is equipped with two powerful fans. These fans concentrate all their power on a fine slot that is precisely aligned with the nozzle and extends across the entire width of the print bed.
This targeted cooling allows the layer currently being printed to be cooled quickly so that the next layer can be applied without delay and without the risk of printing errors.
Without this fan bar, the “minimum layer time” in the slicer would have to be increased to prevent printing on a layer that is still soft, which could otherwise lead to printing errors.
One disadvantage of this fan bar, however, is its noise level! This trade-off between speed and noise is an important aspect that users should consider when choosing this printer.
Print Volume & Stability
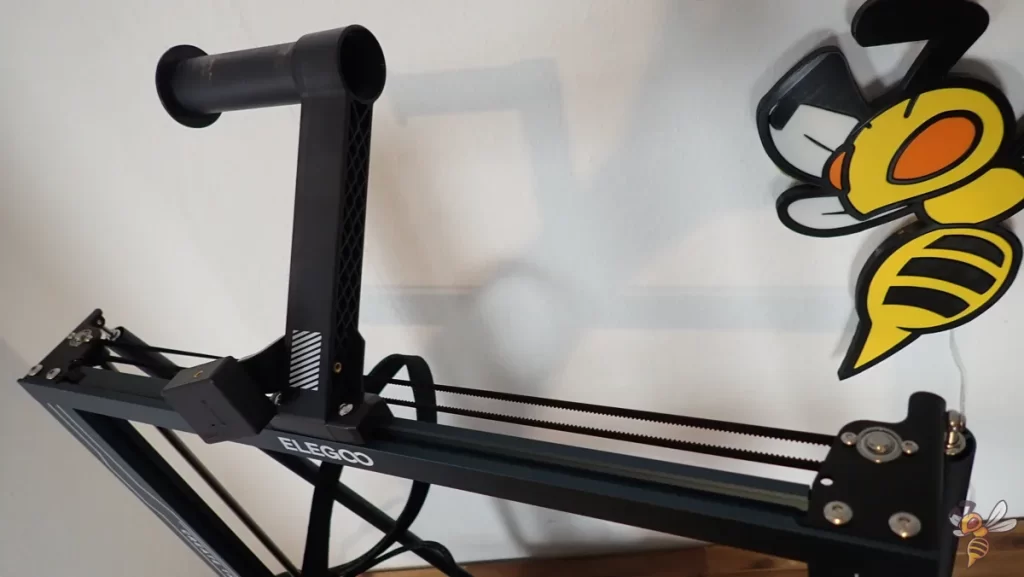
The print volume of the Elegoo Neptune 4 Max is impressively large and opens up numerous possibilities, especially for printing large objects such as cosplay parts. This volume makes it possible to print large individual pieces without having to split them into multiple parts.
Although input shaping helps to compensate for vibrations of the print head, it is still crucial that the frame of the printer is maximally stable to avoid major vibrations. The diagonal struts play an important role here. They reinforce the structure of the frame and ensure consistently high stability, even in the highest areas of the print volume. This ensures consistent print quality across the entire print volume.
WiFi & Klipper
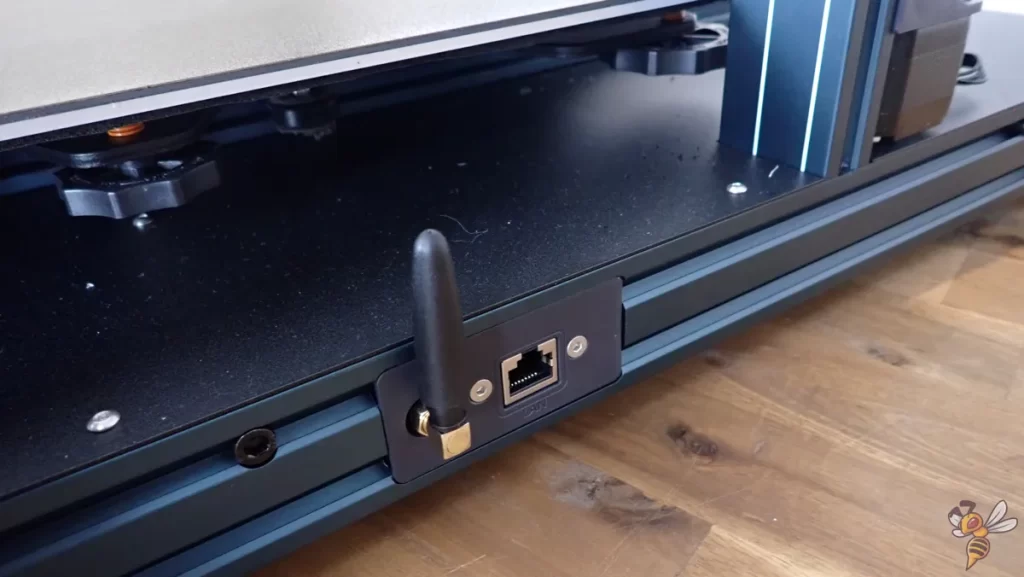
Elegoo has finally integrated a WiFI module! This innovation on the Elegoo Neptune 4 Max opens the door to a completely new way of interacting with the 3D printer. By connecting the printer to your network via cable or the WiFi module, you can communicate directly with the printer via a browser window. This is made possible by the Klipper firmware.
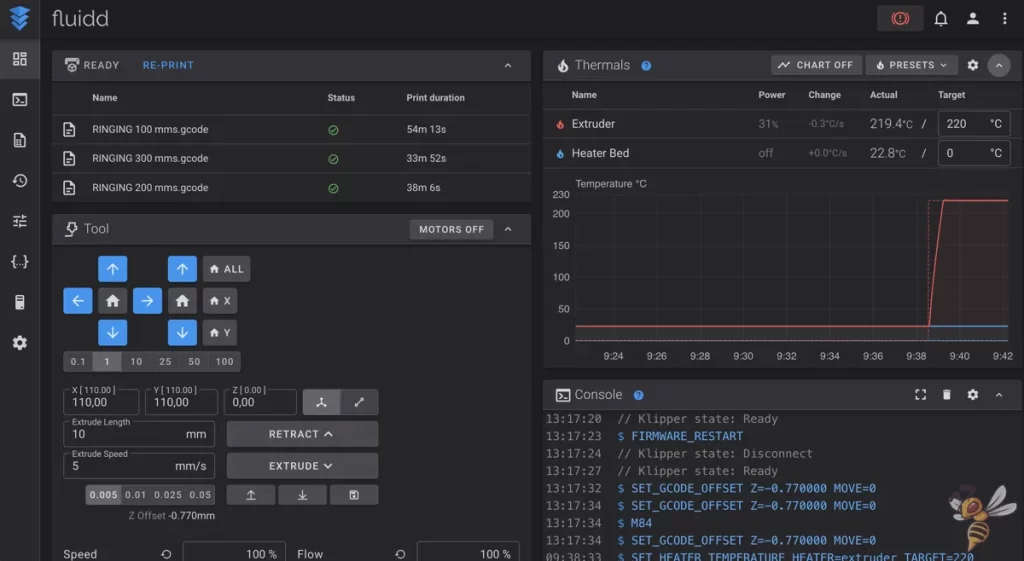
To operate the printer via the browser, simply enter its IP address plus“/#/“. You will then be taken to the Klipper view. This browser-based interface allows you to control the 3D printer, start print jobs and monitor progress.
This type of connectivity simplifies the workflow considerably. Instead of laboriously transferring 3D print files via USB stick, you can send them directly over the network. This saves time and makes the printing process more efficient. Klipper helps to increase user-friendliness by providing an intuitive interface while making complex functions and settings accessible.
Touch Screen & Menu
The touchscreen of the Elegoo Neptune 4 Max has not changed significantly compared to its predecessor, but it does offer some additional functions. The WiFi connection and input shaping are particularly noteworthy.
The touchscreen has a user-friendly design, can be removed from the magnetic holder and allows quick access to all important settings.
During the printing process, a small preview of the current model is displayed on the touchscreen, which is very useful for better visualization and monitoring of the printing progress. However, this preview is missing when selecting print files in the menu.
Tool Drawer
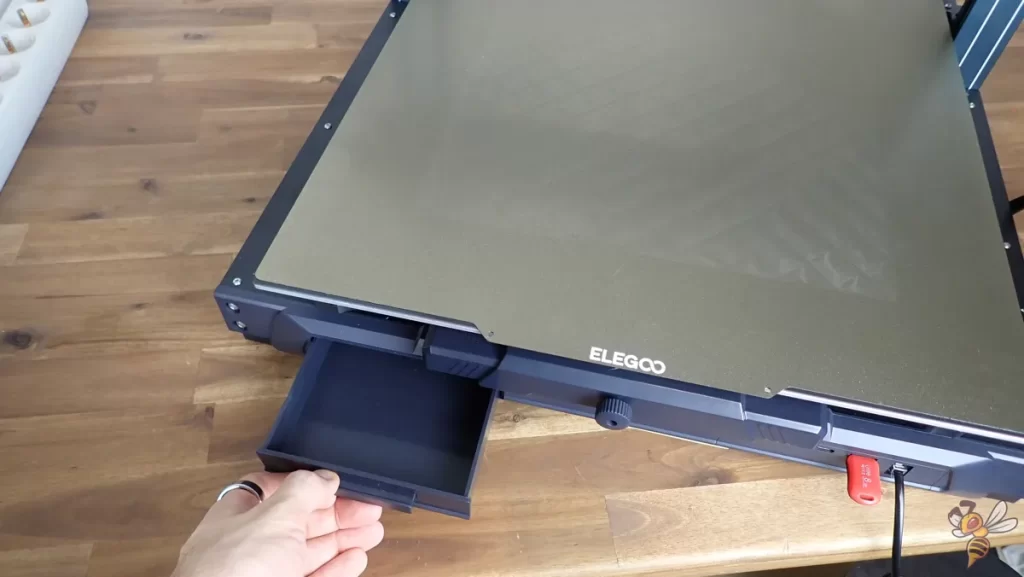
A particularly practical addition to the Elegoo Neptune 4 Max is its generously dimensioned tool drawer. This drawer offers enough space for all the necessary tools, spare parts and smaller accessories that you might need for 3D printing.
The integration of the drawer directly into the printer ensures order and allows quick access to everything you need for maintenance, preparation and implementation of your printing projects.
There’s not too much space left next to the printer anyway, as it makes even large workbenches look small!
Slicer
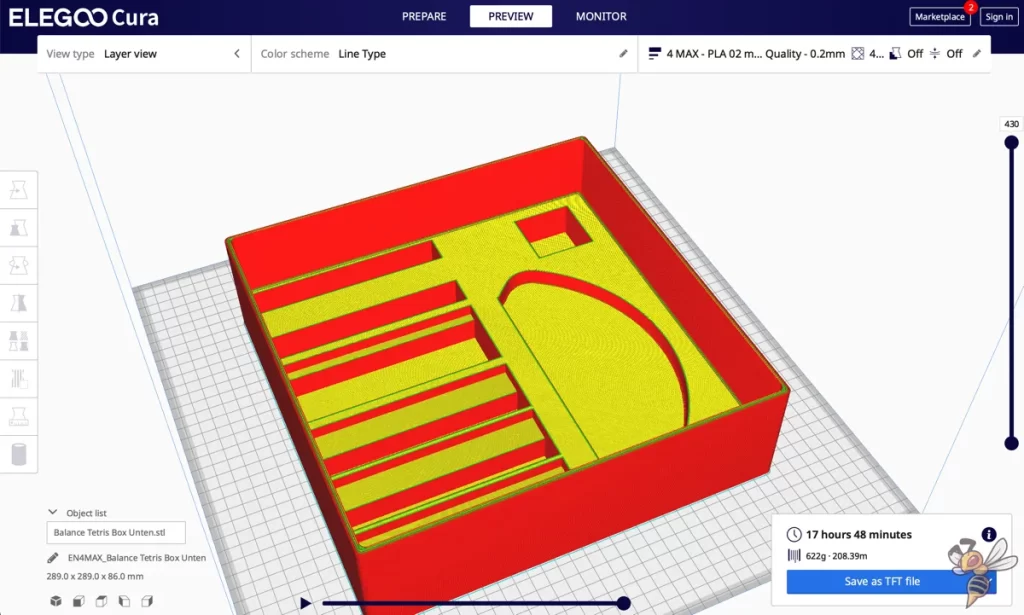
The Elegoo Neptune 4 Max is compatible with various slicers, including popular ones such as Cura and Simplify3D. The standard slicer that comes with the printer is Elegoo Cura, a specially adapted clone of the popular Cura slicer.
Elegoo Cura works in exactly the same way as the original and offers the advantage of ready-made standard profiles, which usually deliver very good printing results and are particularly helpful for beginners.
However, in order to benefit from the latest features of Cura, I used the original Cura slicer and created my own profile for the Neptune 4 Max: Elegoo Neptune 4 Max – Cura Settings for PLA, ABS, PETG, TPU
By creating a custom profile and calibrating the print settings to the specific printer, you can further increase the print quality and customize it to your specific needs.
Print Quality
The Elegoo Neptune 4 Max is characterized by its outstanding print quality. Particularly noteworthy is the fact that input shaping effectively prevents problems such as ringing or ghosting, even at high print speeds. This technology makes a significant contribution to achieving clean and precise print results.
To test the print quality, I printed various challenging objects. All objects were produced with a layer height of 0.2 mm and a speed of 250 mm/s. These tests were designed to challenge the printer under different conditions.
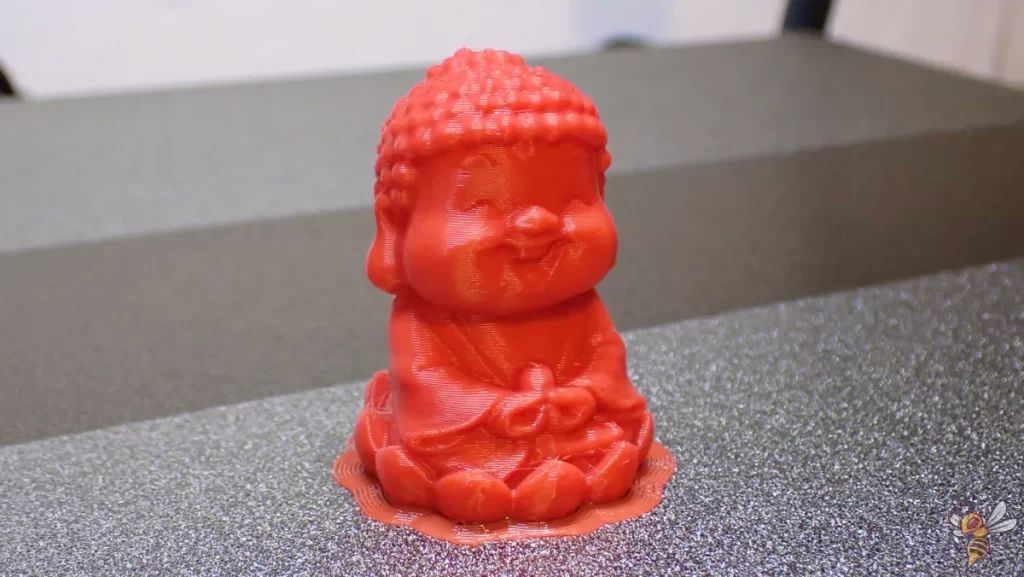
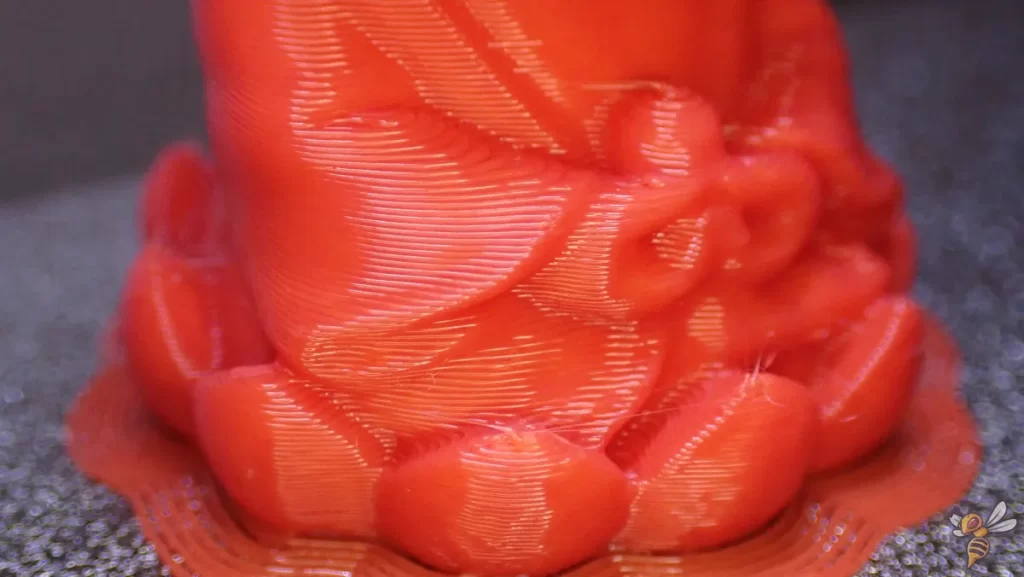
The first test print was an already sliced Buddha, which was available on the supplied USB stick. The result of this print was very good, with no visible errors.
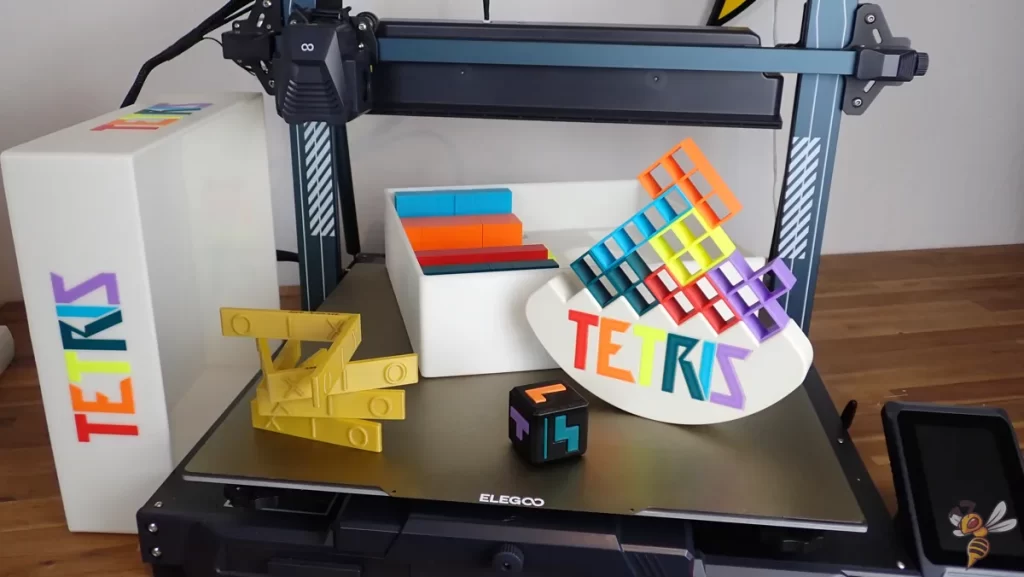
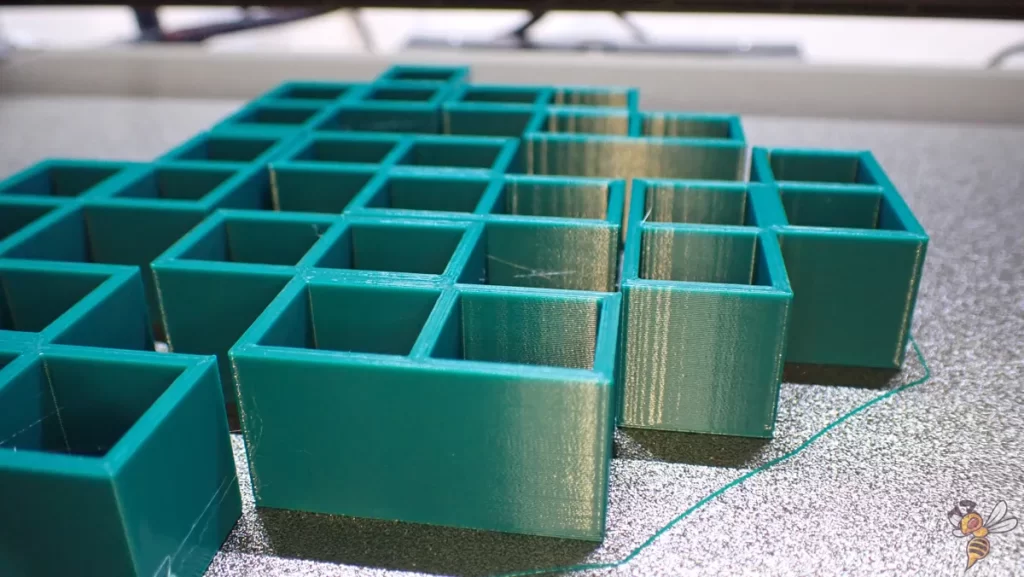
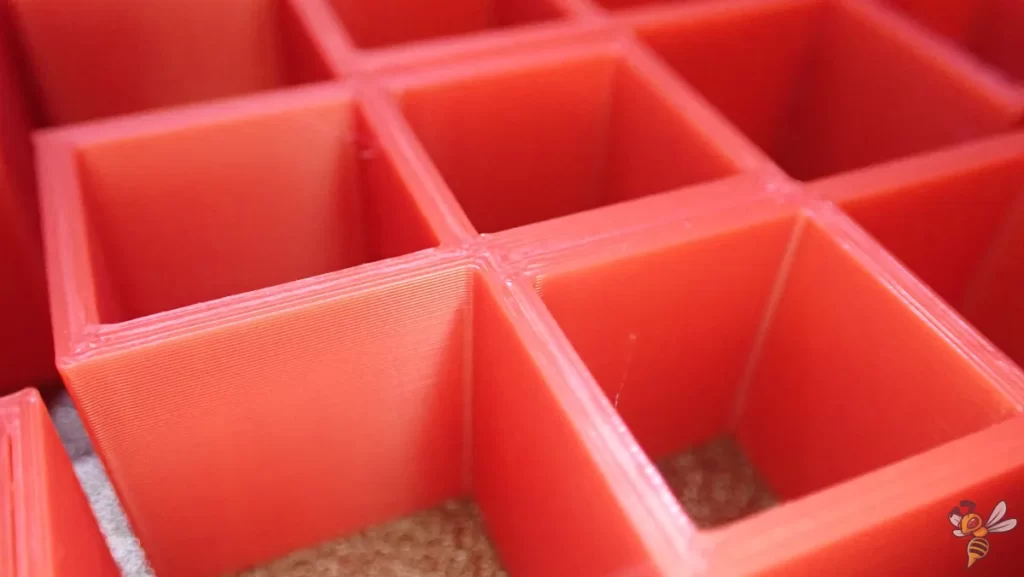
Next, I printed the complete game“Balance Tetris” including a self-designed storage box. The print quality was initially disappointing as there was a lot of ringing and ghosting. It was only afterwards that I noticed that Input Shaping was hidden in a submenu. Although input shaping is the first thing to be carried out after installation, I had moved the printer to a different location afterwards. Apparently, the “vibration profile” of the frame was already different as a result. After performing this calibration again and further test prints, the effects were clearly visible.
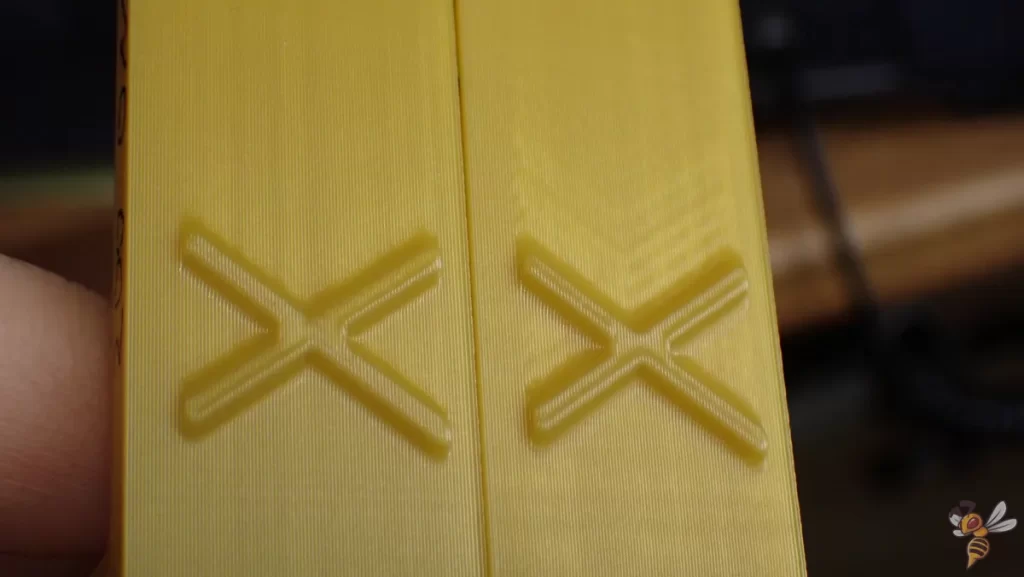
I carried out a ringing test at 200 and 300 mm/s both before and after input shaping. Before calibration, ringing and ghosting were very visible at both speeds. After calibration, however, this error was barely present.
It is a shame that this important function is not performed automatically before each print or at least offered as an option, as it significantly improves the print quality and is actually an important sales feature of the Neptune 4 Max.
Print Speed
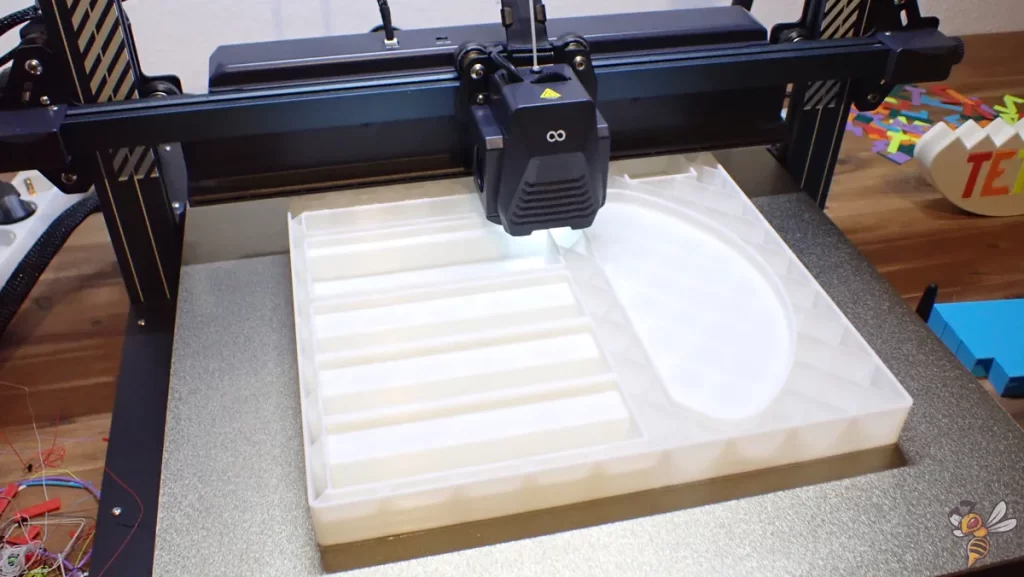
The print speed of the Elegoo Neptune 4 Max is remarkable. For my tests, I selected a speed of 250 mm/s.
Although the printer supports higher speeds up to 500 mm/s, it is important to note that such extreme speeds require precise calibration to achieve optimal results. Input shaping plays a crucial role in this by reducing vibrations, enabling clean print quality even at high speeds.
In addition to input shaping, one of the main features that enables such speeds is the efficient cooling provided by the fan bar on the x-axis.
The ability to print quickly is particularly beneficial for a printer with such a large print volume as the Neptune 4 Max. Large projects that would normally take several days can be reduced to one day. This makes the printer particularly attractive for users who regularly print large objects, as it enables considerable time savings.
Elegoo Neptune 4 Max vs. Neptune 3 Max
The main difference between the Elegoo Neptune 4 Max and its predecessor, the Neptune 3 Max, lies in the improved features that enable faster print speeds and better print quality.
While the Neptune 3 Max was already a solid 3D printer, the Neptune 4 Max brings new features that take it a step further in terms of performance and ease of use.
| Specification | Neptune 4 Max | Neptune 3 Max |
|---|---|---|
| Print volume | 420 × 420 × 480 mm | 420 × 420 × 500 mm |
| Print speed | Maximum 500 mm/s, standard 250 mm/s | Maximum 180 mm/s, standard 60 mm/s |
| Extruder type | Direct Drive | Direct Drive |
| Printing temperature | max. 300 °C | max. 260 °C |
| Print bed temperature | max. 80 °C | max. 100 °C |
| Input shaping | Yes | No |
| WiFi capability | Yes | No |
The Neptune 4 Max is similar to its predecessor model in many respects, but clearly sets itself apart with its new features, especially the higher printing speed. For those who value speed and the latest technology, the Neptune 4 Max is therefore the better choice.
Conclusion
After my practical test of the Elegoo Neptune 4 Max*, I can definitely recommend this 3D printer. Its strengths lie in particular in its large print volume, high print speed and excellent print quality, supported by technologies such as input shaping.
Despite some minor drawbacks, such as the special nozzle size and the noise of the fan bar, the printer offers excellent value for money. The Neptune 4 Max is a good choice, especially for users who want to print large objects quickly and in high quality. And a must for cosplay enthusiasts in particular!
Achtung: Diese Website ist Eigentum von Martin Lütkemeyer und wird von Martin Lütkemeyer betrieben. Martin Lütkemeyer ist Mitglied bei Partnerprogrammen von Amazon Services LLC und anderen. Dies sind Affiliate-Werbeprogramme, die es Webseiten ermöglicht, Werbeeinnahmen durch Werbung und Verlinkung mit Amazon.com und anderen zu erzielen. Die mit * markierten Links sind Affiliate-Links.


