- Wet Filament: Prevention, Symptoms & Drying - July 18, 2024
- Sovol SV08 – Best PrusaSlicer Settings & Profile - June 26, 2024
- Sovol SV08 – Best Orca Slicer Settings & Profile - June 26, 2024
Disclosure: Links marked with * are Affiliate Links. I earn from qualifying purchases if you decide to make a purchase through these links – at no additional cost for you!
Finding the right layer height for the Anycubic Mega S is sometimes not that easy. However, you have many options, especially if you use different nozzle diameters.
These are the best layer heights for the Anycubic Mega S:
- Very fine details: 0.1 mm with 0.2 mm nozzle
- Fine details: 0.1 mm with 0.4 mm nozzle
- Standard: 0.2 mm with 0.4 nozzle
- Fast printing: 0.3 mm with 0.6 mm nozzle
You can find out what the surface looks like for each setting and how long the prints take in this article.
Table of Contents:
Layer Height
The layer height plays a major role in the result of your 3D print. A low layer height produces smooth surfaces, a high layer height rather rough surfaces.
However, it is not always advantageous to use a low layer height, because you need longer printing times for the high quality and the object has less stability.
Therefore, a low layer height is only suitable for objects that should look good aesthetically. For functional objects that need to be stable, a thicker layer height is recommended.
As you will see later in the practical test, the printing time increases enormously the smaller the layer height becomes.
| Thin Layers | Thick Layers | |
|---|---|---|
| PRO | Smooth | Rough |
| CON | Slow | Quick |
Layer Height vs. Nozzle Diameter
The minimum and maximum layer height you can use depends on the Nozzle you use.
The minimum layer height is 25% of the nozzle diameter and the maximum layer height is 75% of the nozzle diameter.
The Anycubic Mega S can use a 0.2 mm diameter nozzle as a minimum. This means that you could achieve a minimum layer height of 0.05 mm.
As you will see in the practical test below, the printer mastered these settings excellently and the result is impressive. With a layer height of only 0.05 mm, you can barely see the individual layers with the naked eye.
Practical Test with PLA
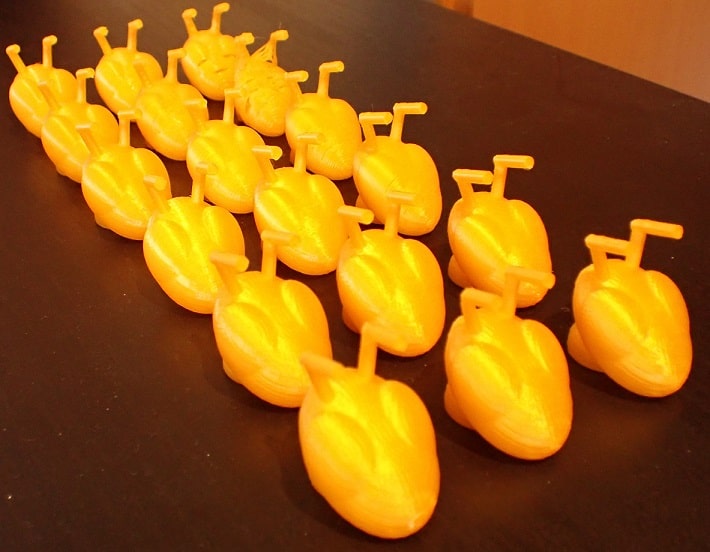
I have tried different nozzle diameters with the Anycubic Mega S. For this purpose, I got myself a set with different nozzle diameters from 0.2 mm to 1.0 mm (here is the link to Amazon*).
With each nozzle, I selected three different settings: 25%, 50% and 75% of the nozzle diameter.
| Layer Height | Nozzle Diameter | Print Time |
|---|---|---|
| 0.7 mm | 1.0 mm | 0:06 |
| 0.5 mm | 1.0 mm | 0:08 |
| 0.25 mm | 1.0 mm | 0:15 |
| 0.6 mm | 0.8 mm | 0:07 |
| 0.4 mm | 0.8 mm | 0:10 |
| 0.2 mm | 0.8 mm | 0:19 |
| 0.45 mm | 0.6 mm | 0:13 |
| 0.3 mm | 0.6 mm | 0:18 |
| 0.15 mm | 0.6 mm | 0:37 |
| 0.3 mm | 0.4 mm | 0:24 |
| 0.2 mm | 0.4 mm | 0:38 |
| 0.1 mm | 0.4 mm | 1:03 |
| 0.225 mm | 0.3 mm | 0:46 |
| 0.15 mm | 0.3 mm | 1:07 |
| 0.075 mm | 0.3 mm | 2:15 |
| 0.15 mm | 0.2 mm | 1:26 |
| 0.1 mm | 0.2 mm | 2:08 |
| 0.05 mm | 0.2 mm | 4:18 |
As you can easily see from the table, the printing times increase massively the smaller the layer height gets.
You may wonder why the printing time is different when the layer height is the same but the nozzle is different. This is because the extrusion width is also greater with a larger nozzle.
This means that more material is applied at once. The time it takes to print the complete volume is therefore less.
I have taken a macro image of each print, zoomed in sharply. So you can see the individual layers.
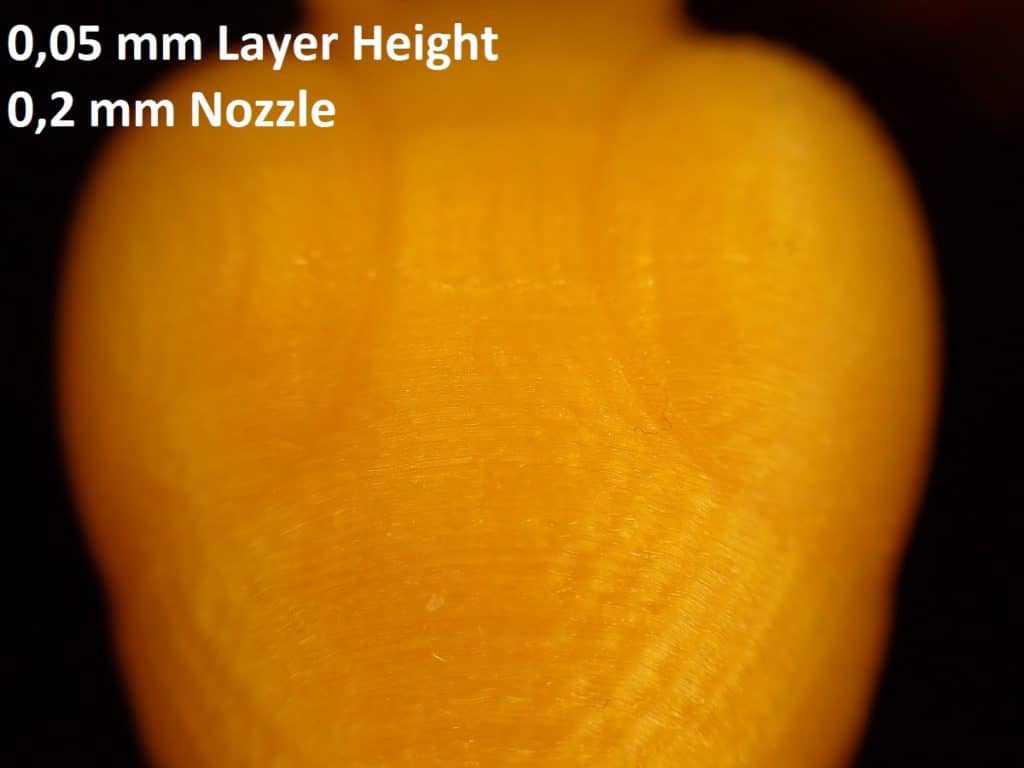
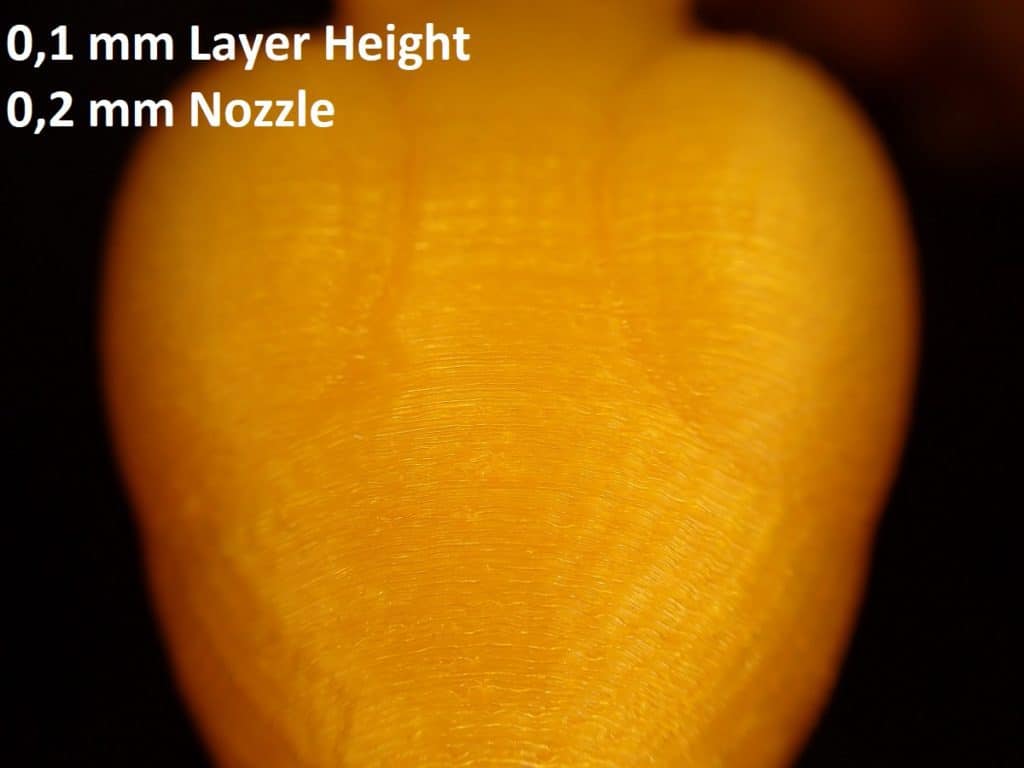
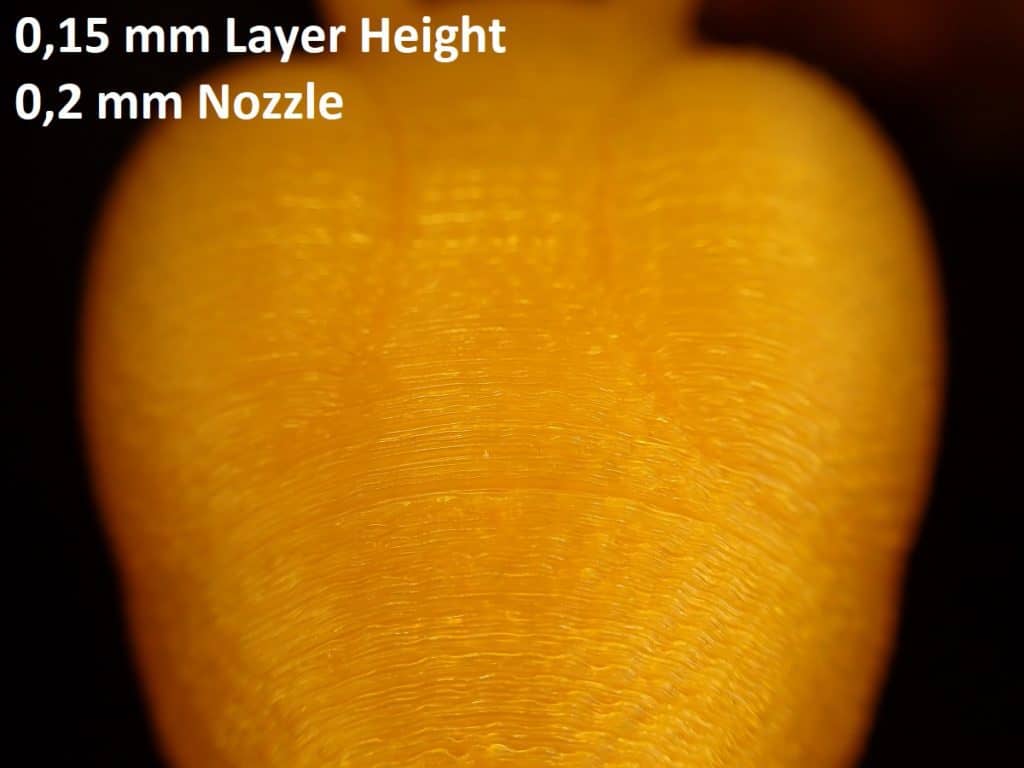
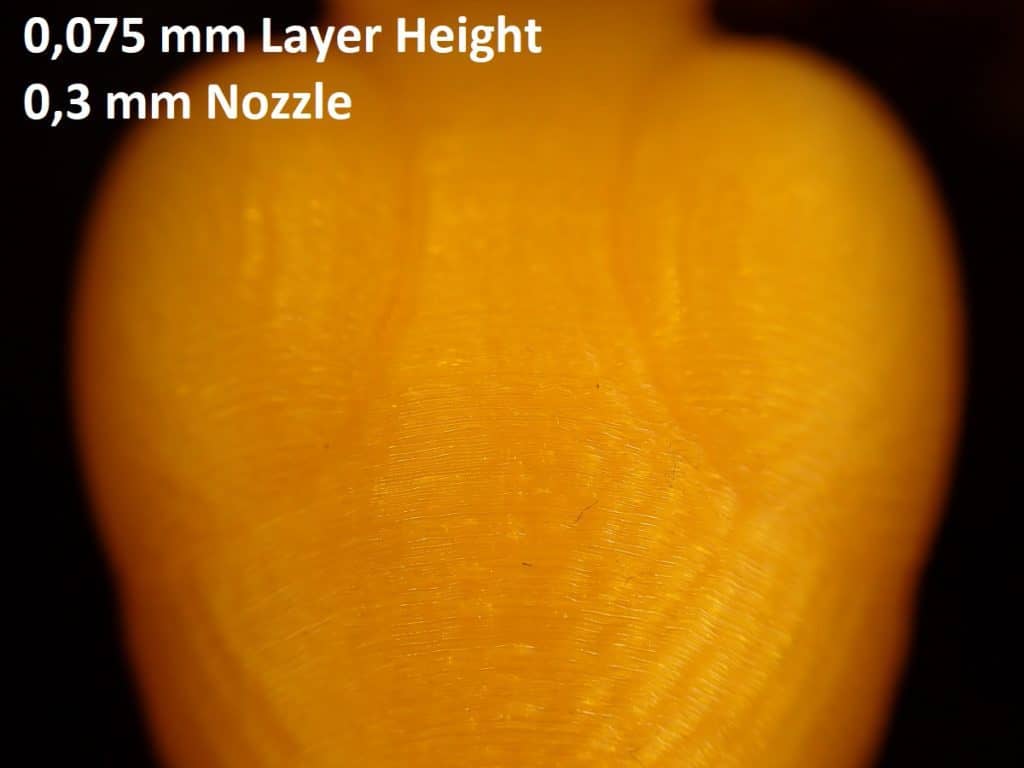
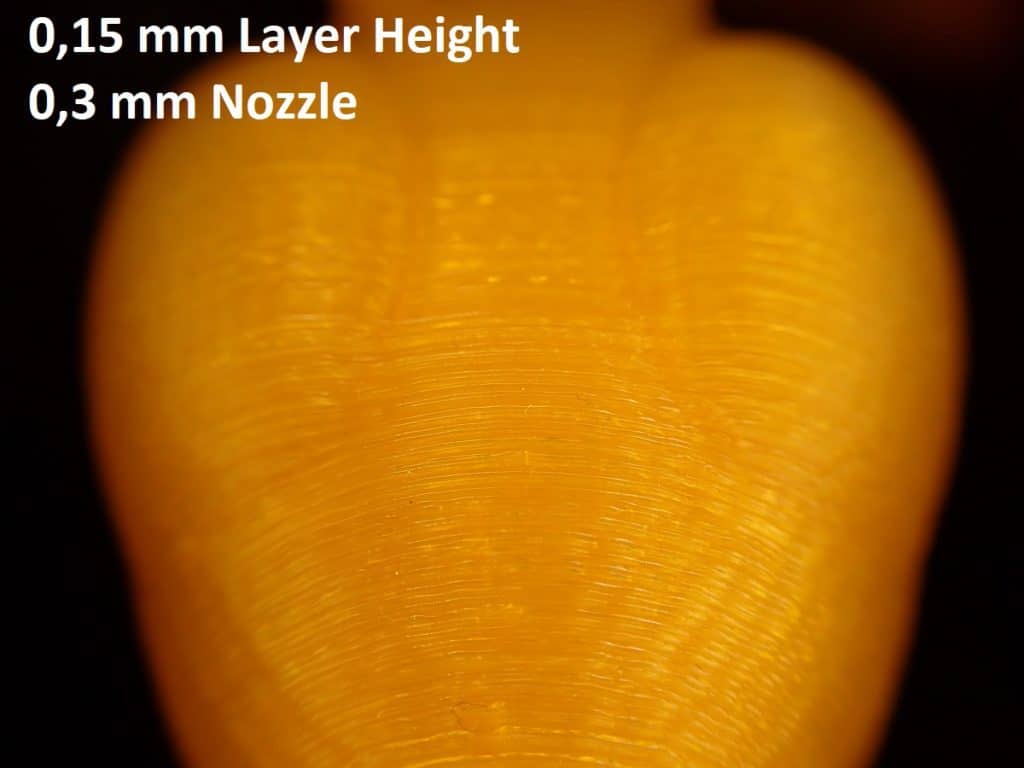
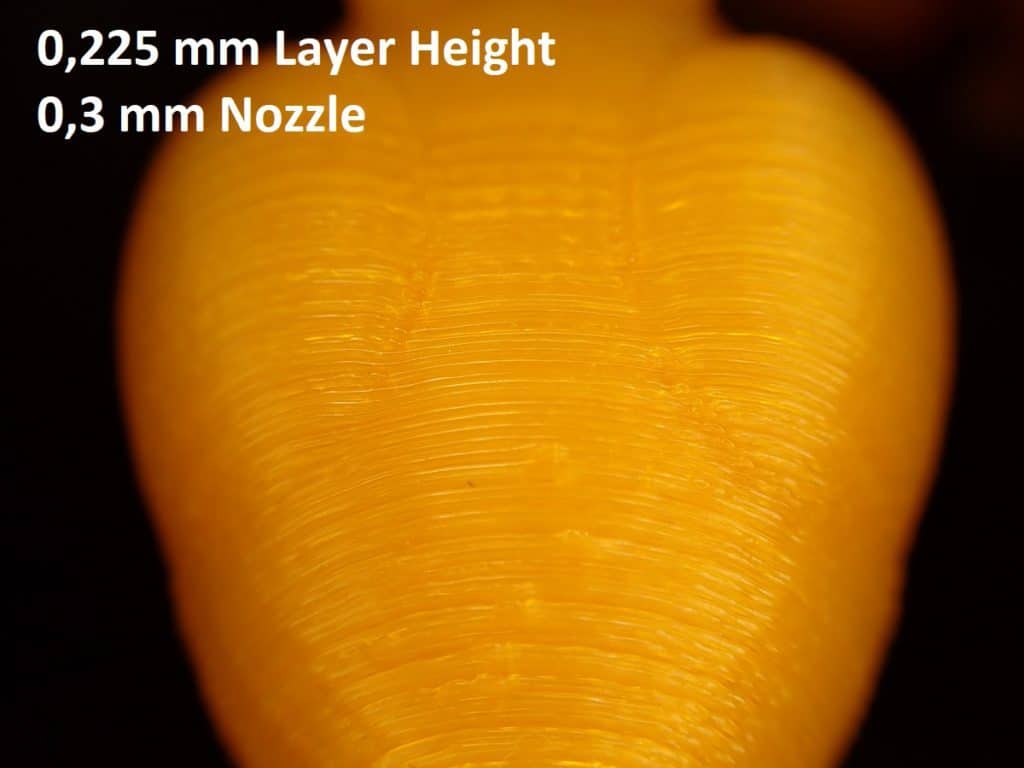
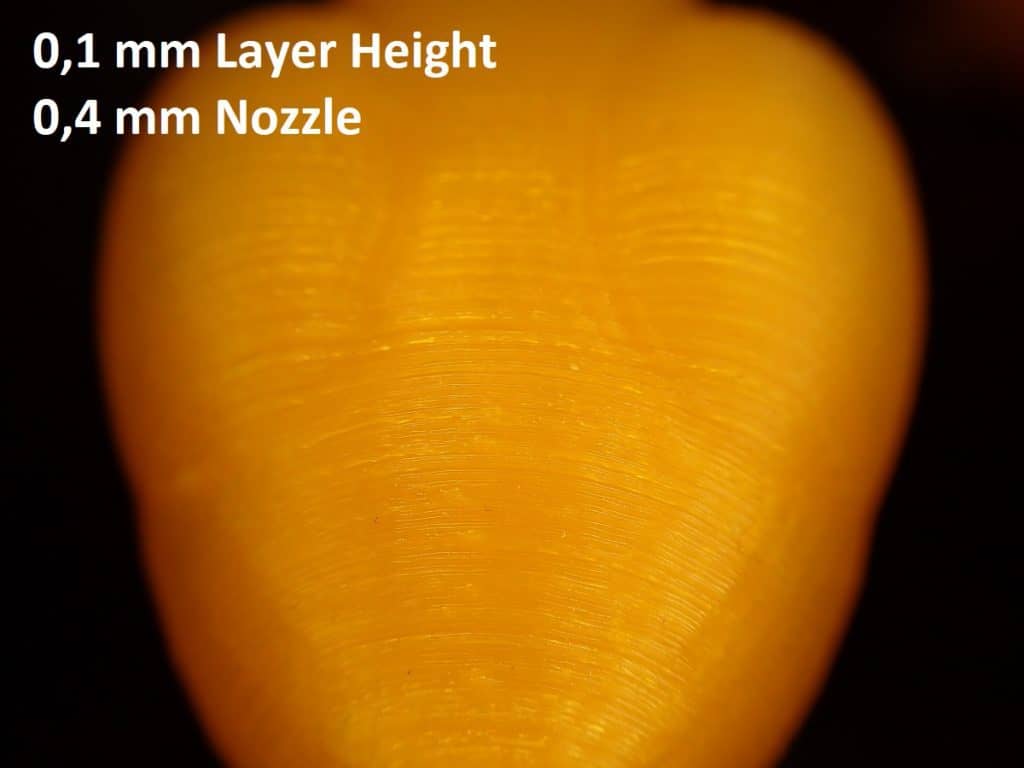
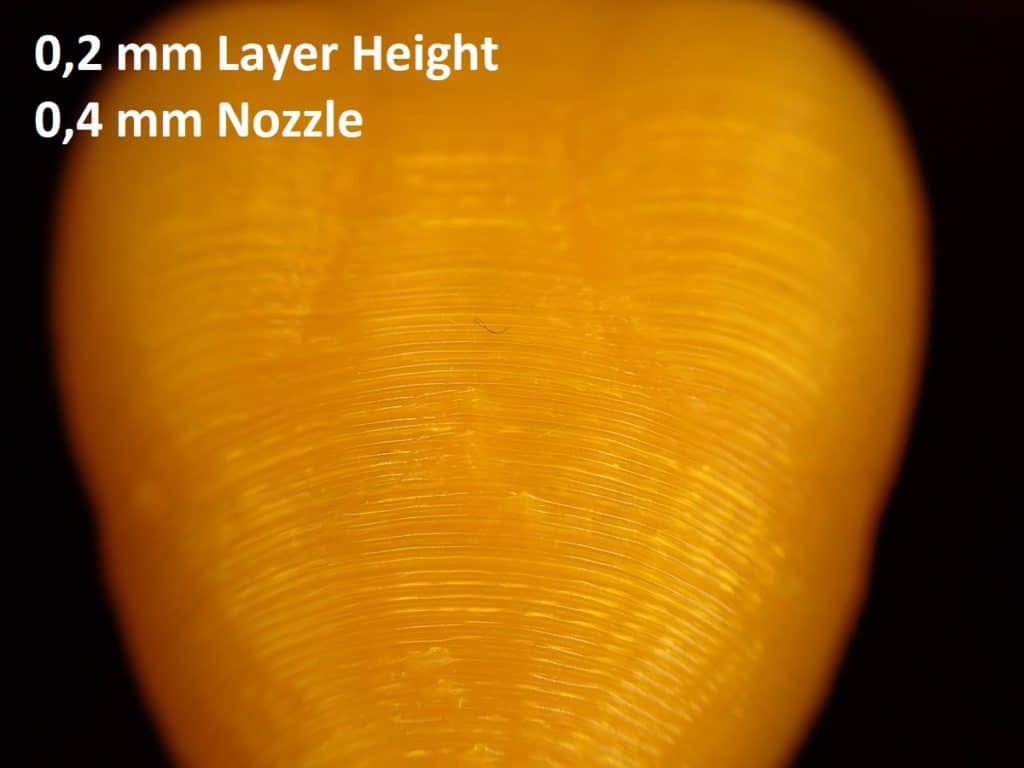
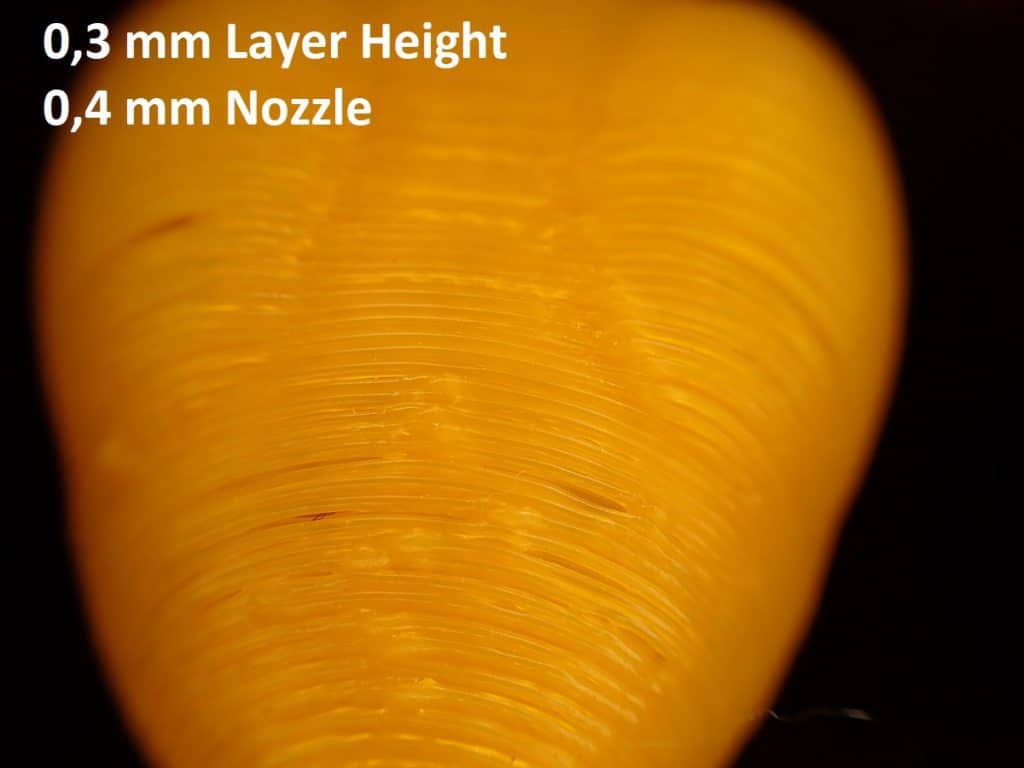
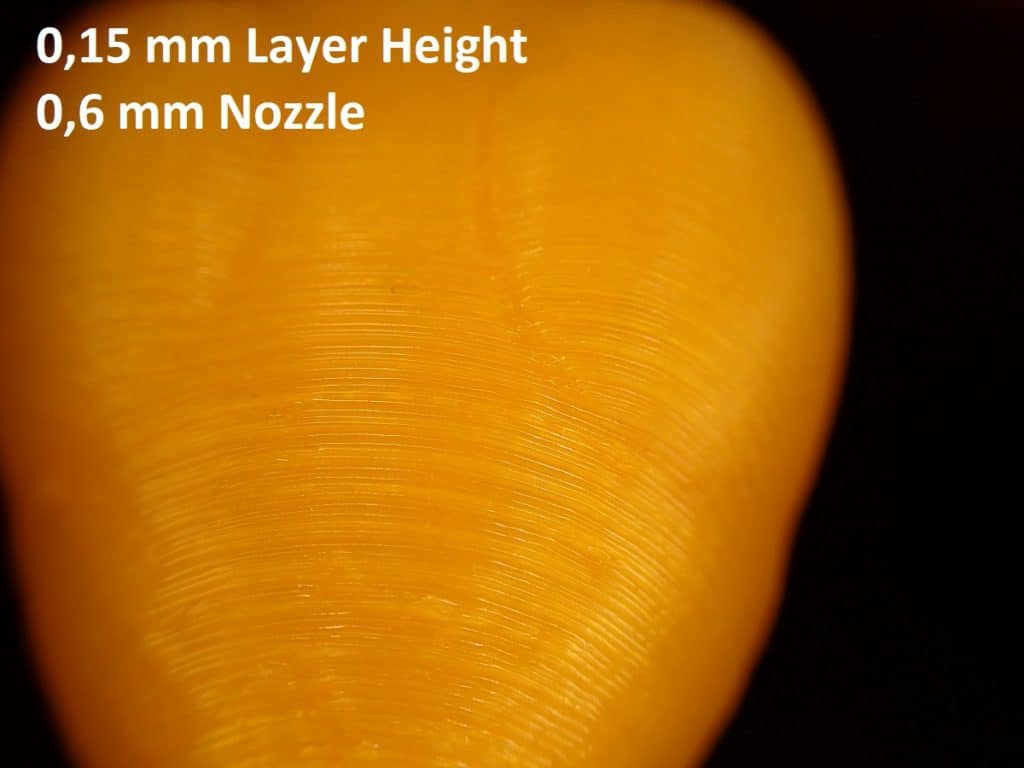
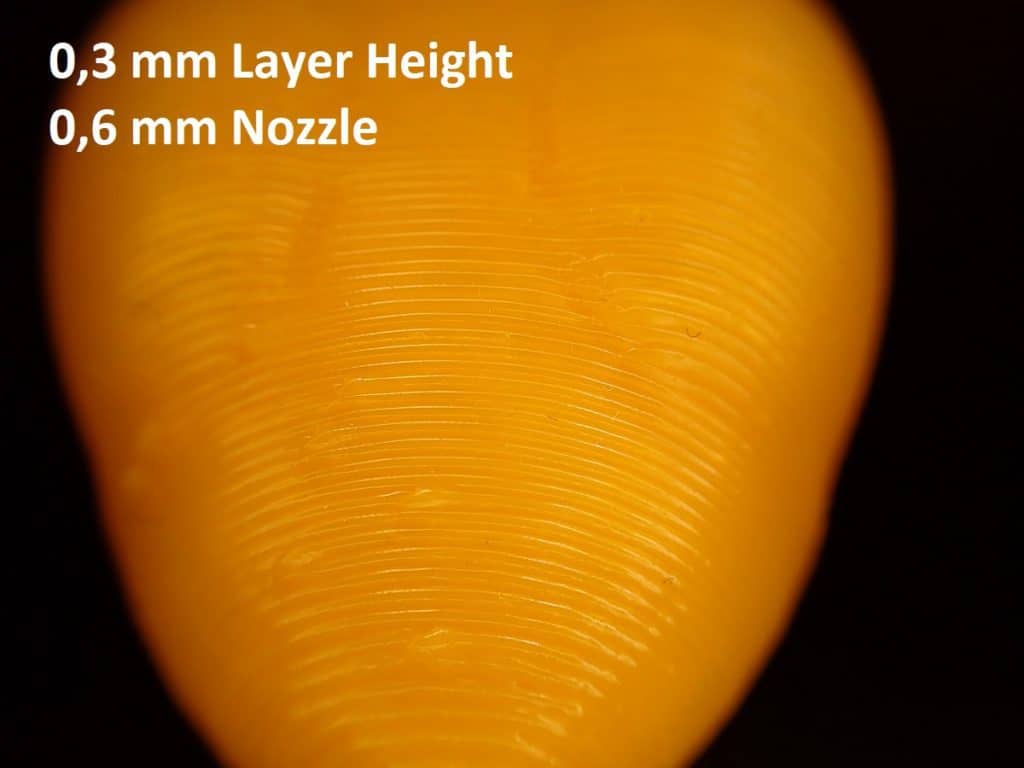
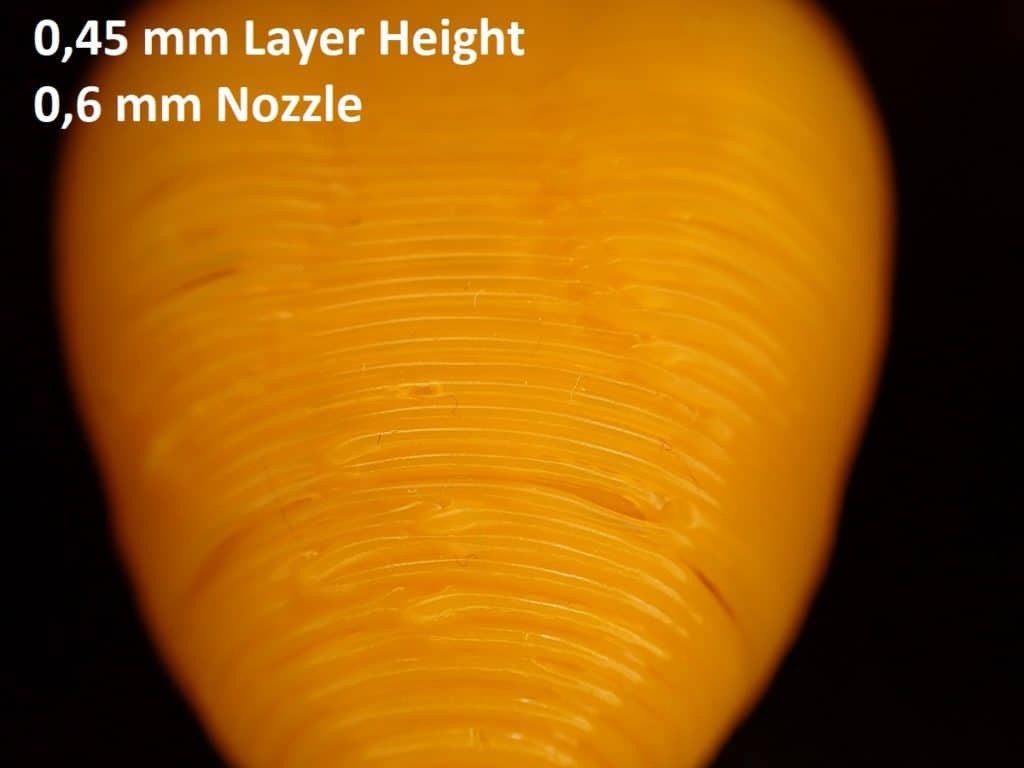
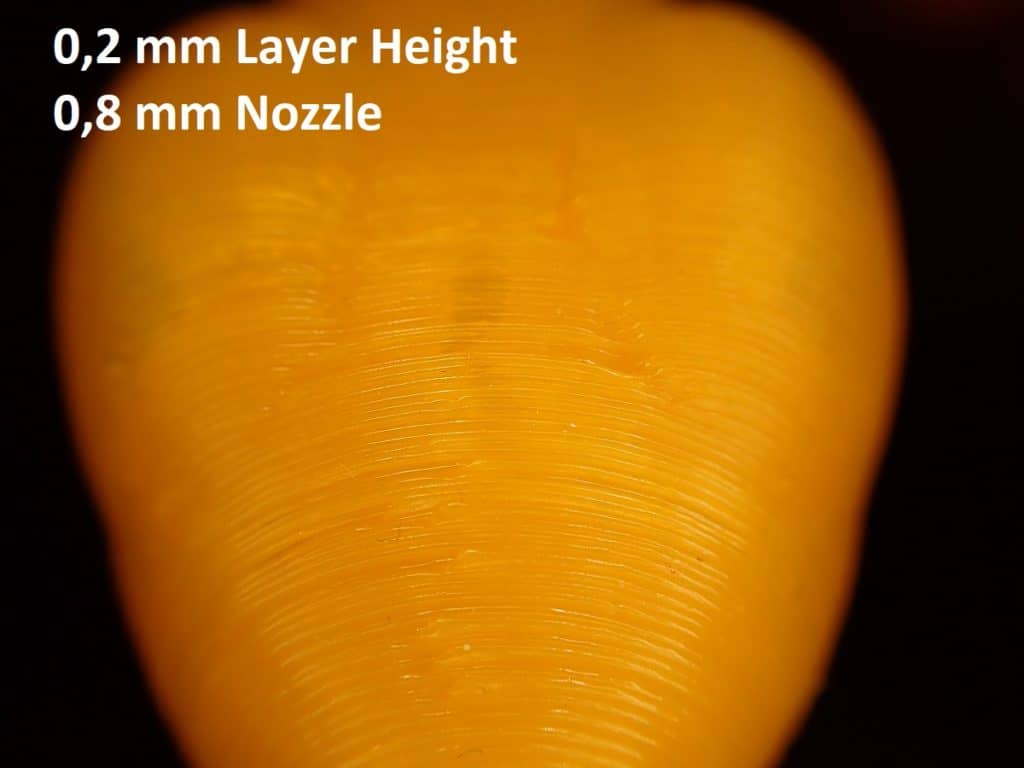
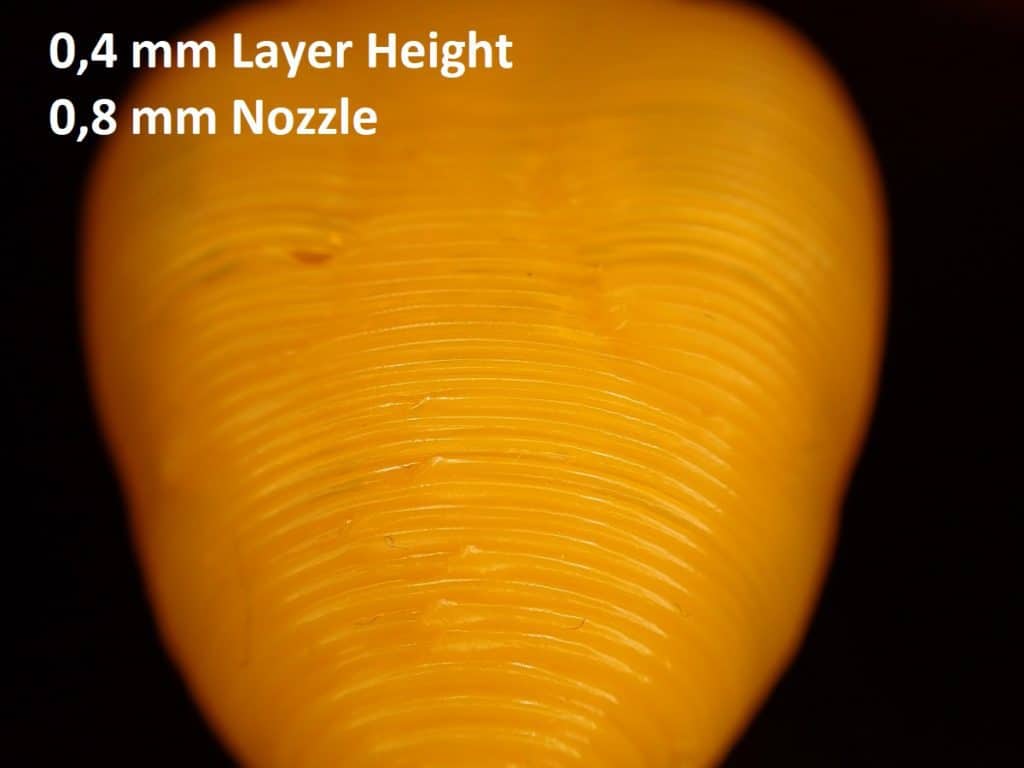
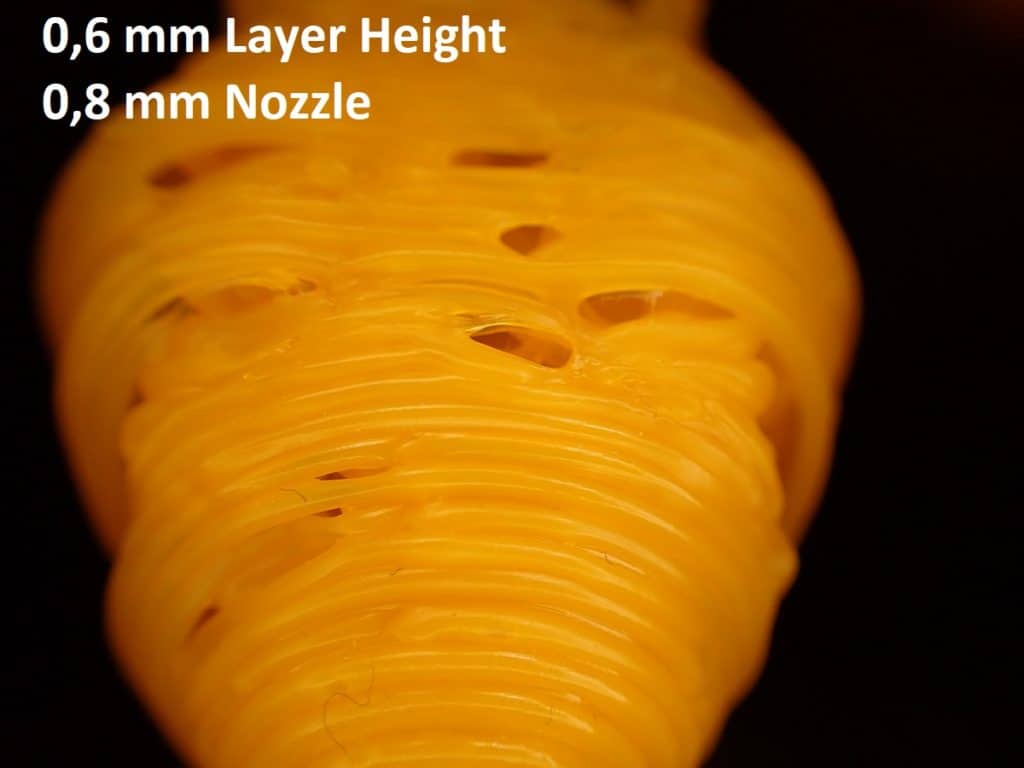
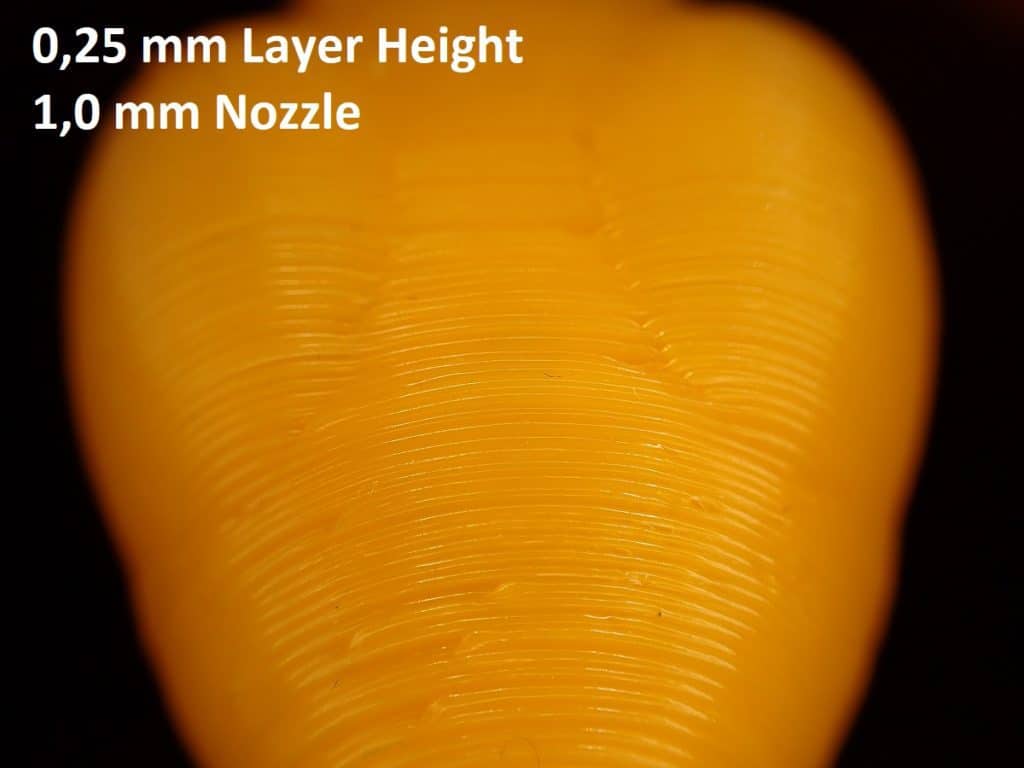
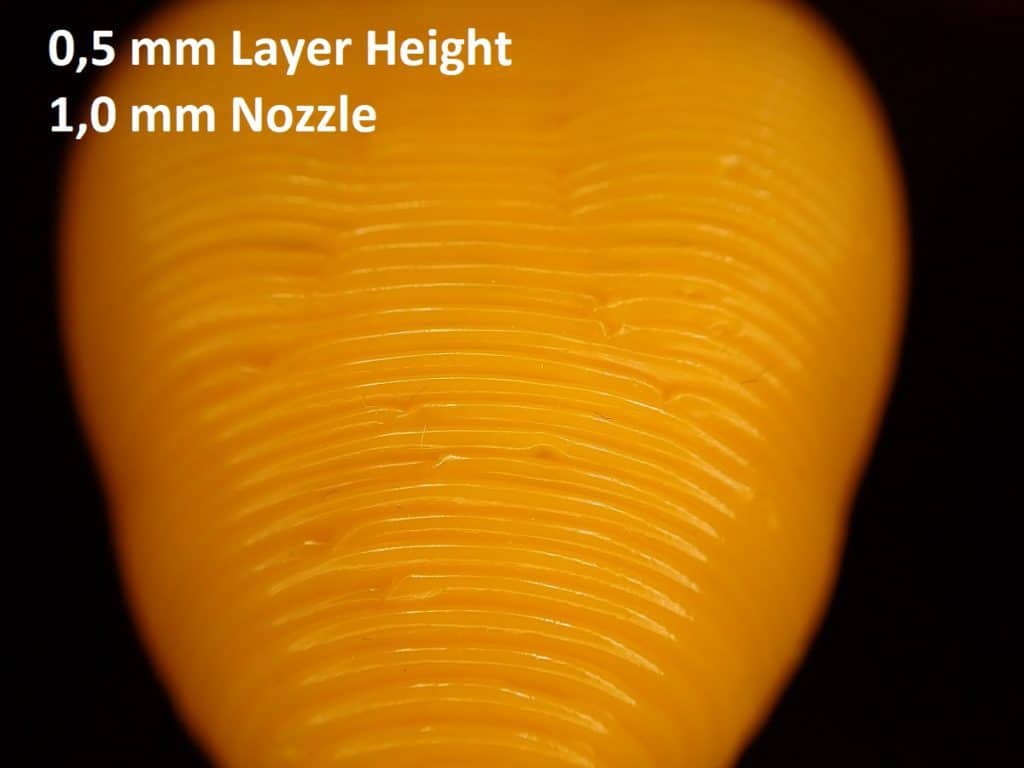
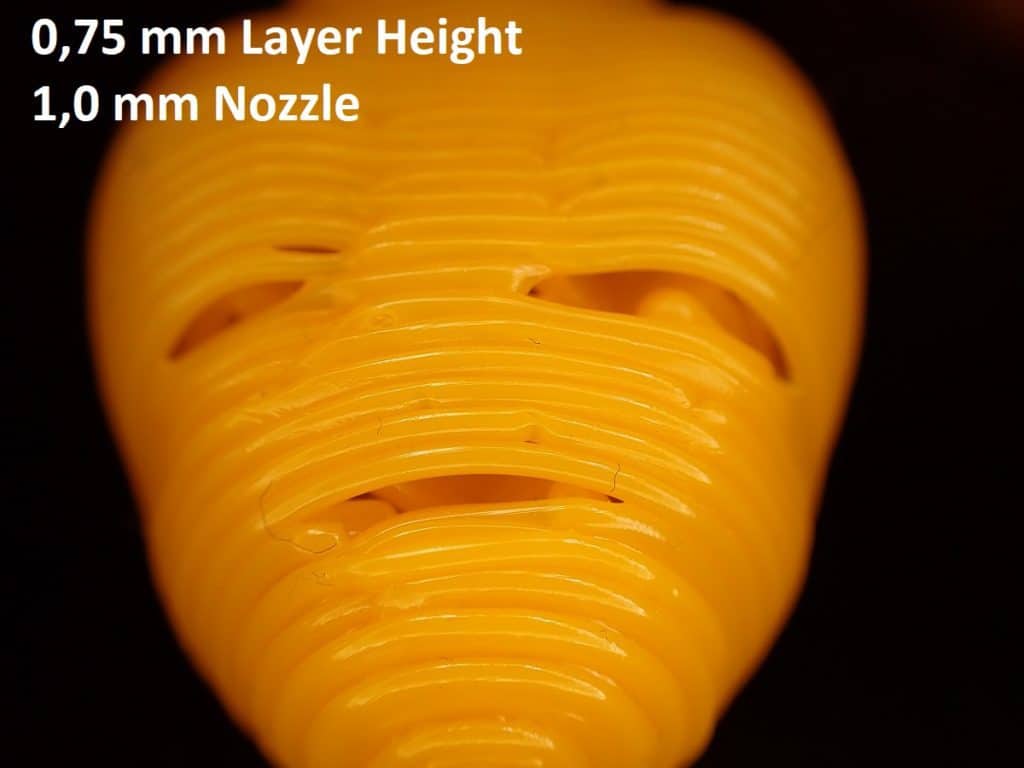
The result of this experiment for me is that I mainly print with 0.1 mm layer height with a 0.2 mm Nozzle. With this combination, I have a good compromise between quality and time.
Print Bed Adhesion
With small nozzle diameters, the extrusion width is also smaller. Therefore, the print bed adhesion is also reduced, as the adherent surface per line becomes smaller.
As long as you have set the correct print bed temperature (e.g. 60 to 65 °C for PLA), the print bed adhesion depends only on the actual surface.
With the Anycubic Mega S, the following three surfaces have proven themselves:
Raft
A Raft is especially useful for PLA if you are still working with the supplied glass bed.
Some print objects already have their own built-in Raft (e.g. the two owls that serve as a test print). With such models, you do not need to print a Raft.
However, for models with many small or complex bottom surfaces, a Raft makes sense.
A Raft replaces the print bed with a new print bed made of warm filament. Just about anything will adhere to it.
Blue Tape
To quickly increase the print bed adhesion by a lot, you can also use Scotch Blue Tape.
It is suitable for almost all filaments. I have had very good experiences with PLA and TPU in particular.
The use is also very simple. You just have to stick the tape on the print bed and make sure that there are no bubbles or overlap. Just make sure that the print bed is clean beforehand.
BuildTak
A BuildTak surface* is also a very good way to increase print bed adhesion. It is actually well suited for all filaments except TPU.
Again, the application is quite simple: you just have to stick the surface onto the previously cleaned print image.
Disclosure: This website is the property of Martin Lütkemeyer and is operated by Martin Lütkemeyer. Martin Lütkemeyer is a member of the Amazon Services LLC and other Affiliate Programs. These are affiliate advertising programs designed to enable websites to earn advertising revenue through advertising and linking to Amazon.com and others. Links marked with * are affiliate links.

