- Wet Filament: Prevention, Symptoms & Drying - July 18, 2024
- Sovol SV08 – Best PrusaSlicer Settings & Profile - June 26, 2024
- Sovol SV08 – Best Orca Slicer Settings & Profile - June 26, 2024
Disclosure: Links marked with * are Affiliate Links. I earn from qualifying purchases if you decide to make a purchase through these links – at no additional cost for you!
With the Cura Mold Mode, you can create negative forms of objects. These molds can be used for casting and can be reused.
In this detailed guide, you will find all the details about this mode.
Table of Contents:
How Does Cura Mold Mode Work?
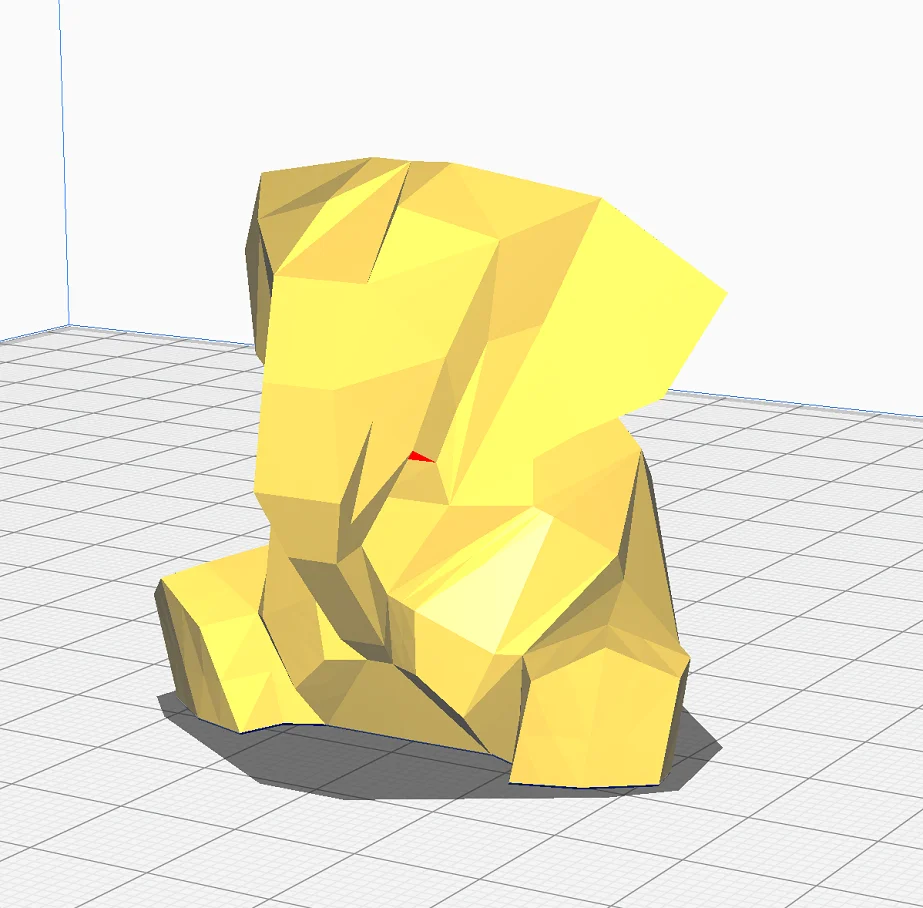
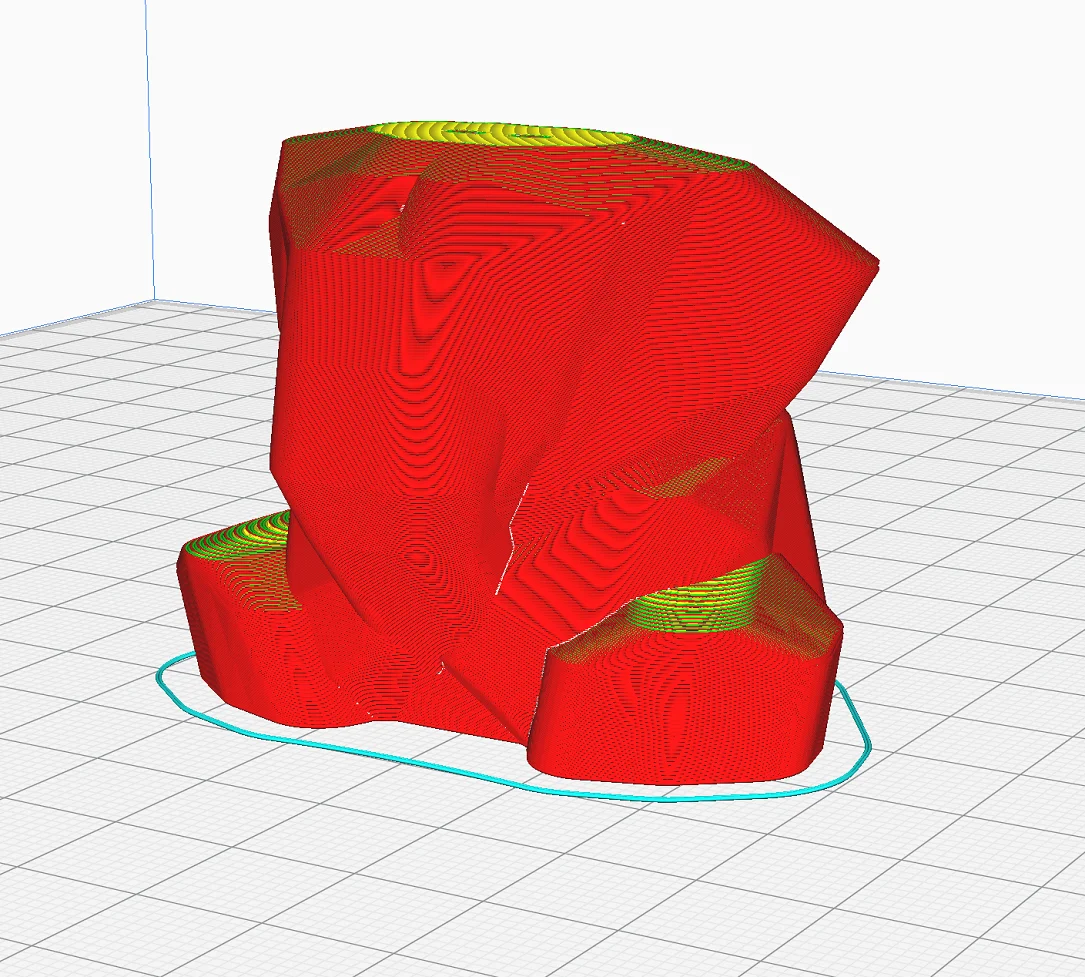
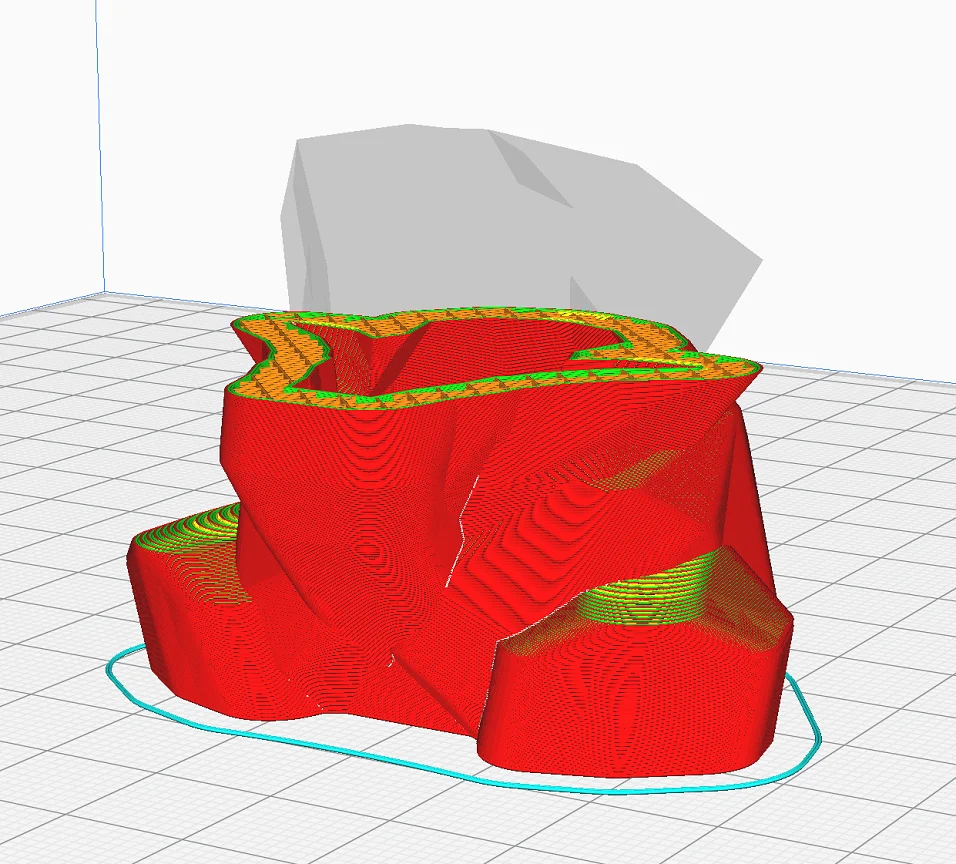
In Cura’s Mold Mode, a negative form of the print object is created. If this form is cast out after printing, the geometry of the original printed object is reproduced. The wall thickness can be set as desired to adjust the stability.
The outer contour of the object is accurately reproduced so that a model cast with the mold has the same details as a printed model of the original object.
You only have to activate the option under the special modes and you can slice the model directly. The default settings are usually already correct but can be optimized (more on this later).
The thickness of the walls is individually adjustable. This allows you to adjust the stability of the mold to your requirements. The pattern and density of the infill are defined by the default settings.
Applications
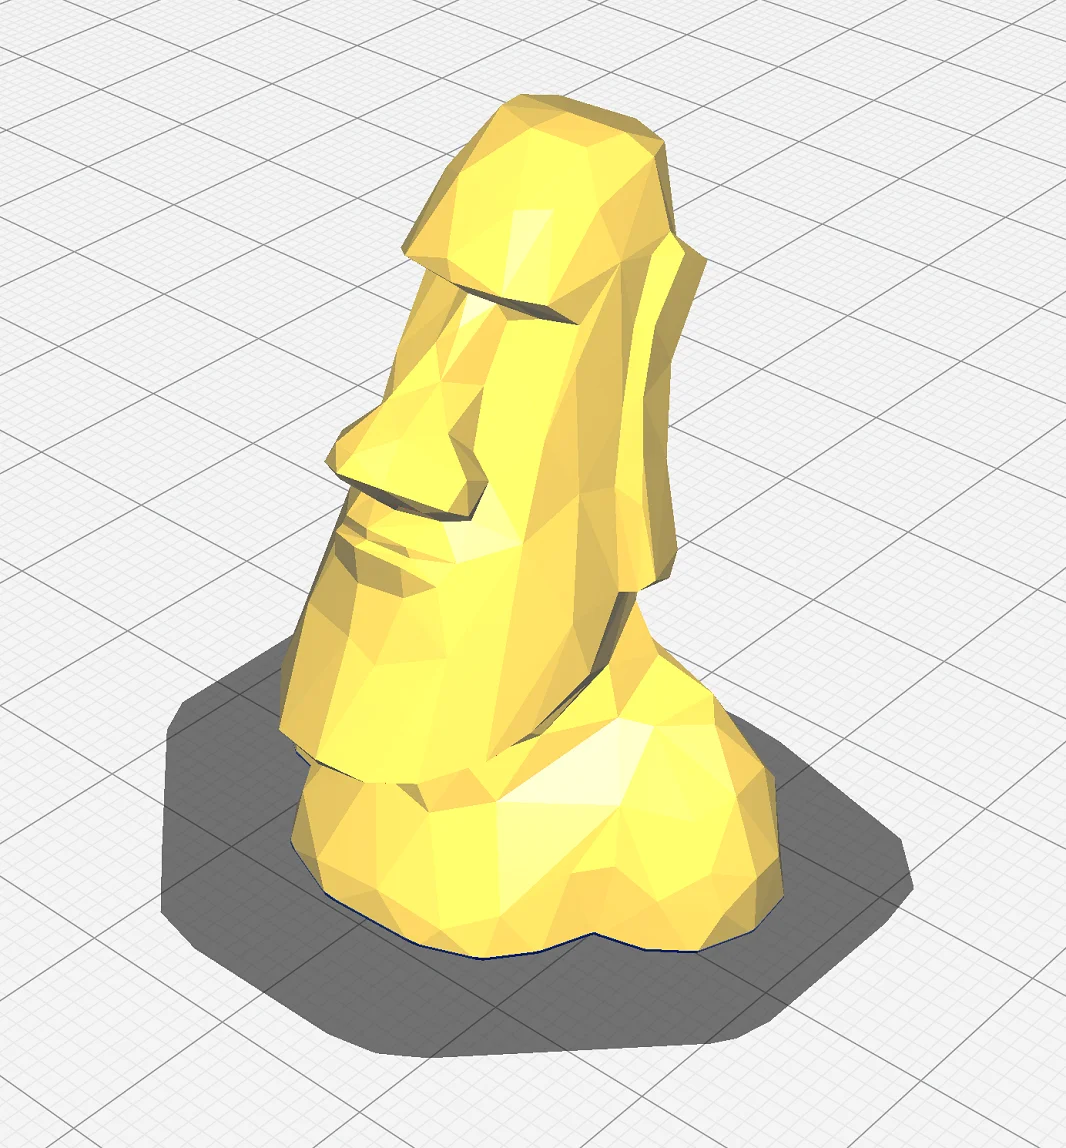
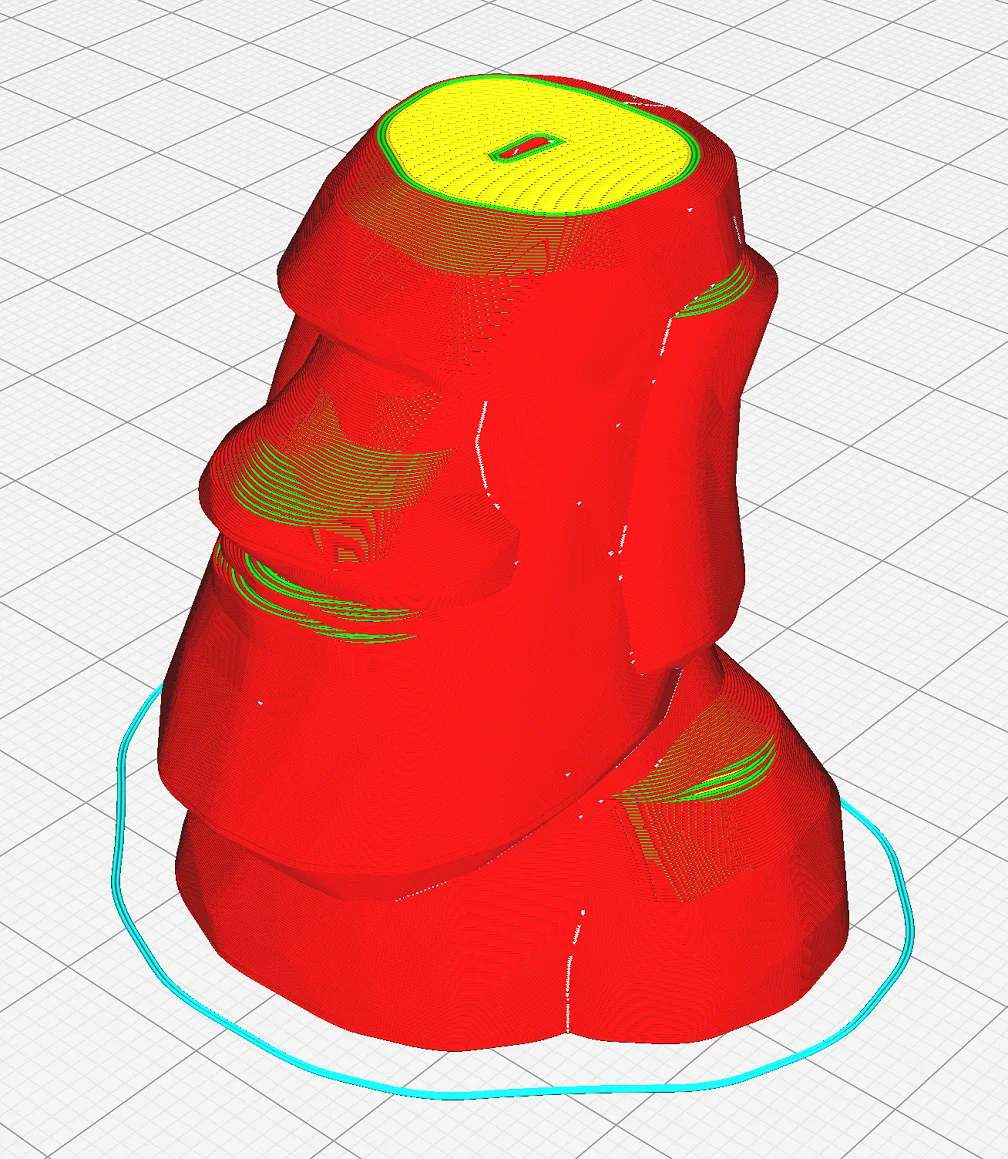
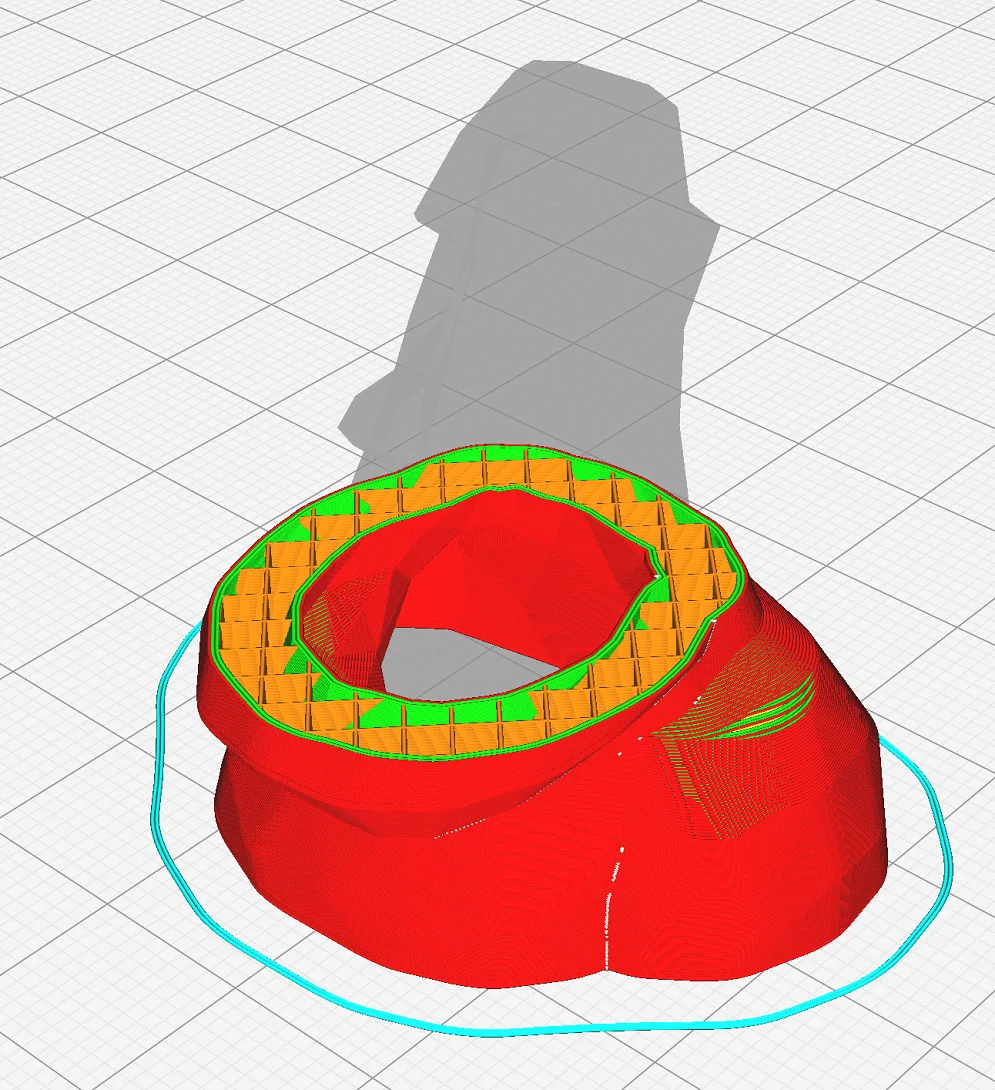
Cura Mold Mode allows you to create negative molds of 3D objects. These negative molds can be cast with silicone or other liquid materials as long as they do not exceed the melting temperature of the filament used.
Mostly these negative molds are poured with silicone. However, epoxy resin or chocolate can also be used. The more detailed the negative mold is, the more fluid the liquid should be so that it gets into all the cracks and corners.
The mold mode is always used when the object is not to be made of plastic but of another material. Certain epoxy resins or other materials can be reworked very well. This makes it easier to create objects with a very smooth surface.
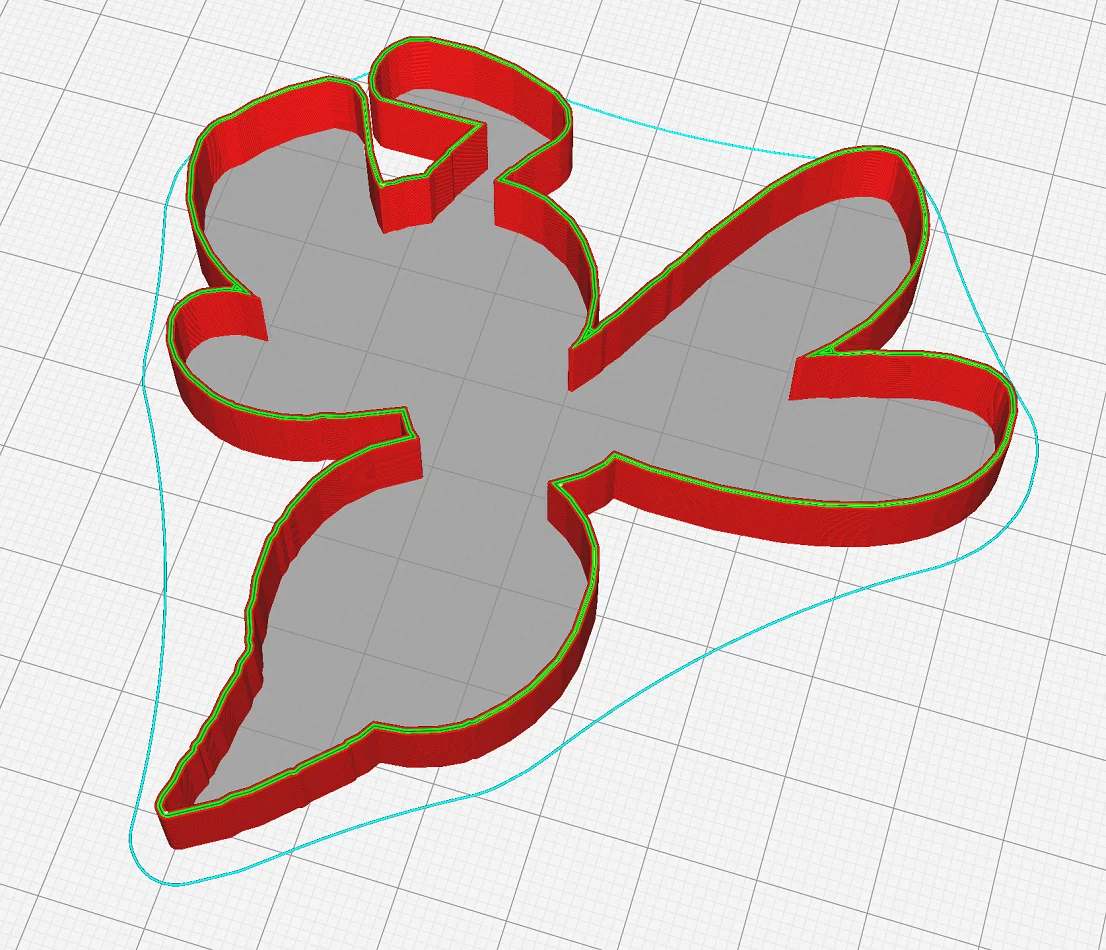
The mold mode can also be used for other purposes. If you reduce the wall thickness of the shape of a flat object to 1 mm, you will get a cookie-cutter! The mold won’t be very durable, but it will definitely be enough for a plate of cookies. Note that the filament should be food safe (PLA is ok if you use it once).
Split Objects
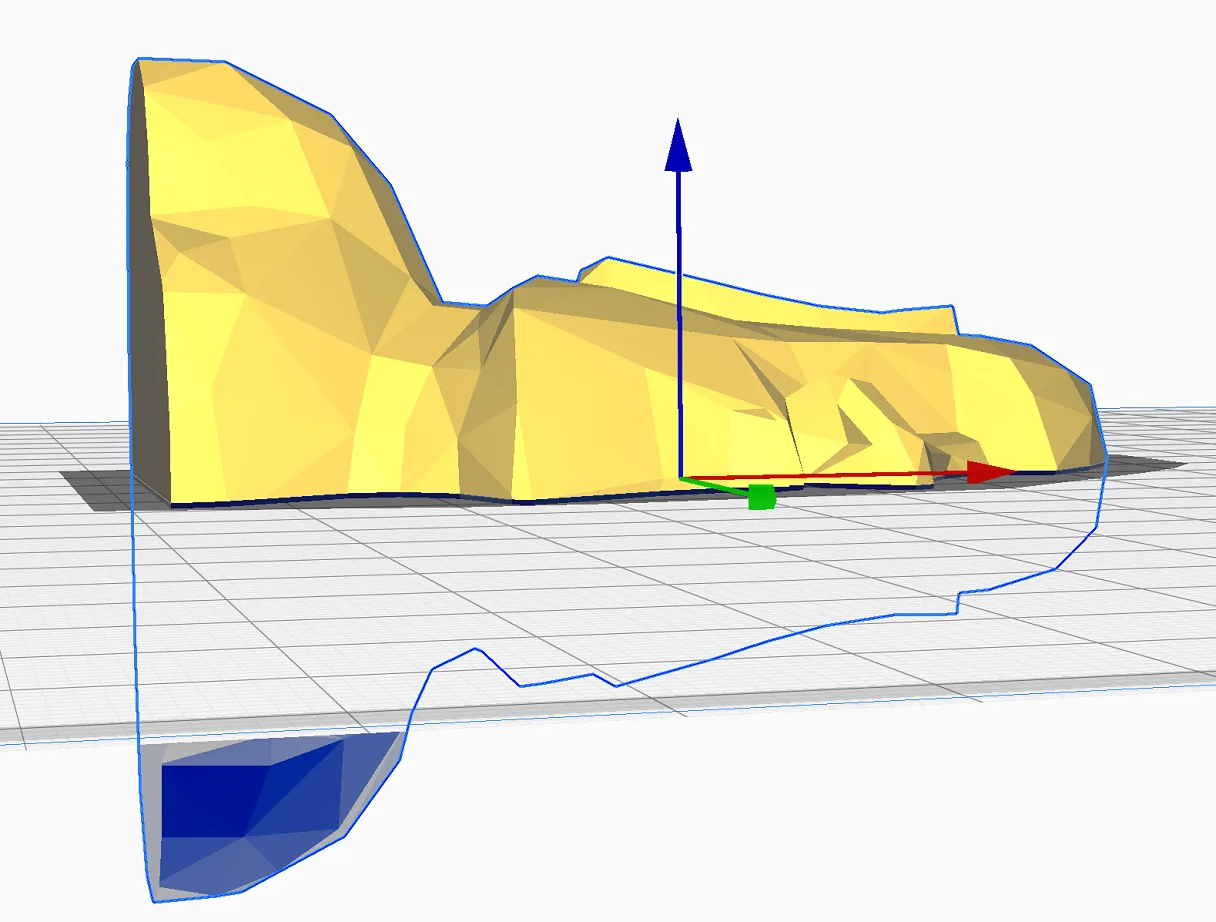
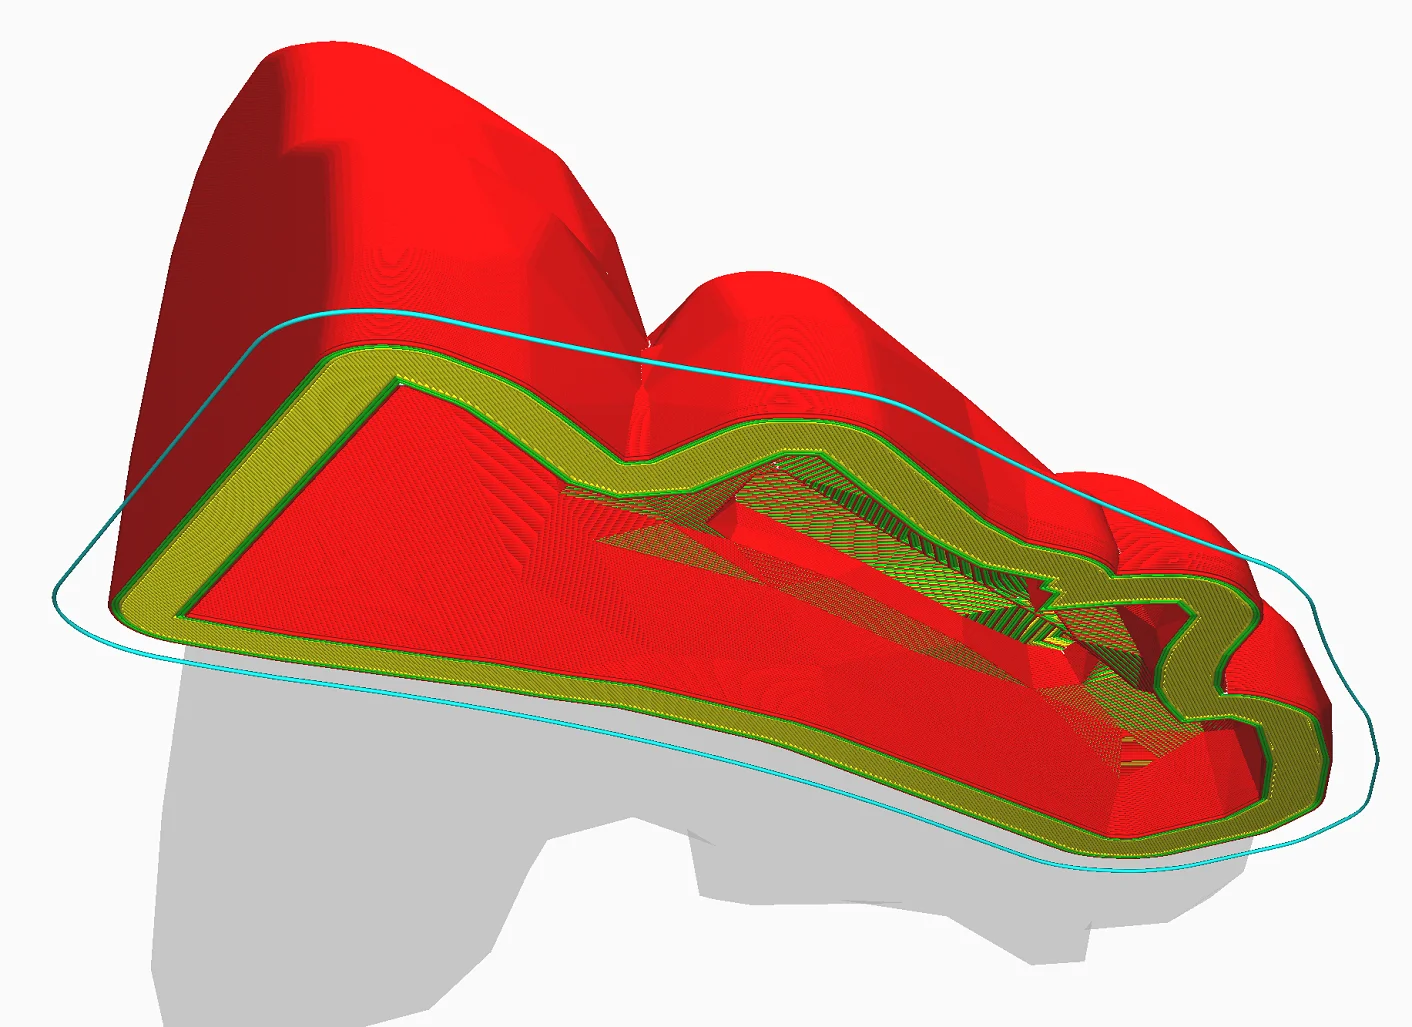
Cura does not think about your application in mold mode. The object is simply sliced as a negative mold, with no attention to rework. If you want to use the negative mold multiple times and don’t want to destructively remove it from the cast model, you should cut the mold in half so that you can easily remove the cast object.
The easiest way to cut the object in half is to have it cut in half by the printing plate in Cura.
- Rotate the object by 90°: Rotate the object by 90° to the side where the horizontal cut makes the most sense to you.
- Lower the object by half its height: On the left side of Cura’s user interface, you can display the exact height of your object. Divide this value by 2 and manually enter the negative offset of the object in the Z-direction.
- Slicing: Now you can slice the model in mold mode.
- Other side: For symmetrical objects, you can simply slice the other side mirror-inverted and print it. For non-symmetrical objects, you have to manually align the other side again.
After the two sides have been printed, you can smooth the cut edge with fine sandpaper so that there are no more openings when you press the two sides together. Use tight rubber bands to prevent the liquid from leaking out.
Of course, you can also create the two halves with a CAD program of your choice and import them into Cura.
Where to Find Mold Mode in Cura?

The Mold Mode is located under the Special Modes in Cura. If the option is not displayed, it can be made visible in the options (Settings > Configure setting visibility).
You can also find the visibility of each setting by clicking the settings icon in the respective tabs.

After you have activated the option, three additional settings will become visible:
- Minimal Mold Width
- Mold Roof Height
- Mold Angle
Settings in Detail
For many projects, the default settings of the mold mode in Cura are very well suited. However, you can optimize the result with individual settings.
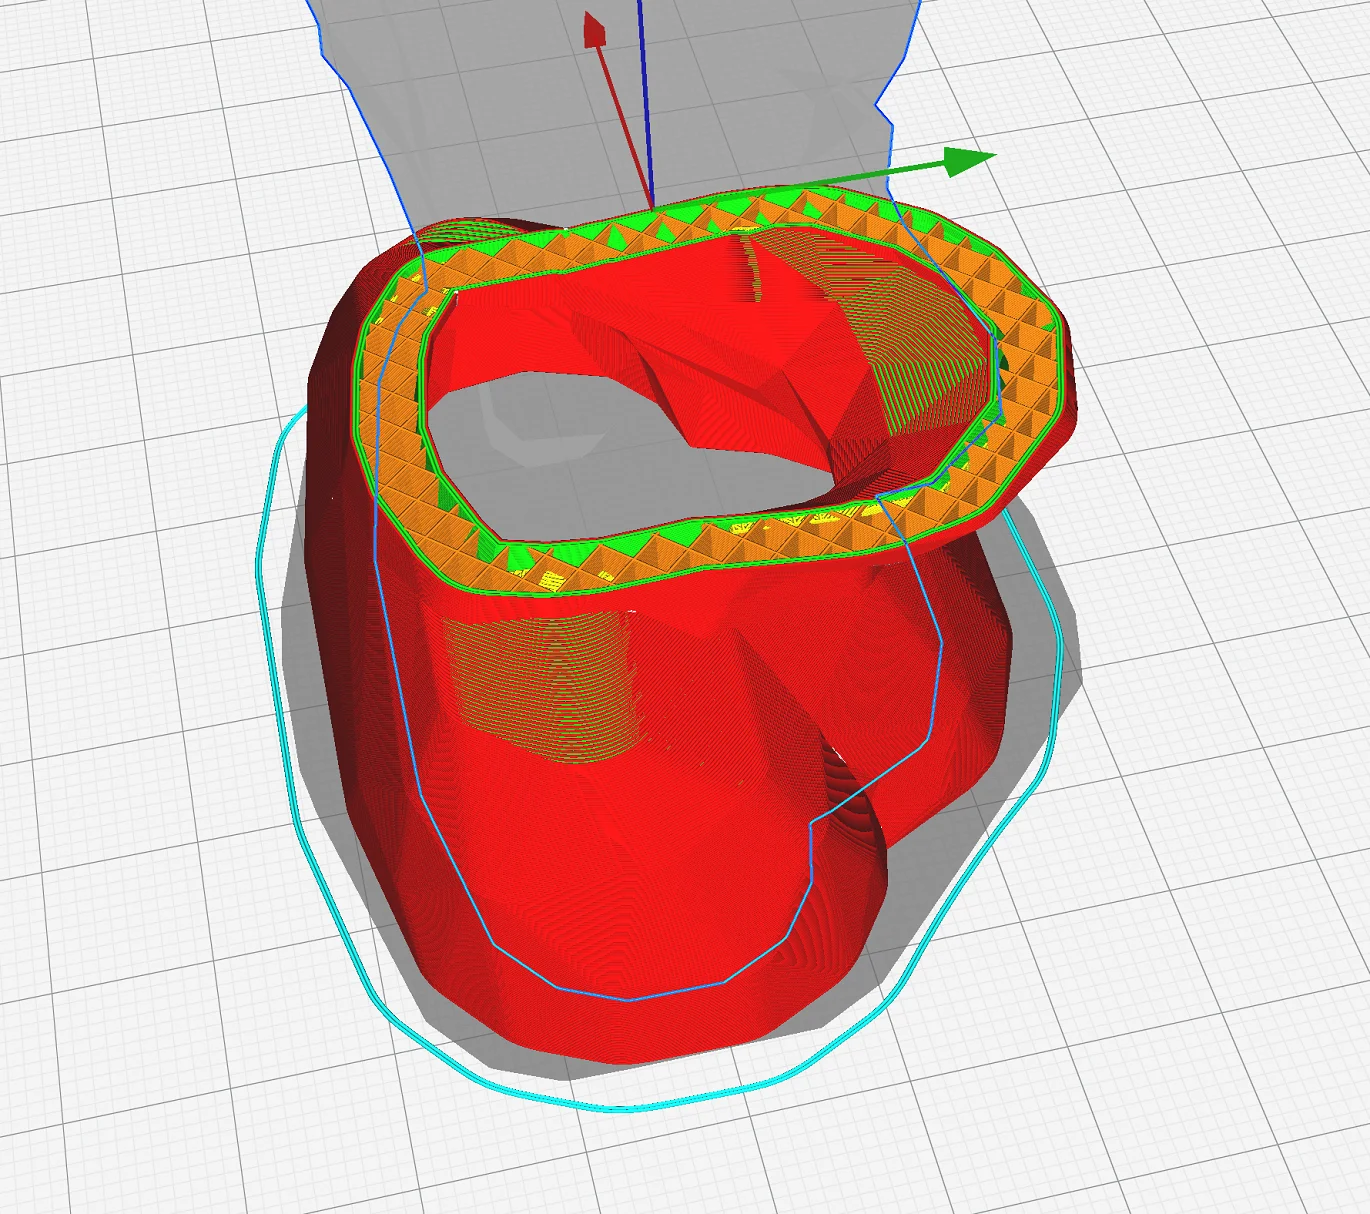
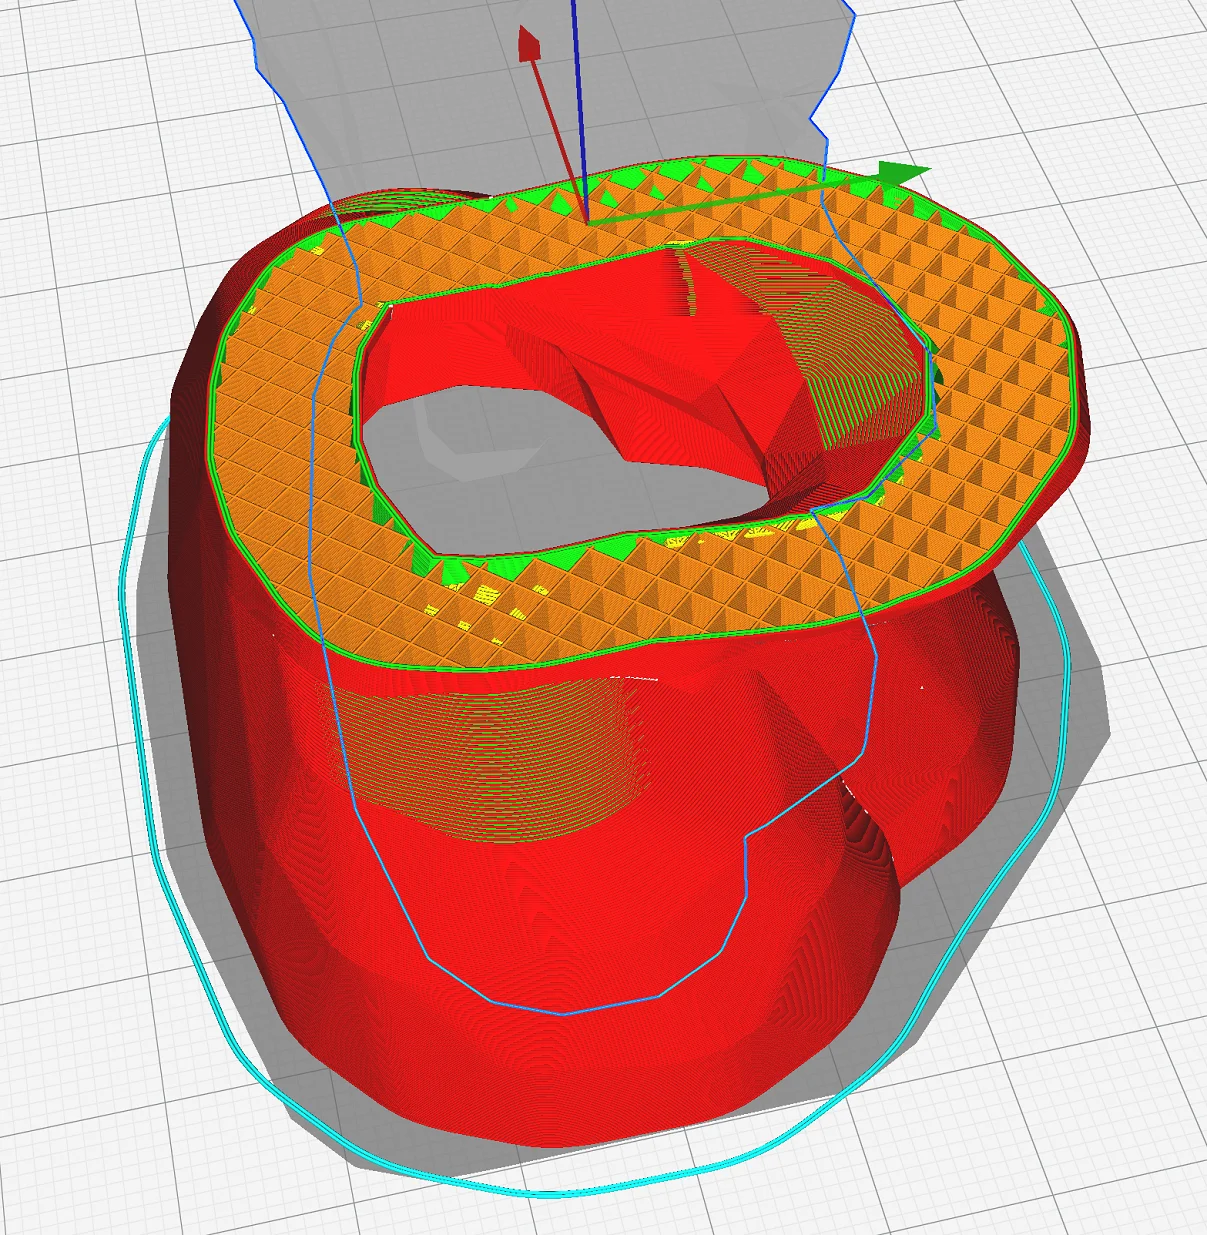
Minimal Mold Width: With this setting you adjust the wall thickness of the mold. The thicker the walls are, the more stable the mold will be in the end. The setting has no influence on how detailed the inside of the mold is. At first glance, you might think that it does, since the outer details of the mold decrease as the walls get thicker.
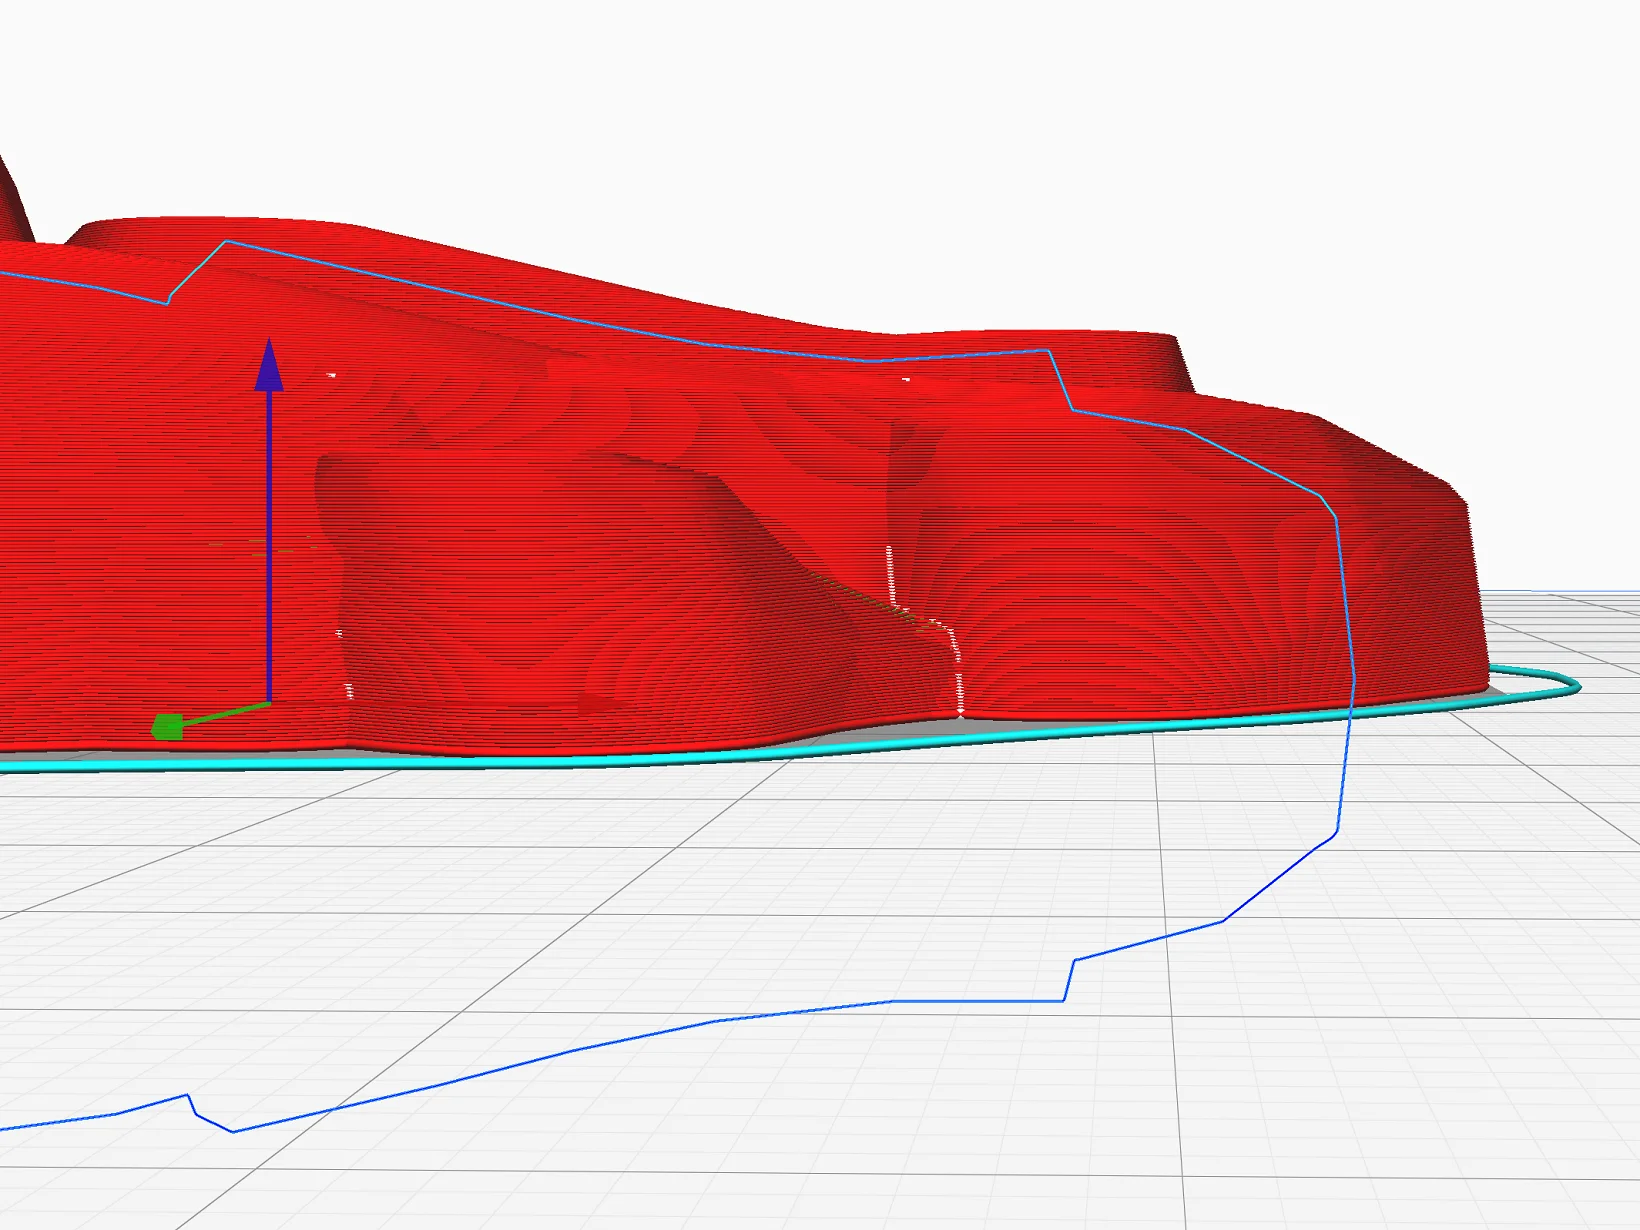
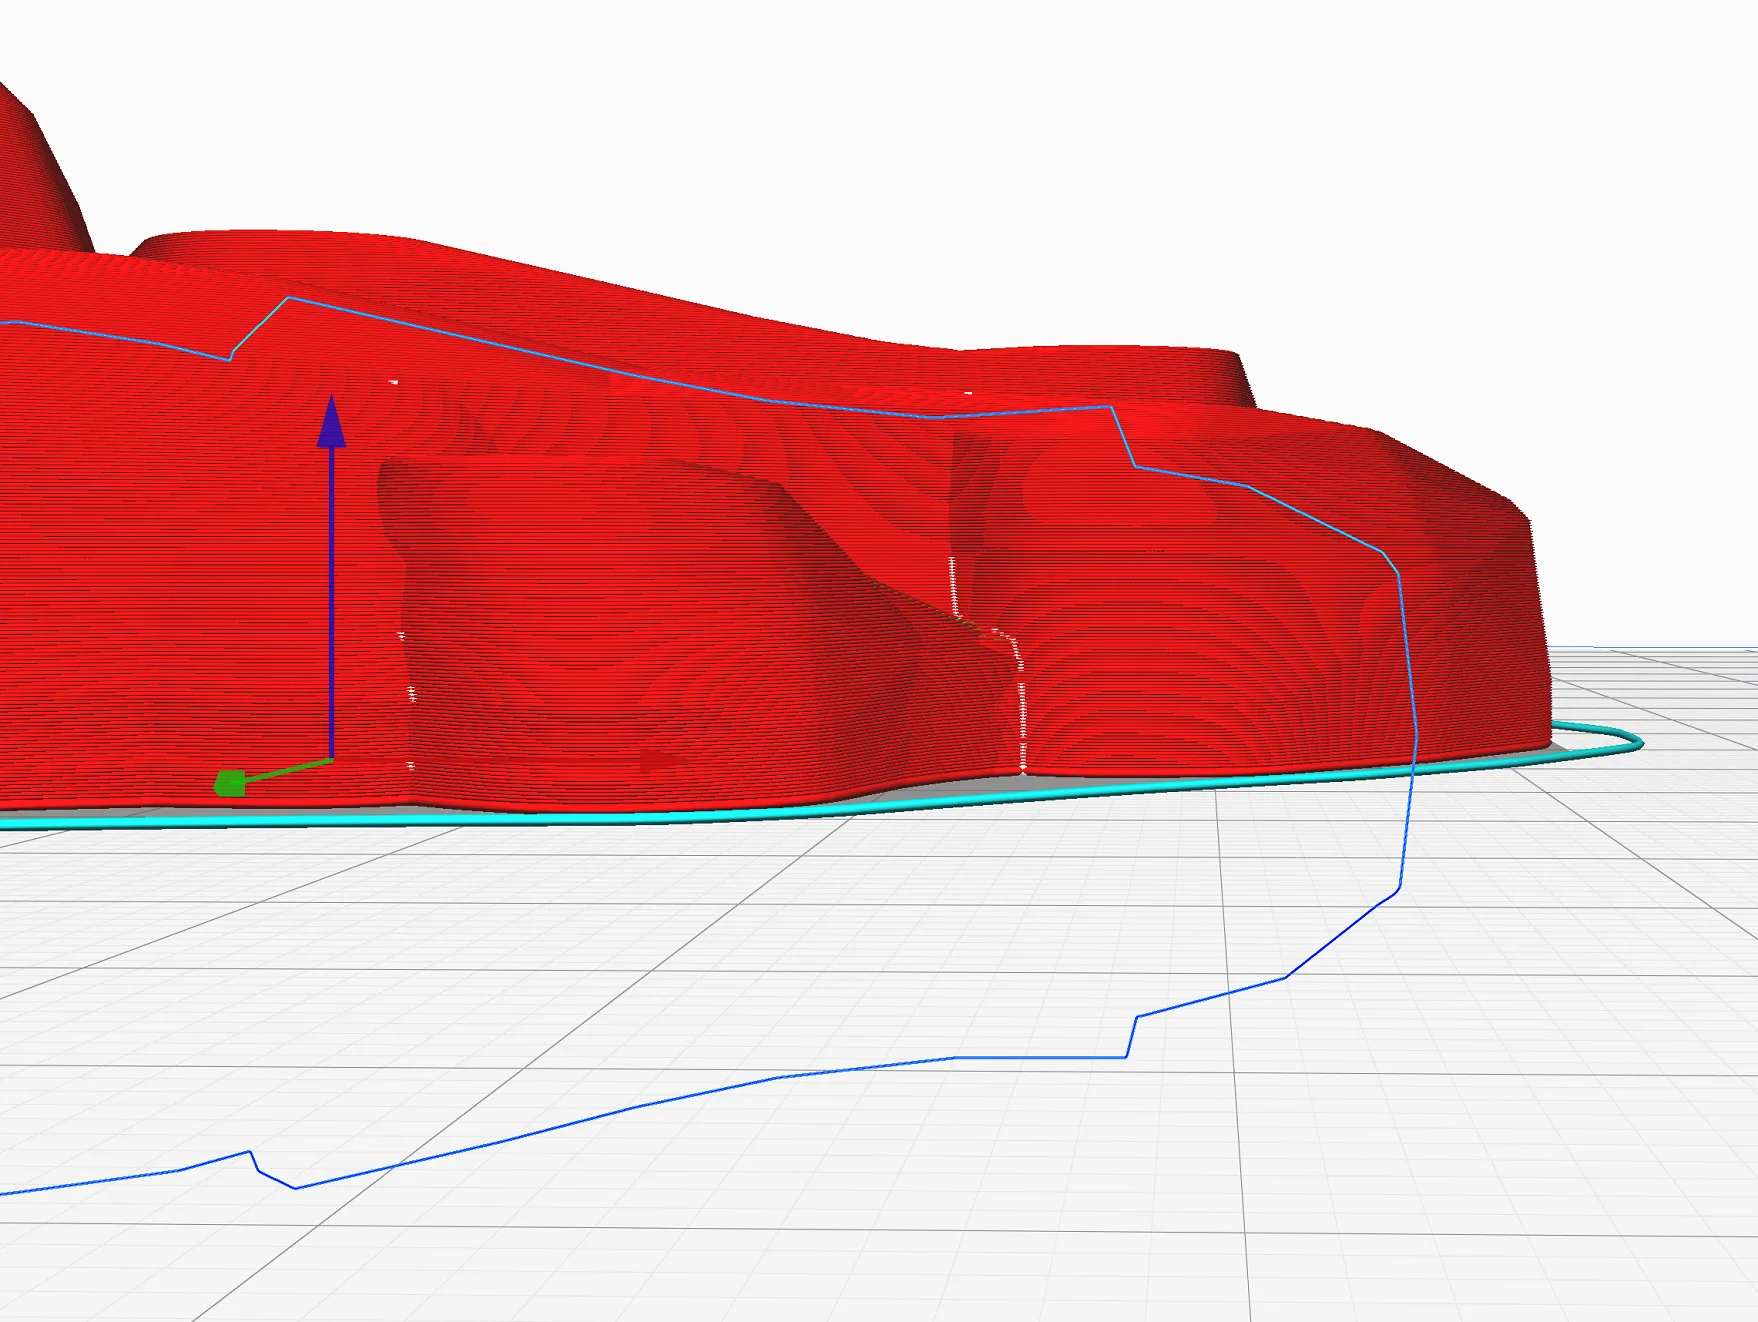
Mold Roof Height: The roof height defines the thickness of the shape in the Z-direction above the horizontal parts of the object. In principle, this setting is equivalent to the wall thickness, but only in the Z-direction. If you increase the wall thickness to get a more stable shape, you should always increase the roof height as well.
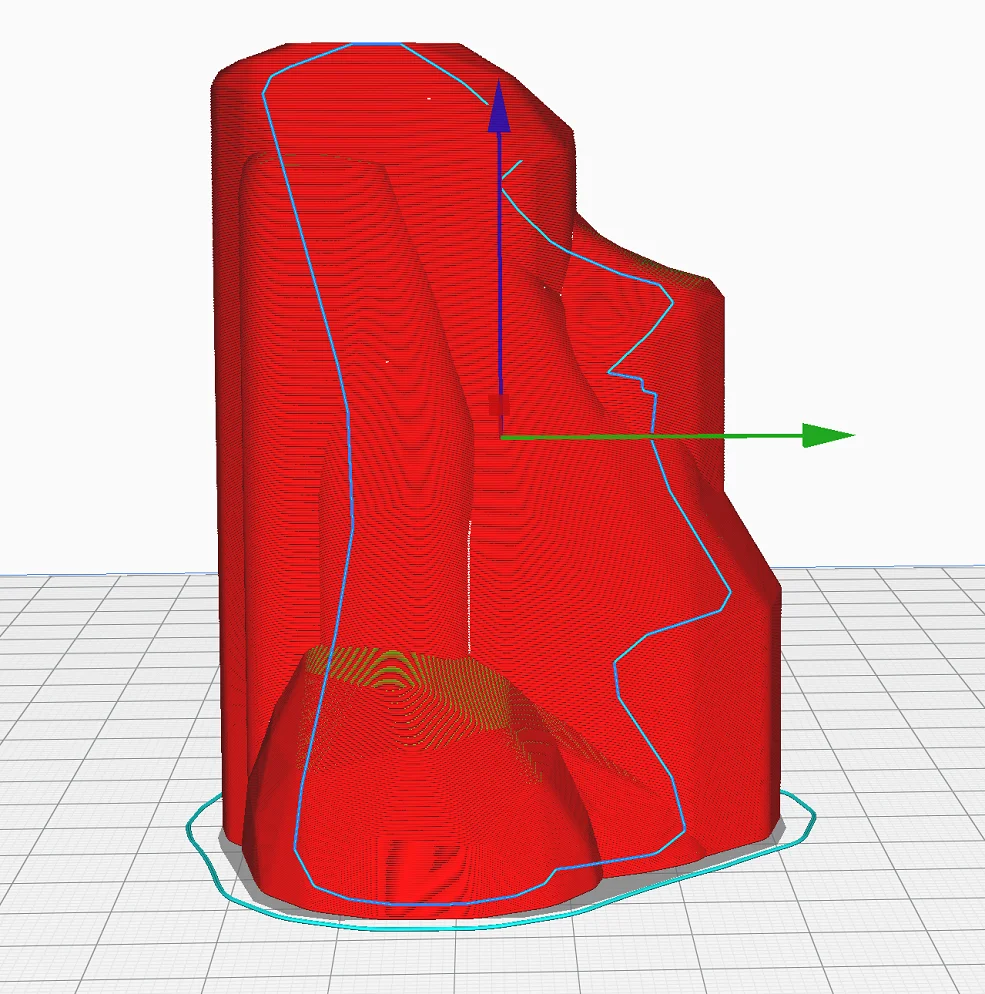
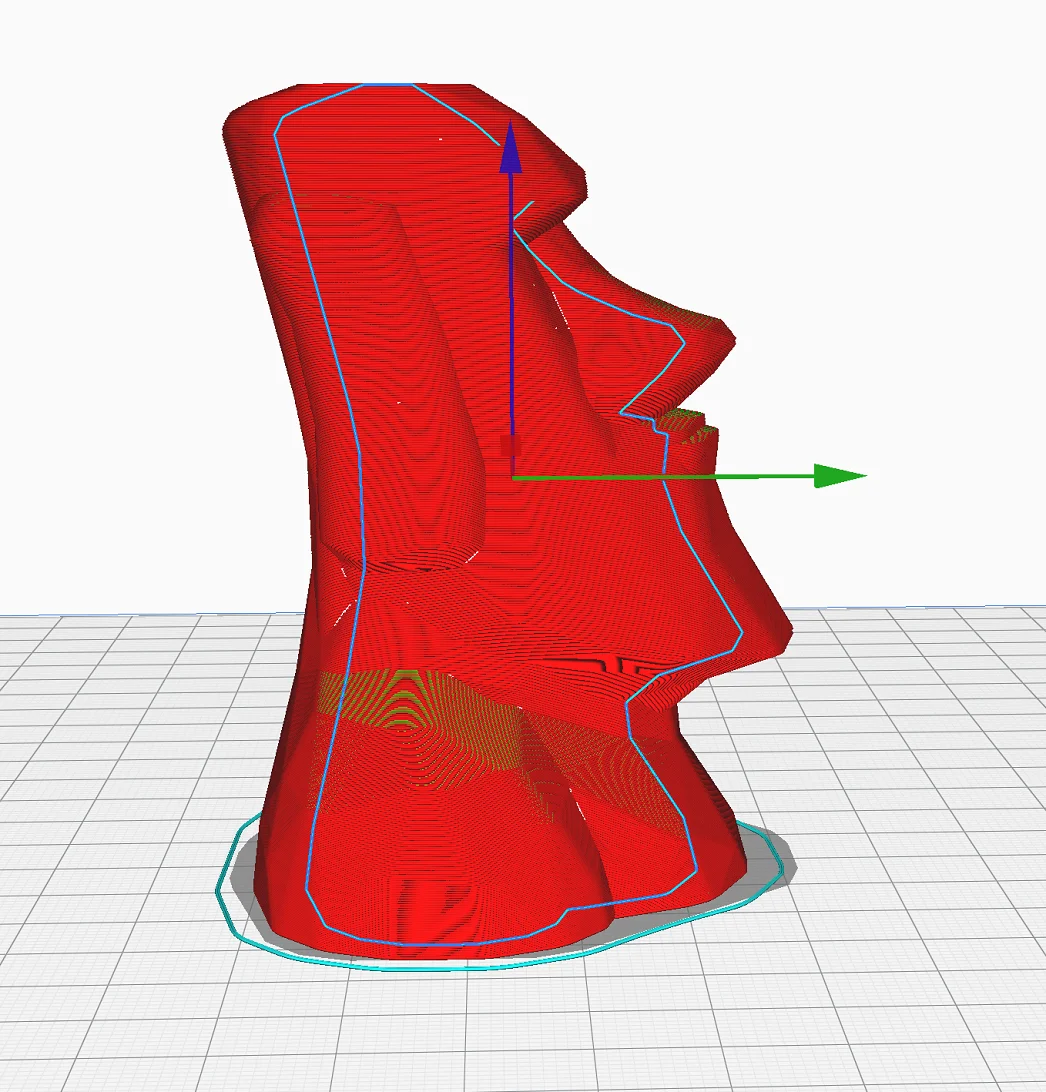
Mold Angle: The mold angle specifies the maximum angle for the overhangs of the outer contour of the shape. If you set 90°, the outer contour of the model is reproduced exactly. If you set 0°, there are no overhangs. At 0°, however, you do not need to generate any support structures.
Disclosure: This website is the property of Martin Lütkemeyer and is operated by Martin Lütkemeyer. Martin Lütkemeyer is a member of the Amazon Services LLC and other Affiliate Programs. These are affiliate advertising programs designed to enable websites to earn advertising revenue through advertising and linking to Amazon.com and others. Links marked with * are affiliate links.

