- Wet Filament: Prevention, Symptoms & Drying - July 18, 2024
- Sovol SV08 – Best PrusaSlicer Settings & Profile - June 26, 2024
- Sovol SV08 – Best Orca Slicer Settings & Profile - June 26, 2024
Disclosure: Links marked with * are Affiliate Links. I earn from qualifying purchases if you decide to make a purchase through these links – at no additional cost for you!
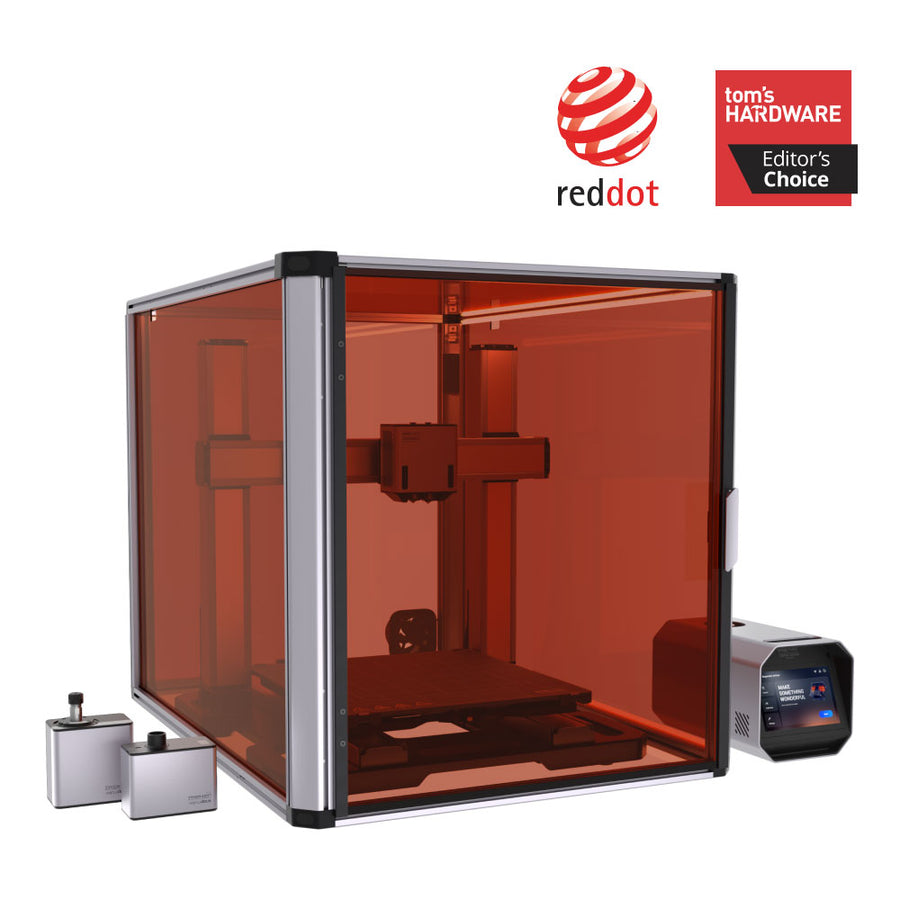
The Snapmaker Artisan* is a 3-in-1 3D printer that, in addition to its dual extruder, also has a laser module and a module for CNC milling. The individual modules or tool heads can be exchanged within minutes.
I have tested the Snapmaker Artisan extensively over the past few weeks. In this hands-on review, I’ll introduce you to each of the three features, how the machine is set up, and show you the results of my hands-on testing.
PRO:
- Capable of 3D printing, laser cutting/engraving and CNC carving/cutting
- Excellent build quality
- High accuracy in all 3 modes
- Easy to use
- Detailed and easy to understand instructions
- Fast switching between modes
- Intuitive software (Luban)
- Emergency stop button
CON:
- No air assist in laser mode
- Mill cannot rough and finish (no tool change possible in one job)
Check Price at:
Who should buy the Snapmaker Artisan?
The Snapmaker Artisan is worth buying for anyone looking for a machine that can 3D print, laser cut/engrave, and CNC mill. If you use all three modes regularly, the price is worth it, as individual machines of comparable quality would cost much more for these three functions combined.
Table of Contents:
What can the Snapmaker Artisan do?
At the end of the article is a detailed list of technical specifications. Here are the highlights:
- 3D printing:
- Print volume: 350 × 400 × 400 mm
- Extruder: Dual extruder up to 300 °C
- Print bed material: Two sides (glass & PEI)
- Laser engraving/cutting:
- Area: 400 × 400 mm
- Power: 10 W
- Positioning: Camera & boundary mode
- Milling:
- Area: 400 × 400 mm
- Power: 200 W
- Operation: 7″ touch screen controller with integrated emergency stop
- Software: Luban
Scope of Delivery & Assembly
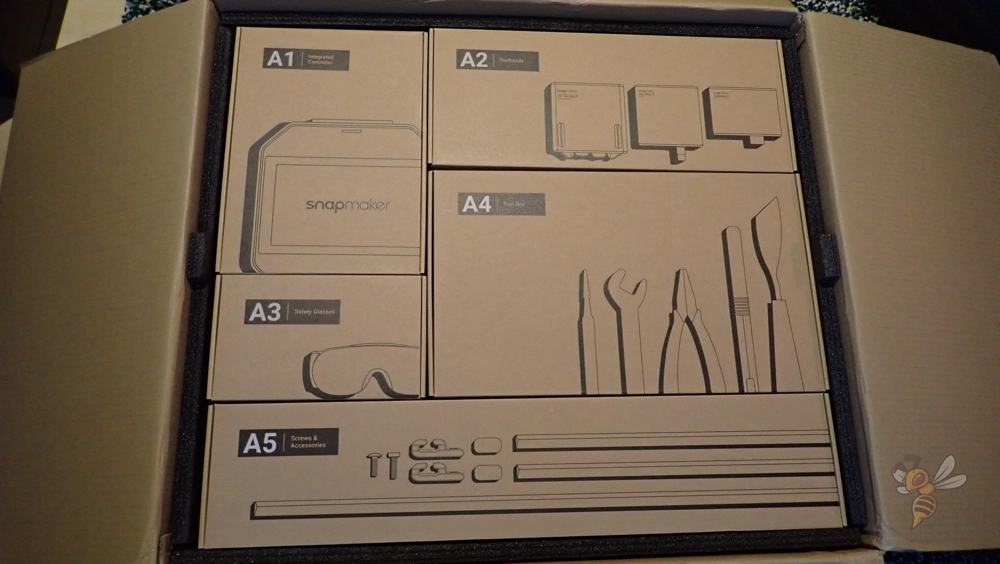
The Snapmaker Artisan is huge and heavy. Therefore, it comes in two packages, each weighing just over 30 kg. It is best if you transport the individual packages with someone helping you.
The individual components of the device are packed in numbered, individual packages. The instruction manual will tell you which of these numbered packages you need for the current assembly step.
Unlike normal 3D printers, assembling the Snapmaker Artisan doesn’t take 10 to 20 minutes, but rather two to four hours! This is because the individual components need to be stable, especially for the CNC milling function.
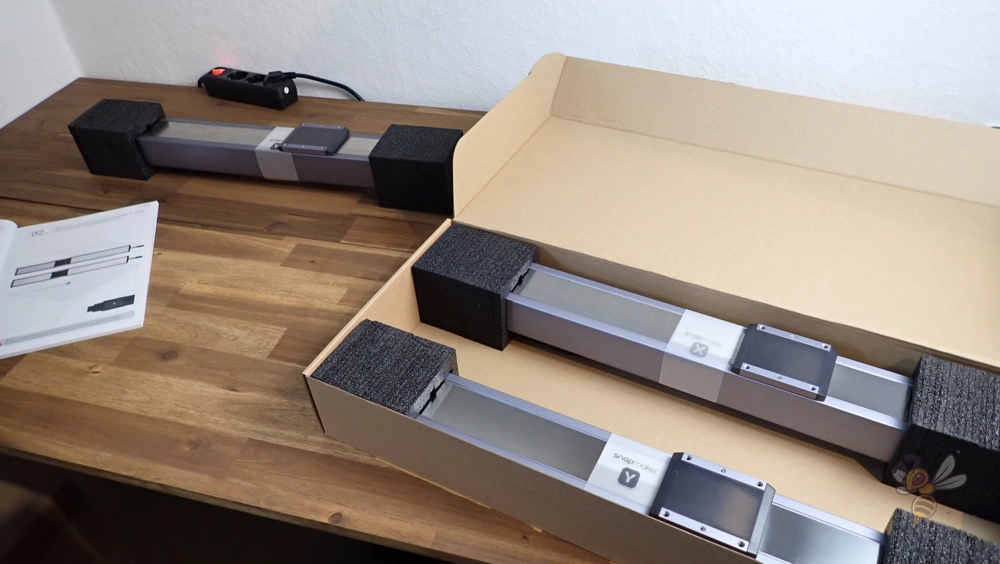
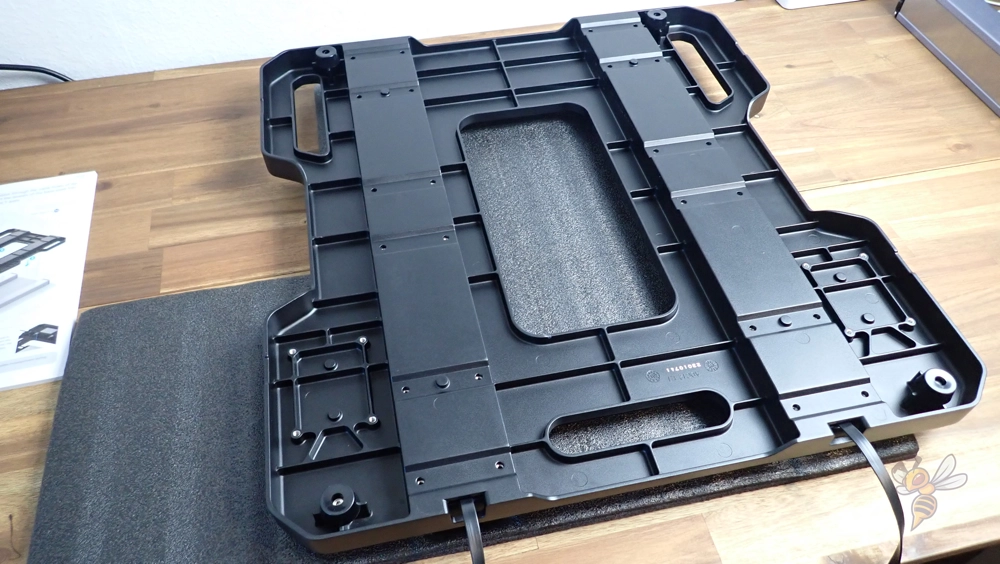
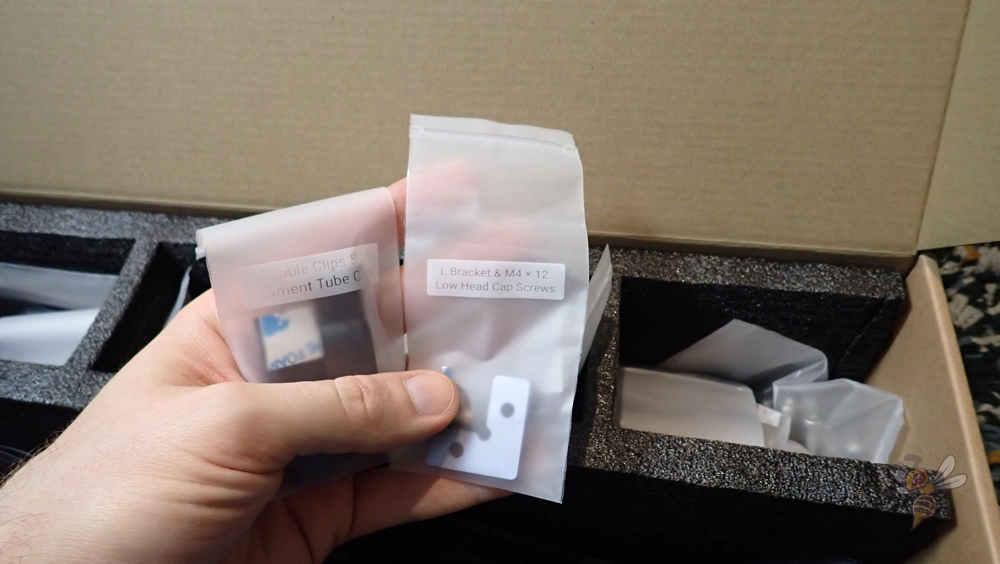
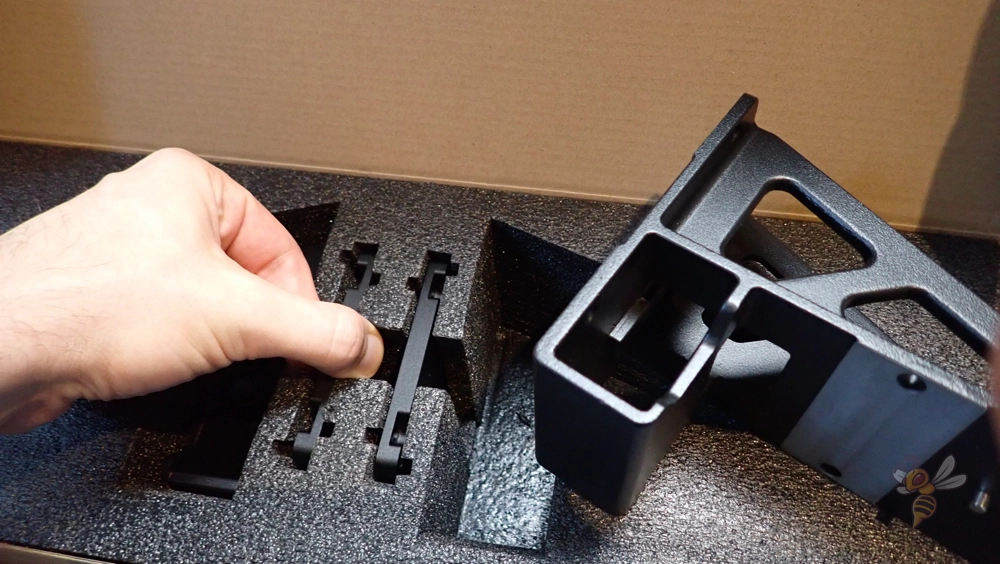
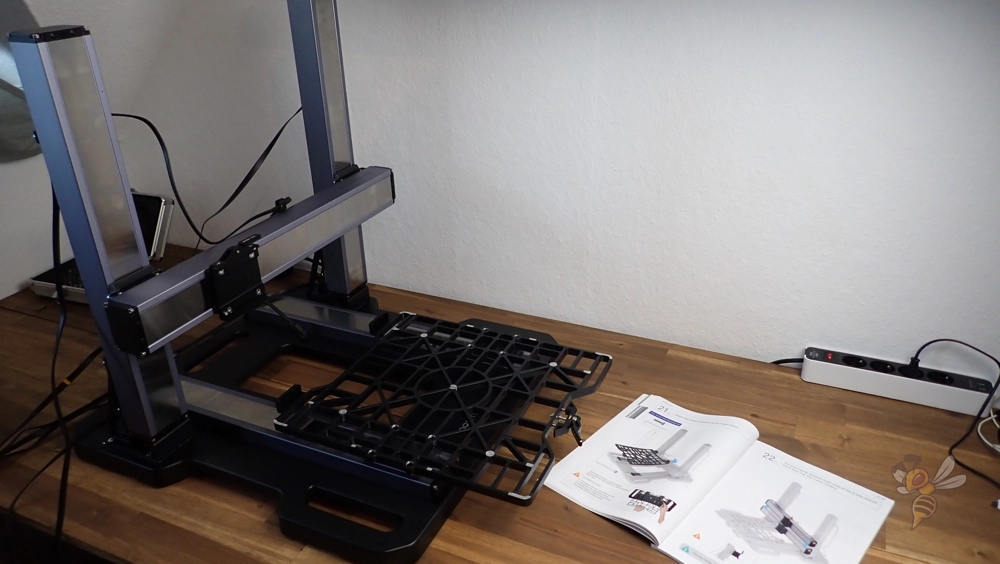
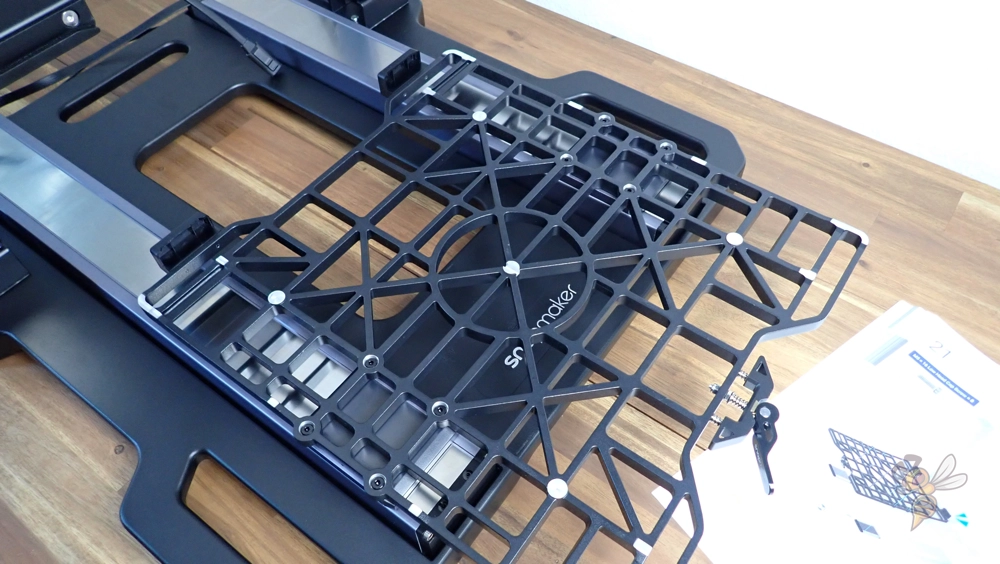
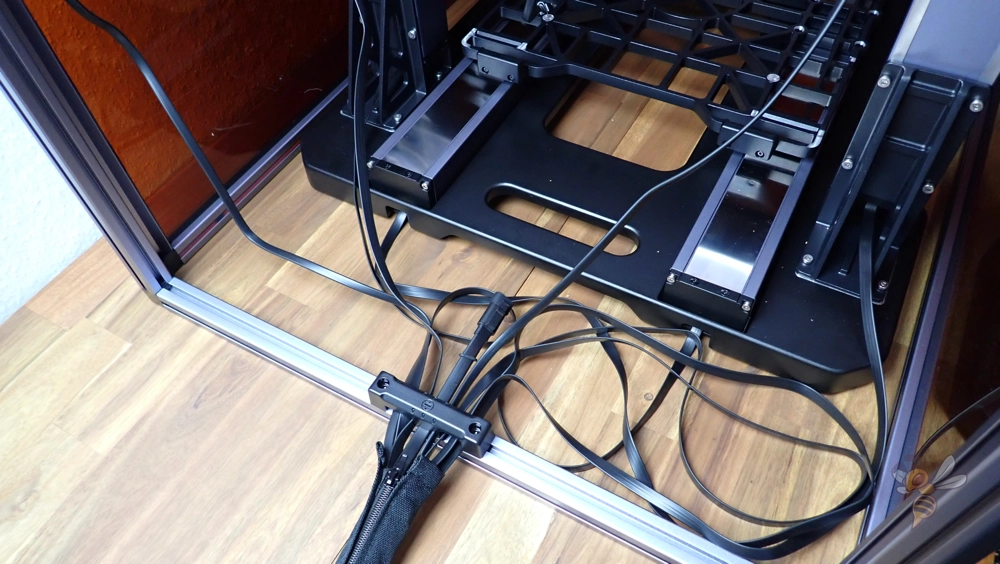
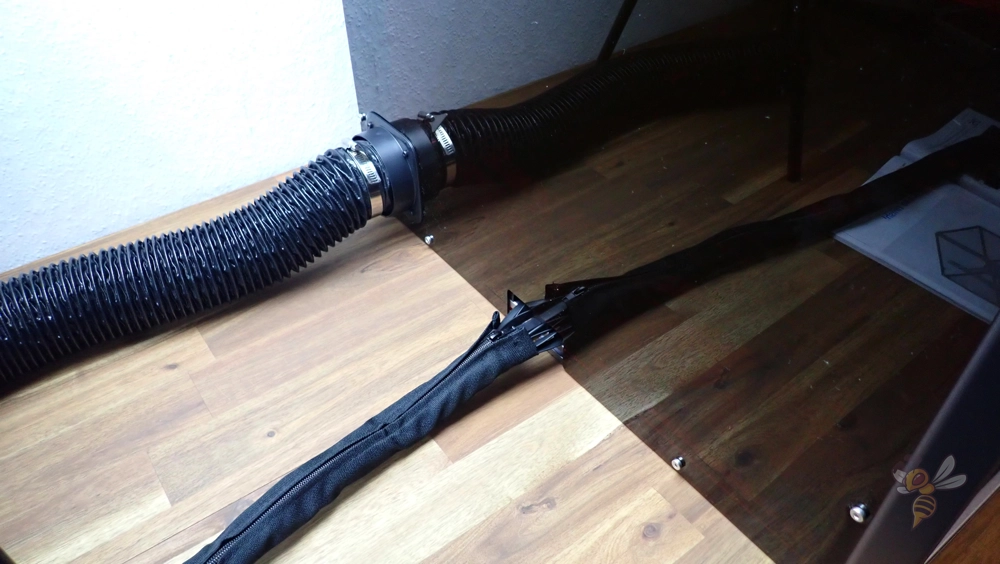
The various modules are connected to each other by several screws, which makes assembly lengthy. Nevertheless, all assembly steps are easy to perform and clearly explained in the instruction manual. You also don’t need your own tools for assembly, since everything you need is included.
But even though the assembly takes quite a long time, I had a lot of fun doing it because all components and also their packaging are of a very high quality. Even the labeled bags where the screws are sorted and the tools have nothing to do with the quality of hobby 3D printers. You can tell that this device has higher demands.
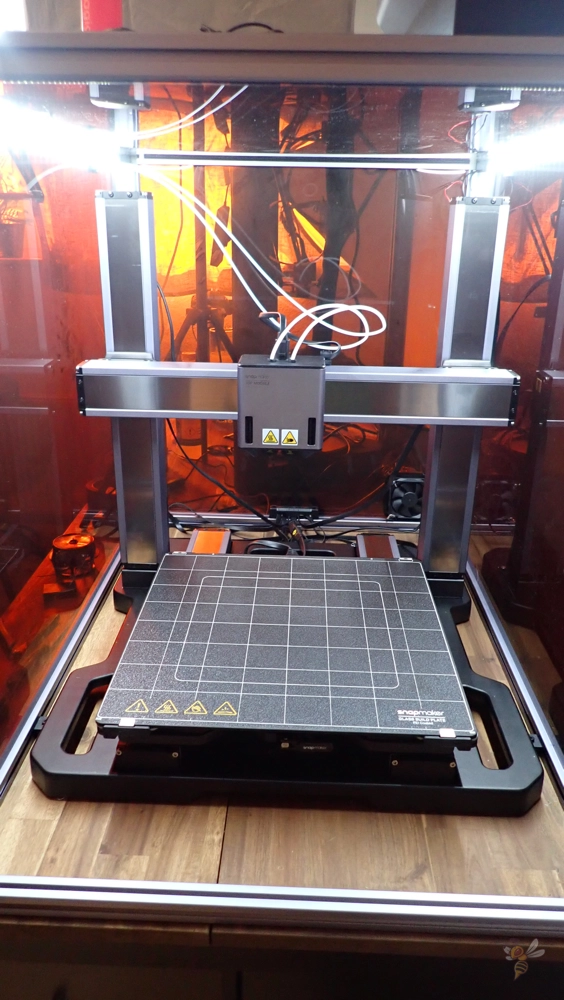
The housing is made of aluminum profiles with laser protection Plexiglas. There are 2 LED strips at the top of the case on both long sides, providing enough light to illuminate the entire interior of the case well.
3D Printing
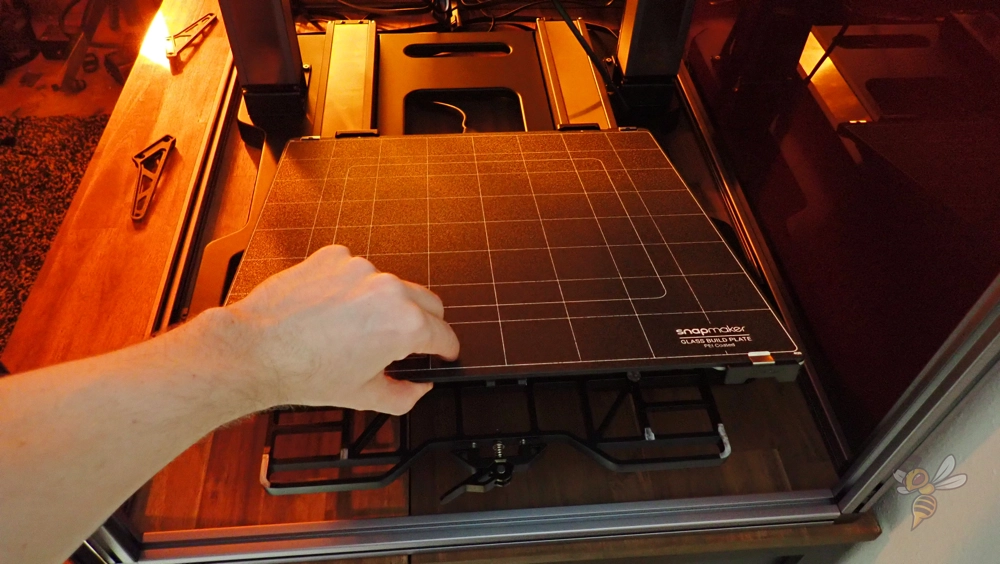
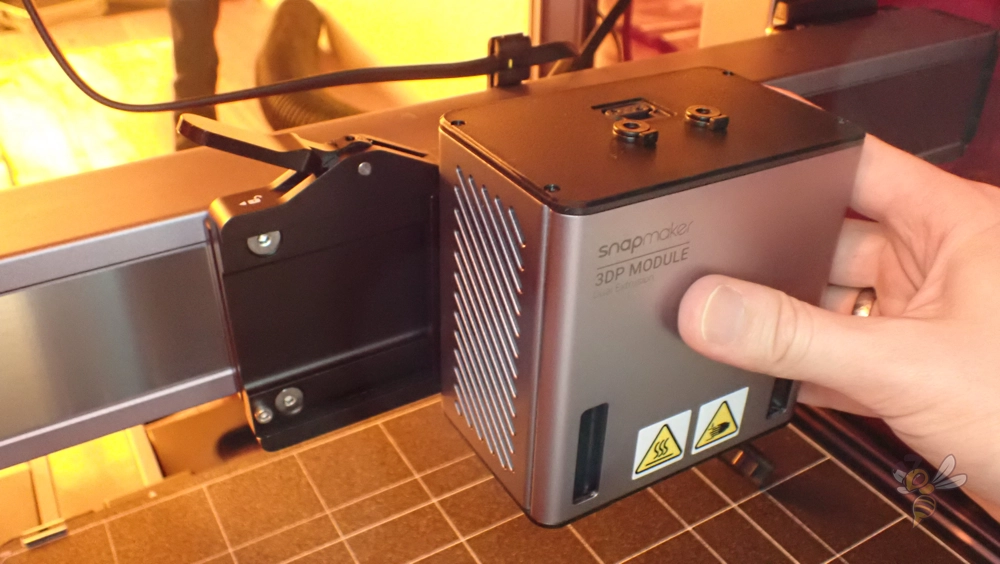
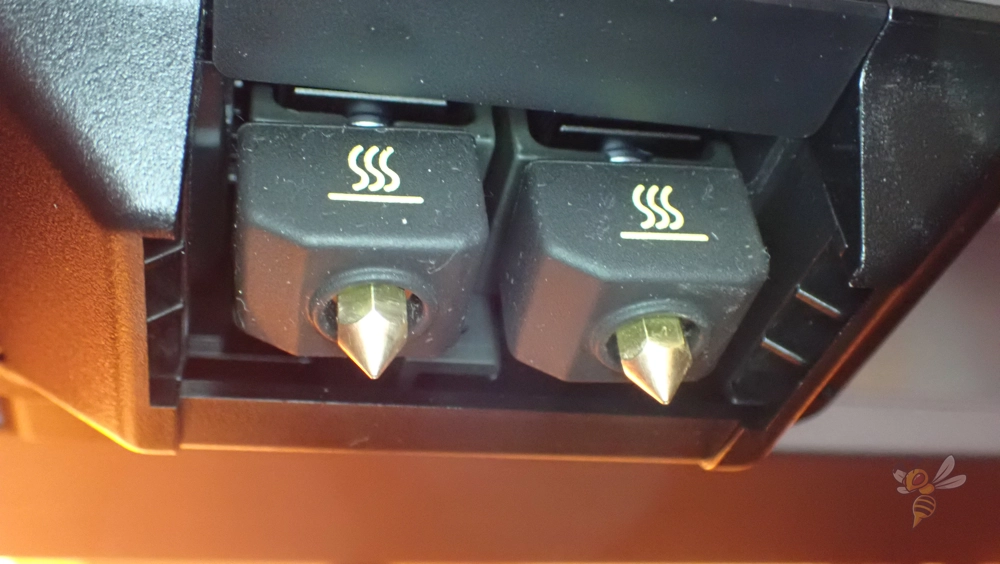
After assembly, you have a choice of the three tool heads and their corresponding work surfaces. I, of course, opted for the 3D printing feature first.
Installing the dual extruder takes just a few seconds with the snap-on mechanism. Inserting the printing plate is also done just as quickly.
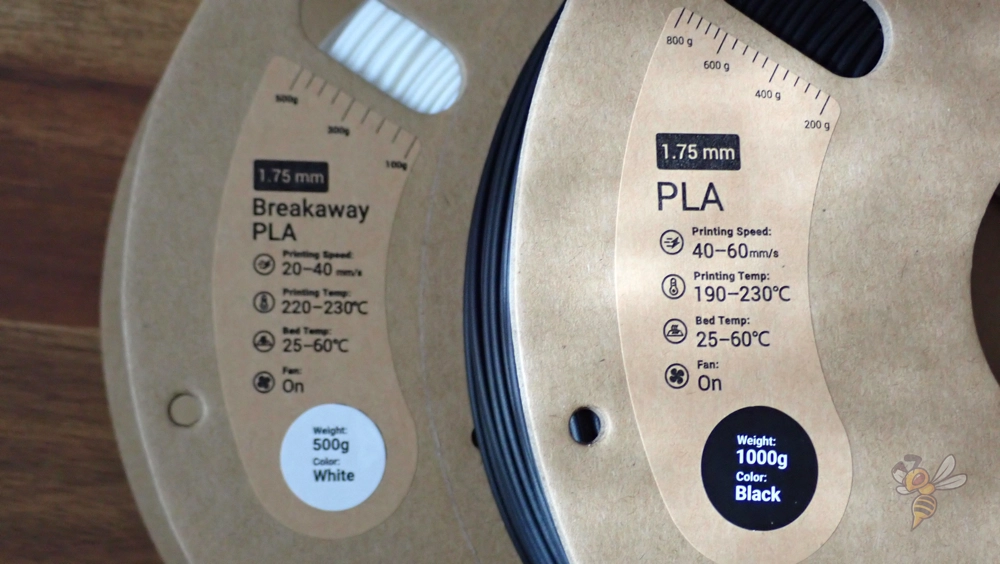
The scope of delivery includes 1 kg of black PLA and 0.5 kg of white breakaway PLA. The latter serves as support material and can be easily removed from the finished object after printing.
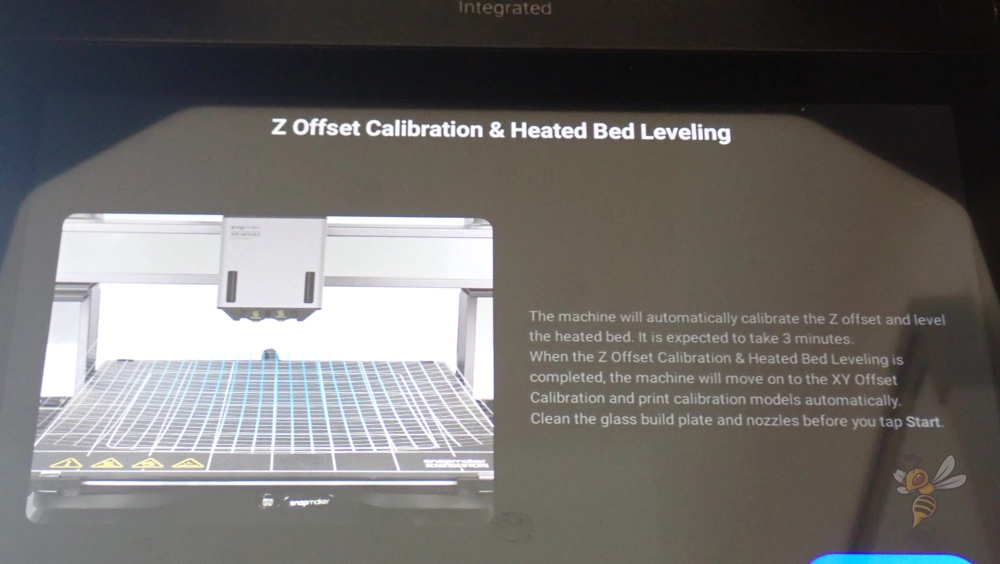
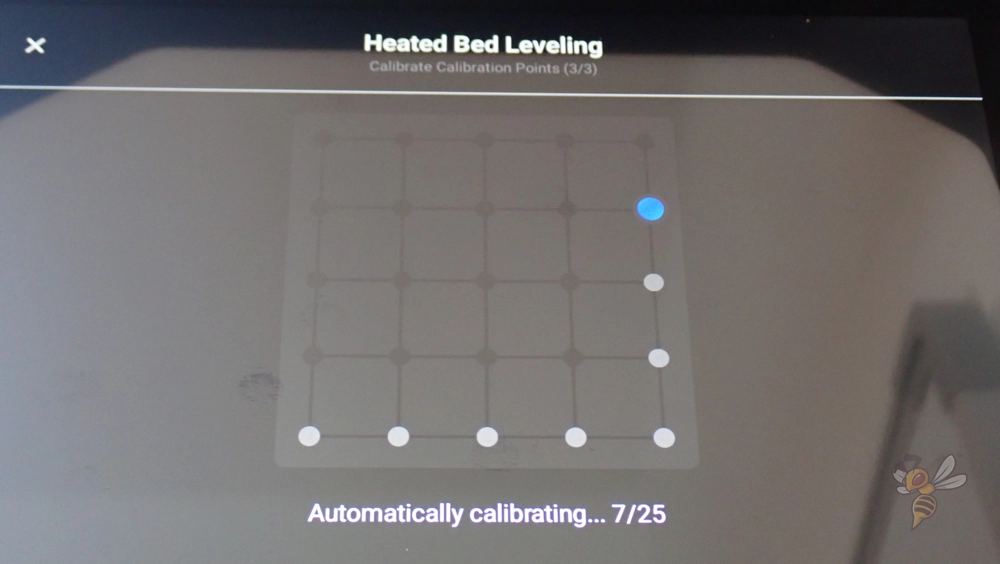
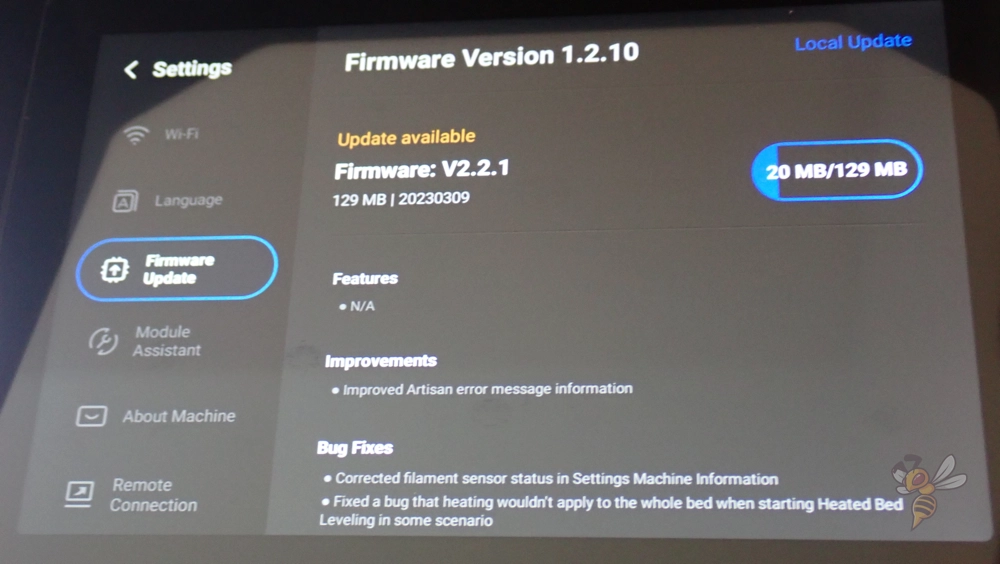
After assembling the print head and the print plate, you need to perform various calibrations, all of which are accompanied by the menu.
The first thing to do is calibrate the z-offset (i.e. the distance between the nozzles and the print bed) and level the print bed. Both are done within a few minutes and are mostly automatic.
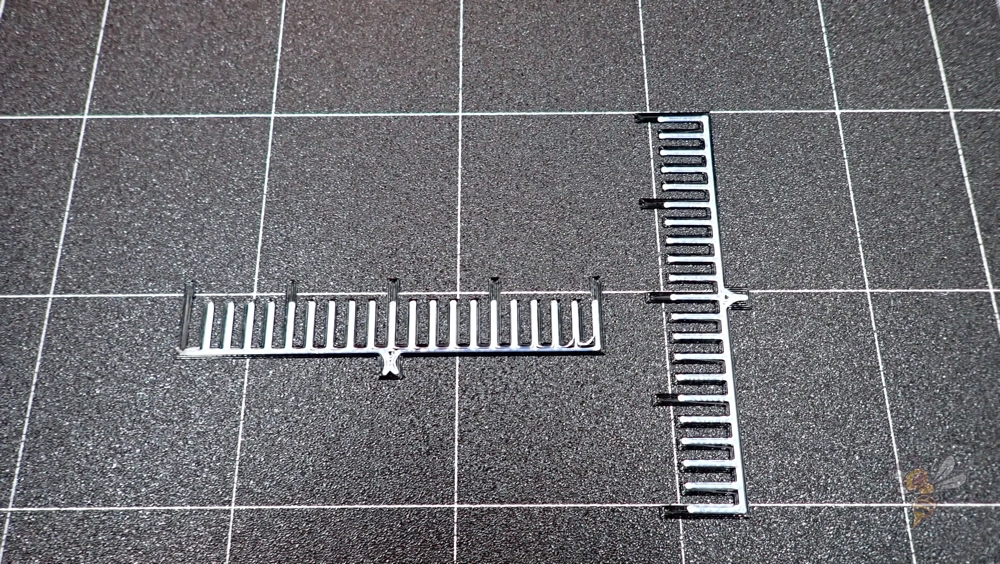
Since the print head of the Snapmaker Artisan is a double extruder, you still have to calibrate the positions of the individual nozzles. To complete this, you only have to load the filaments and print the pre-installed calibration object via the menu.
The object consists of two scales, which are printed on top of each other by both nozzles. The alignment in x- and y-direction can be adjusted to fractions of a millimeter. How this is done in detail is explained in the menu and the enclosed instructions.
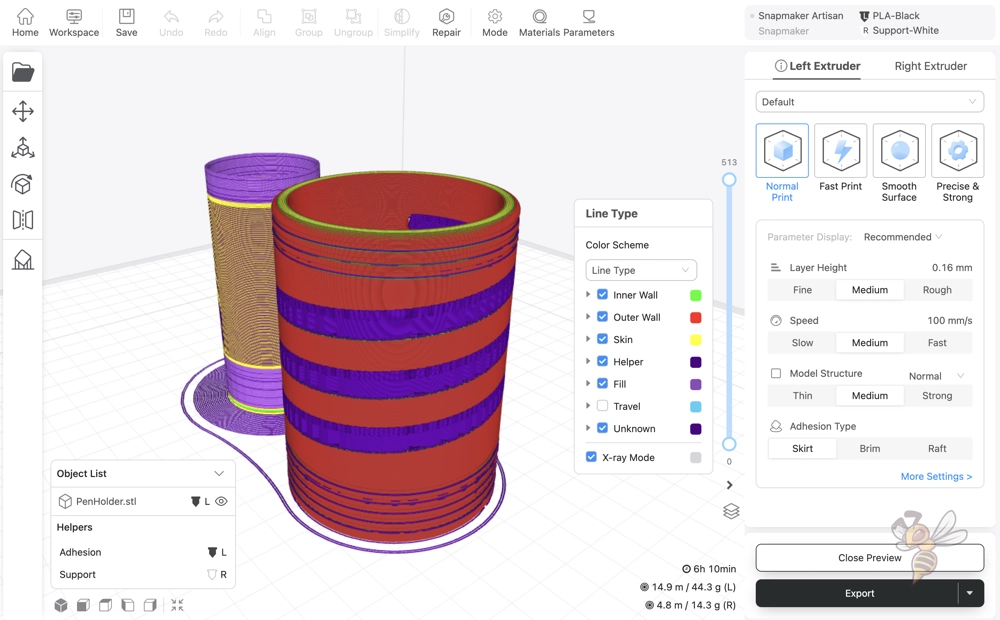
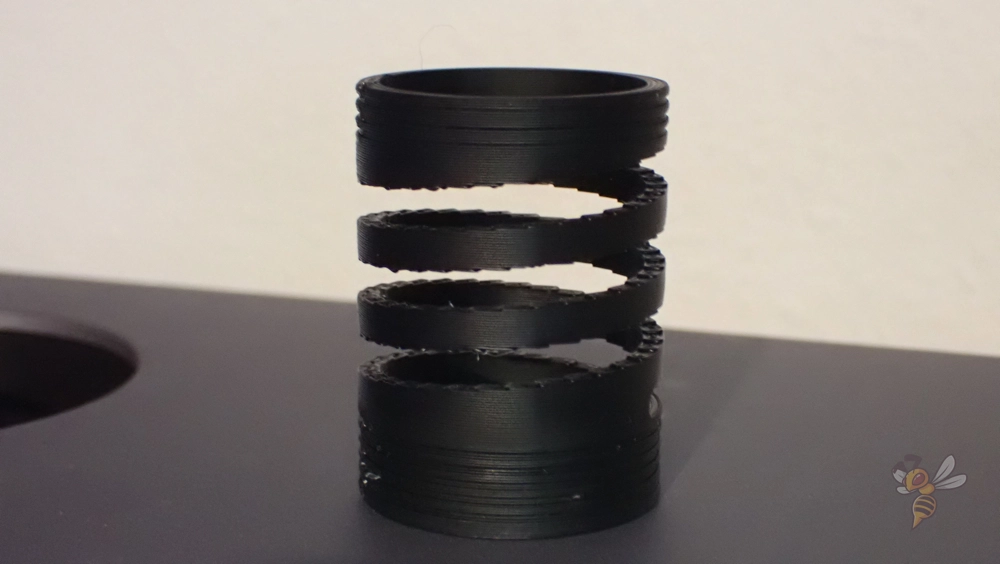
The first test print consisted of a small pen holder. The shape resembles a spiral and cannot be printed without supports. As support material, I used the white Breakaway PLA that is included. It could be easily removed after printing.
In the slicer software, a wipe tower is automatically created behind the object for each project with double extrusion. Here, the filament flow of the nozzles is stimulated before each layer in which they are used and any protruding filament is wiped off.
Although this wipe tower consumes a little more material, it prevents excessive stringing and various other printing errors. In addition, the inactive nozzle is at a standby temperature that is lower than the printing temperature. Shortly before it is used, it is heated up again and filament can escape. This leaked filament is wiped off at this wipe tower.
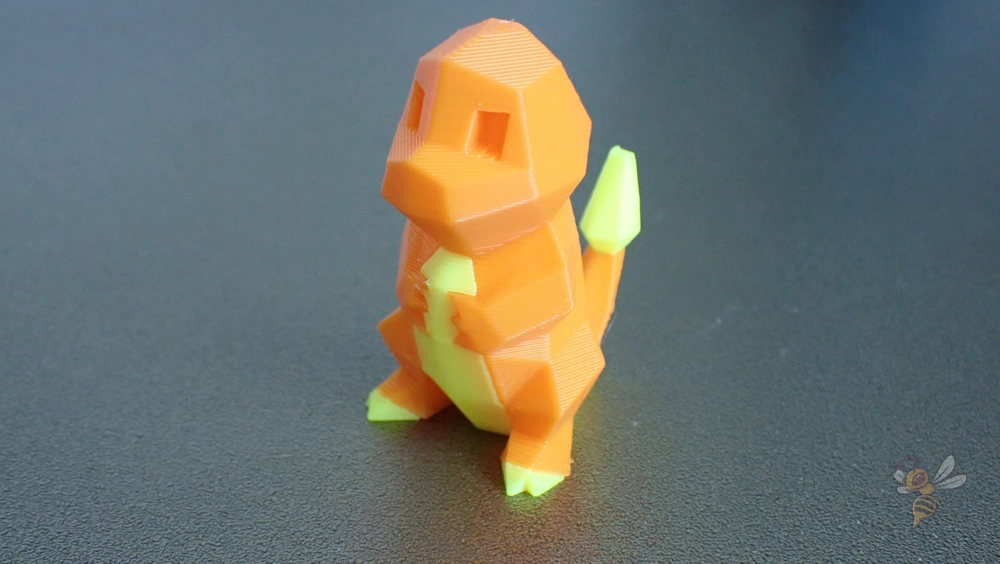
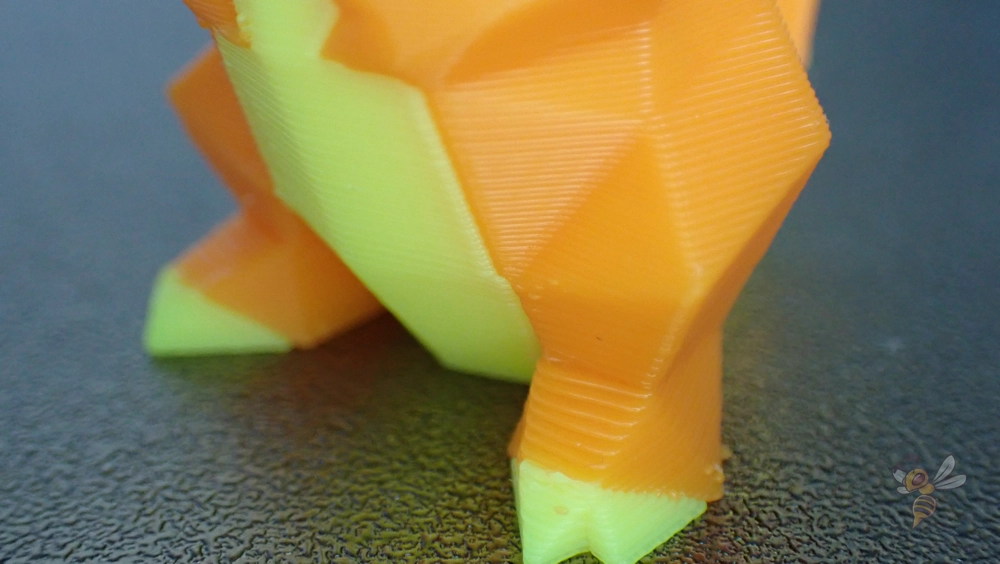
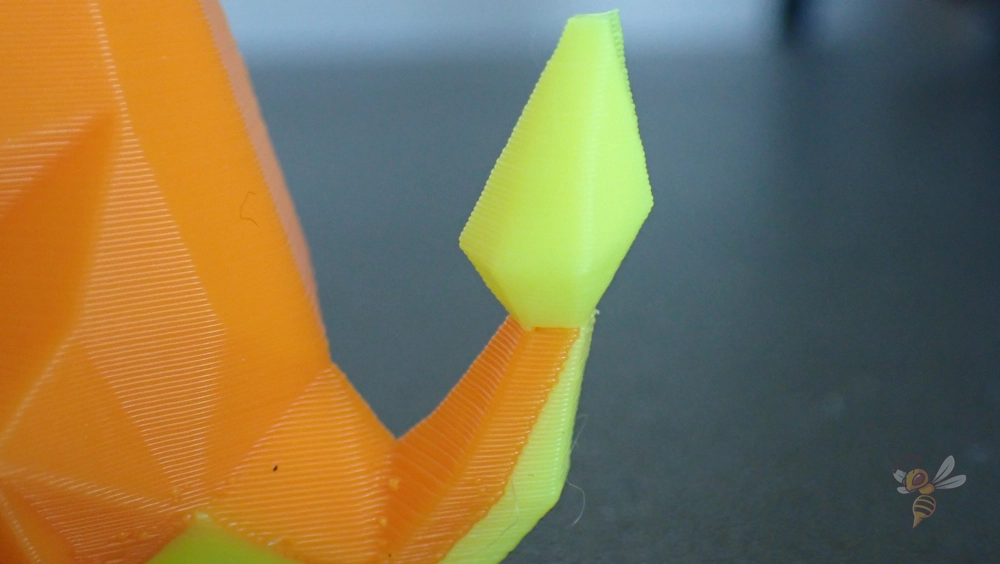
The next project with dual extrusion was this two-color charmander. I have tested other 3D printers with dual extruders, however, the positioning accuracy of the two nozzles to each other has never been as accurate as the Snapmaker Artisan.
The dual extrusion is also accurate enough for professional mechanical applications.
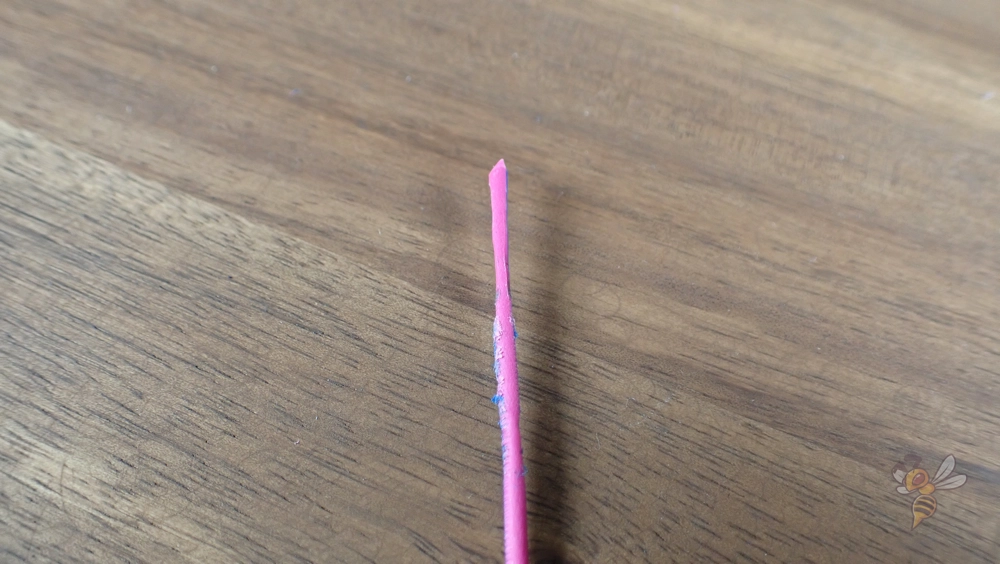
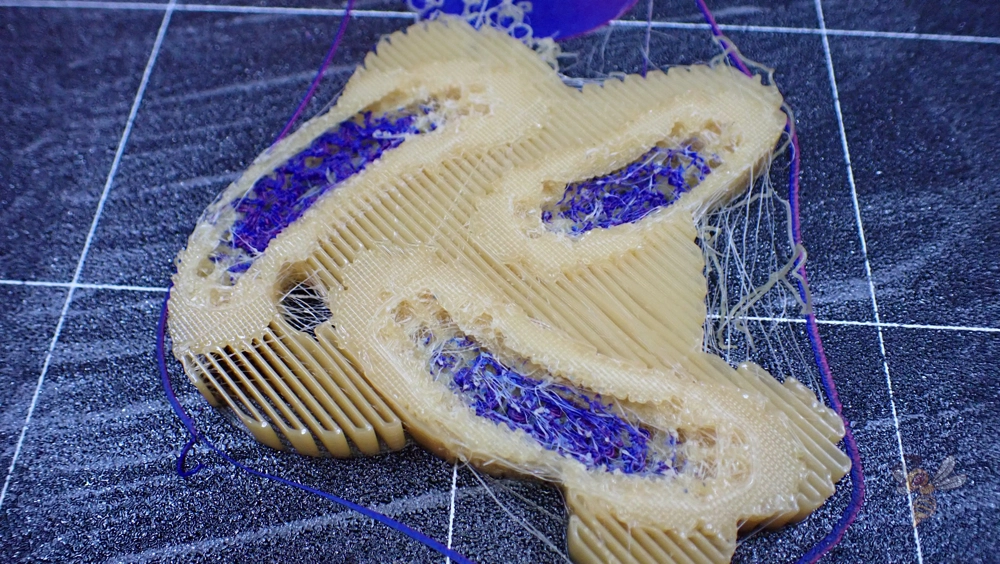
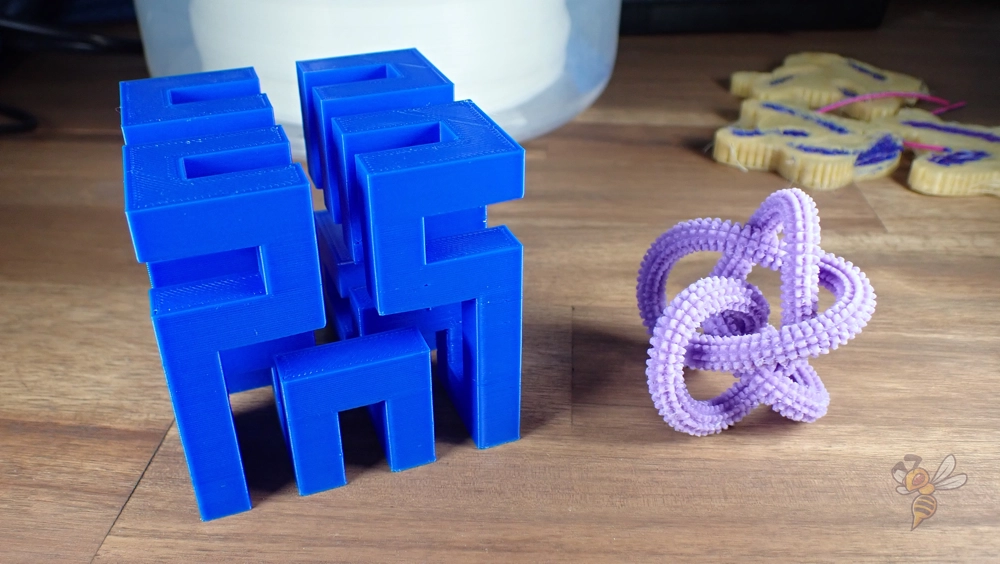
To test the double extrusion further, I also wanted to print with PVA filament that dissolves in water. With support structures made of such filament, very complex geometries can be realized without having the difficulty of not being able to cleanly remove the supports afterward.
My first attempt failed not because of the PVA filament, but because of the two-color PLA filament. While this PLA filament creates pretty objects, it is apparently not suitable for dual extrusion.
The object I chose is very delicate and the large ratio between the support material and the actual PLA filament was such that the PLA filament was extruded and retracted far too many times. The result was that the extruder rubbed off parts of the filament and thus could no longer move it.
With a normal PLA filament, however, the print was then no longer a problem.
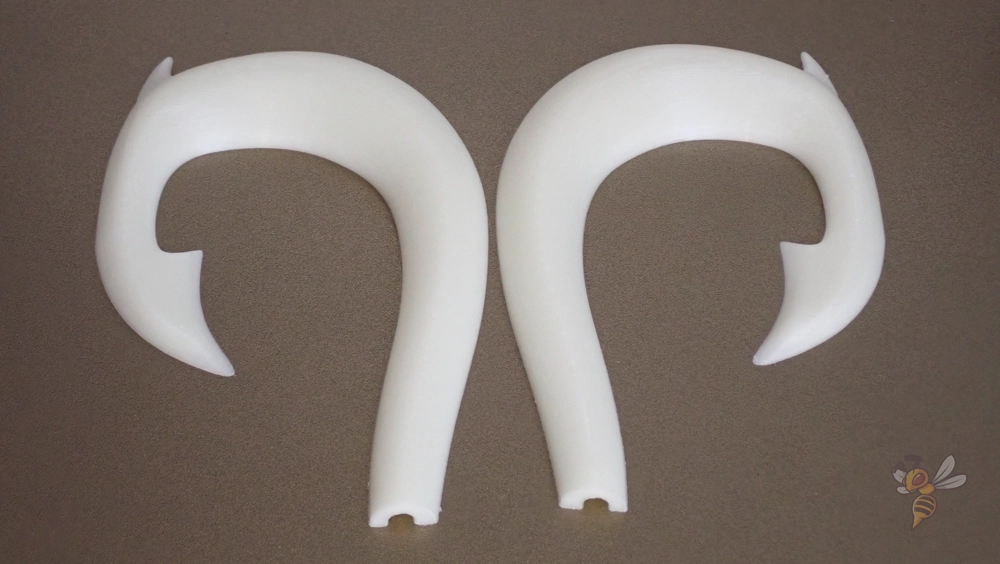
As a final 3D printing project, I printed the top part of Maui’s hook from Glow-in-the-Dark filament. 3D printing the hook was no problem at all, however this was only the easy part of the project. I milled the handle of the hook out of wood. I’ll show you the result of that below when I go into the milling module.
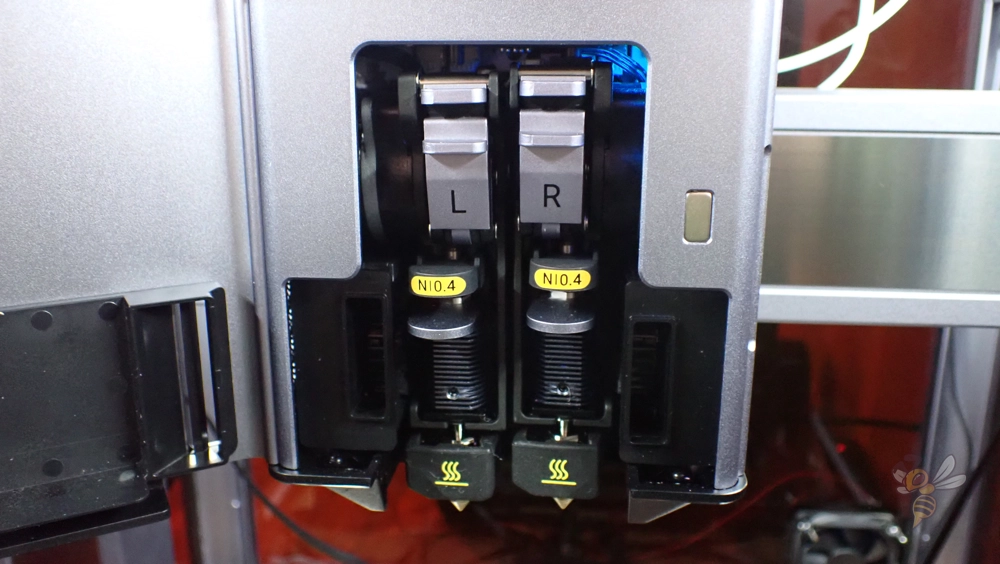
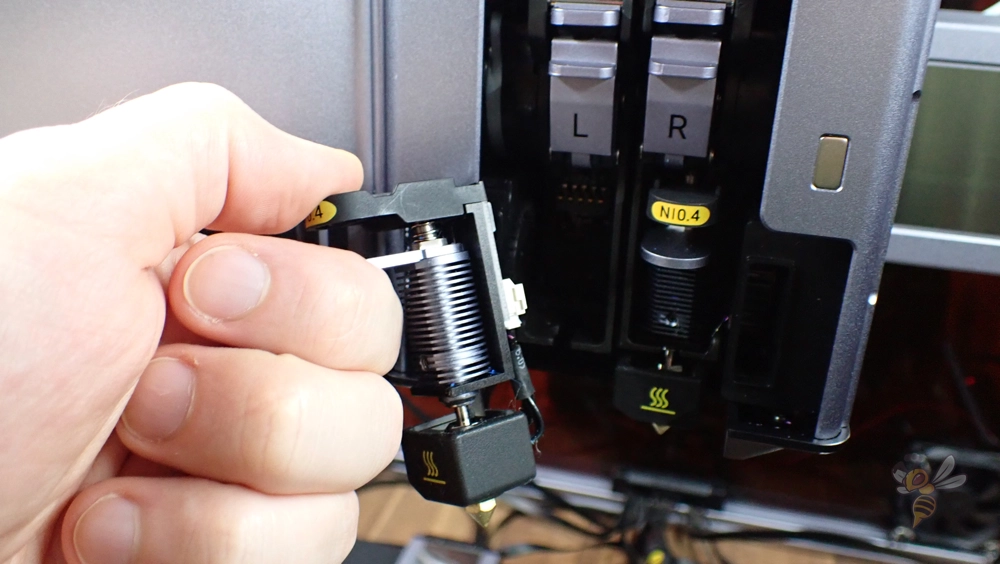
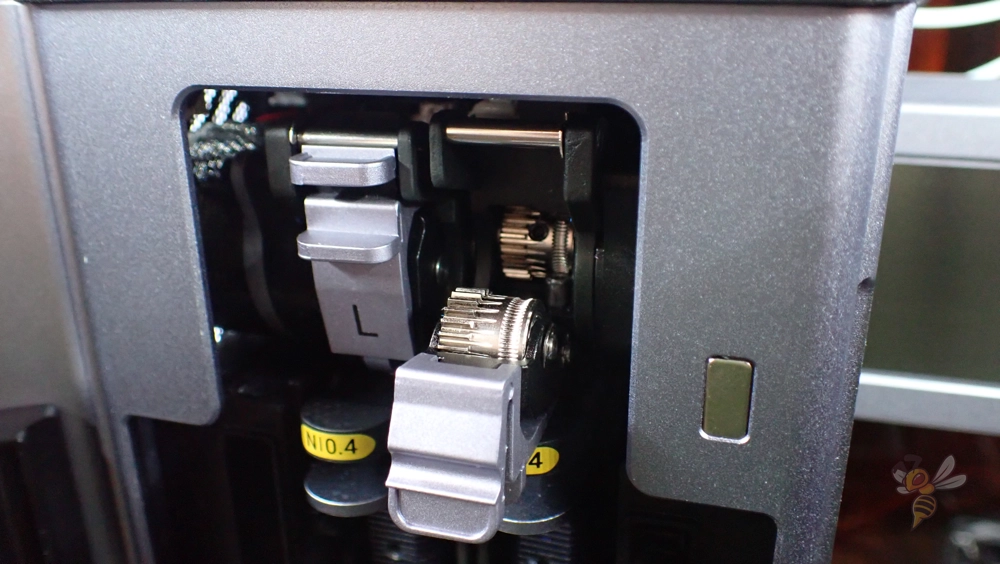
If you ever want to change the nozzle or the complete hotend, this is straightforward with the Snapmaker Artisan. The print head can be opened from the side and the hotends are only clamped. This way, you can easily replace the nozzle and don’t have to crawl into the housing.
The extruders work in a similar way. Their snap locks open easily, allowing you to unclog any blockages.
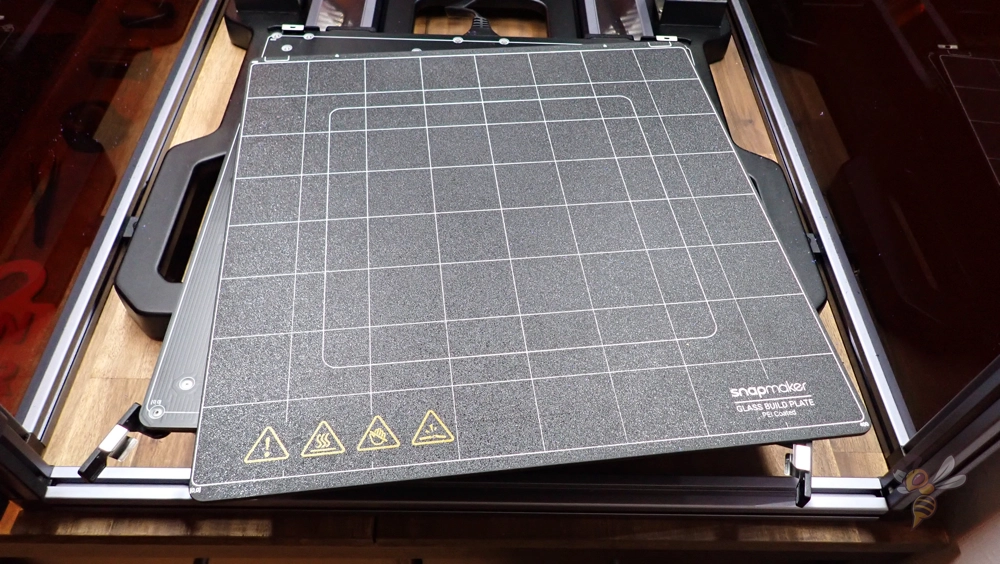
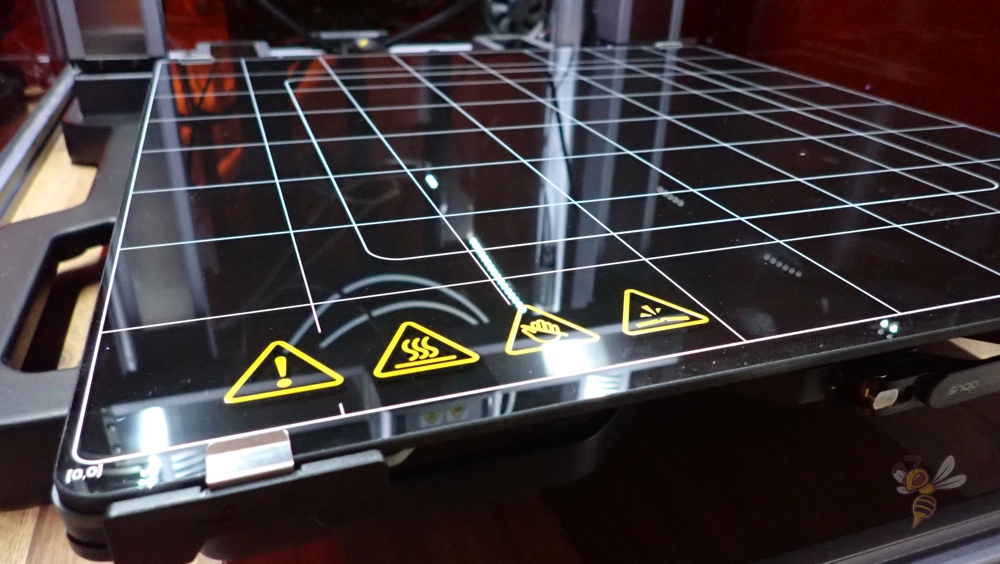
The print bed can be removed. There are snap closures here as well. The surface material differs between the two sides. On one side is a PEI surface. On the other side is smooth glass. Depending on what material you’re working with, one side or the other is better suited for it.
One feature I’ve only seen on a few 3D printers is a print bed with multiple heating zones. The print bed of the Snapmaker Artisan has 2 heating zones, a small one in the middle and the complete surface.
On one hand, this has the advantage of saving you some power when printing small objects. On the other hand, Snapmaker has only equipped the inner surface with stronger heating elements. If you want to heat the print bed up to 90 °C, you have to use the inner heating zone.
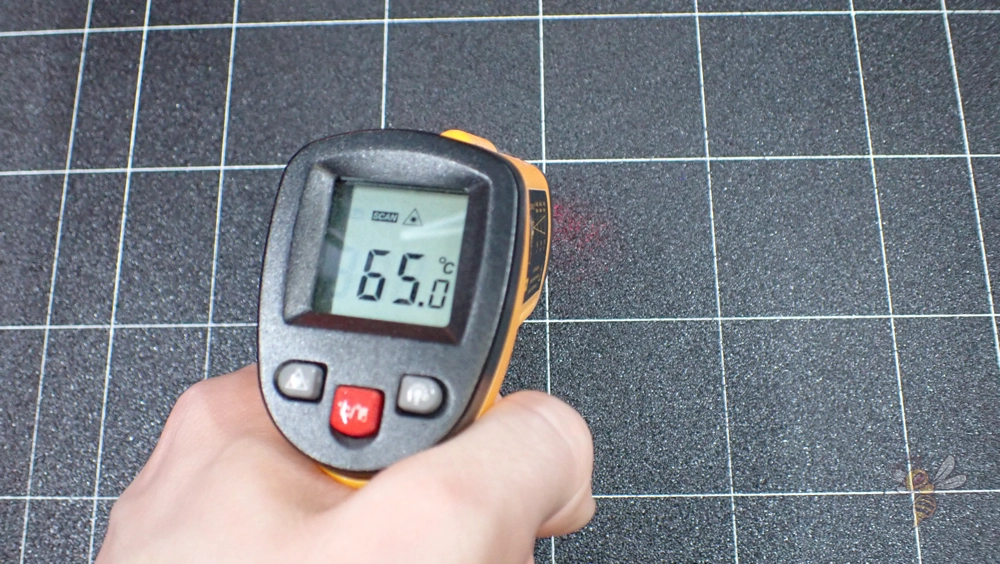
What also amazed me about the Snapmaker Artisan was the excellent homogeneity of the print bed temperature. Pretty much all 3D printers I’ve tested so far have a significant temperature drop to the outer edges of the printer. However, the Snapmaker Artisan heats the print bed so homogeneously that the maximum deviation is only 0.3 °C.
Check Price at:
Laser

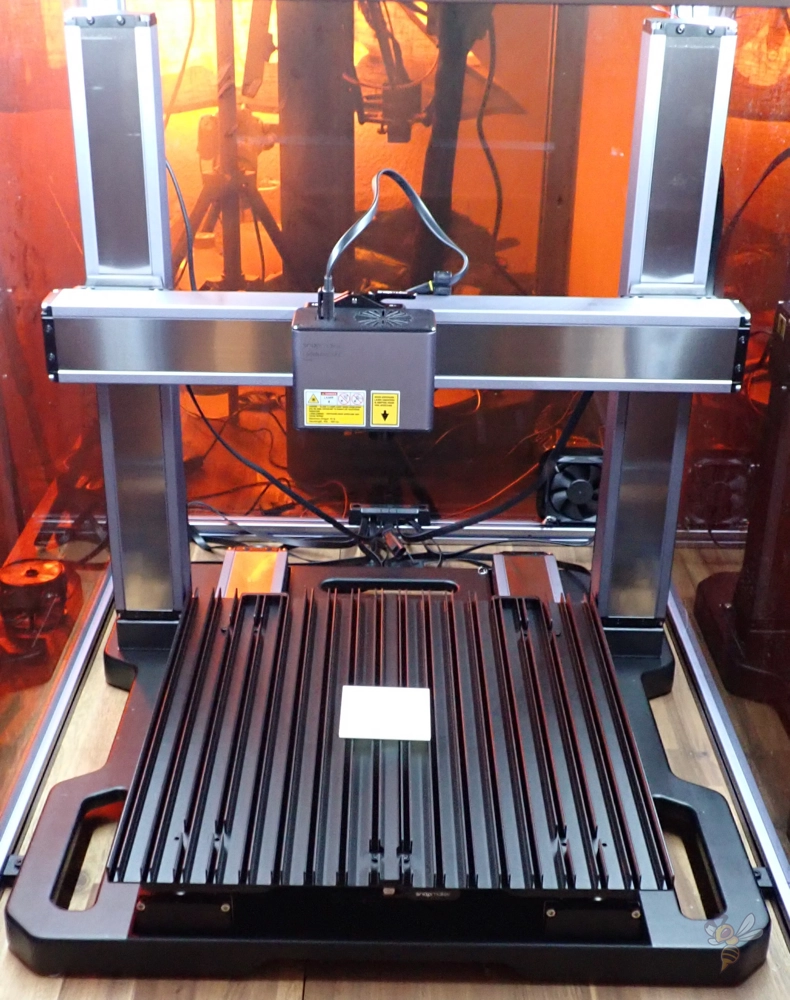
One of the great strengths of the Snapmaker Artisan is the quick switching between modes. Switching from 3D printing to lasering took only a few minutes.
The tool heads can be quickly and detached and swapped via a lever on the x-axis. Otherwise, it’s just a matter of pulling out the cable and plugging it into the new tool head.
Changing the plates also works similarly. They are also attached via a lever and are removed and reinstalled in a matter of minutes.
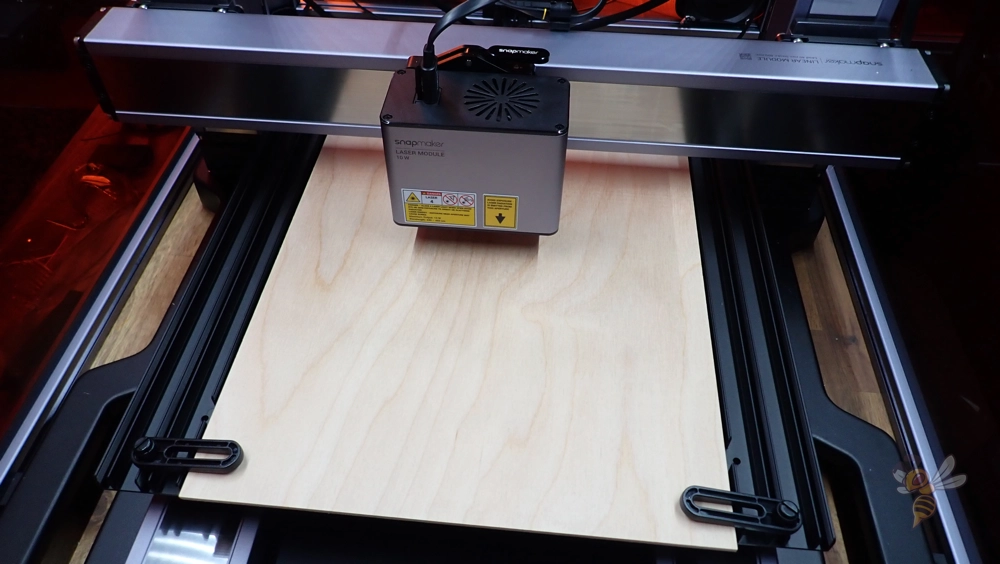
The worktop has several grooves with threads. You can easily and quickly clamp the material through this with cleverly designed fixtures anywhere on the plate.
This is especially handy with plywood panels, which are often somewhat warped. This keeps the distance and focus of the laser the same everywhere on the material.
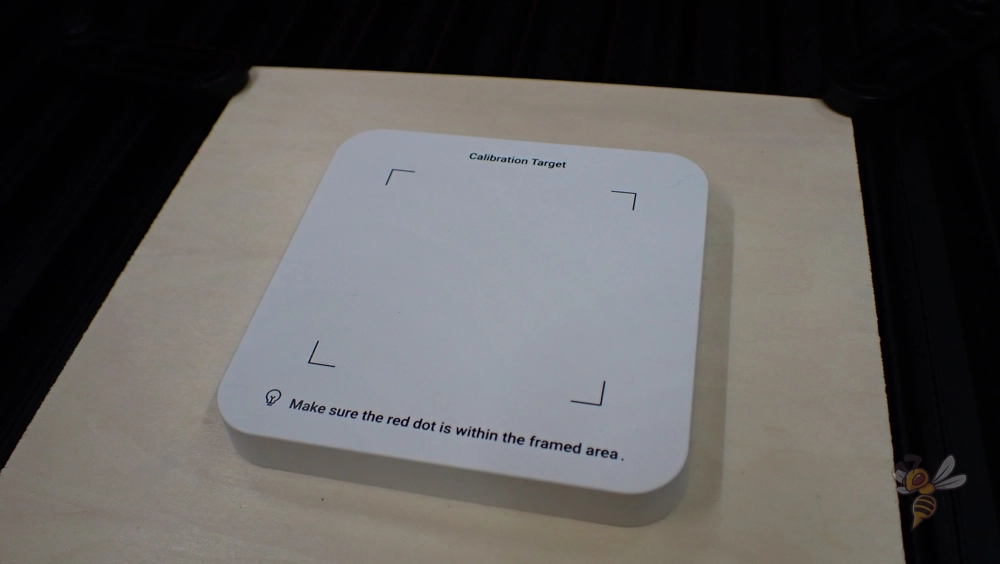
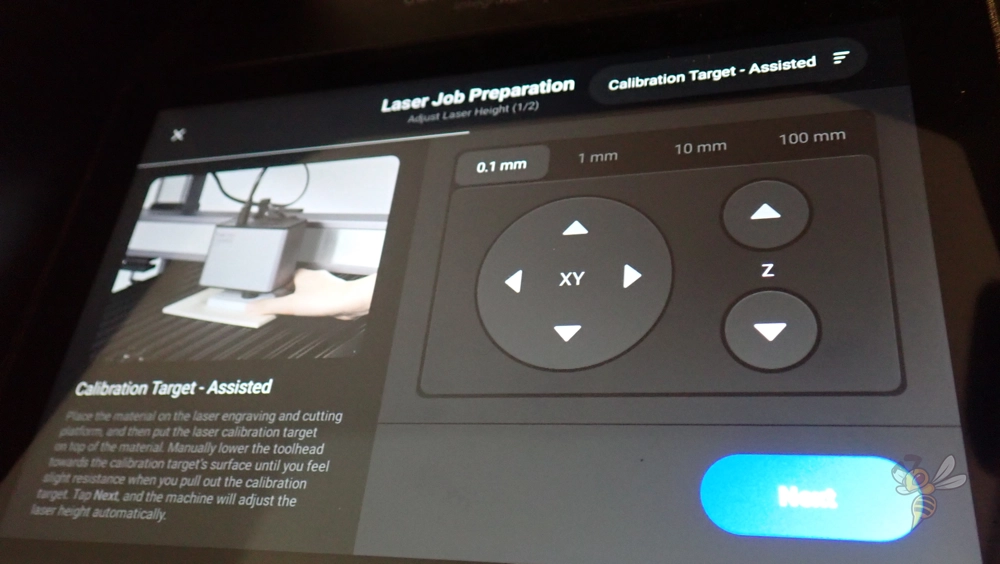
As with 3D printing, the menu accompaniment is very user-friendly. Before each job, you’ll be guided through calibration.
Calibration consists of two steps:
- Adjusting the height: Using the Calibration Target, you adjust the height of the tool head so that the laser just touches the target. This way, it doesn’t matter how thick your material is, the height will always be set the same.
- Adjusting the XY position: In the second step, the laser is set to low power and scans a rectangle where the target is located. This allows you to position the tool head so that you can make ideal use of the surface of your material.
After calibration, you start the job. In the meantime, you will be shown how long the job will take and you can make various settings such as the speed and power of the laser.
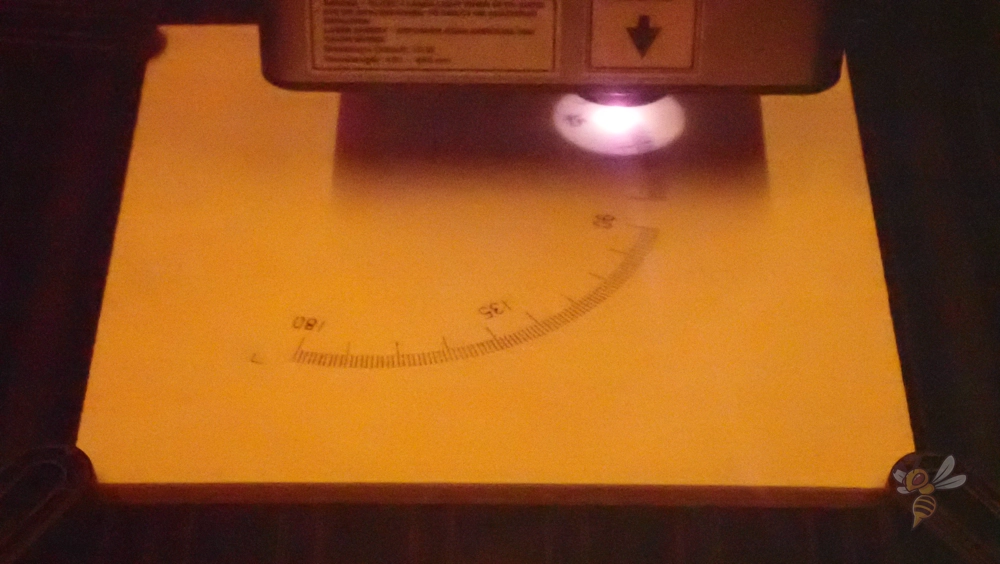
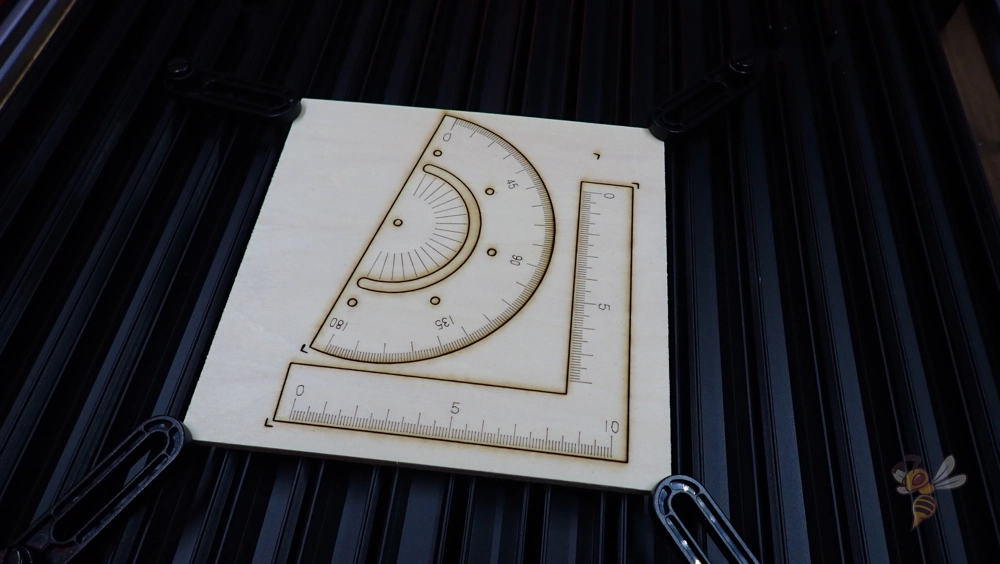
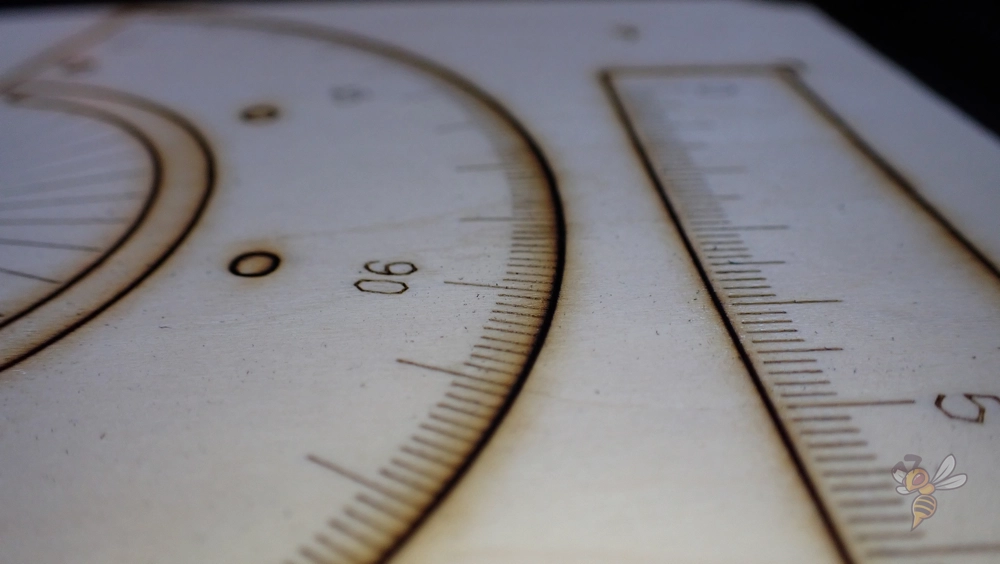
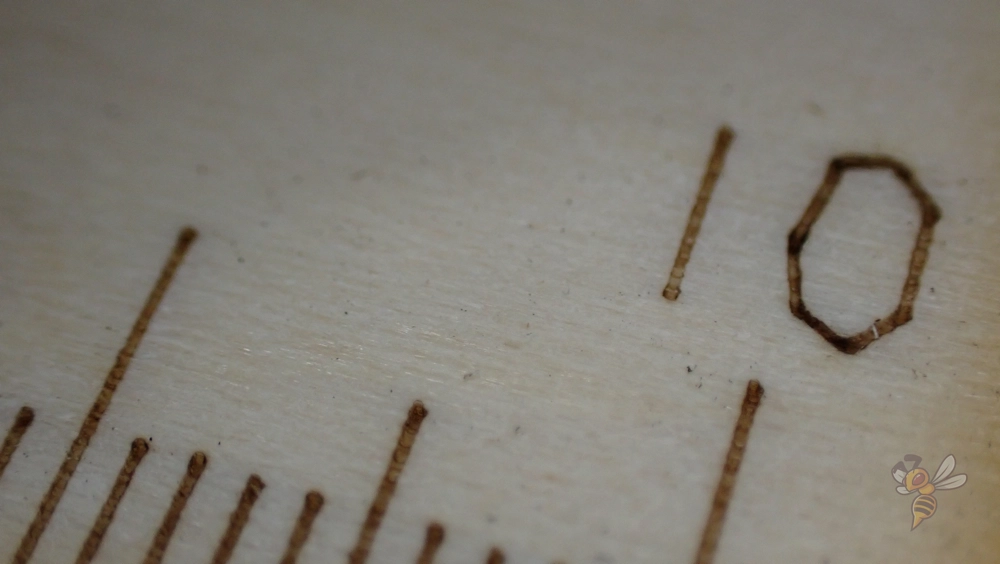
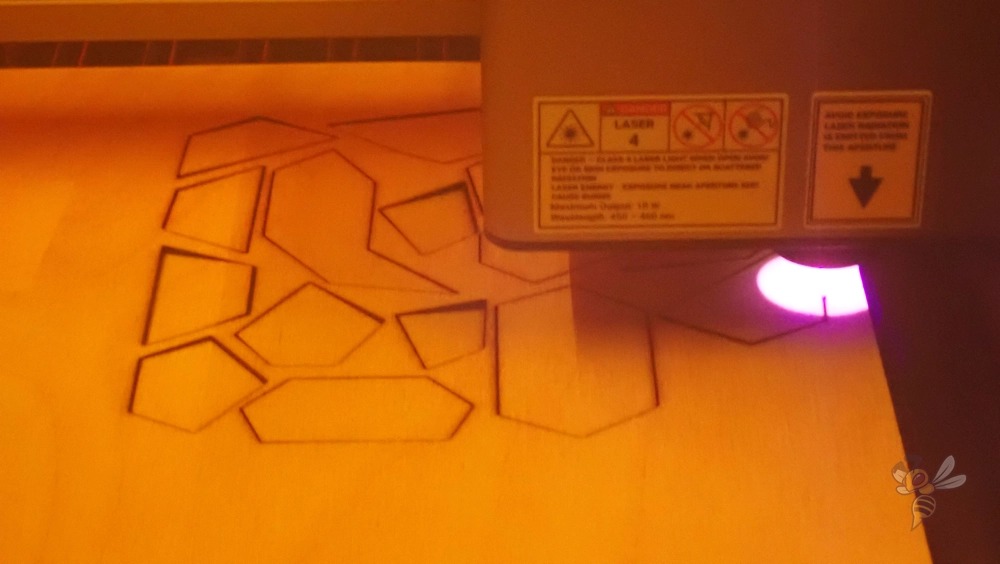
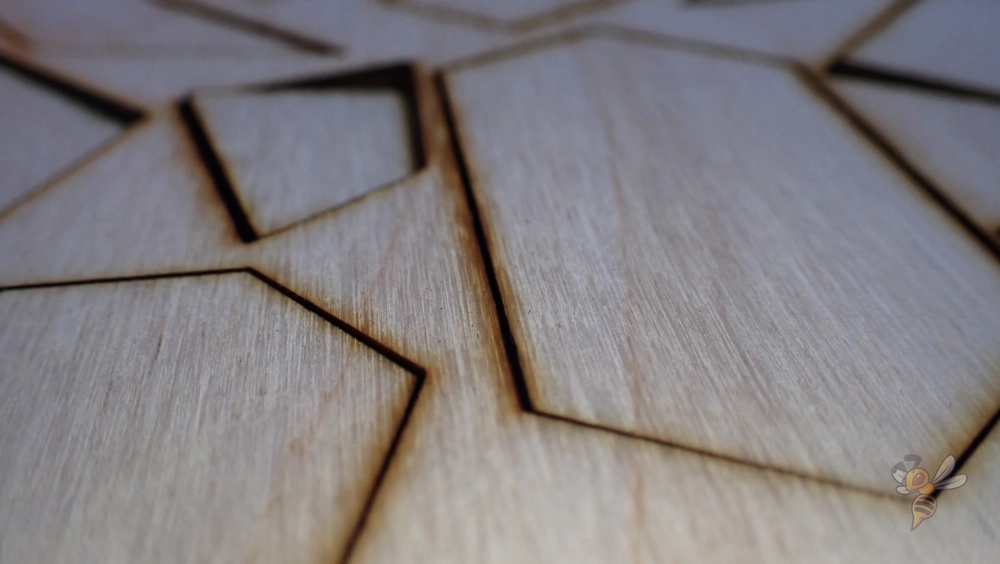
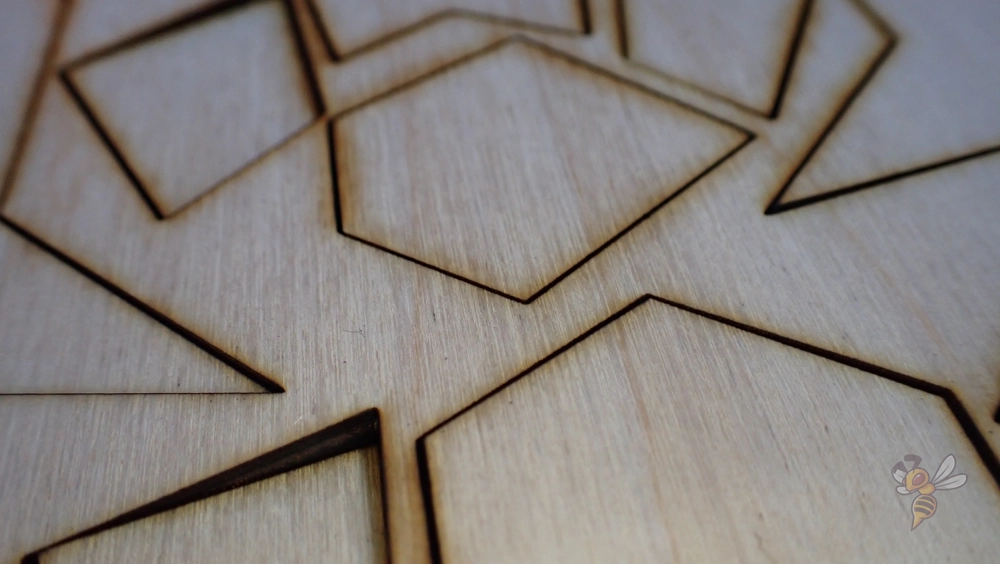
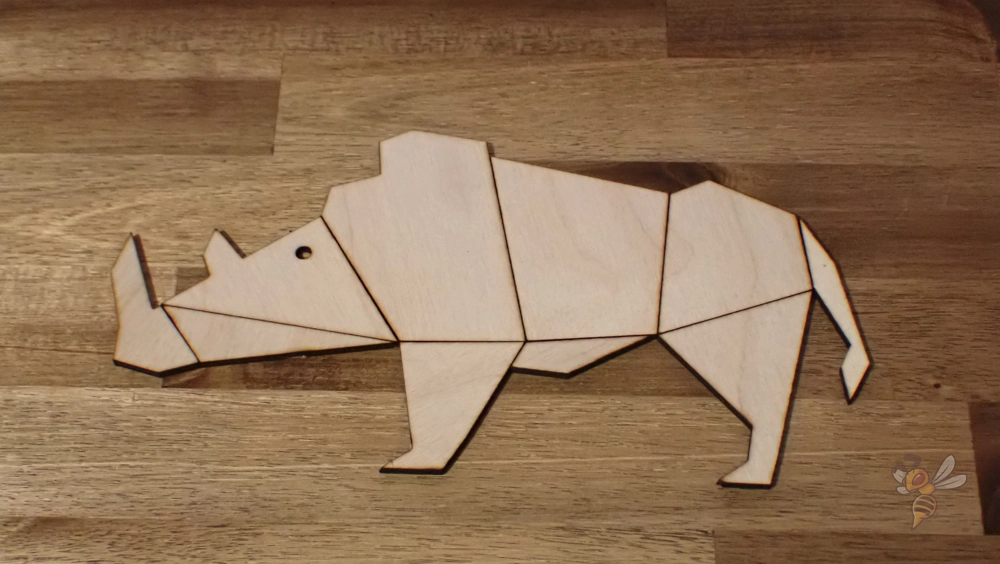
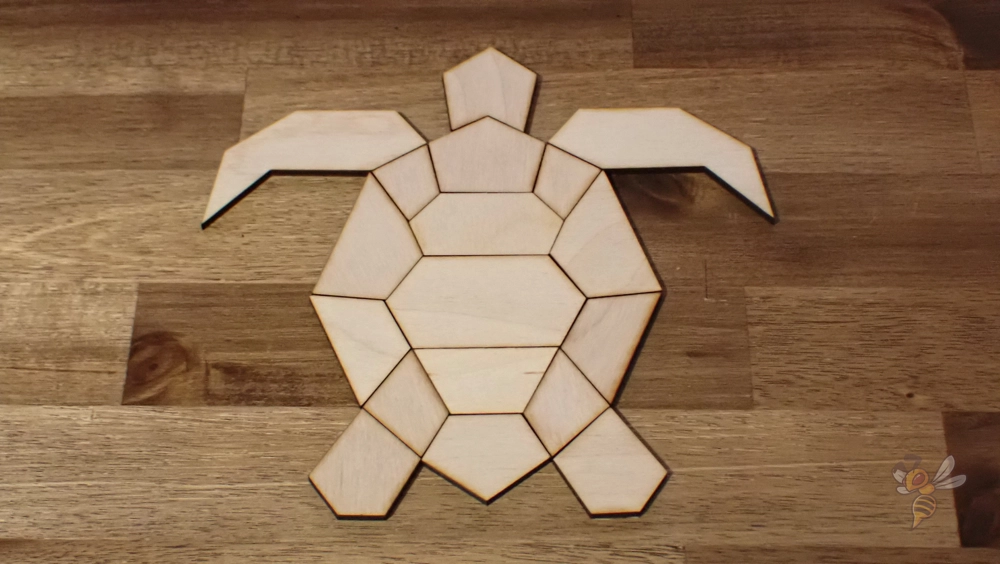
For a 10 watt laser module without an air assist (an airflow next to the laser that avoids discolored edges), the results are really excellent. Just as with the 3D printing module, the positioning accuracy is better than you’d expect from comparable devices. This is, of course, due to the high-quality axes designed for the milling module.
With a power of 10 watts, the laser is strong enough to cut or engrave most materials at a high speed. Unlike common entry-level 1.6-watt units, you can expect five to six times the speed here.
It’s a bit of a shame that the Snapmaker Artisan doesn’t have an air assist in laser mode. With this, the results would be a lot better and free of burn marks around the laser seam.
CNC Carving & Cutting
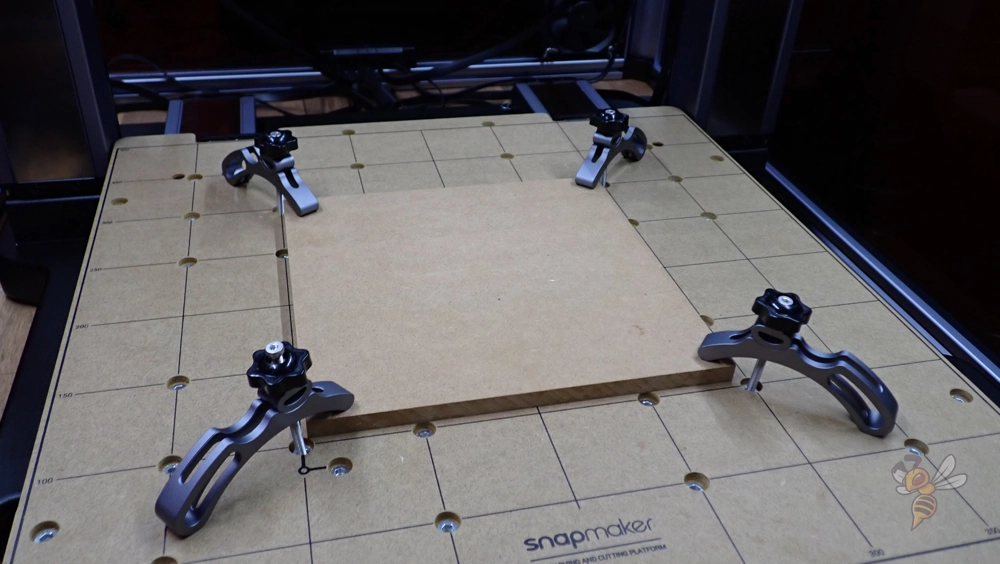
The last mode I tested was the one that interested me the most about the Snapmaker Artisan. Switching to CNC carving & cutting mode is just as quick as the other modes and is accompanied by the menu and explained in detail in the instruction manual.
The first project was a test object that can be milled from the included MDF board. The fixation of the material is very cleverly solved by four clamping screws that can be screwed into threads that are recessed on the worktop.
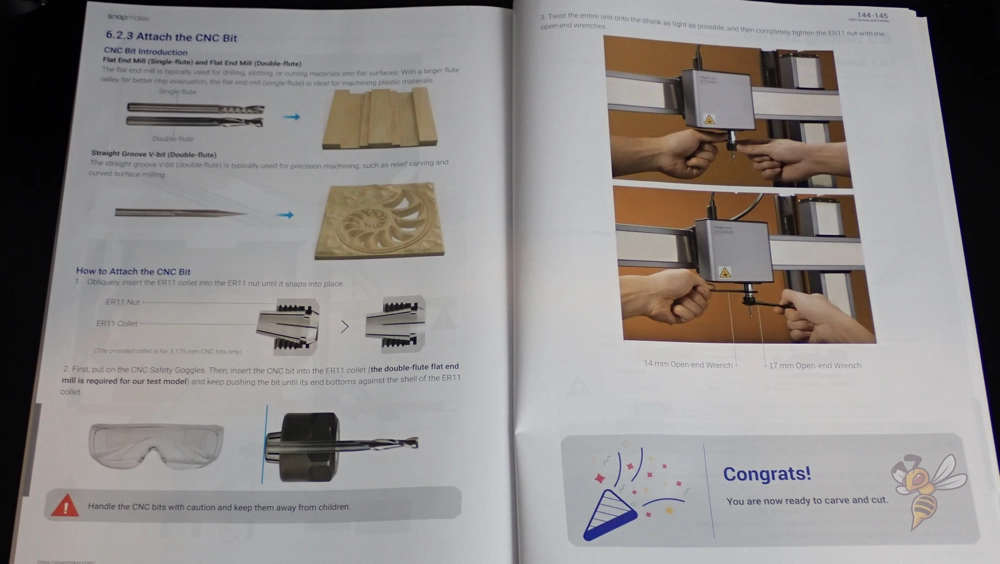
When clamping the CNC bit, many mistakes can occur, which can end in catastrophic collisions. The bit must be installed straight and tight enough. However, the instructions explain this in great detail so that no mistakes can occur.
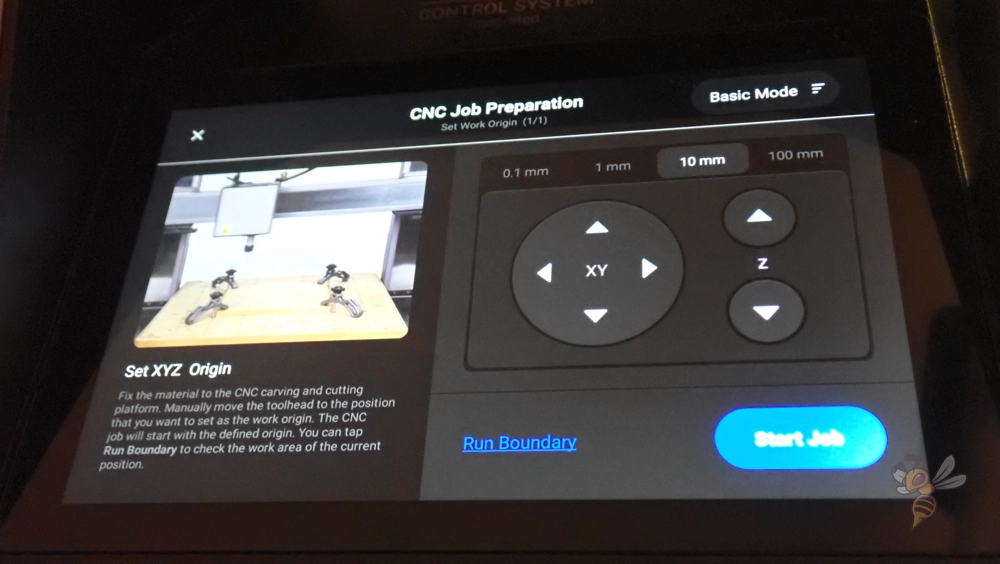
Adjusting the tool head works the same way for milling as it does for lasering. First, you adjust the height with a piece of paper. As soon as the tool touches the paper on the material, the height is set correctly.
Then you have to adjust the XY alignment. Here, too, there is the function that the tool head outlines the area in which the object is milled.
Especially in this mode, you have to be careful that no collisions occur. The tool head has no built-in proximity sensors or anything like that to detect obstacles. If you set the clamps too close or make a mistake in positioning, the tool will collide with the obstacle.
Not only can the tool be damaged, but the complete alignment of the device could shift.
However, the complete process is not so complicated that you would need CNC training for it. Each step is optimally displayed and explained in the menu. If you look carefully at everything and read through it, you will not make any mistakes or resulting collisions.
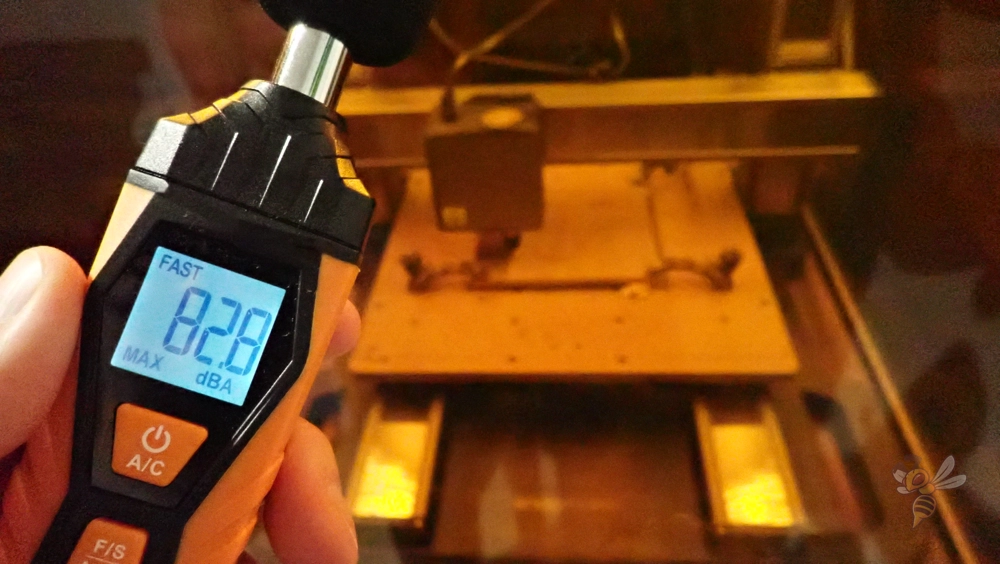
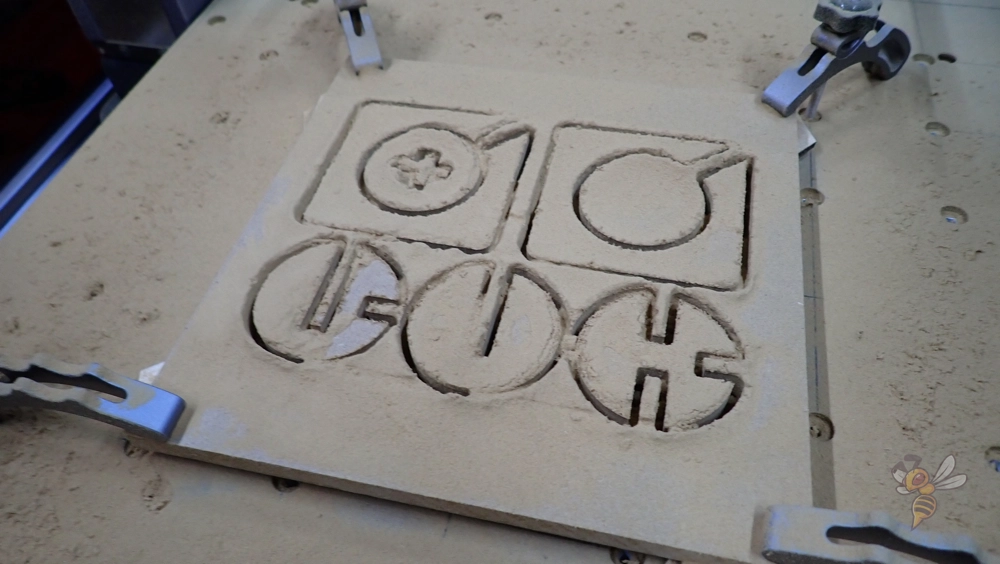
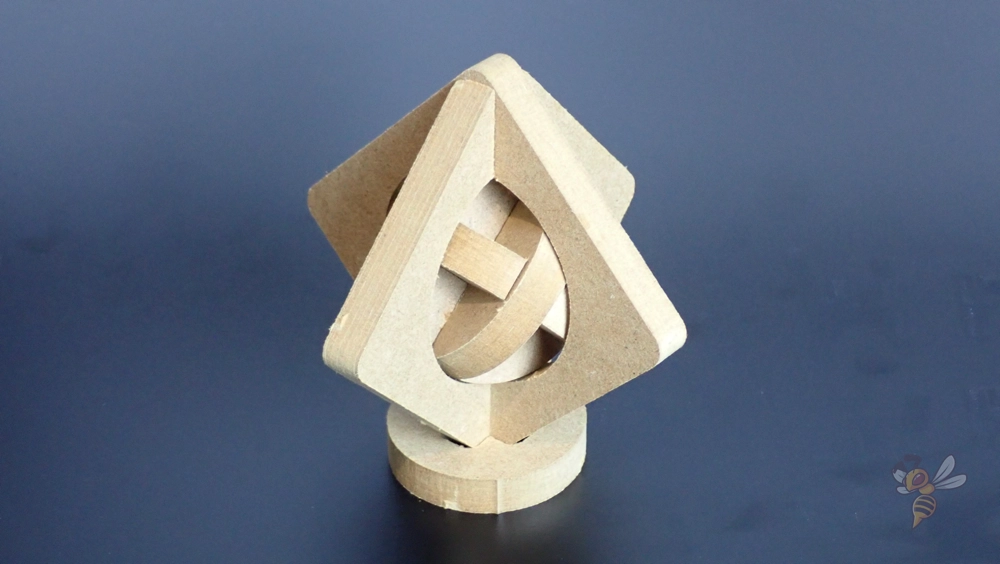
As expected, the milling is relatively noisy. I measured a volume of about 83 decibels on the test object with the MDF board. While this volume is not yet loud enough to be uncomfortable, I did use hearing protection after a few minutes.
As expected, the result turned out perfect. The material is very soft and can be machined well, even at high speeds.
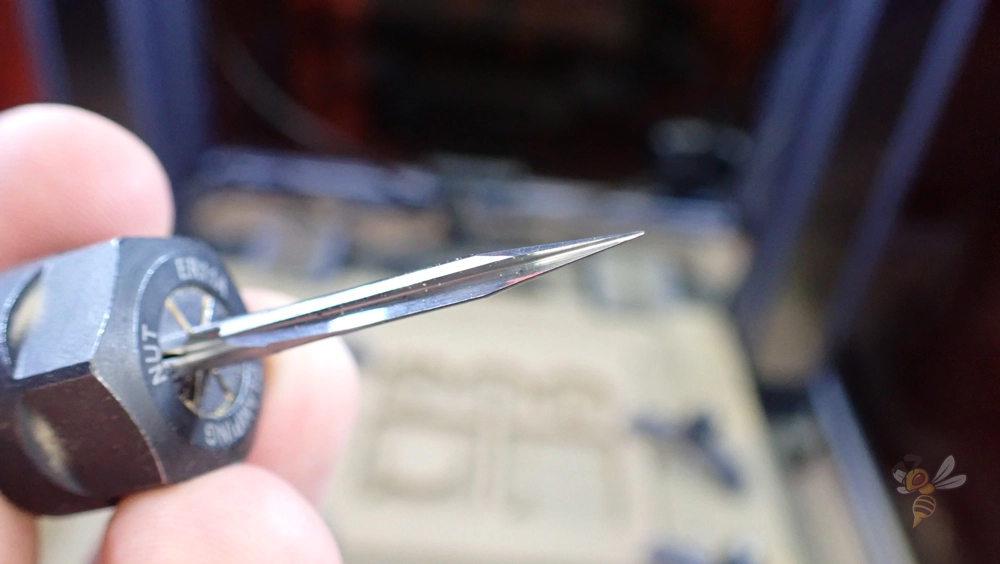
There are three CNC bits included in the package. Two coarse and one very fine bit with V-profile. With the latter, very fine surfaces are also possible. To try this out without spending several days on it, I milled a small pattern into the rest of the MDF.
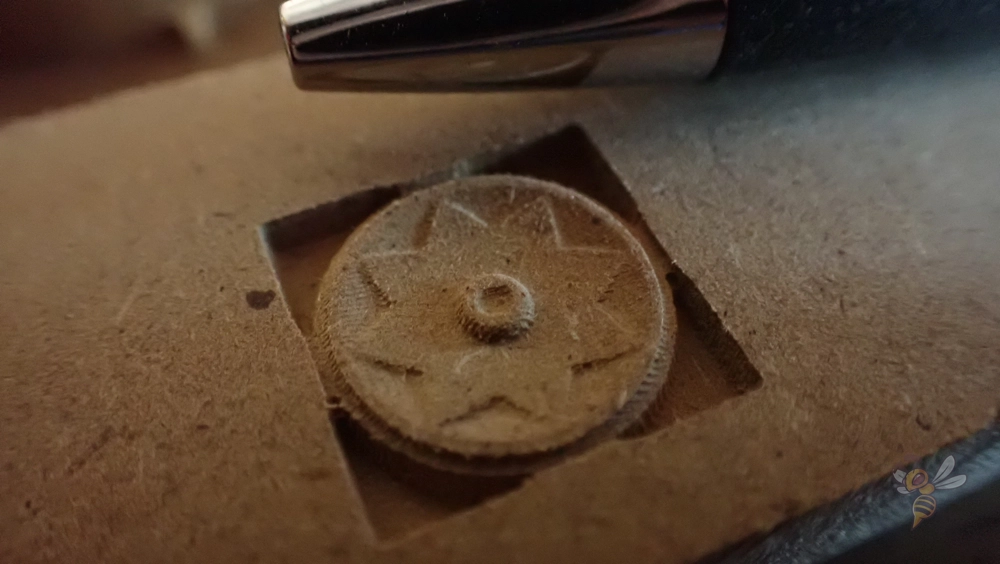
The pattern has a side length of 1.5 cm. Even at this small size, all the details are well represented and the surface basically needs no more finishing.
The big disadvantage of the CNC carving & cutting mode is that you can’t rough and finish.
Roughing means a coarse first run with a large bit/tool. Finishing means a fine rework with a smaller bit/tool.
I was hoping that you could use a large tool to rough out the general shape, make a tool change during the job to switch to the fine V-bit to smooth out the final surface.
Such a tool change during a job is unfortunately not possible (with a few tricks it is possible, but quite inconvenient). So if you want to mill large structures with a fine surface, this will take an extremely long time, as you have to remove the entire material with the fine V-bit.
Unfortunately, I didn’t realize this until I was testing, which meant I had to improvise on the Maui hook project.
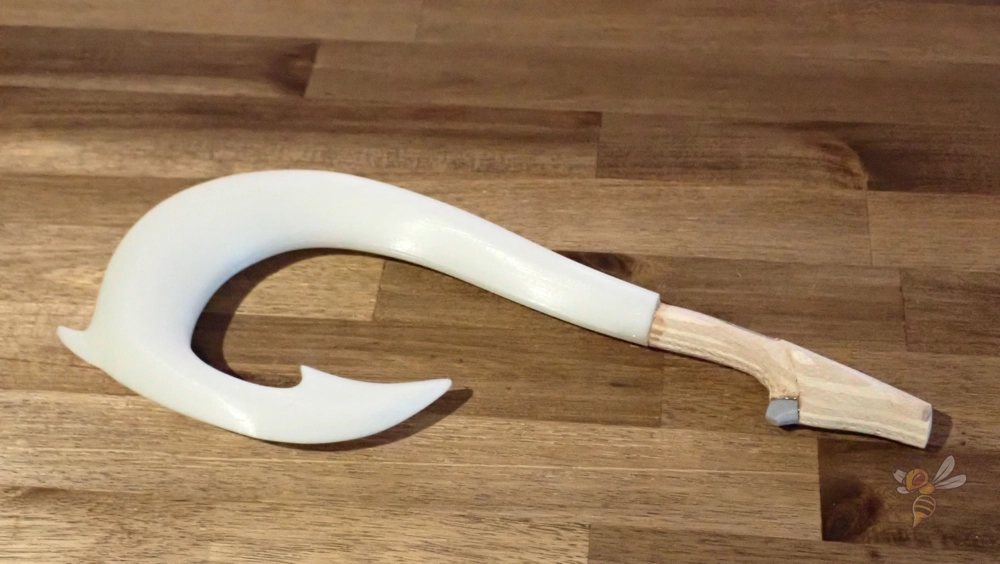
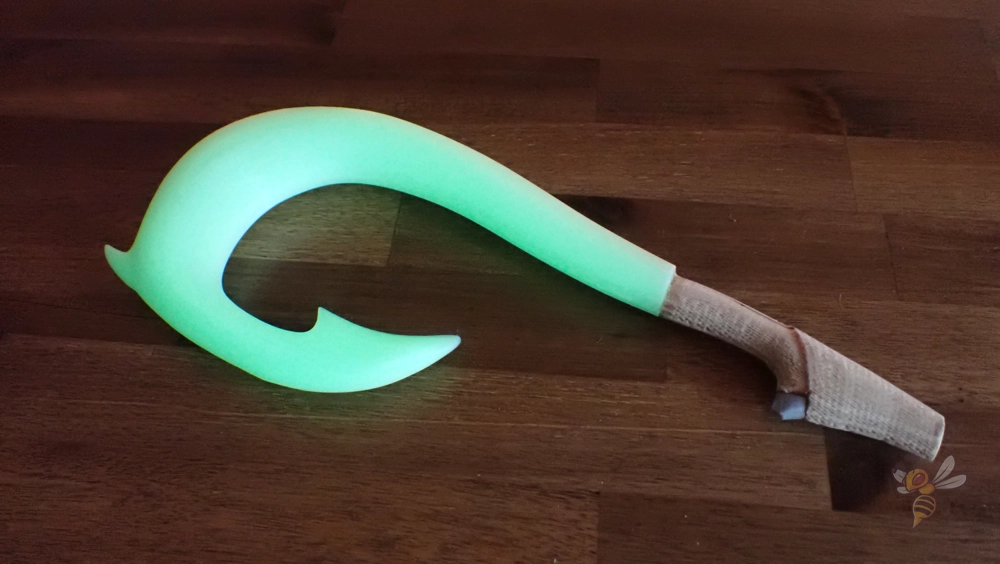
I milled the handle of the hook out of 10 mm thick plywood. I used the 3 mm bit for this. The job took about 3.5 hours. If I had used the V-bit, it would have taken about 45 hours…
Still, the result turned out relatively well. I carefully sawed out the two sides of the handle, glued them together and smoothed them with sandpaper.
Except for the lack of tool change, however, I am very pleased with the CNC carving and cutting function of the Snapmaker Artisan. Even someone like me, who has no hands-on experience with CNC milling, can quickly and safely create great projects.
Software – Luban
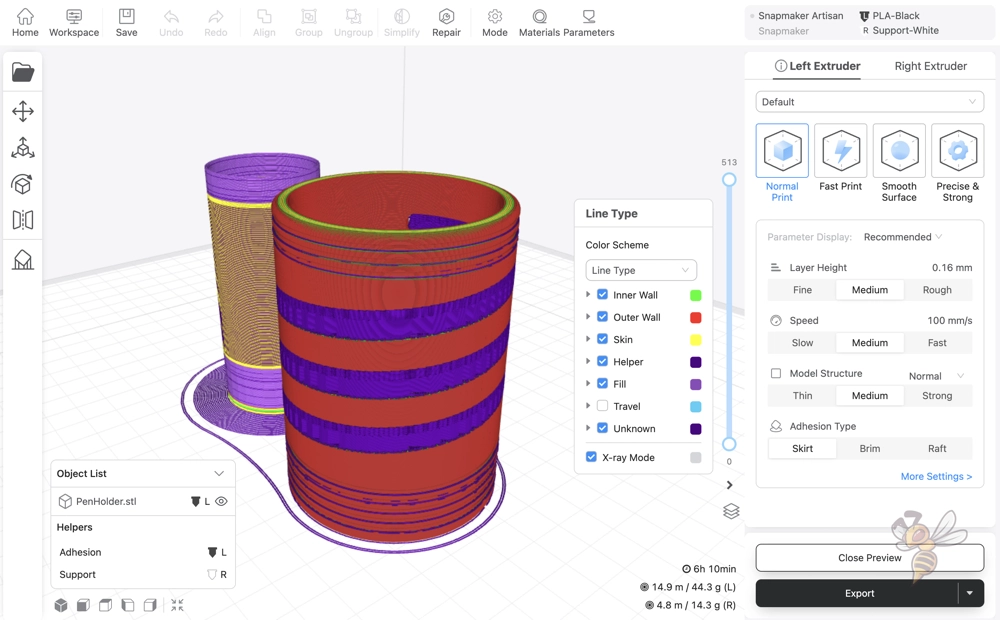
The Snapmaker Artisan is supplied with files via the software Luban (also from Snapmaker). Through the software, you can program all functions and modes of the Snapmaker Artisan. The operation is very user-friendly and intuitive.
There are many preset profiles and I had to calibrate virtually nothing when 3D printing. The settings were already ideally matched to the in-house filaments.
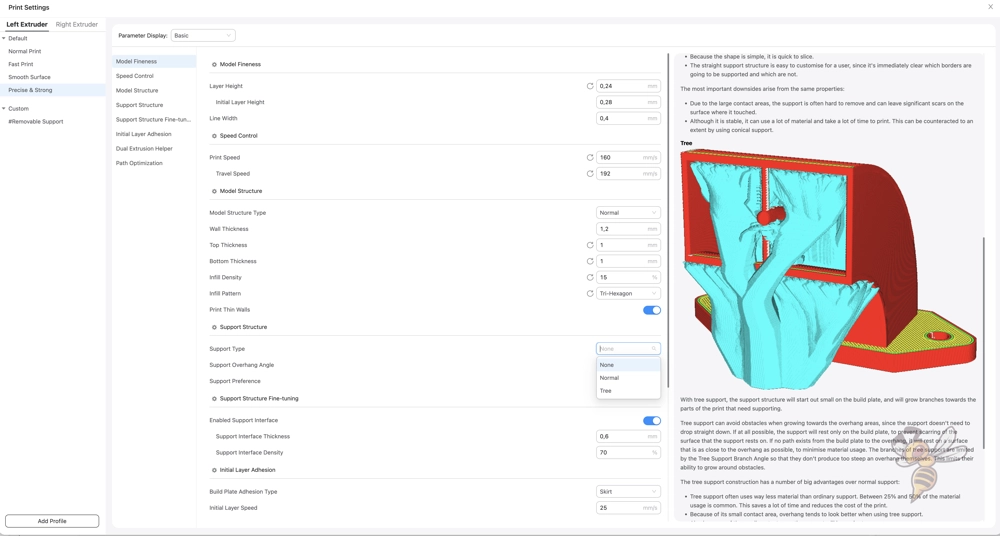
However, you also have the option to customize the settings entirely to your liking. Each setting is also explained in detail in the help window to the right of the settings.
For example, it also explains how you need to set the standby temperature in double extrusion mode to avoid clogging.
Is the Snapmaker Artisan worth it?
The Snapmaker Artisan* is mainly worthwhile for people with little space and the desire to 3D print, laser cut/engrave and CNC carve/cut.
The price seems very high at first glance, but the price for three individual machines with a similar quality and with the same features would be way higher. Especially comparable wood CNC routers are at least half the price of the Snapmaker Artisan. If you then add the price of comparably good 3D printers and CNC lasers to that, you usually have to pay more.
Also, not to be underestimated, is that the 3D print mode and the laser mode benefit from the design, which is based on the CNC carving/cutting mode. Positioning accuracy is excellent as a result, and vibrations are virtually non-existent.
Check Price at:
If you’re interested in the machine, I’d love for you to purchase it through my links. I will then get a small part of the purchase price as a commission, without it becoming pricier for you. I got the device from Snapmaker, but this did not influence my evaluation in any way.
Technical Specifications
- Dimensions without case: 580 × 620 × 634 mm
- Dimensionswith case: 665 × 943 × 705 mm
- Weight: 52.9 kg
- Data transfer methods: Wi-Fi, USB cable, USB stick
- Supported software: Snapmaker Luban and third-party software
- Operating system supported by Luban: Windows, macOS, Linux
- Integrated controller:
- Dimensions: 189 × 300 × 191 mm
- Touch screen size: 7 inches (approx. 18 cm)
- Power: 300 W + 450 W
- Operating system: Android
- 3D Printing:
- Working range (W × D × H): 350 mm × 400 mm × 400 mm (double nozzle)
- Dimensional accuracy: ± 0.1 mm
- Nozzle diameter (standard): 0.4 mm
- Nozzle diameter (optional): 0.2 mm, 0.6 mm, 0.8 mm
- Nozzle material (standard): brass
- Nozzle material (optional): Hardened steel
- Max. Nozzle temperature: 300 °C
- Max. recommended printing speed: 180 mm/s
- Building plate: Double-sided PEI-coated glass
- High temperature zone (inner zone): 260 mm × 260 mm
- Max. Heated Bed Temperature (Inner Zone): 110 °C
- Max. Heated Bed Temperature (Outer Zone): 80 °C
- Supported materials: PLA, ABS, ASA, PETG, TPU, Breakaway PLA, PVA, HIPS, Nylon, Carbon Fiber Reinforced Nylon, Glass Fiber Reinforced Nylon
- Supported formats: stl, obj
- Laser engraving and cutting:
- Working area (W × D): 400 mm × 400 mm
- Power: 10 W
- Laser type: 450 nm-460 nm semiconductor
- Max. Engraving speed: 100 mm/s
- Max. Cutting depth (paulownia): 8 mm
- Operating temperature: 0 °C – 35 °C
- Laser dot dimension: 0.05 mm × 0.2 mm
- Supported materials for cutting: Basswood, paulownia, pine, plywood, beech, walnut, bamboo, MDF, leather, textile, canvas, corrugated board, cardboard, plastic, dark acrylic (blue excluded)
- Supportedmaterials for engraving: lime wood, paulownia, pine, plywood, beech, walnut, bamboo, MDF, lacquered metal, copper-coated laminate, tin sheet, stainless steel, anodized aluminum, dark glass, slate, ceramics, jade, marble, slate rock, leather, textile, canvas, corrugated cardboard, cardboard, plastic, dark acrylic (blue excluded)
- Supported formats: stl, svg, png, jpg, jpeg, bmp, dxf
- CNC carving and cutting:
- Working area (W × D): 400 mm × 400 mm
- Power: 200 W
- Max. Spindle speed: 18.000 rpm
- Max. Working speed: 50 mm/s (beech); 33 mm/s (acrylic)
- Max. gradation: 2 mm (beech); 1 mm (acrylic)
- Shank diameter: 0.5 mm-6.35 mm
- Supported materials: hardwood (beech, walnut), softwood, HDF, MDF, plywood, jade, carbon fiber, acrylic, epoxy tool board, PCB
- Supported formats: stl, svg, png, jpg, jpeg, bmp, dxf
Disclosure: This website is the property of Martin Lütkemeyer and is operated by Martin Lütkemeyer. Martin Lütkemeyer is a member of the Amazon Services LLC and other Affiliate Programs. These are affiliate advertising programs designed to enable websites to earn advertising revenue through advertising and linking to Amazon.com and others. Links marked with * are affiliate links.

