- Wet Filament: Prevention, Symptoms & Drying - July 18, 2024
- Sovol SV08 – Best PrusaSlicer Settings & Profile - June 26, 2024
- Sovol SV08 – Best Orca Slicer Settings & Profile - June 26, 2024
Disclosure: Links marked with * are Affiliate Links. I earn from qualifying purchases if you decide to make a purchase through these links – at no additional cost for you!
The Whale3 SE from Nova3D* is a large format resin 3D printer with an XY resolution of 27.9 microns. This makes it possible to print large objects with fine details.
I took a detailed look at the Whale3 SE and practically tested its print quality. I’ll show you all of its features, how it handles, and what print quality you can expect from it in this review.
PRO:
- Large print volume
- Does not need to be leveled
- Double z-axis
- Robust construction
- Auto feeding system
- Wi-Fi control
CON:
- No air filter
- Heavy UV protection hood
Who should buy the Whale3 SE?
The Whale3 SE is suitable for anyone looking for a large format resin 3D printer with good print quality. It is especially good for large objects due to its automatic resin refilling system.
Check Price at:
Table of Contents:
Technical Specifications
- Technology: MSLA/UV LCD
- Light source: COB
- Print volume: 228 × 128 × 260 mm
- XY precision: 27.9 μm
- Layer height: 0.02 to 0.15 mm
- Z-axis: double 15CA linear rail
- Print speed: standard 13 mm/h, max 55 mm/h
- Compatible resins: 405 nm resin
- Slicer: NovaMaker, CHITUBOX, LycheeSlicer, voxeldance tango
Unboxing
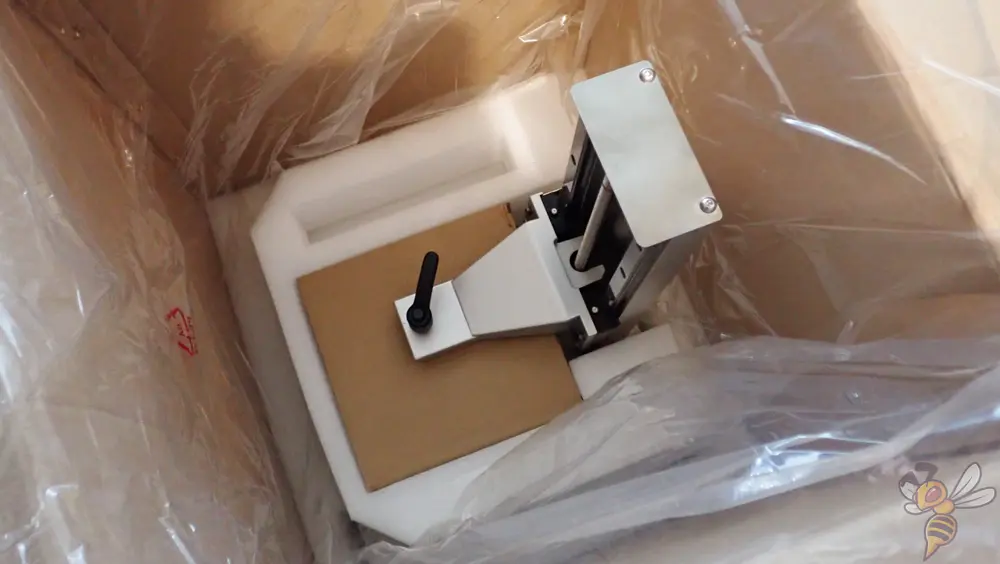
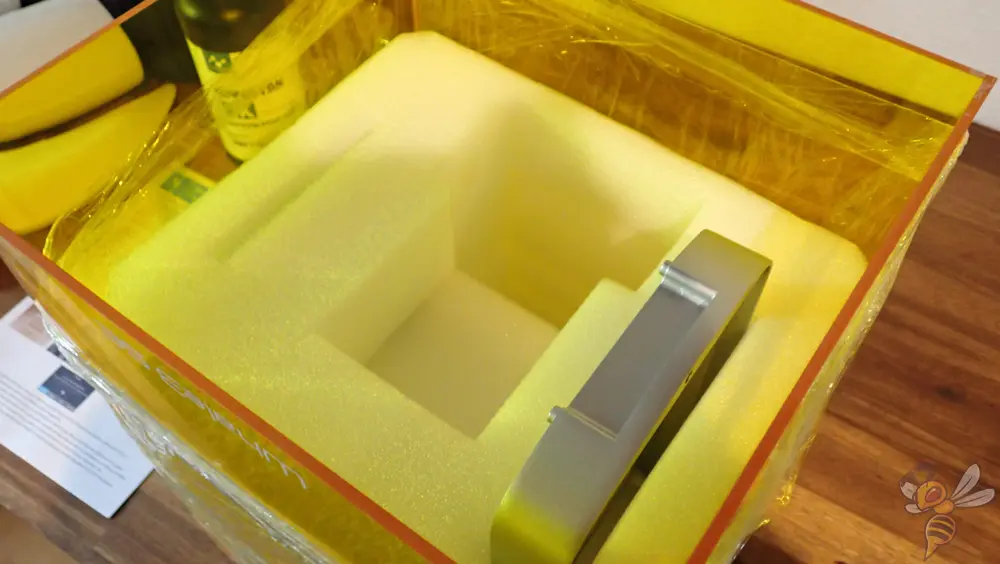
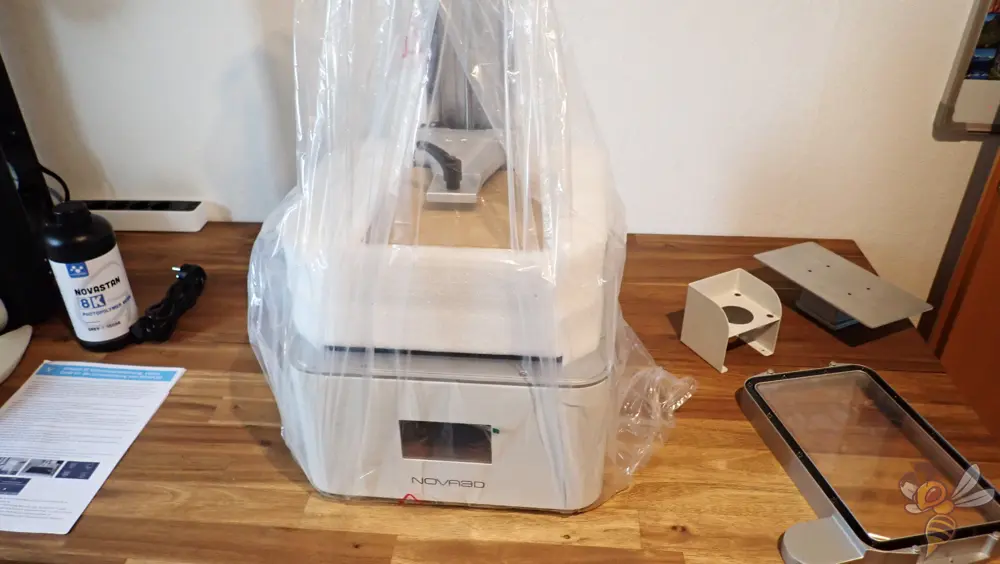
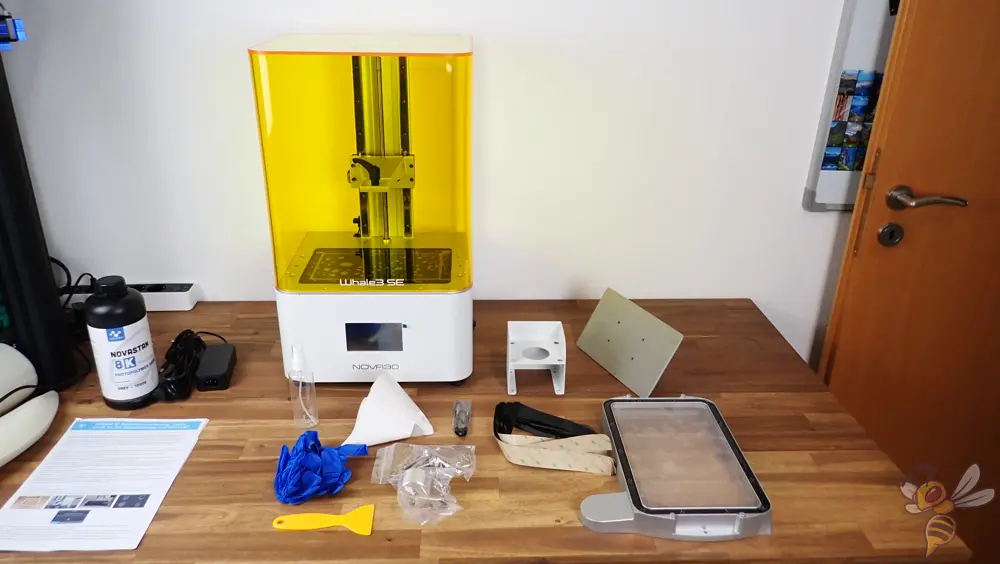
The Whale3 SE is well packed in a relatively compact package for its size. All components are safely protected from transport damage.
When unpacking, I immediately noticed the large UV protection cover. It is quite heavy for its size. The wall thickness is unusually thick compared to other resin 3D printers. However, since this has no influence on the print quality, this is a rather unimportant drawback.
Otherwise, everything you need for operation is included. However, the included resin filters and gloves will not last long. So, you should order some more when you buy it.
Here you can find the resin filters I prefer to use:
Check price at:
Mounting
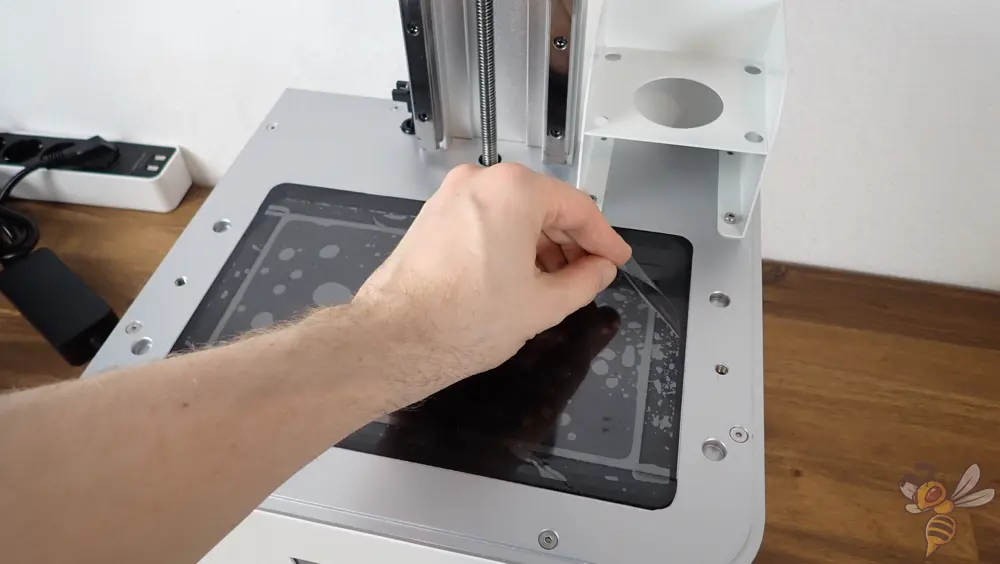
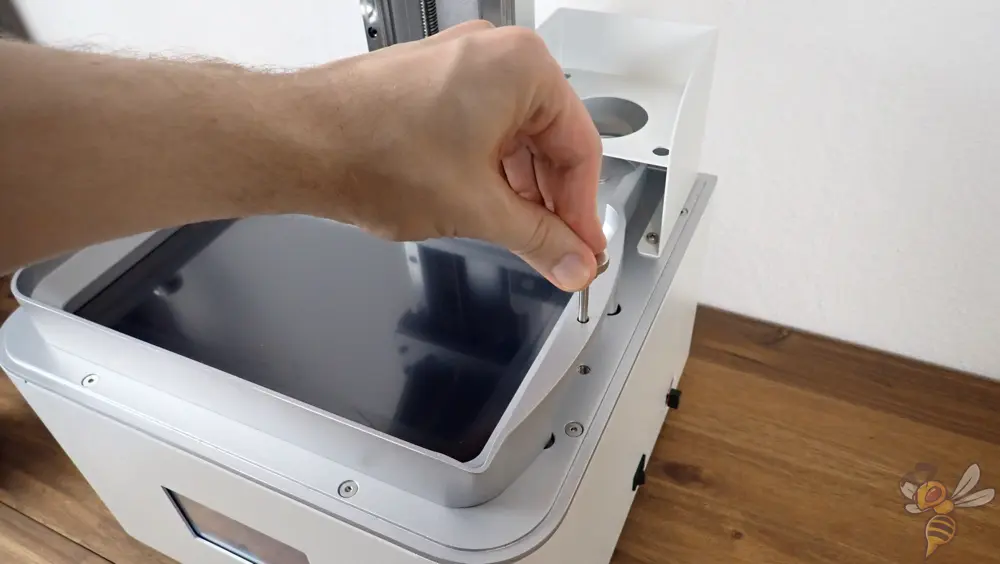
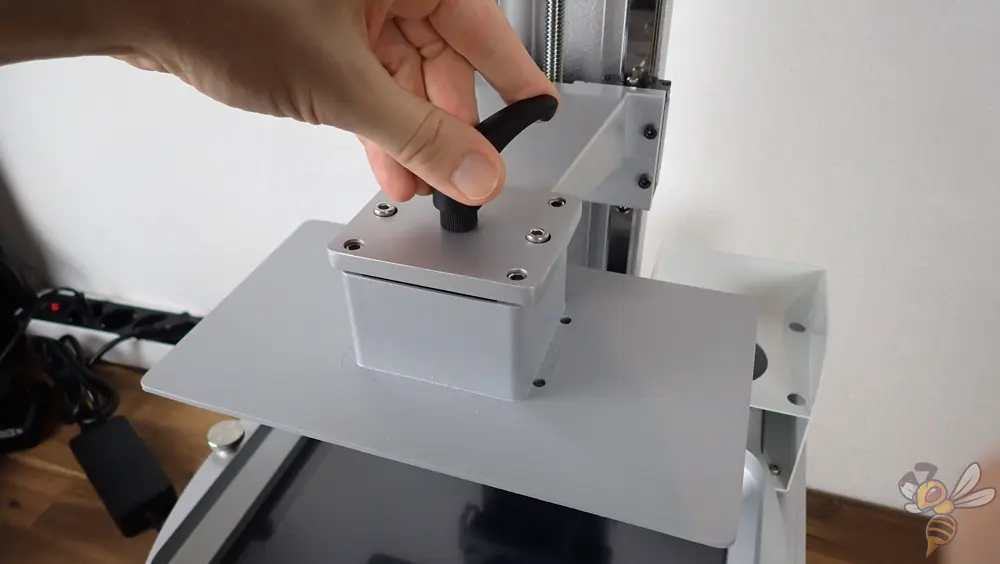
Assembly of the Whale3 SE is limited to peeling off protective films and inserting the resin tank and print bed.
Relatively unusual, but welcome, is that the print bed comes already leveled. It’s also mounted sturdily enough that you should not need to level it frequently.
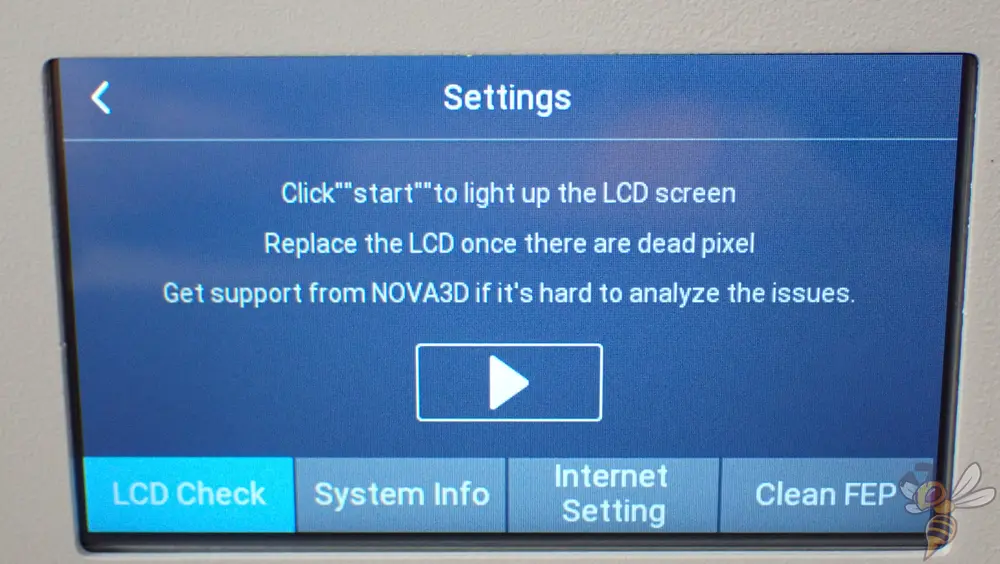
Before using the Whale3 SE for the first time, it’s a good idea to run the LCD check from the menu. A test image is displayed on the LCD, which you can use to check whether there are any image errors. The process takes less than 20 seconds.
In principle, this resin 3D printer is ready for its first print 2 minutes after unpacking!
Design & Features
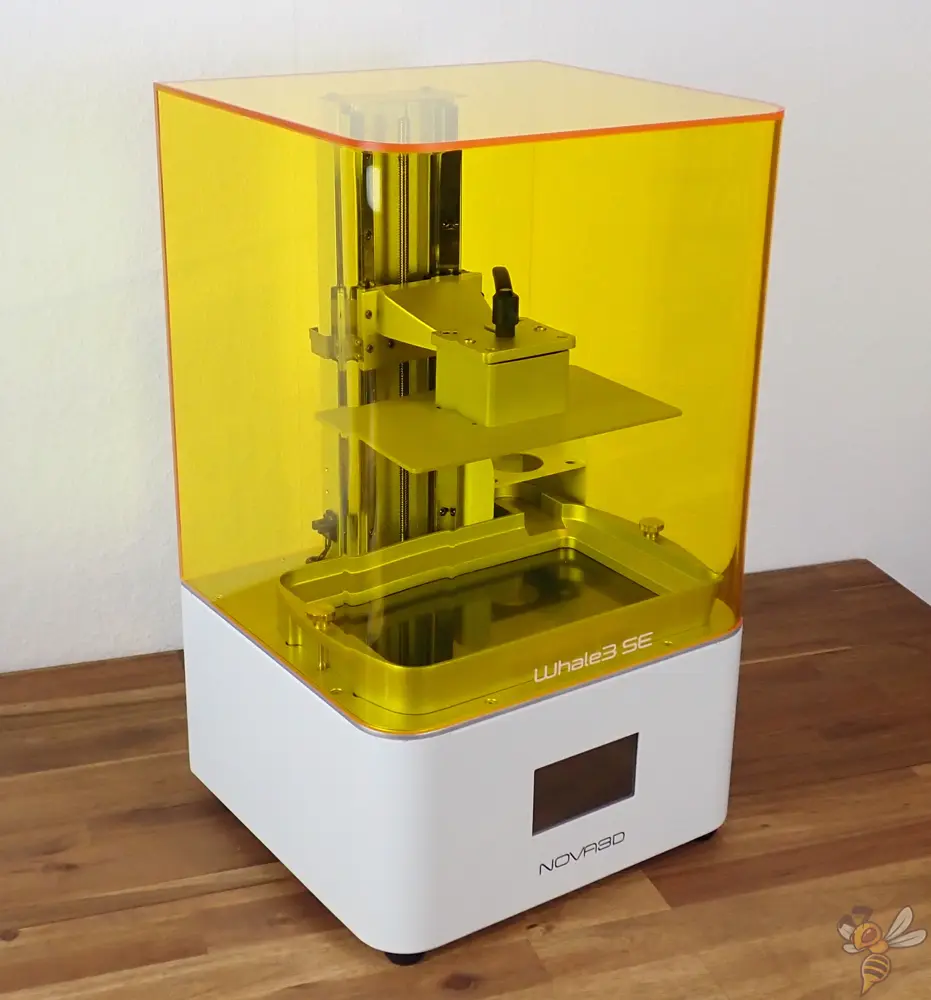
Due to the large print volume, the rest of the Whale3 SE is also large. Especially the base seems very massive and takes up a lot of space on your work surface. The fact that the slots for USB, LAN and Wi-Fi antenna are on the right side doesn’t make this any better.
While I prefer the slots to be on the front of the 3D printer, this will likely have been a design decision. Most resin 3D printer manufacturers put the USB slots on the side.
As mentioned earlier, the UV protective cover is very solid. It is made of plexiglass sheets glued together. In other resin 3D printers, the UV protection hoods are made of a piece of plastic with a smaller wall thickness and thus a lighter weight. Visually, it definitely fits the design. However, from a practical standpoint, a lightweight solution would have been better.
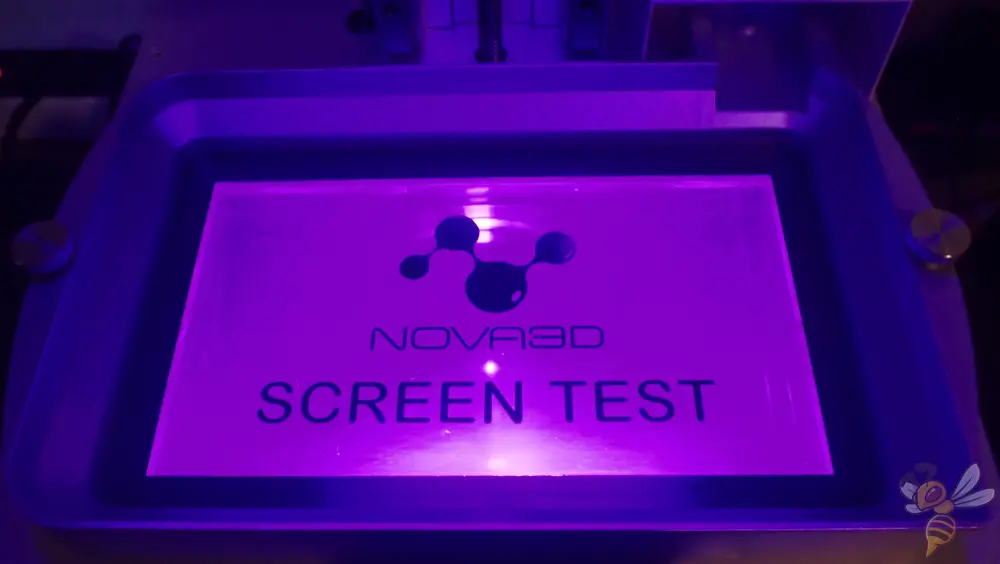
The highlight of the Whale3 SE is of course the large LCD screen. It is powered by a powerful and homogeneous COB light source. Unlike a matrix light source, the power hitting the resin is much more uniform. This leads to better printing results.
With 8K resolution on its 10.3-inch LCD screen, the Whale3 SE achieves an XY accuracy (or pixel size) of 27.9 μm. That’s relatively good for the large surface area. Together with a minimum layer thickness of 0.02 mm and a small amount of edge smoothing in the slicer, you can achieve injection molding-like surfaces.
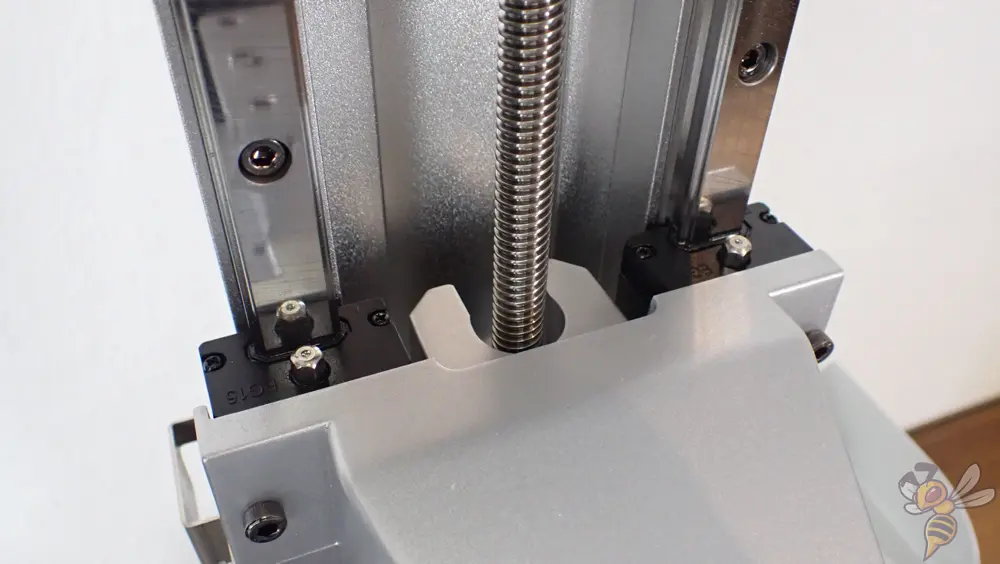
To ensure that your printed objects are not only detailed in the xy-direction, but also in the z-direction, the Whale3 SE has a double z-axis. It is guided by two linear rails. This allows you to achieve layer thicknesses of at least 0.02 mm.
With the naked eye, you can hardly see the steps of the individual layers on the finished print object. As soon as you set a low level of edge smoothing in the slicer, you will no longer be able to see the steps at all.
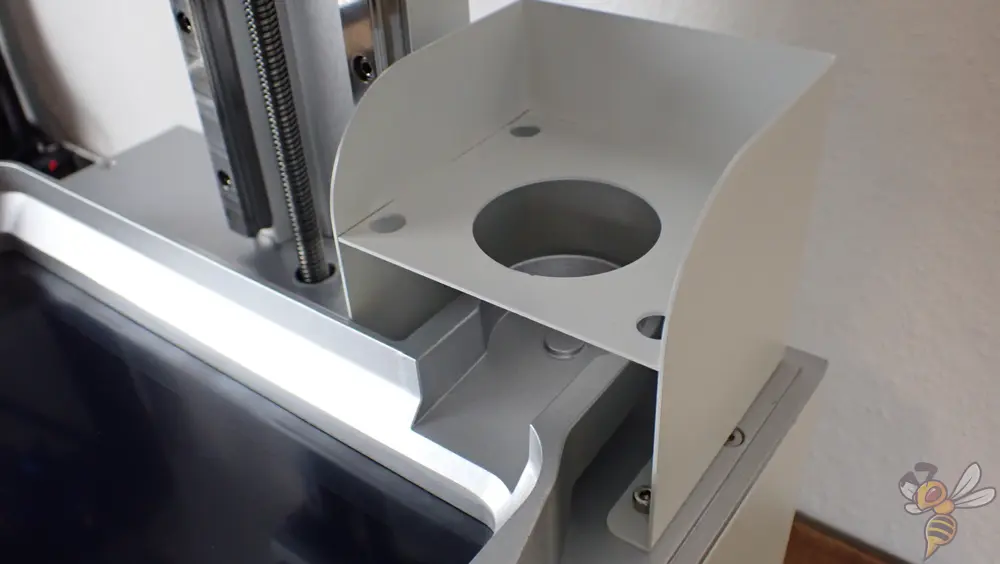
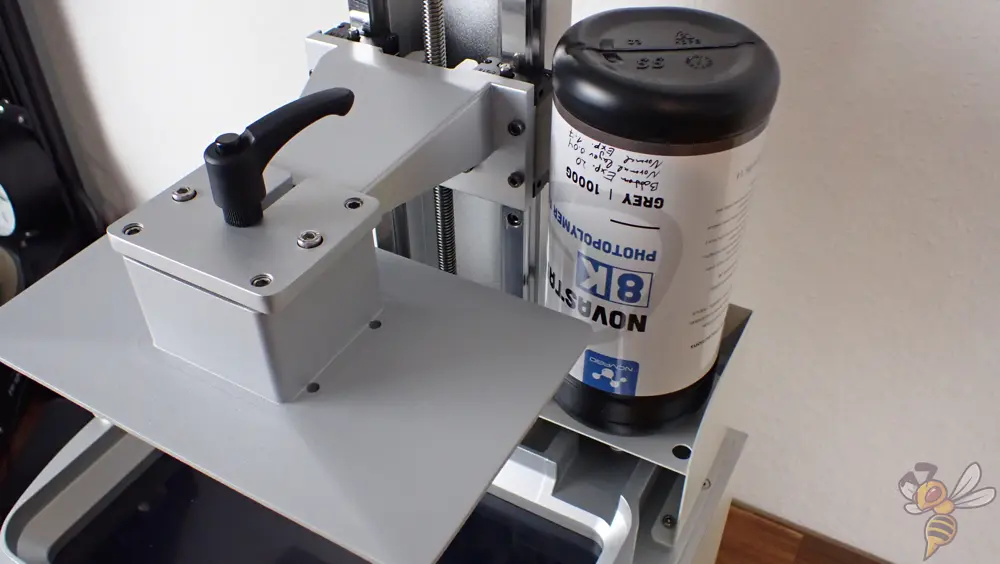
When printing large objects with large resin 3D printers, there is a risk that the resin will not be sufficient for printing. Therefore, some manufacturers have started to equip such large resin 3D printers with automatic refill systems. Everything from electric systems with pumps to simple mechanical systems like the Whale3 SE are available.
When preparing for printing, you place the resin bottle upside down at the back of the resin tank using the adapter provided. This basically gives you the ability to use more than a kilogram of resin for a print without having to manually refill.
In fact, I have never printed such large objects that would require refilling the resin tank. However, with the large print volume of the Whale3 SE, I can well imagine that this feature will be used frequently by some users!
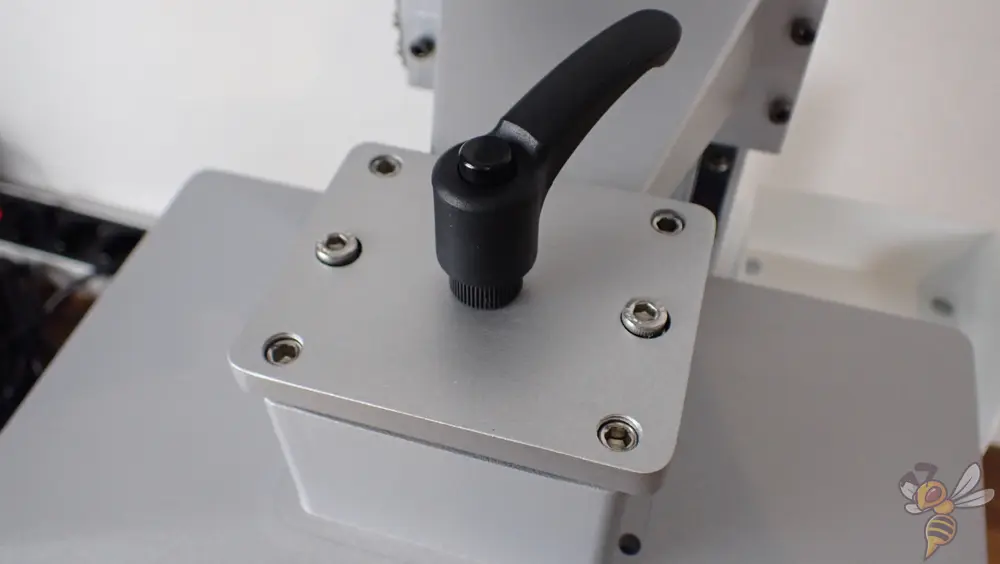
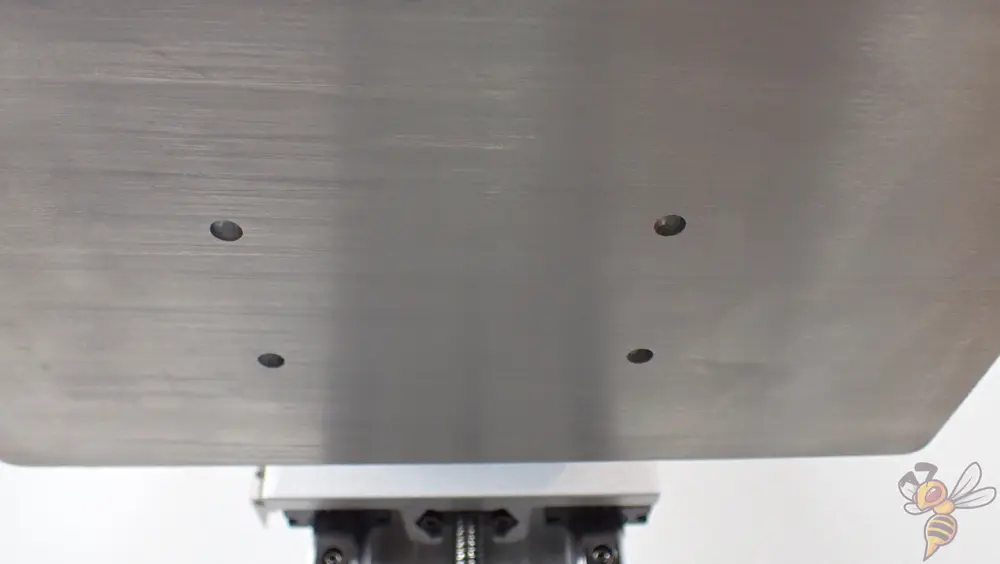
The print bed of the Whale3 SE has a rough surface to which the first layers of the print adhere optimally. It comes already leveled, which is unusual, but very welcome.
If you do need to level it, it’s easy to do via the screws on the suspension. Also, leveling is explained in detail in the instructions and is helpfully supported via the 3D printer’s menu.
However, the four holes in the print bed are a bit strange. However, I could not notice any negative influences on my print quality or the print bed adhesion. With other large-format resin 3D printers, I could already observe that support structures were bent over by the strong suction that is created when the print bed is raised. Perhaps the holes are to prevent this effect by making the resin flow more efficiently?
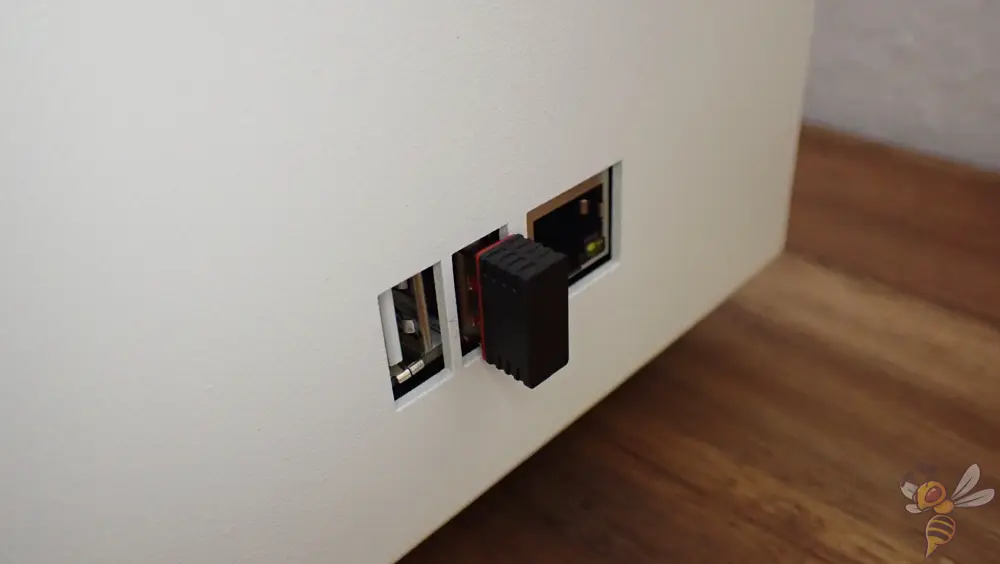
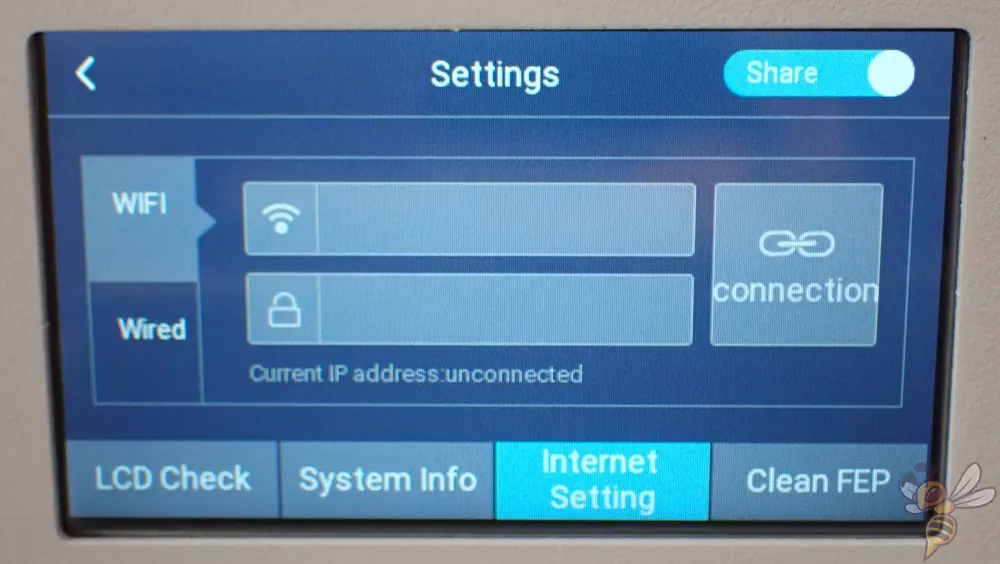
Included is a USB Wi-Fi receiver that plugs into the right side of the Whale3 SE. This allows you to connect it to your Wi-Fi. You could also connect it via cable, of course.
By connecting it to your network, you can control it and send new print files to it.
Check Price at:
Slicer & Calibration
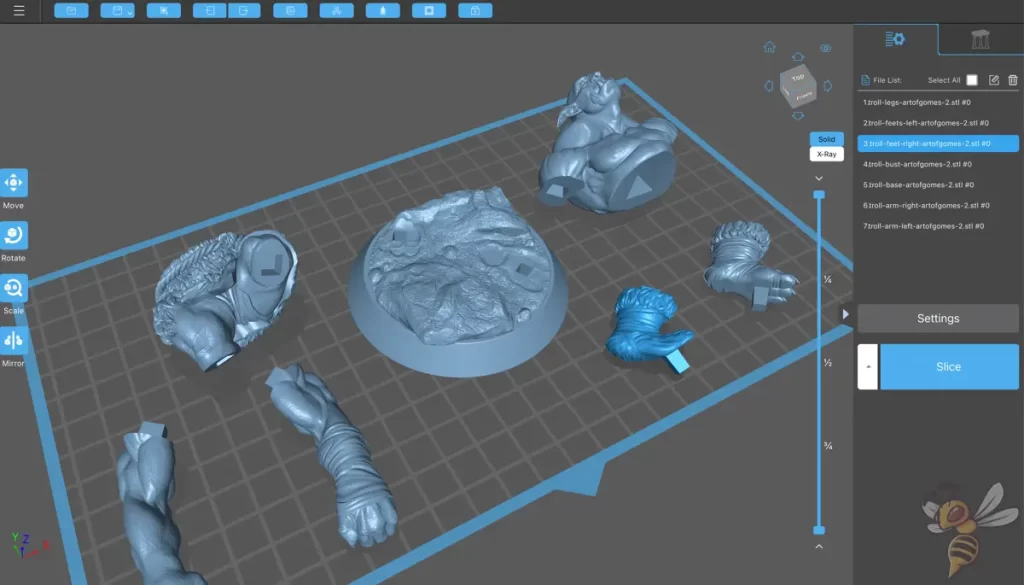
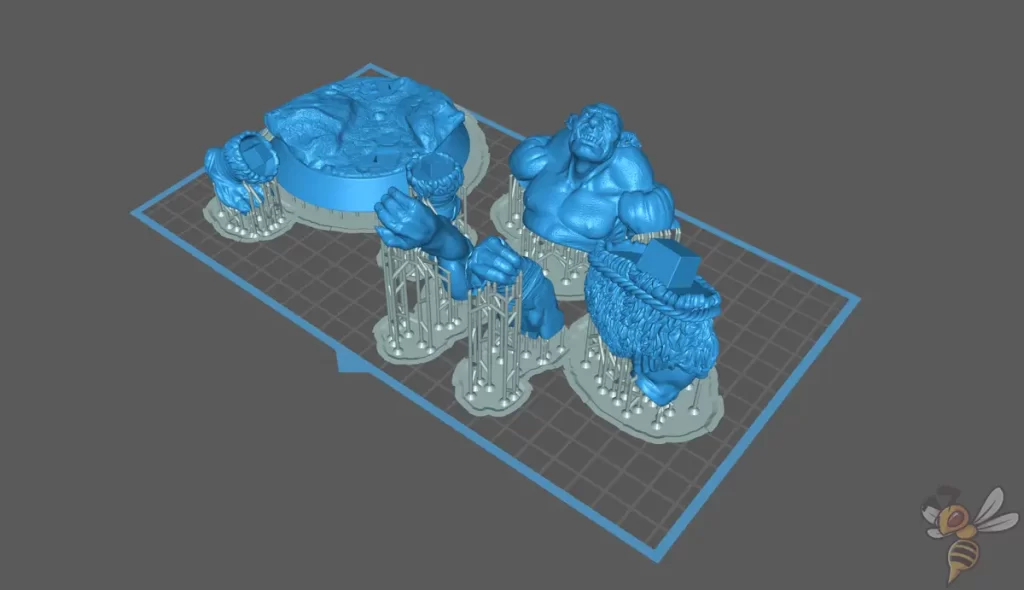
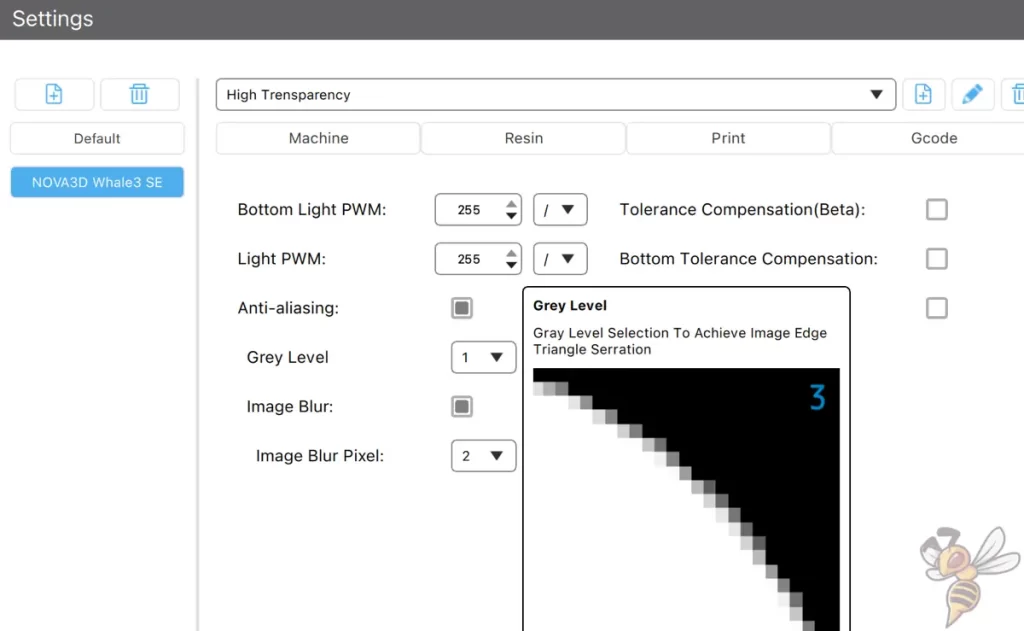
I used the Whale3 SE with ChiTuBox. While there wasn’t a ready-made profile for it yet, I was able to quickly customize the Whale3’s profile.
Under the advanced settings, I set the lowest possible edge smoothing to smooth the edges between layers, while still preserving all the detail.
The otherwise most important settings in the slicer are of course the exposure times. However, these are highly dependent on which resin you are using. I got the matching resin from Nova3D with the 3D printer. This 8K Resin* is specifically designed to be able to render the smallest details at high resolutions.
Check price at:
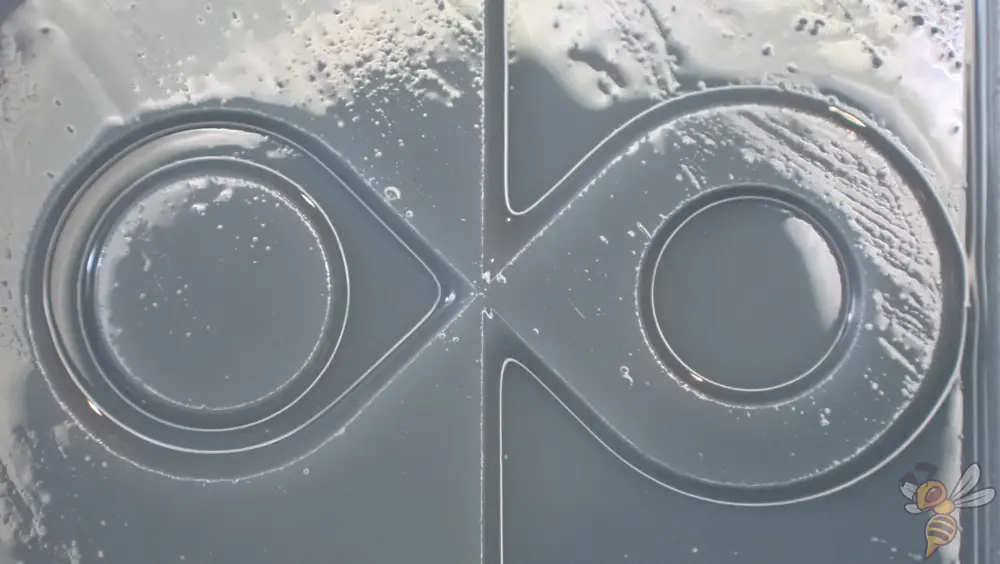
I used a resin test matrix to calibrate the exposure times. After three prints of this calibration object, I had the perfect settings and could start with my large print object.
Print results
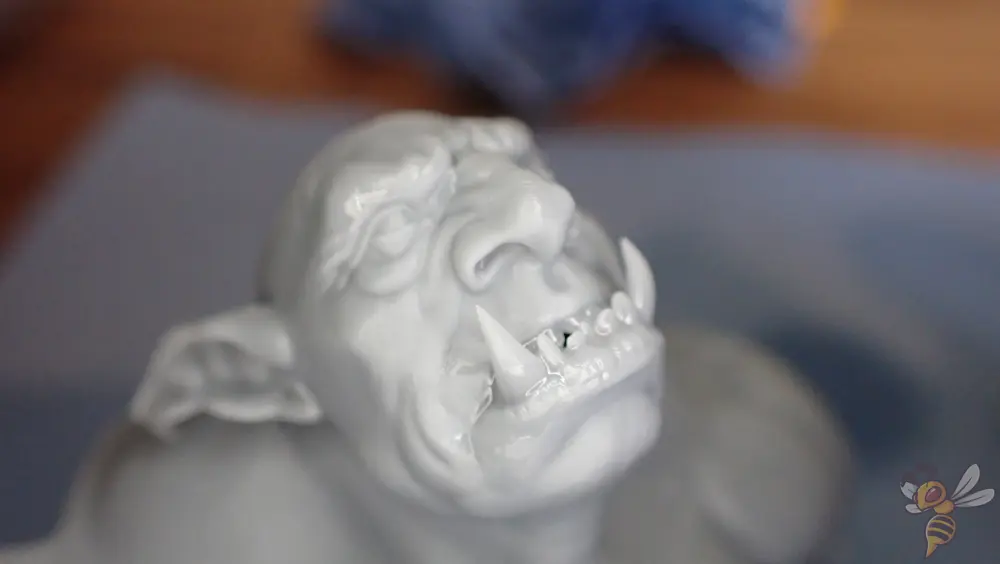
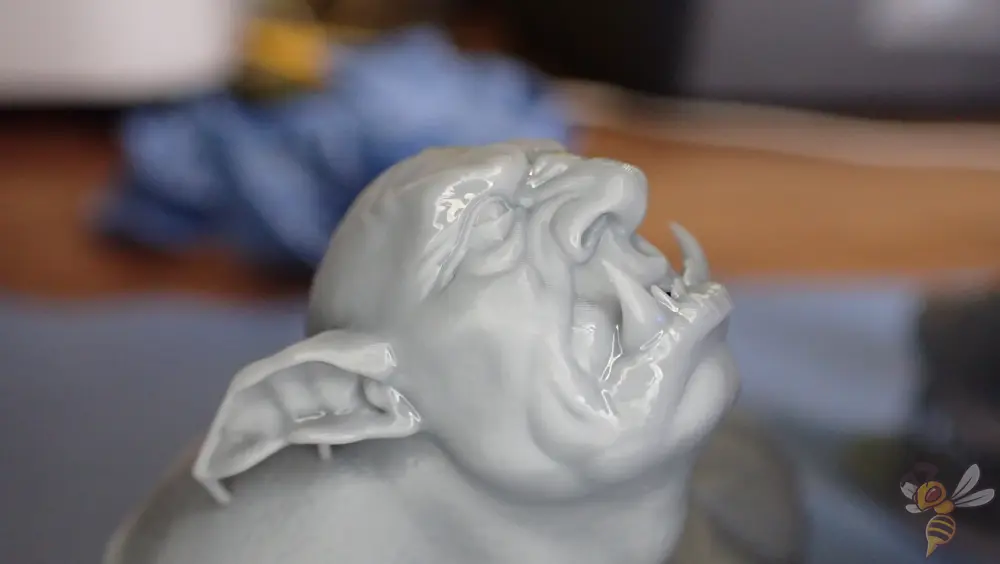
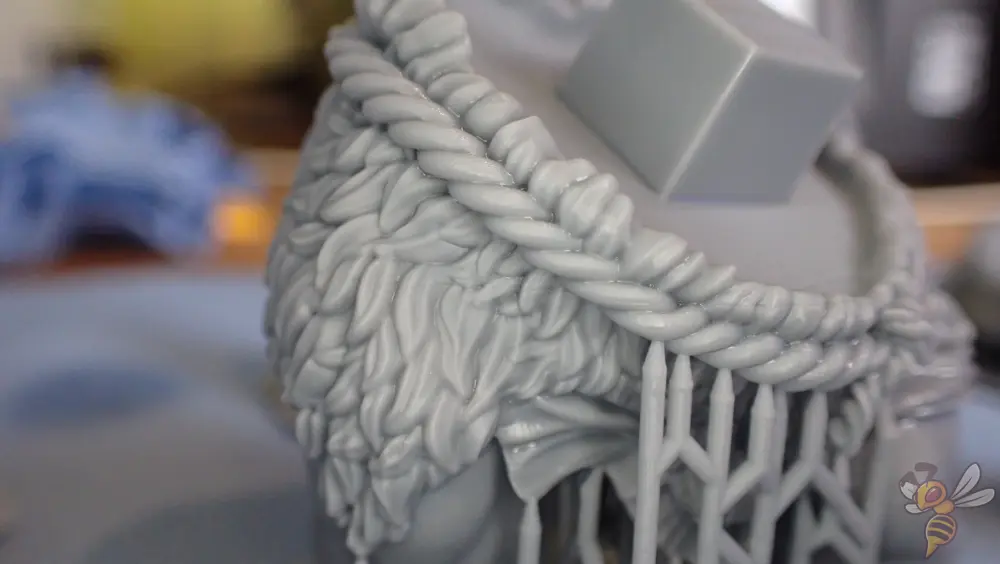
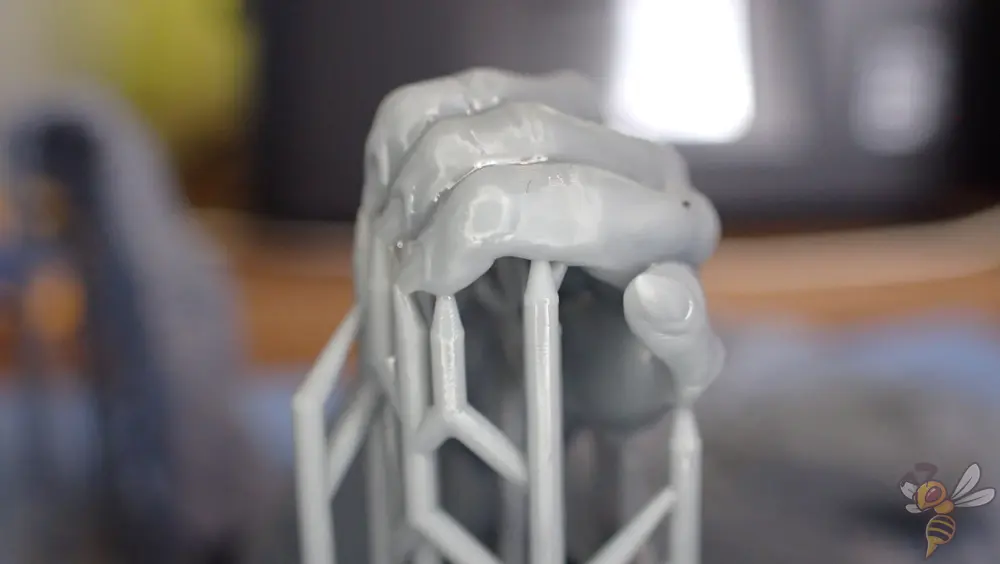
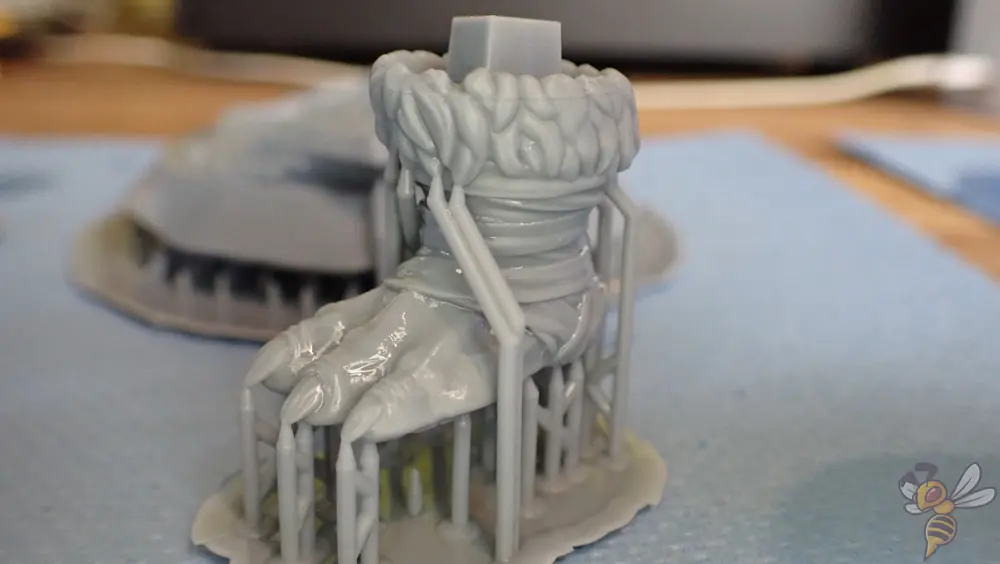
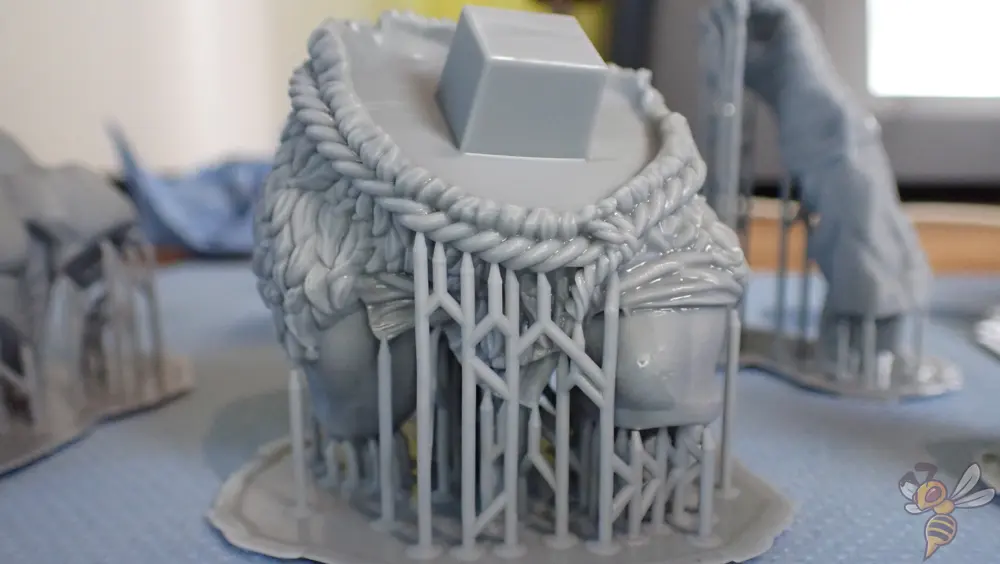
I chose this tablet holder in the shape of a troll as my test object. The model has countless small details and is large enough for me to test both the print accuracy and the large print area of the Whale3 SE.
I am very pleased with the print quality. There are no noticeable steps, the surface is completely smooth, and there were no printing errors.
I was able to print the complete model with all its parts within one print job. I spread the parts out over the print area. There were no problems at all. The light source is very homogeneous over the entire print area and provides the same accuracy and light intensity at every point.
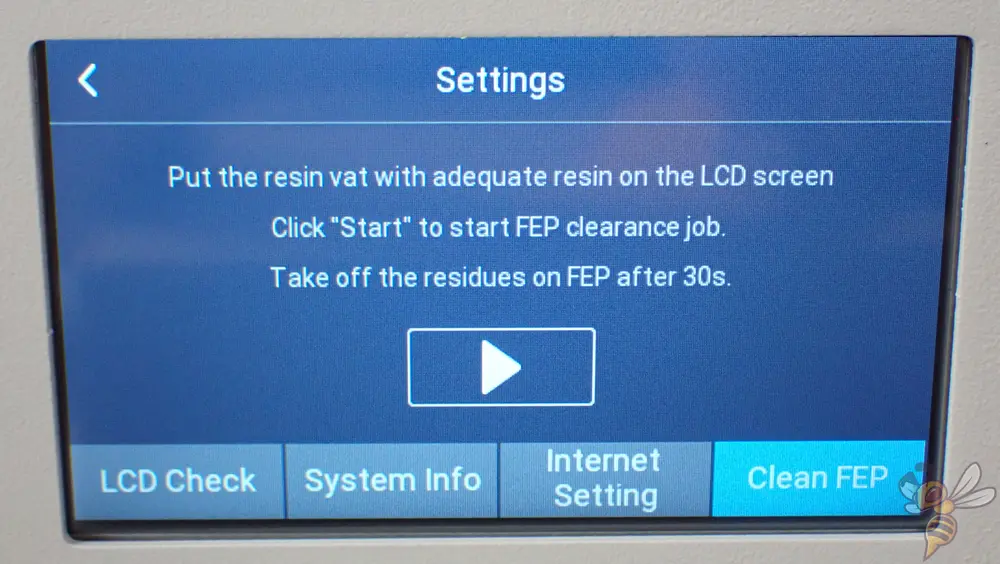
It is important to wash and harden the object after printing, as well as clean the printer for the next print job. For this, there is a useful function in the menu called “Clean FEP“.
This illuminates the LCD screen on the complete surface for a short time and hardens the resin residues that remain on the FEP film after pouring the resin back into the bottle. The residues can then be easily peeled off.
Nova3D Whale3 SE vs. Elegoo Saturn 3 12K
The Saturn 3 from Elegoo has a 12K resolution. This allows it to achieve accuracies that are ideal for the smallest details – and that with a large print volume!
LCD Resolution: 12K (11520 × 5120)
LCD Size: 10”
XY Pixel Size: 19 × 24 μm
Layer Height: minimal 0.01 mm
Build Volume: 219 × 123 × 250 mm³
Speed: up to 70 mm/h
Pros:
✓ Super accurate
✓ Large print volume
✓ Air filter
Cons:
× No Wi-Fi
× No 4-screw mount of the print bed
× No automatic leveling
The strongest competitor of the Whale3 SE currently is probably the Elegoo Saturn 3 12K* – and rightly so.
The Saturn 3 is better than the Whale3 SE in almost every important aspect for print quality. It also has an air filter that neutralizes unpleasant odors even during printing.
The only drawbacks of the Saturn 3 over the Whale3 SE are that the print volume is only about 89% of the print volume of the Whale3 SE. Also, it does not have a refill system for the resin in case the resin tank is not enough for huge objects.
Price-wise, the Saturn 3 is also usually ahead. If you regularly print gigantic objects and don’t want to manually add resin, the Whale3 SE is better for you. Otherwise, you are actually better off with the Saturn 3*.
Here is an overview of the specifications of the two 3D printers:
| Whale3 SE | Saturn 3 | |
|---|---|---|
| Print volume | 228 × 128 × 260 mm | 219 × 123 × 250 mm |
| Resolution | 8K | 12K |
| XY accuracy | 27.9 μm | 19 × 24 μm |
| Z accuracy | 0.02 mm | 0.01 mm |
| Print speed | max. 55 mm/h | max. 70 mm/h |
| Light source | COB | COB + Fresnel Collimating Lens |
| Air filter | No | Yes |
| Resin refill system | Yes | No |
Is the Whale3 SE Worth it?
If you are looking for a large format resin 3D printer with a resin refill system, the Whale3 SE from Nova3D* is a good choice.
In addition to the refill system, I particularly liked the robust construction and the print bed that is already leveled upon delivery. Especially for beginners, the latter is very valuable, as you can get a lot wrong with print bed leveling on resin 3D printers. You can avoid frustrations right at the beginning.
Check Price at:
If you’re interested in the device, I’d love for you to purchase it through my links. I will then get a small part of the purchase price as a commission, without it becoming more expensive for you. The device was provided to me, but this did not influence my evaluation in any way.
Disclosure: This website is the property of Martin Lütkemeyer and is operated by Martin Lütkemeyer. Martin Lütkemeyer is a member of the Amazon Services LLC and other Affiliate Programs. These are affiliate advertising programs designed to enable websites to earn advertising revenue through advertising and linking to Amazon.com and others. Links marked with * are affiliate links.


